In continuation to our Bioshock Infinite inspired Photoshop tutorial, we will now create the remaining parts. If you’re ready then lets start.
Tutorial Details
- Program: Adobe Photoshop
- Version: CS5
- Difficulty: Advanced
- Estimated Completion Time: 2 hours
Tutorial Assets
- Untitled Texture CXXXXXXXXVII by aqueous-sun-textures
- Concrete Texture by SuperStar-Stock
- Rusty Iron Texture by arkaydo
- Wall Texture by shadowh3
- Abrasion Texture 4 by Yulia-Textures
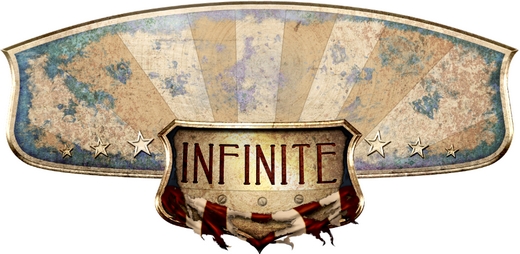
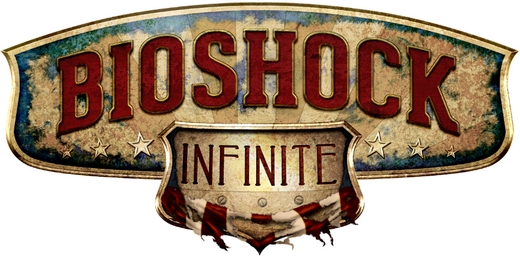
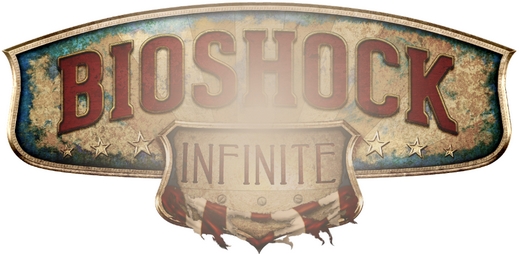
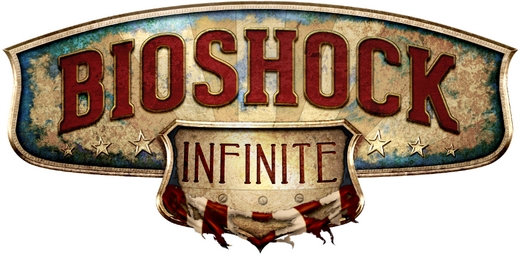
Final Result
Step 1
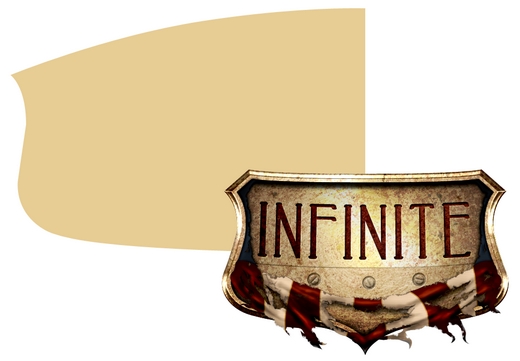
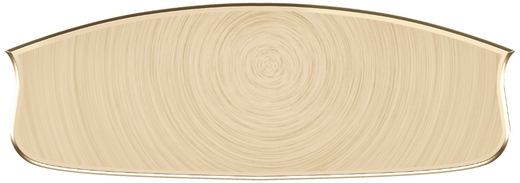
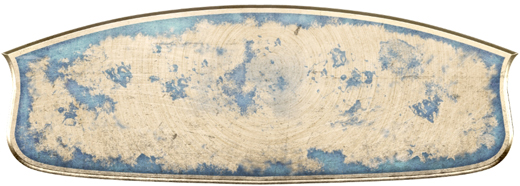
Open the file that you created in the first part of the tutorial. All the layers from now on should be placed before the “Shield” (group all the layers of the previous tutorial or merge them). So, create a new layer and pick the Pen Tool (P). Draw a shape like the one on the image below. Fill it with #e7cd94, duplicate it and flip the copy horizontally. Merge these two layers and apply the following styles. Name this layer “Base”.

Step 2
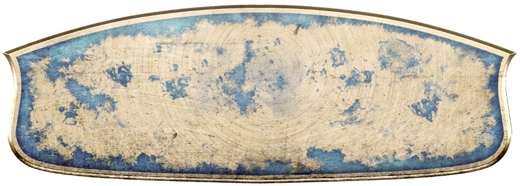
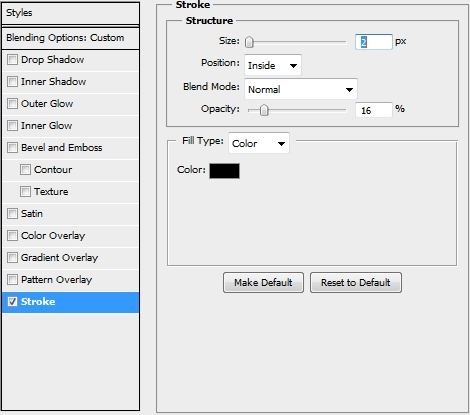
Create a new layer and select Base’s pixels. Paint the selection white (#fff) and then go Filter->Pixelate->Mezzotint. After that go Filter->Blur->Radial Blur (Amount:40-50, Spin, Best). Change the Blend Mode to Color Burn and the Opacity to 50%. Clip this layer to the Base layer (clipping mask).
Step 3
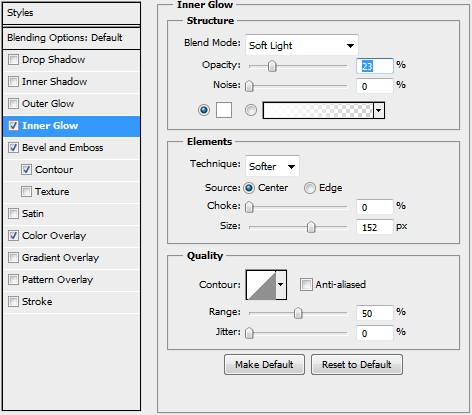
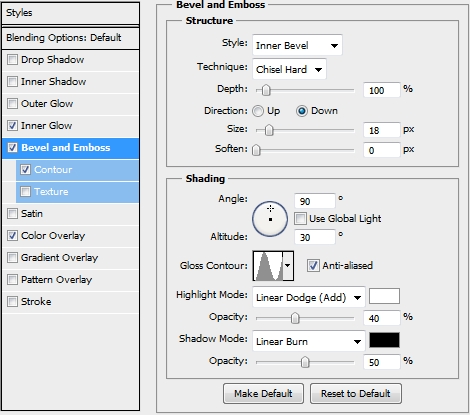
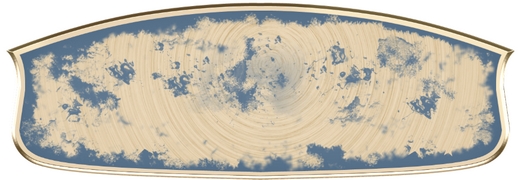
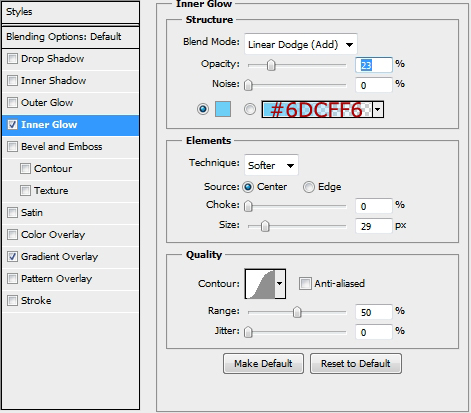
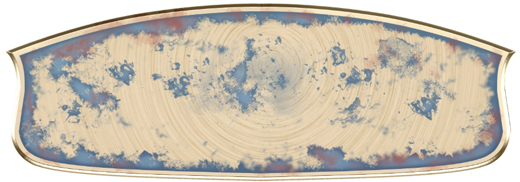
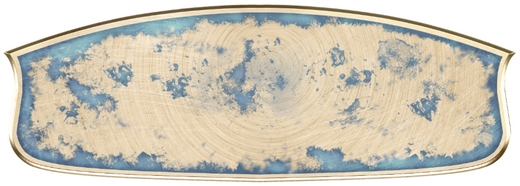
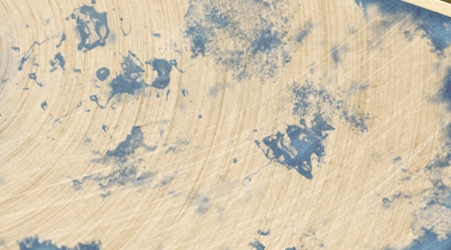
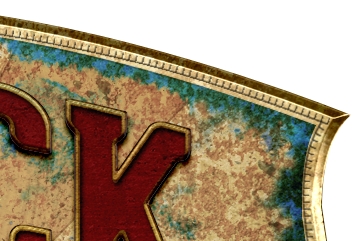
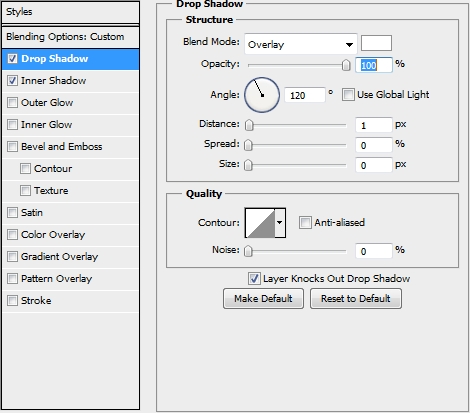
From now on every new layer should be clipped to your Base layer. So, create a new layer and select Base’s pixels once again. Paint the selection with #607991 and add a mask. Now, using a combination of Chalk and Spatter brushes create a random rusty effect. Then simply apply the following styles.


Step 4
Create a new layer and add some highlights (color: white) using a soft round brush. Change the Blend Mode to Overlay and the Opacity to 70%.
Step 5
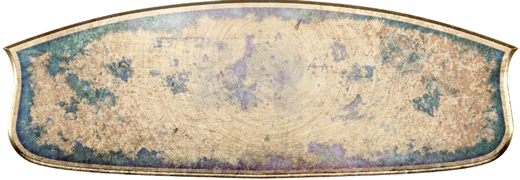
Place the Abrasion Texture 4 on a new layer, scale it down a bit and change the Blend Mode to Overlay and the Opacity to something around 50-55%. Duplicate this texture and place it on the other side of the “Base”. Make sure to rotate a bit the textures to give it a random look.
Step 6
Create a new layer and place the Wall Texture (shadowh3). Rasterize it, desaturate it and change its Blend Mode to Hard Light and lower the Opacity (or Fill) to 55%.
Step 7
Now place the Untitled Texture CXXXXXXXXVII and desaturate it. Change the Blend Mode to Color Burn and lower the Opacity to 45%.
Step 8
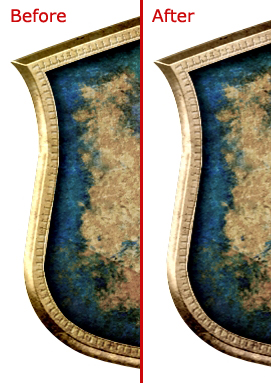
The next Step is to place the Rusty Iron Texture. Again, scale it down a little bit, rotate it and change the Blend Mode to Pin Light (Opacity 75%). Then duplicate it and place it on the other side. Add a layer mask to both of the layers and “erase” some parts so that they blend nicely.
Step 9
Create a new layer and grab the Pen Tool (P). Draw some stripes and fill them with #eaca93. Change the Blend Mode to Multiply and lower the Opacity to 65%. Finally add a layer mask and paint black the selection shown on the second image (basically select the pixels of the mask of the layer created in Step 3 and paint the selection black).
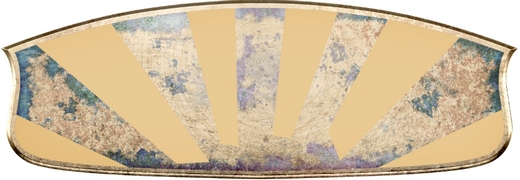

Step 10
Now, duplicate this layer and delete the mask. Select the pixels of your Base shape. Go Select->Modify->Contract (14px). Press Ctrl+Shift+I to inverse the selection. Then hit Delete. Finally turn the Fill to 0% and apply this style.
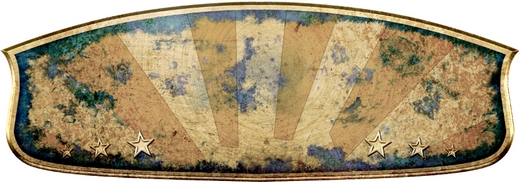
Step 11
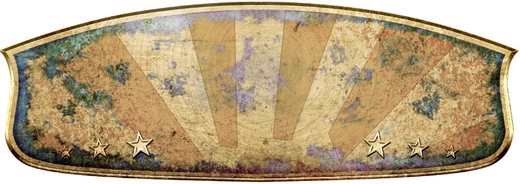
Your design should by now look something like this.

Step 12
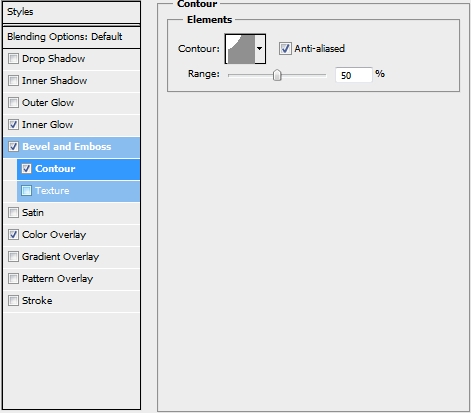
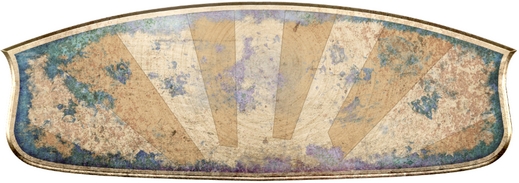
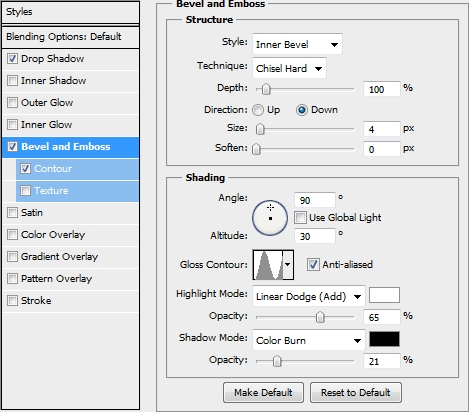
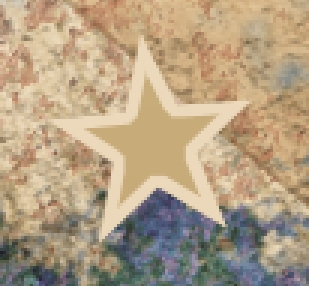
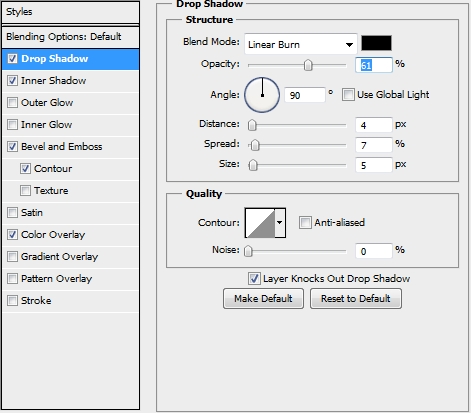
Create a new layer (still a clipping mask) and pick the Pen Tool (P). Draw a simple star and fill it with #eaca93. Change the Blend Mode to Soft Light and apply the following styles.


Step 13
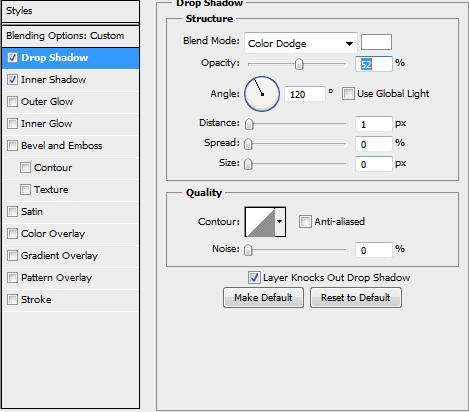
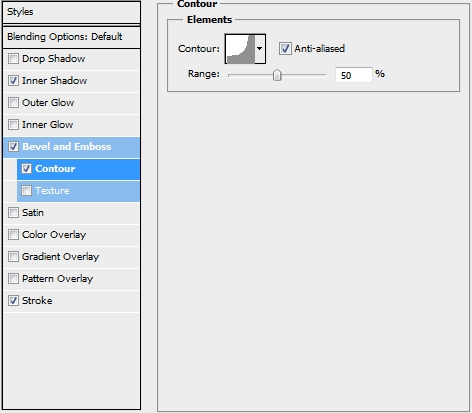
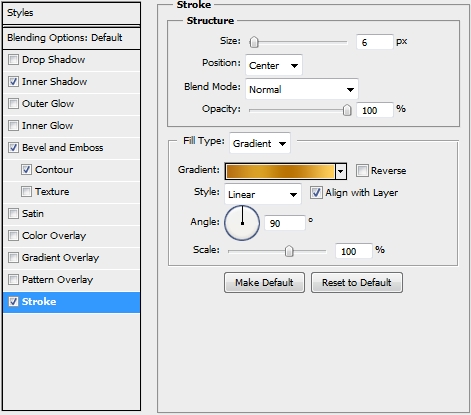
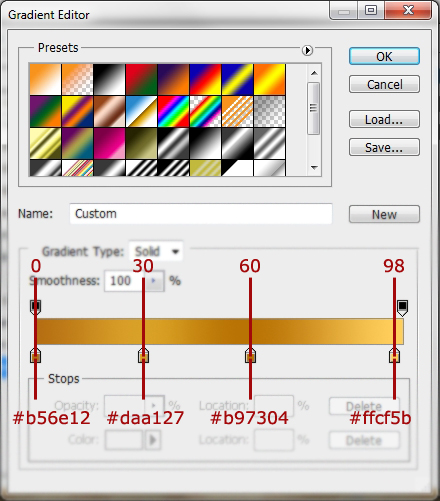
Create a new layer and select the pixels of the star shape created in the previous Step. Contract the selection by the number of the Size you applied in the Bevel and Emboss style (4). Paint the selection with a random color and turn the Fill to 0%. Then apply the following styles.

Step 14
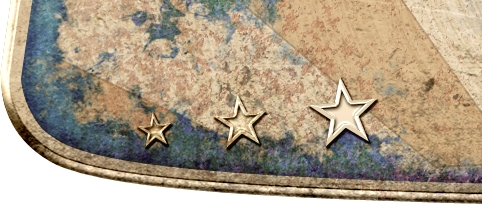
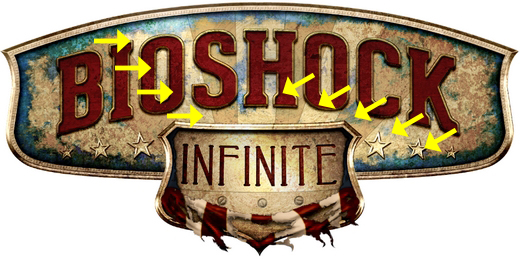
Duplicate these two layers twice and scale the copies down. Place the copies accordingly to the first image. Then duplicate all these three stars (six layers in total), flip the copied horizontally and place them on the other side of the “Base”.
Step 15
Create a new layer and paint the whole canvas with #eaca93. Change the Blend Mode to Color Burn and the Opacity to 45%. Note that this is the last layer that should be clipped to the Base layer.
Step 16
Duplicate the layer created in Step 3 and place it on top of the layers stack (still before the Shield layer/group). Make sure you’ve unclipped it and clear its styles. Change the Blend Mode to Overlay and the Opacity to 75%. Finally, add this style.
Step 17
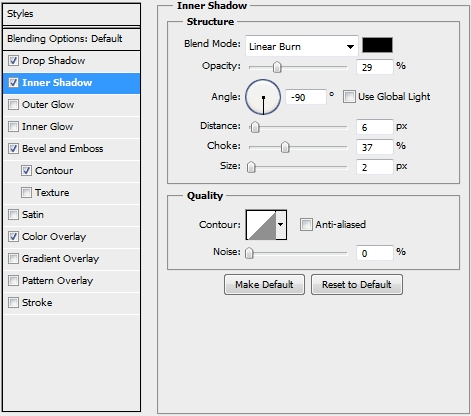
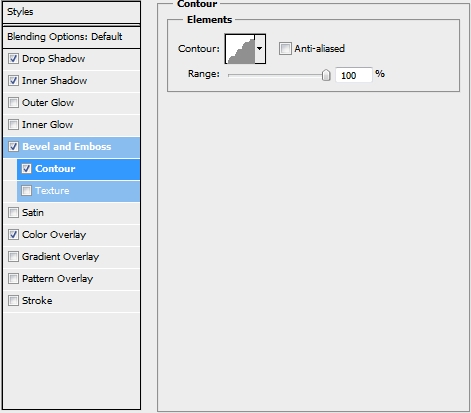
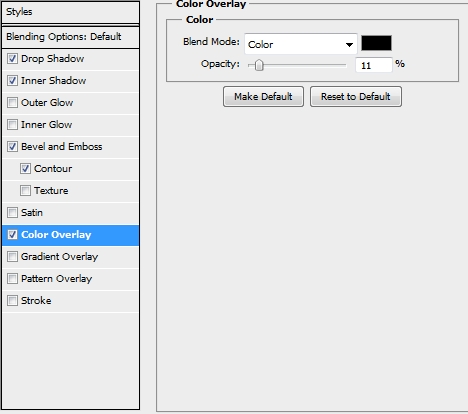
Now it’s time to add some text. The original font in the Bioshock’s logo is Swis721 BdCnOul BT but we’re going to use a nice font called Geared that you can download from losttype.com. Anyway, pick the Type Tool (T) and write anything you want (font: Geared Slab, Extra Bold; size: 61 pt; color: #b52626). As soon as you write your text switch to the Warp Mode and pick Arch from the list (Bend: 20%). Then add the following styles.


Step 18
Now right click on the Text Layer’s Effects area and select Create Layers from the list. Make sure all the created layers are clipped to the original text layer. Select this text layer and rasterize it. Select its pixels and expand the selection by 3px. Paint the new selection with #ae1c1e. Now, merge all these created layers and your original text layer (now rasterized). Apply the following styles to this newly formed layer (name it “Text”).

Step 19
Place the Concrete Texture on a new layer and clip it to the “Text” layer. Change the Blend Mode to Linear Burn and lower the Opacity to 50%. Then place the Untitled Texture CXXXXXXXXVII and make it also a clipping mask. Change its Blend Mode to Multiply and the Opacity to 65%.

Step 20
Create a new file (100x100px). Pick the Line Tool (U) (15px) and draw two lines like the ones on the image below. Then delete the background layer and merge these two line layers. Go Edit->Define Brush and save it. Close this file.

Step 21
Now, create a new layer, pick the Brush Tool (B) and select the brush you’ve just created. Set the size to 10px and the Spacing to 110%. Now go back to your “Base” layer and select its pixels. Switch to the Paths tab and click on the Make Work Path From Selection button. Once the path is created, right click on the canvas and select Stroke Path (make sure the Simulate Pressure box is unchecked). Turn the Fill to 0% and apply the following styles.


Step 22
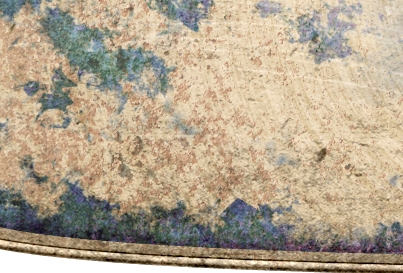
Create a new layer and select “Base’s” pixels. Contract the selection by 14px, paint it with a random color and apply this style.

Step 23
Duplicate this layer, clear the style and select its pixels. Hit delete and then press Ctrl+Shift+I. Go back to your “Base” layer and press Ctrl+Alt+Shift+Left Click on “Base’s” thumbnail. Paint this selection with #5f4234 and change the Blend Mode to Color and the Opacity to 45%.
Step 24
Create a new layer and using a soft round brush add some highlights.
Step 25
Add some shadows behind the Shield and place this layer right after the “Base” layer (this will make it automatically a clipping mask).
Step 26
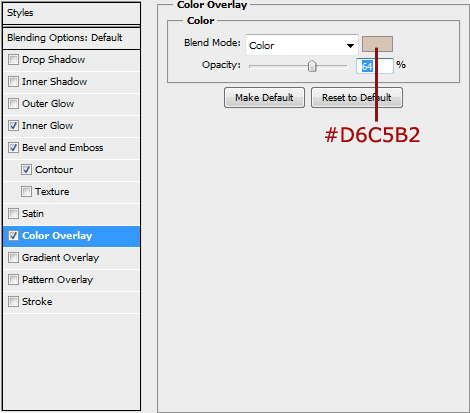
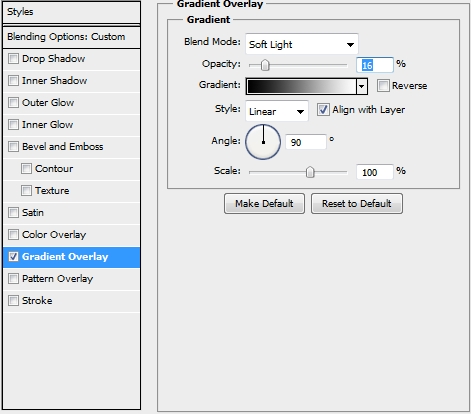
Merge all the layers created so far (except from the background); yes, and the Shield. Create a new layer and pick the Gradient Tool (G) (color to transparent). Set the foreground color to #d6c5b2 and select the Radial style. Change the Blend Mode to Soft Light and lower the Opacity to something around 60% (make sure to delete any parts outside your design).
Step 27
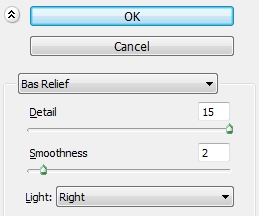
Duplicate the layer created in the previous step (not the gradient one) and set #000 as your foreground color and #fff as the background one. Then go Filter->Sketch->Bas Relief. Change the Blend Mode to Soft Light and lower the Opacity to 45%. Erase any unwanted parts (mainly in the center of your design) to reduce the sharpness.
Conclusion
And that’s the end of this tutorial. Your logo is now ready and feel free to add any effects or backgrounds you want to make it look even better. We hope you enjoyed this article and if you have any questions, post them in the Comments section and we’ll answer asap.


A little bit boring, may be because I don’t know about this but I’m interested.
What do you mean steampunk?
Good job,nice tutorial bro.
niceeeeeeeeeeee
i hope you le us dowload the psd file
thanks
Great tutorial! Very difficult. For some reason a few of the effects did not turn out the same. Is it possible to get the psd file?
Muy bueno, y completo. Congratulations!