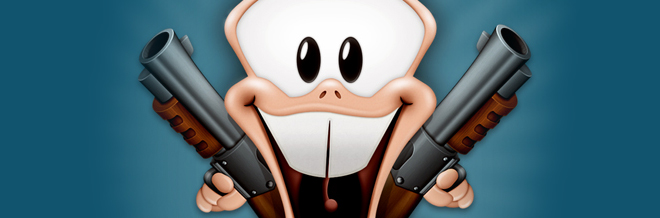
In continuation with our previous tutorial on creating Funny Cartoon Character in Photoshop, In this tutorial we will add guns and hands to the character.
Tutorial Details
- Program: Adobe Photoshop
- Version: CS5
- Difficulty: Intermediate / Advanced
- Estimated Time of Completion: 1-2 hours
Tutorial Assets
Wood Texture by ResurgidaResources
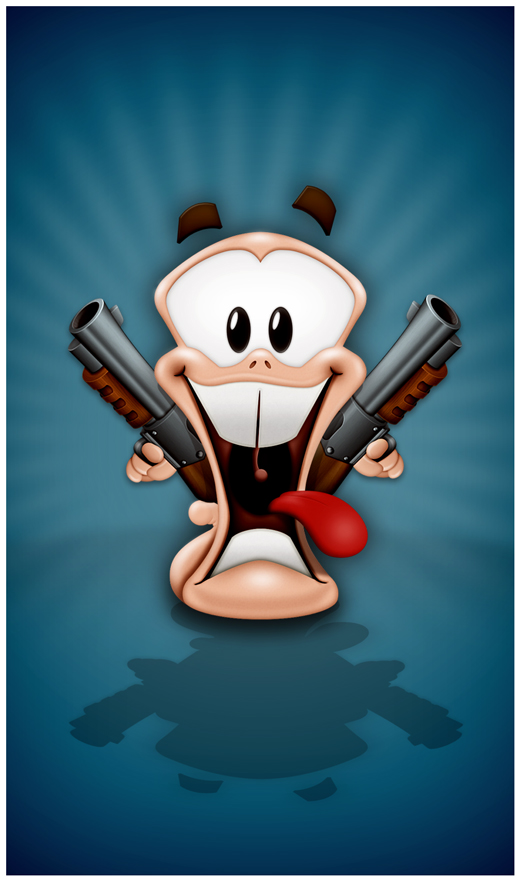
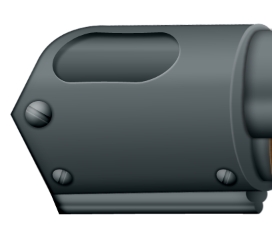
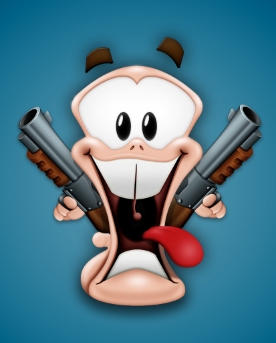
Final Result
Step 1
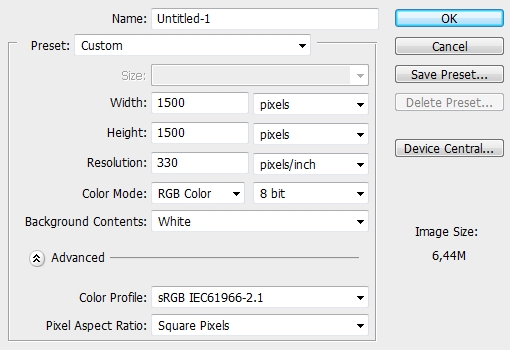
Create a new document in Photoshop.
Step 2
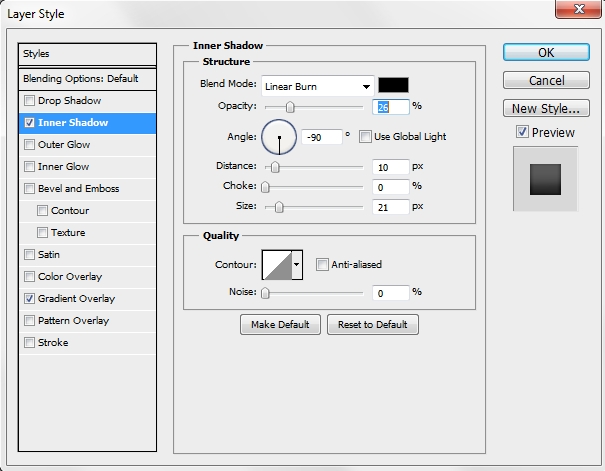
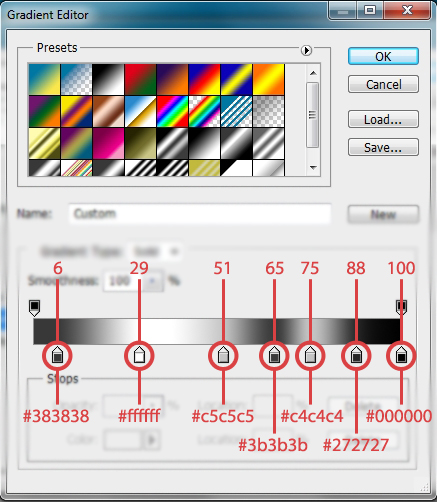
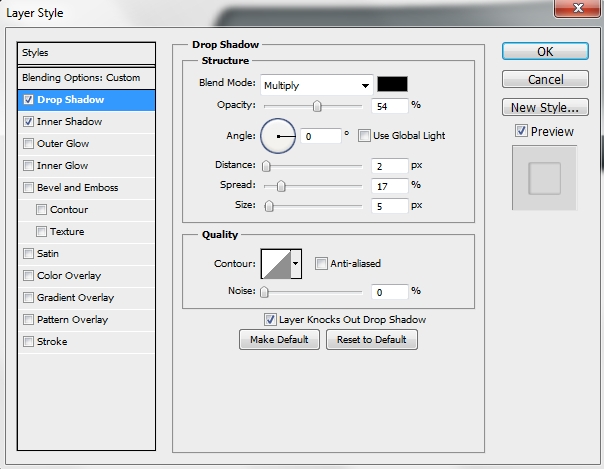
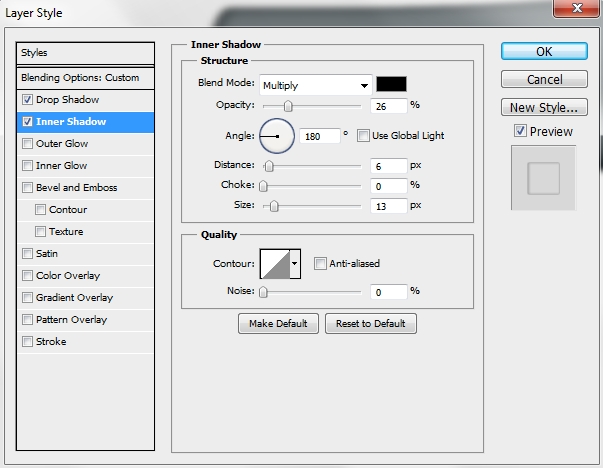
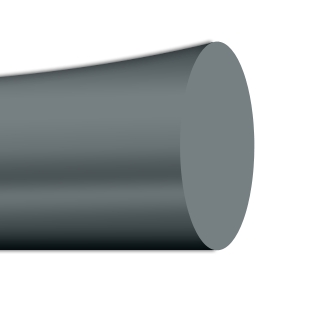
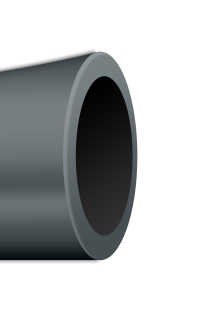
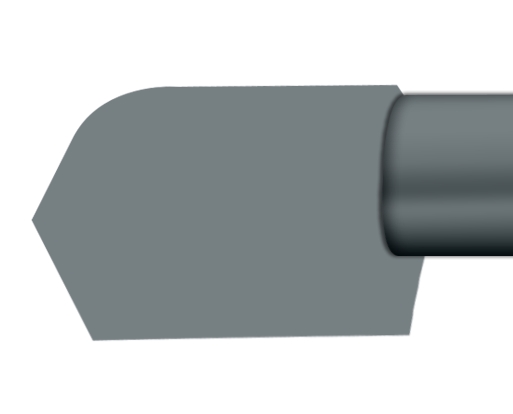
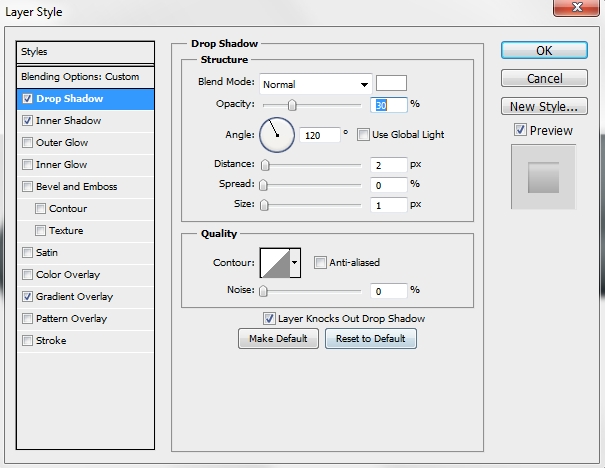
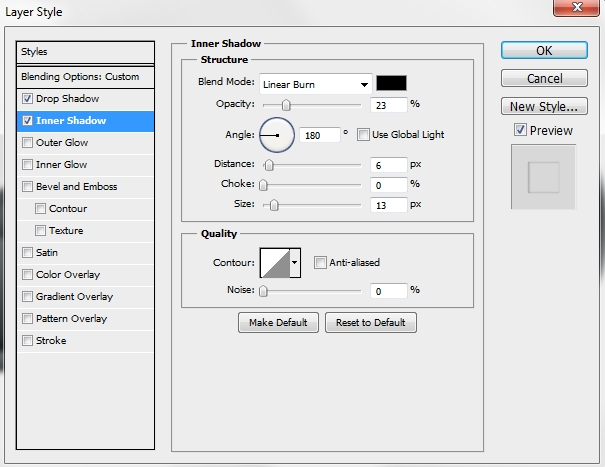
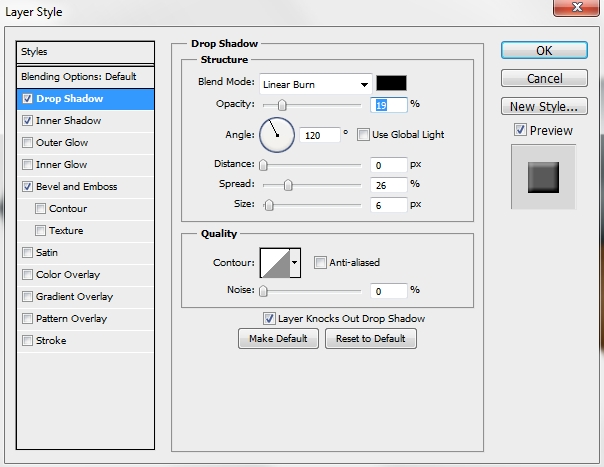
Create a new layer and pick the Pen Tool (P). Draw a shape like the one below and then apply the following styles (color: #767f82).


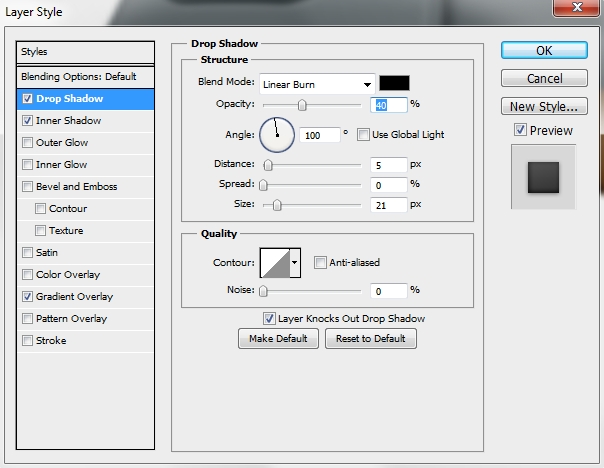
Step 3
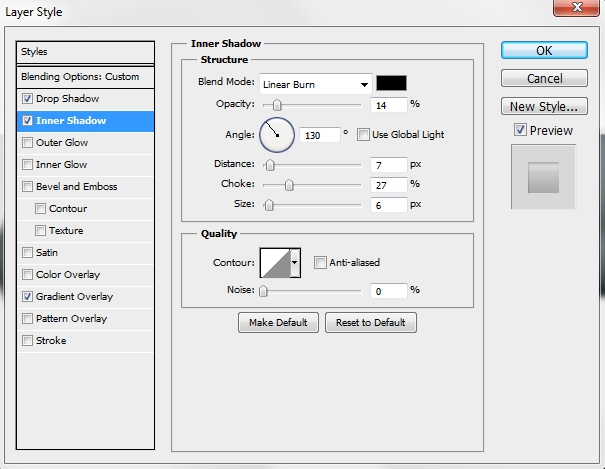
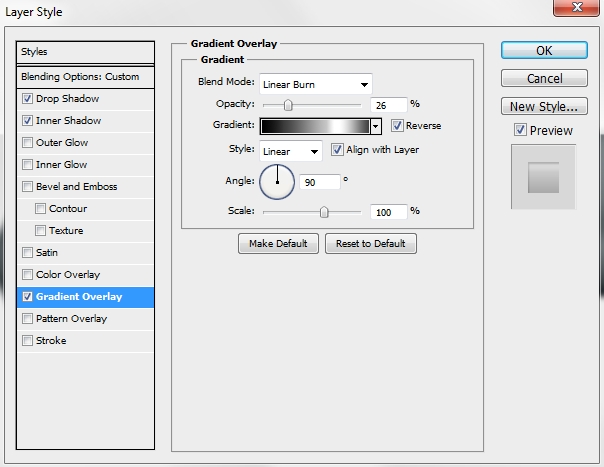
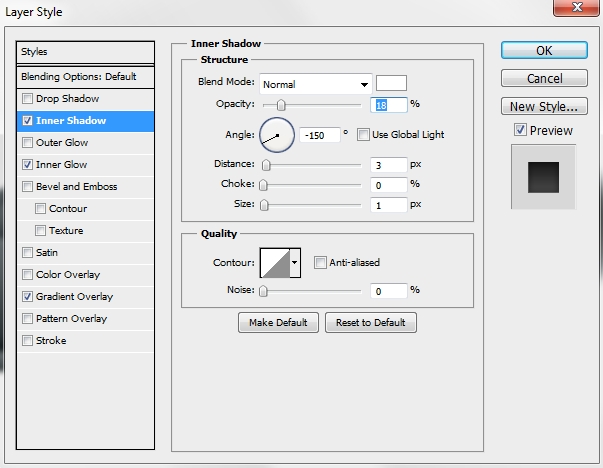
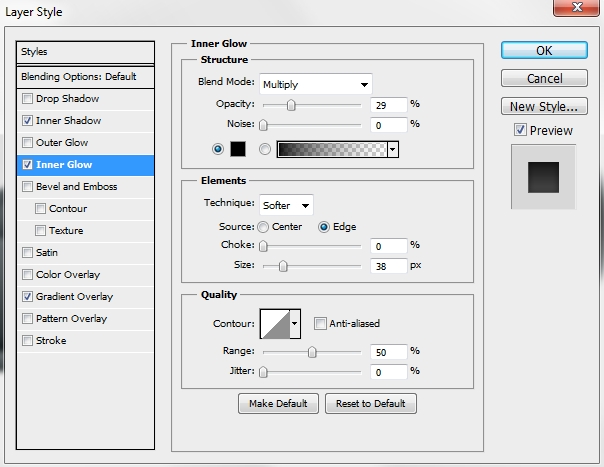
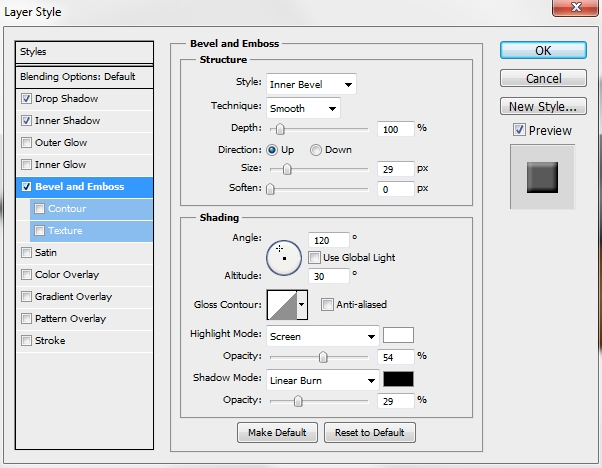
Duplicate this layer and replace the styles with these.
Step 4
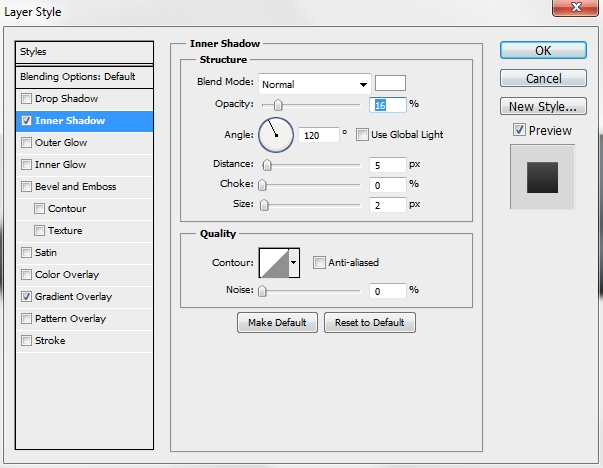
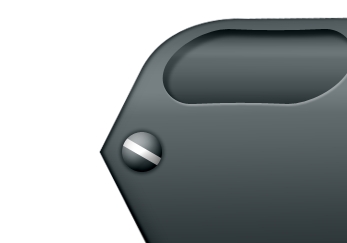
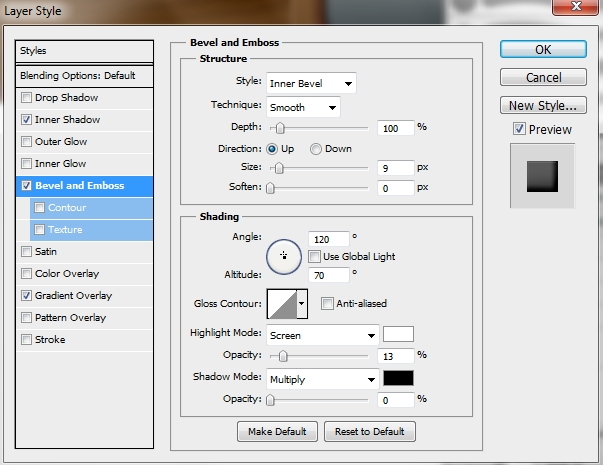
Create a new layer and select the Ellipse Tool (U). Draw an oval at the end of the previously created shape. Next, add the following styles.

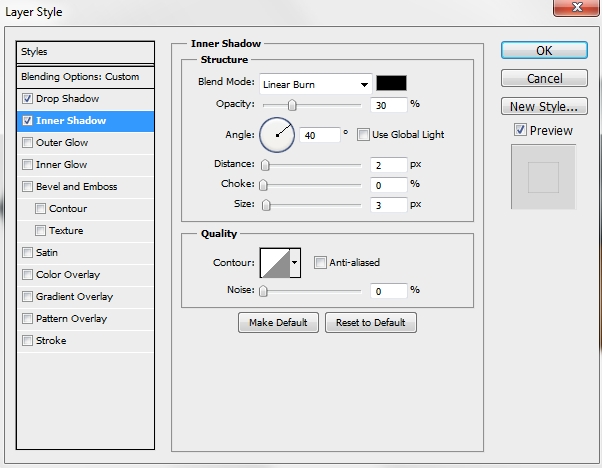
Step 5
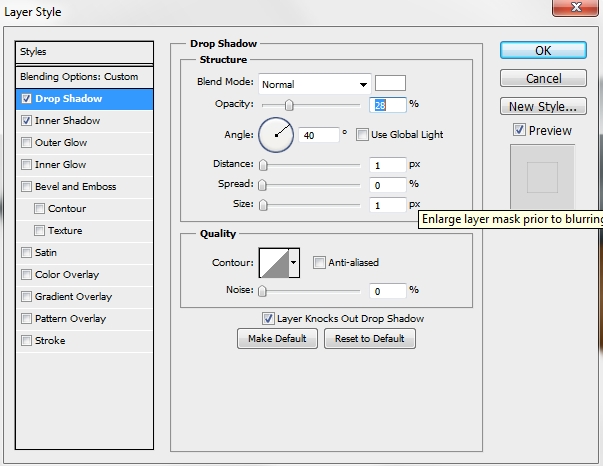
Duplicate the oval and scale it down a bit. Change the Blend Mode to Difference and add these styles.
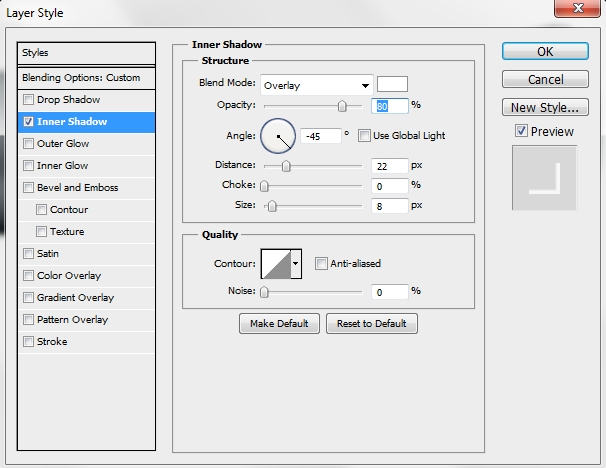
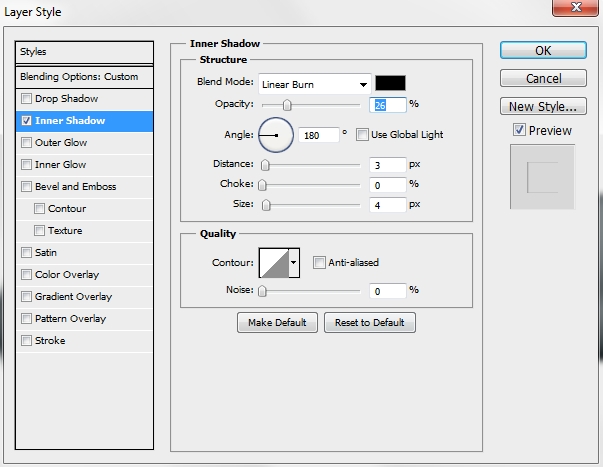
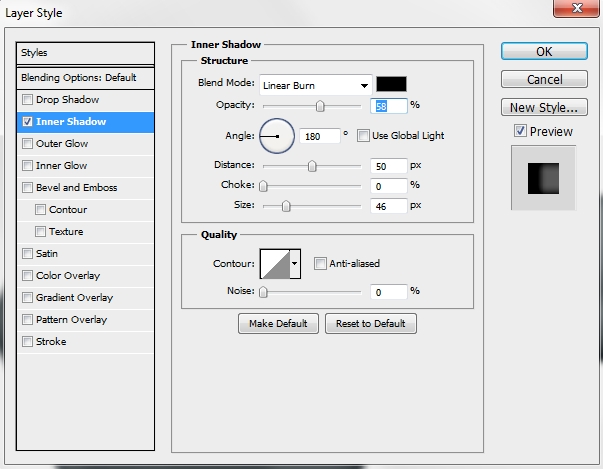
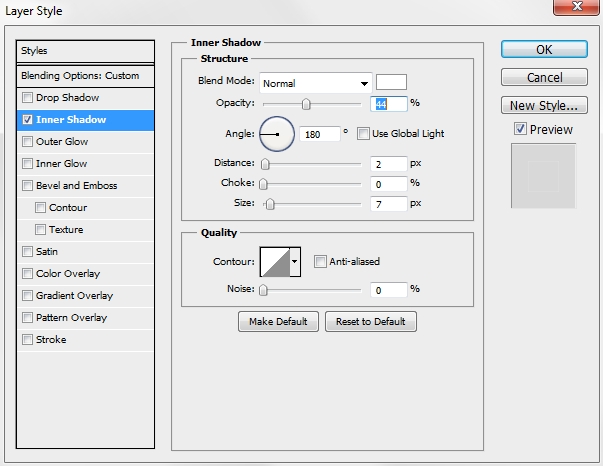
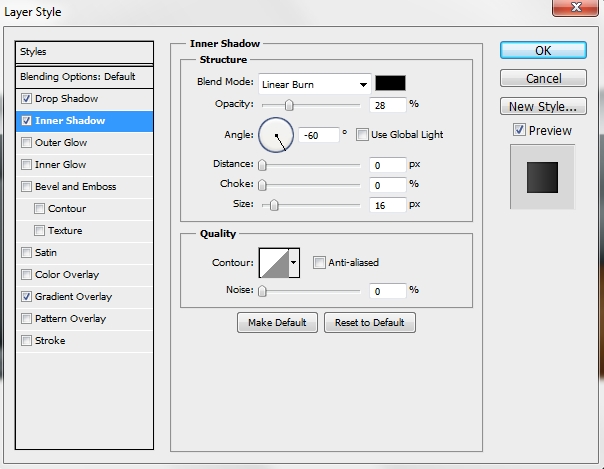
Step 6
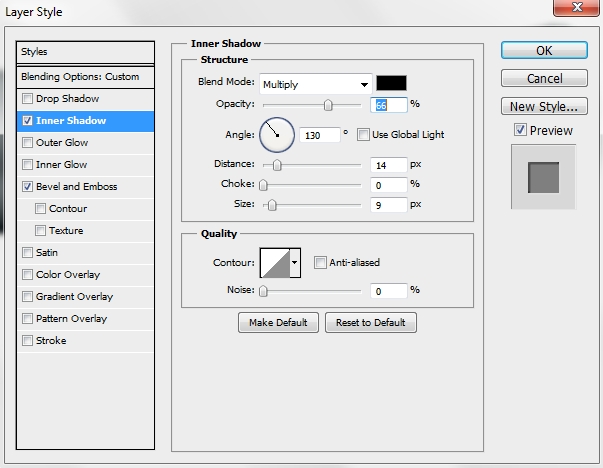
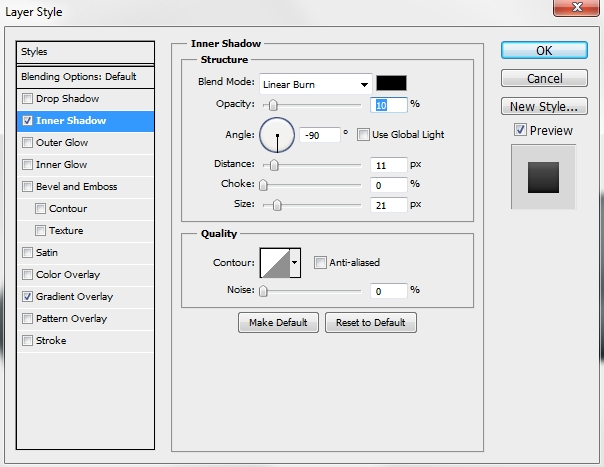
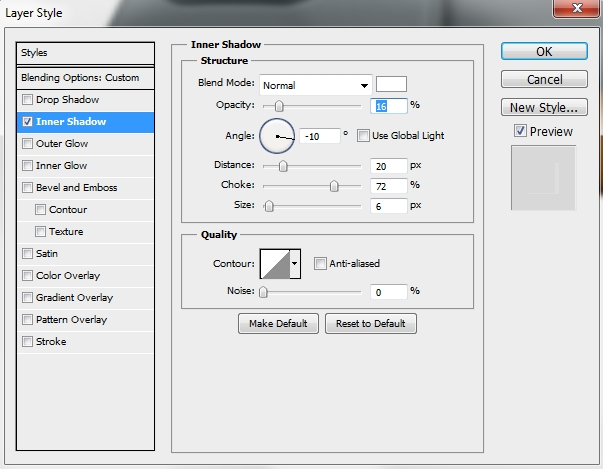
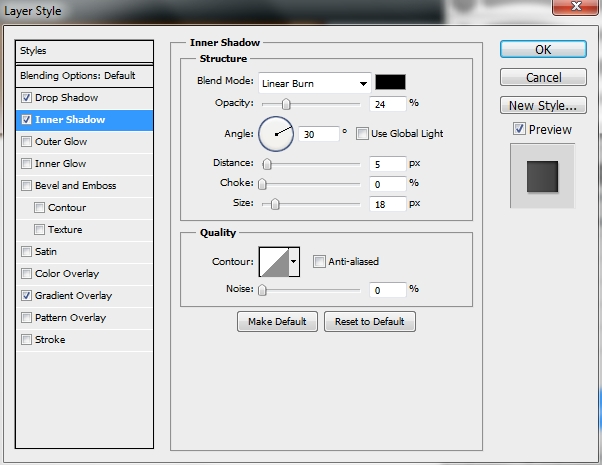
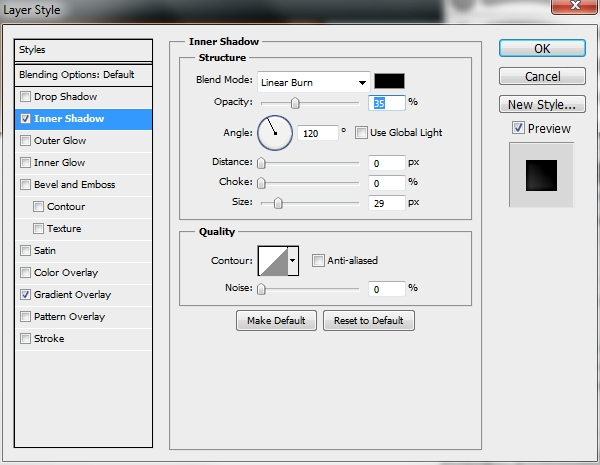
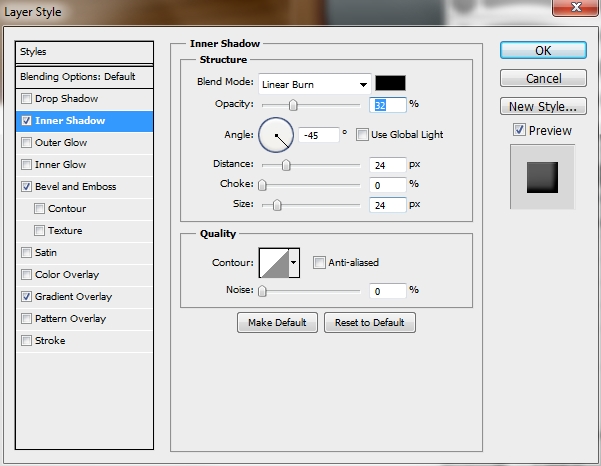
Duplicate this layer and replace its styles with this inner shadow (turn Fill to 0%).
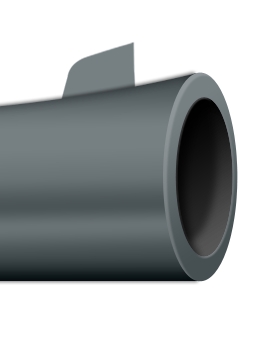
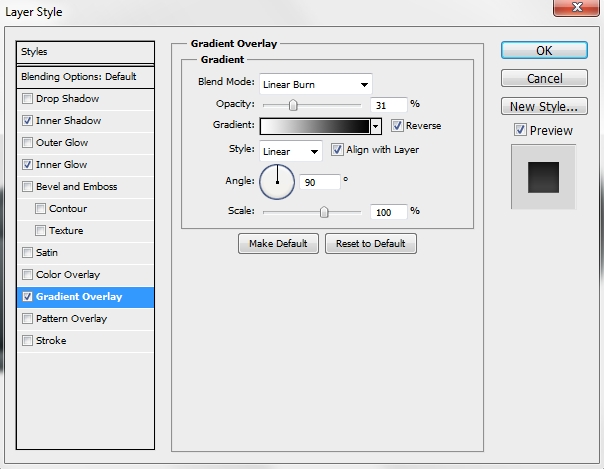
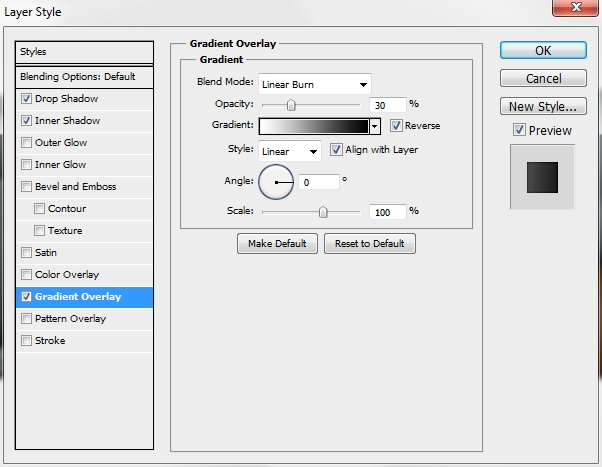
Step 7
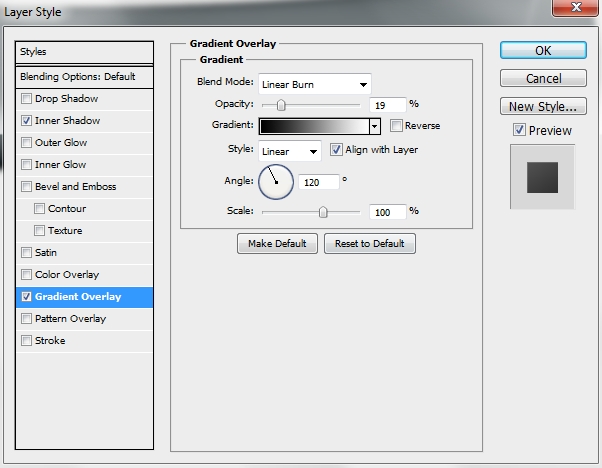
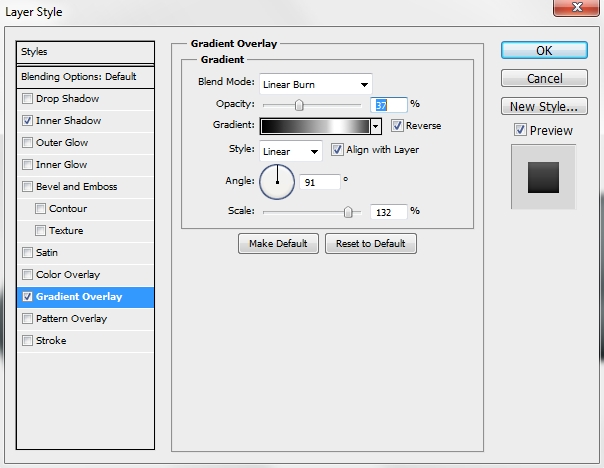
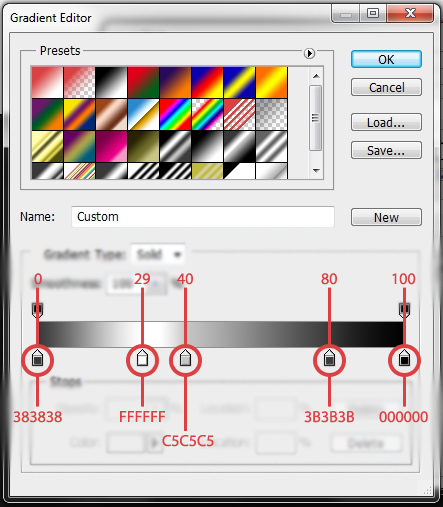
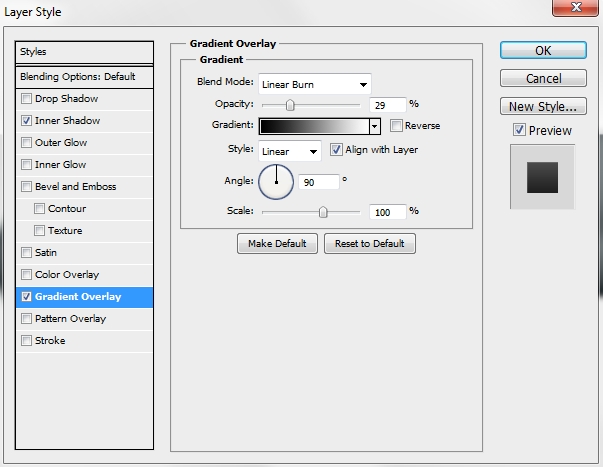
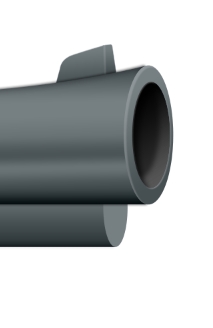
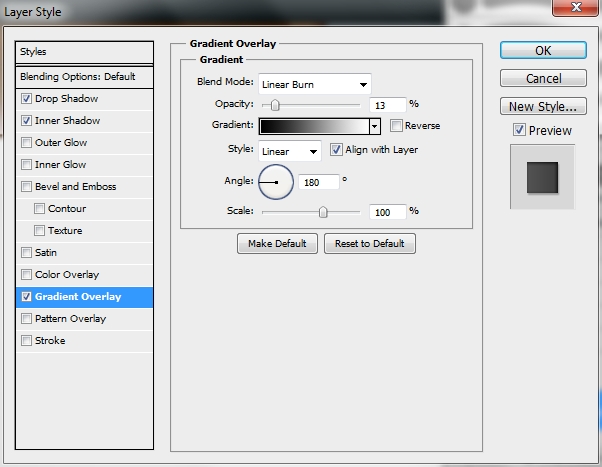
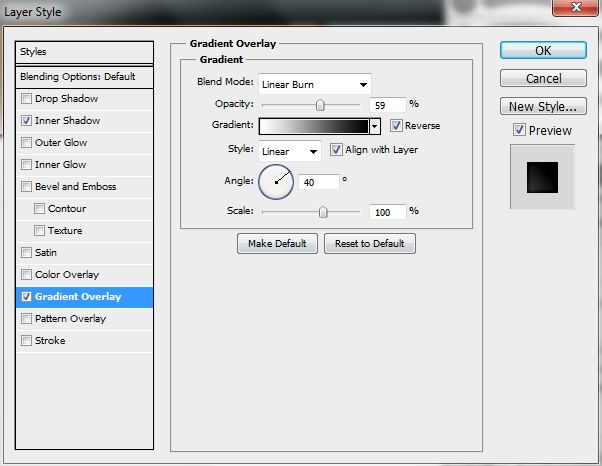
Create a new layer and place it before all the other layers you’ve created so far in the layers stack. Pick the Pen Tool (P) and draw a shape like this. Then add this gradient.
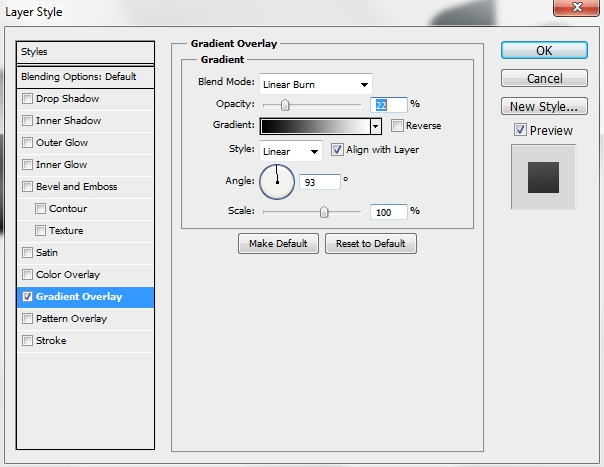
Step 8
Create a new layer right above the one created in the previous shape and grab the Rounded Rectangle Tool (U). Set the Radius to 5px and draw a small rectangle. Then go Edit>Transform>Perspective and distort the lower edges to turn the shape into a trapeze.
Add these styles.


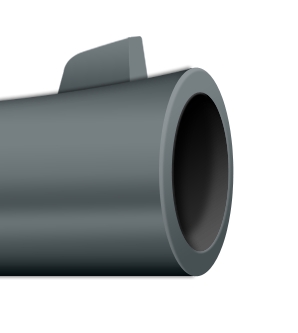
Step 9
Group all the layers created so far and name the group “Barrel”.
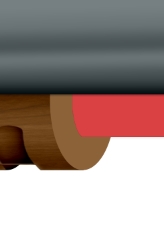
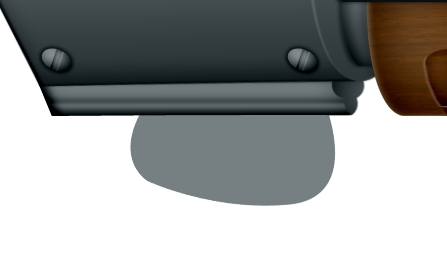
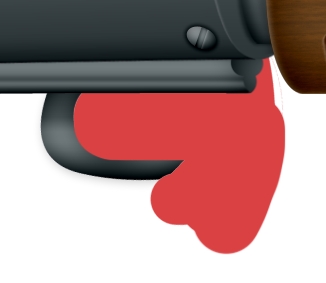
Create a new layer and place it before the Barrel group. Using the Pen Tool (P) draw a shape like the one on the image below and apply the following styles.
Step 10
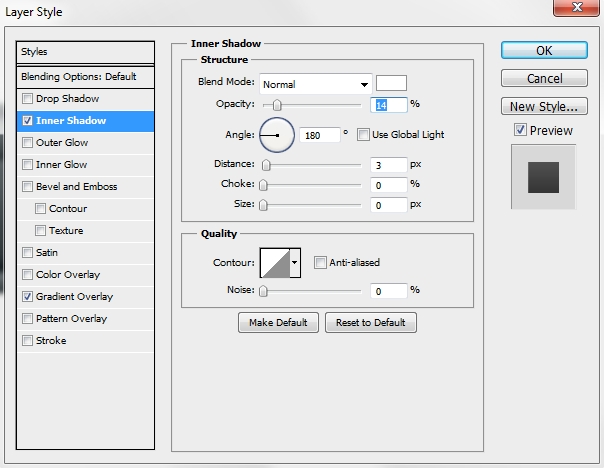
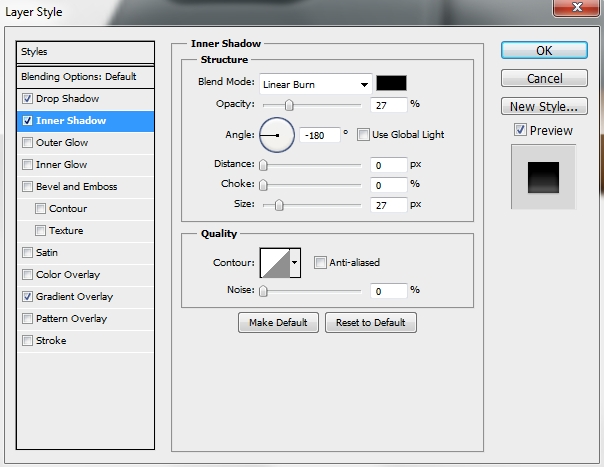
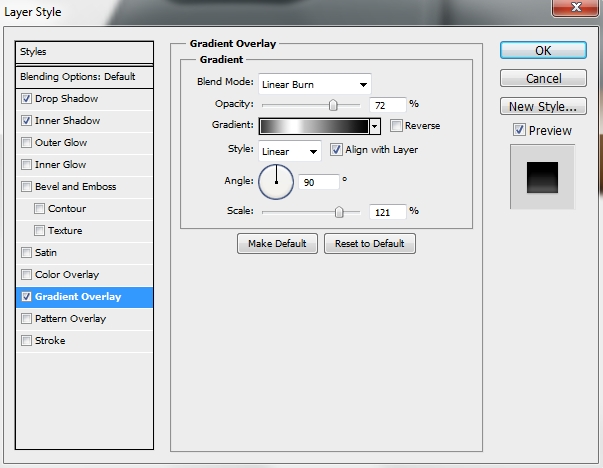
Duplicate this layer and make the copy a clipping mask. Turn the Fill to 0% and replace its styles with this inner shadow.
Step 11
Create a new layer and place it before the two created in Steps 9-10 and using the Rectangle Tool (U) draw a shape like the one on the image below. Then go Edit>Transform>Skew and distort it a bit (pic 2).

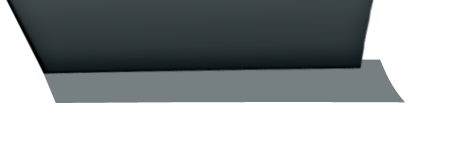
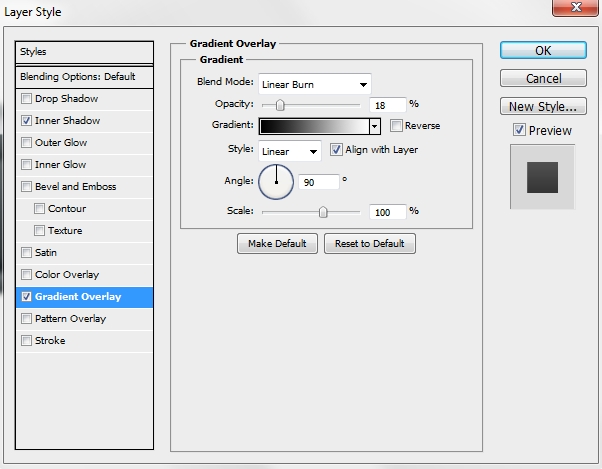
Next apply these styles.

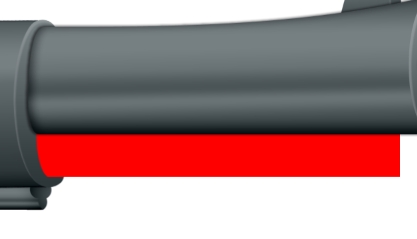
Add a layer mask and “erase” some parts by painting them black with a Hard Round brush (B).
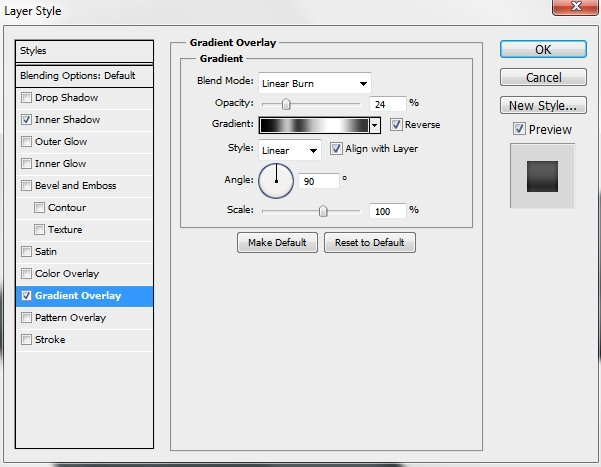
Step 12
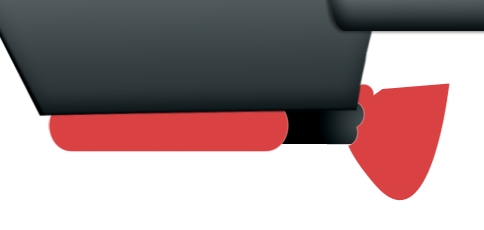
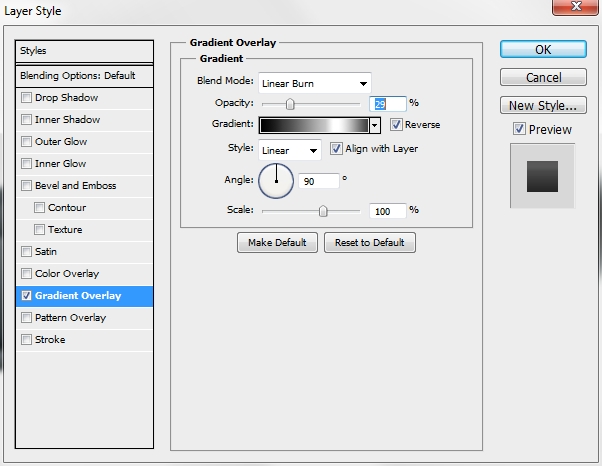
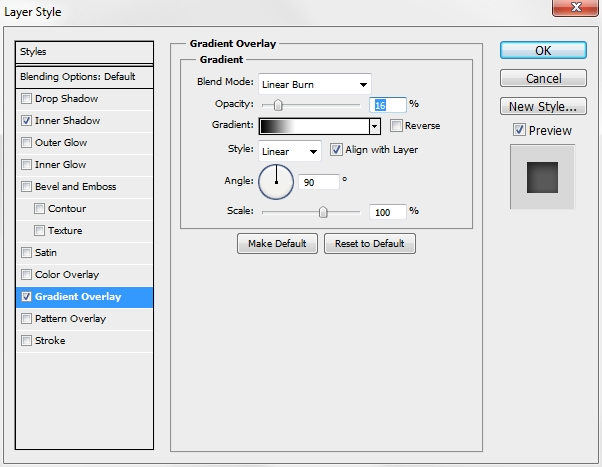
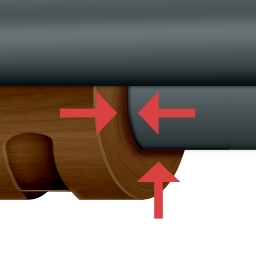
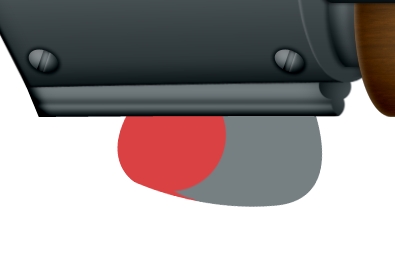
Duplicate this layer, place the copy before the original one in the layers stack and replace its styles with this one.
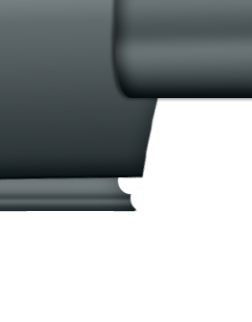
Delete the existing mask and replace it with a new one (the red indicated the areas that have to be painted black).
Step 13
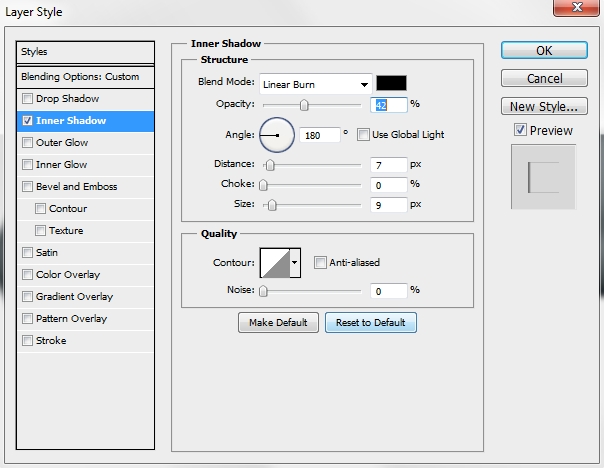
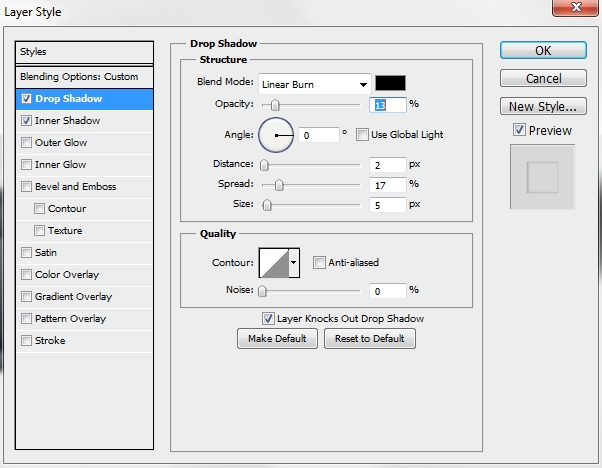
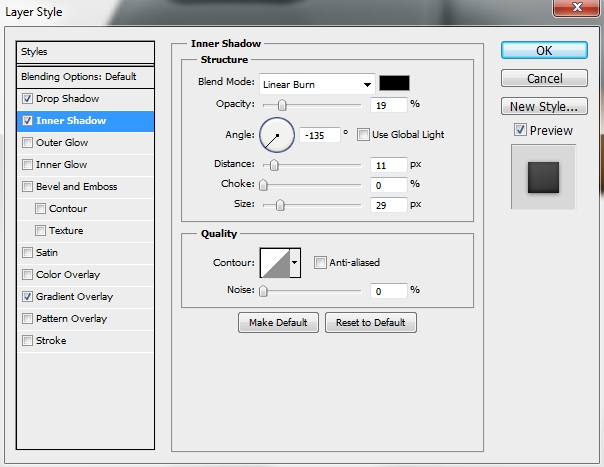
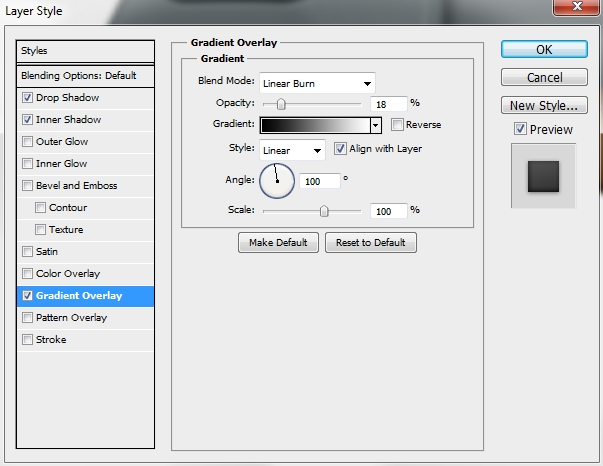
Duplicate the shape created in Step 11, make it a clipping mask, turn Fill to 0% and apply an inner shadow.
Step 14
Group the layers created in Steps 9-14 and name the group anything you want (eg. body).
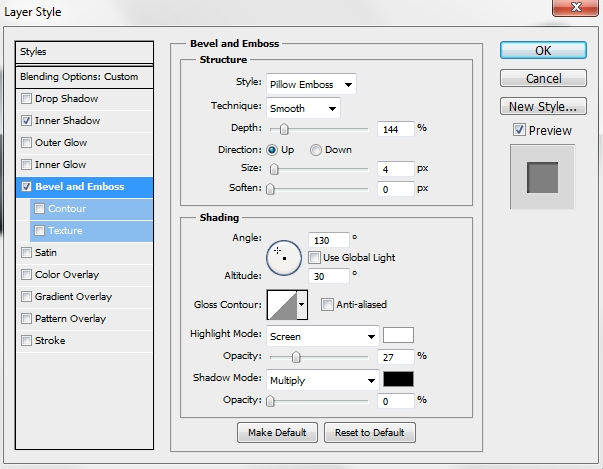
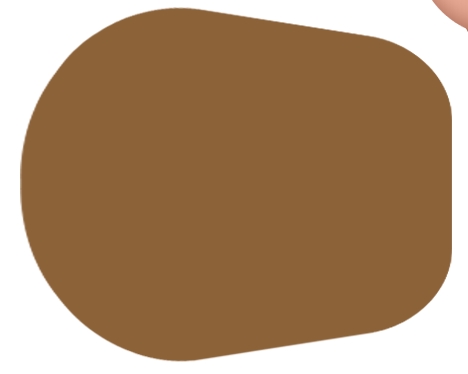
Create a new layer above the “Body” group and select the Rounded Rectangle Tool (U). Set the Radius to 100px and draw a shape like the one below (as you can see, you have to distort it a bit; Edit>Transform>Skew). Turn its Fill to 0% and apply the following styles.
Step 15
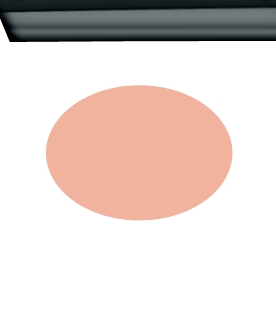
Create a new layer and select the Ellipse Tool (U). Draw an oval like this (the color we’re using is still #767f82). Next, apply the following styles.

Step 16
Create a new layer and draw a rectangle and an oval (Rectangle Tool, Ellipse Tool – U). Merge these two layers so that the new shape looks like this. Next apply the following style.
Step 17
Duplicate this layer and replace the copy’s style with these.
Step 18
Create a new layer and select the Ellipse Tool (U). Draw an oval like the one on the image below and add the following styles.
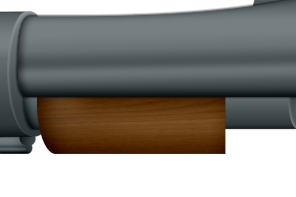
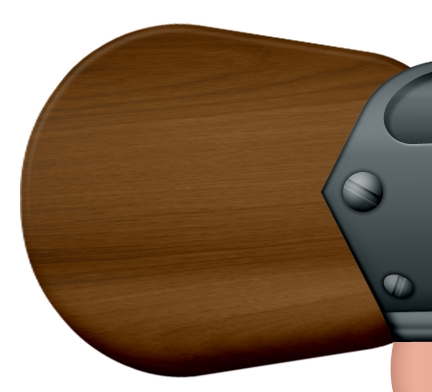
Step 19
Create a new layer and select #8c6239 as your foreground color. Repeat the process from Step 16 (combine a rectangle with an oval) to create this shape (we’ll call it “Wood front” from now on).
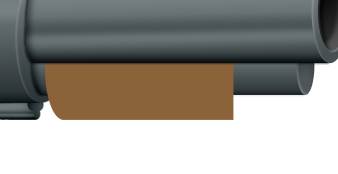
Then simply apply these styles.

Place the wood texture from the tutorial assets on a new layer and make this layer a clipping mask to the shape. Change the Blend Mode to Luminosity and the Fill to 50%.
Step 20
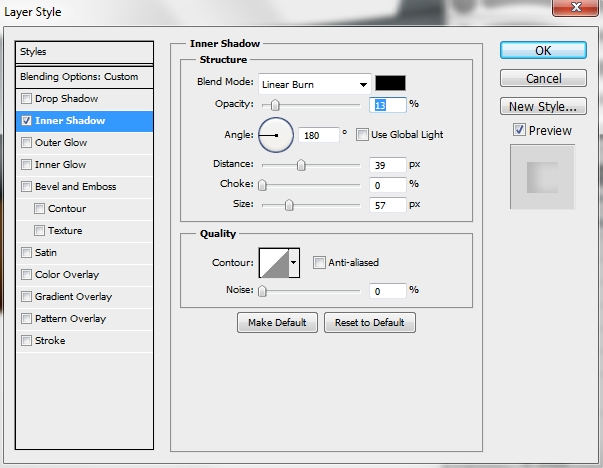
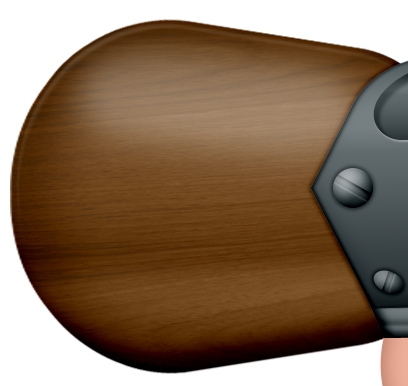
Duplicate the shape created in the previous step and make it a clipping mask. Replace its styles with an inner shadow.
Step 21
Grab the Pen Tool (P) and draw a shape like this.
Turn its fill to 0% and add these styles.
Then click on the add layer mask button on the bottom of the layers stack. Select the Rectangular Marquee Tool (M) and draw a rectangle. Paint it black to “hide” it. Do the same in the “Wood front” layer.
Step 22
Duplicate twice this layer and move the copies to the left.
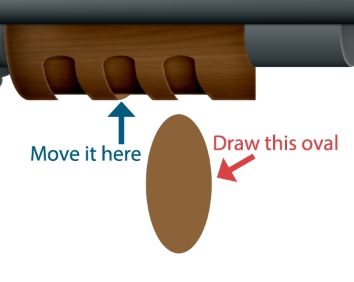
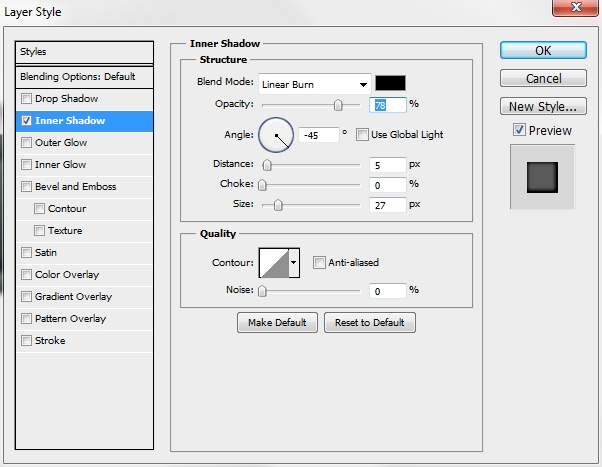
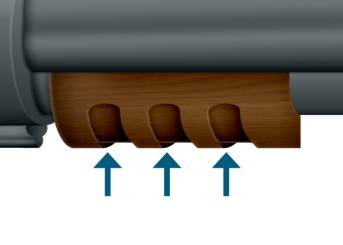
Step 23
Create a new layer and place it right before the “Wood front” layer created in Step 19. Using the same color (#8c6239) draw an oval like the one below. Then add the following inner shadow.
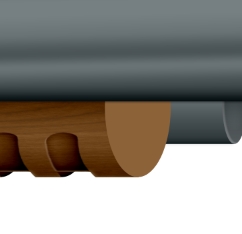
Duplicate this layer twice and place the copies accordingly to the image below.
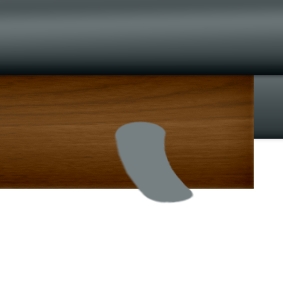
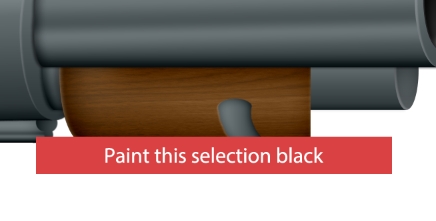
Step 24
Create a new layer and draw and oval like the one on the first image. Then add a layer mask and paint black the selection shown on the second image.
Duplicate this shape, delete its layer mask and make it a clipping mask. Add these styles.
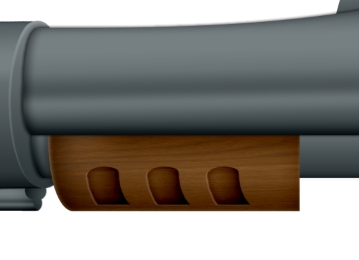
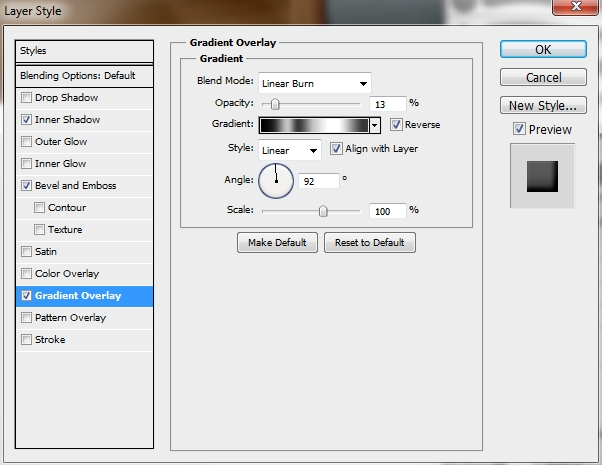
Step 25
Create a new layer and make it a clipping mask to the previous shape. Using the stroke path technique draw some “cracks” on the wooden surface.

Step 26
On a new layer add some shadows using a soft round pressure brush (B).
Step 27
Now we’ll decorate a bit the “Body” of the gun. Draw a circle (Ellipse Tool – U), change its color to #767f82 and apply these styles.


Step 28
Now create a new layer and using the Rectangle Tool (U) draw a narrow rectangle. Change its Fill to 0% and make it a clipping mask. Add the following styles.
Step 29
Duplicate these two layers twice and place them accordingly to the image below.
Step 30
Group all the layers and groups created so far and name this major group “Gun”.
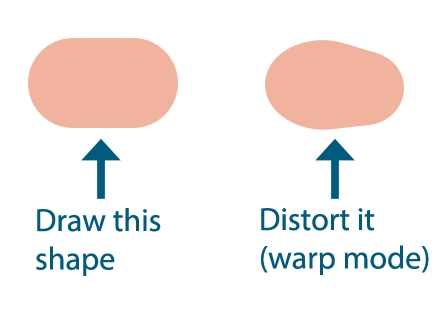
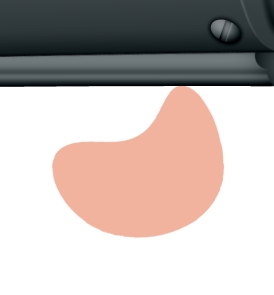
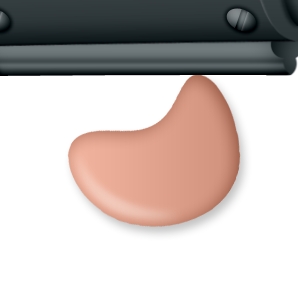
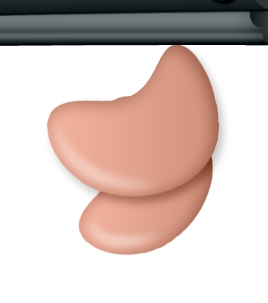
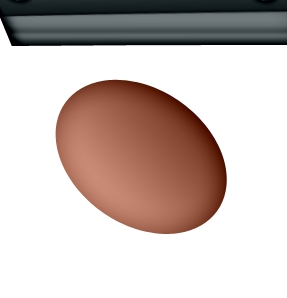
To create the index finger all you have to do is select the Rounded Rectangle Tool (U), set the Radius to 100px, draw a shape like the one below and then distort it. After that, apply the following styles (color: #f1b39d).
Using the stroke path technique add some highlights on the finger.

Step 31
Group the two layers created in the previous step and name the group “Index finger”. Place this group on top of the layers stack.
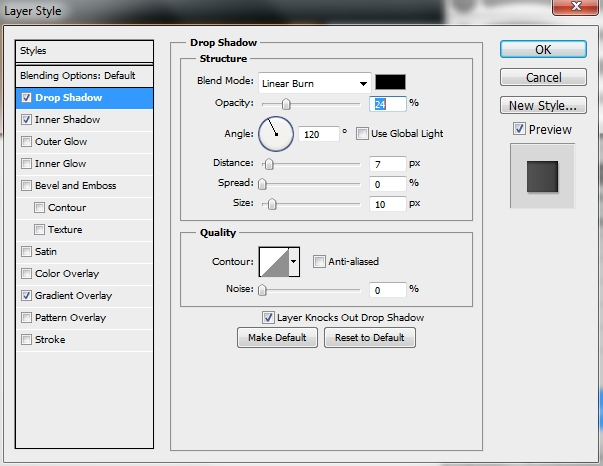
Create a new layer and place it under the “Gun” and “Index finger” groups in the layers stack. Grab the Pen Tool (P) and draw a shape like the one below. After that, simply apply the following styles.


On a separate layer add some highlights (color: #ffffff) with a soft round brush (B). Group these two layers and name the group “Thumb”.
Step 32
Create a new layer and place it before the “Thumb”, “Gun” and “Index finger” groups. Using the Pen Tool (P) draw a shape like this (color: #767f82).
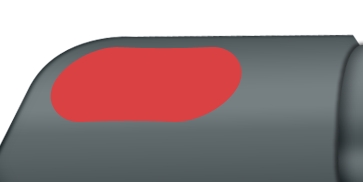
Add a layer mask and “hide” the following selection (it doesn’t have to be perfect).
Add some styles.

Step 33
Duplicate this shape and place the copy before the original shape in the layers stack. Move it a bit to the left and delete its mask. Add a new mask and hide the selection shown on the image below.
Step 34
Go back to the layer created in Step 32 and duplicate it once again. Make it a clipping mask and turn its Fill to 0%. Replace the existing styles with this one. After that, group all the layers created in Steps 32-34 and name the group “Trigger” (or something…).
Step 35
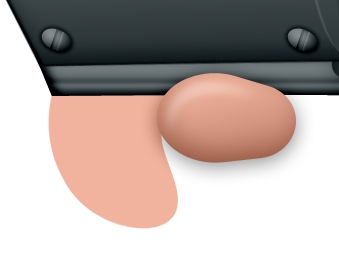
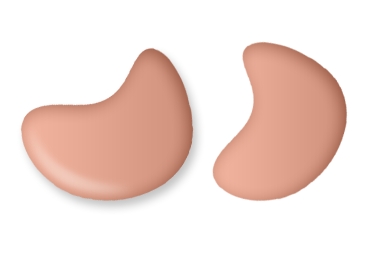
Create a new layer and place it before the “Trigger” group in the layers stack. Using the Pen Tool (P) draw a shape like the one on the following image (color: #f1b39d).
Add these styles.
On a separate layer add some highlights.
Step 36
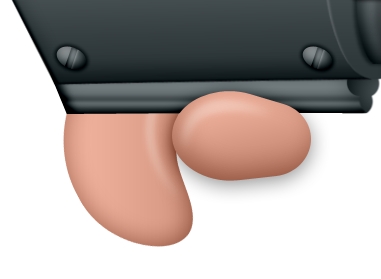
Duplicate the shape created in the previous layer, place the copy before the original shape in the layers stack and rotate it a little bit. Then place it accordingly to the second image and add some highlights.
Step 37
Create a new layer and place it under the two shapes and their highlights created in the previous steps. Select the Ellipse Tool (U) and draw and oval. Apply the following styles and rotate it a bit.
Step 38
Group the layers created in Steps 35-37 and name the group “Hand”.
There’s one last element left. Create a new layer and place it before the “Hand” group. Draw a shape like the one on the first image by combining a rounded rectangle and an oval. Then add the following styles.
Step 39
On a new layer place the wooden texture and make it a clipping mask. Change the Blend Mode to Luminosity and the Fill to 50%.
Step 40
Duplicate the shape created in Step 38 and place it right above the texture layer applied in the previous step. Make it a clipping mask, turn the Fill to 0% and add this style.
Step 41
Create two more layers (make them also clipping masks) and add some shadows and highlights.
Step 42
Group all the layers (except from the background), merge the group and duplicate the new layer. Then go Edit>Transform>Flip Horizontal and move it a bit to the left.
After that, open the cartoon that you created in the first part and place the guns wherever you want (hold Alt+drag each gun from one window to another).
Step 43
Merge all the layers (character and guns; except from the background elements) and duplicate the new layer. Hit Ctrl+U to reveal the Hue/Saturation panel. Turn Lightness to -100. Place it before the colored shape in the layers stack and squeeze it a bit. Then go Edit>Transform>Flip Vertical and change Fill (or Opacity) to something around 25%.
Add any effects you want and a background to make it even better.
Conclusion
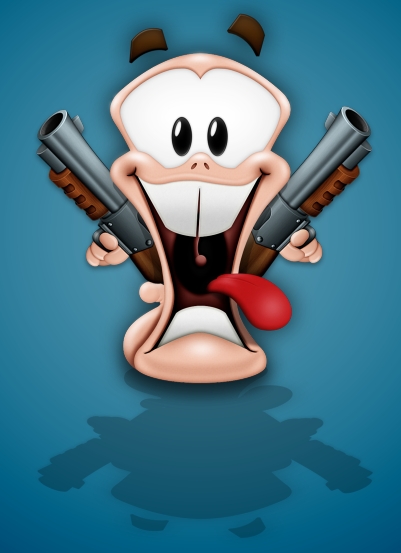
Your cartoon is now ready. As you can see, even if you don’t know how to draw, you can always create something nice using your imagination and some basic techniques. I hope you enjoyed this tutorial and if you have any questions post them in the comments section.


