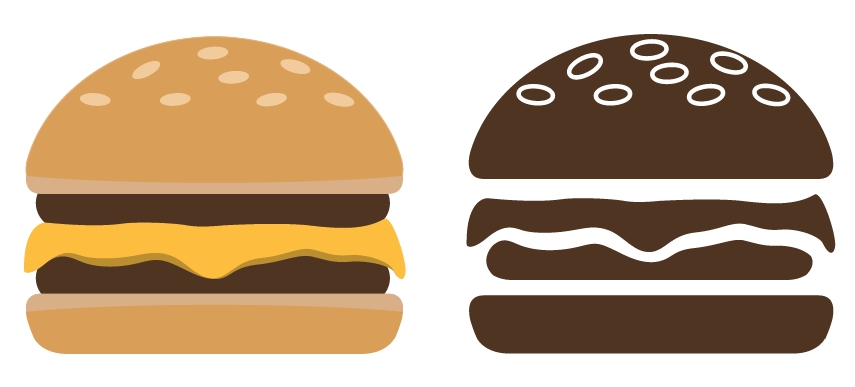
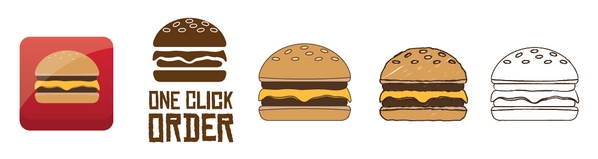
In this tutorial we’re going to create a modern hamburger web icon. We’ll be using Illustrator because it’s much easier to adjust the sizes without losing quality and apply different styles. As you can see in the preview image, the hamburger is super simple and minimal. We don’t want many details; just to make clear what this particular icon represents. Think of this article as a guide in creating icons, rather than a step-by-step tutorial.
Tutorial Details
- Program: Adobe Illustrator
- Version: CS5
- Difficulty: Beginner
- Estimated Completion Time: 1 hour
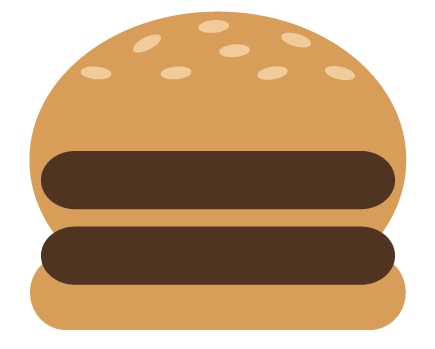
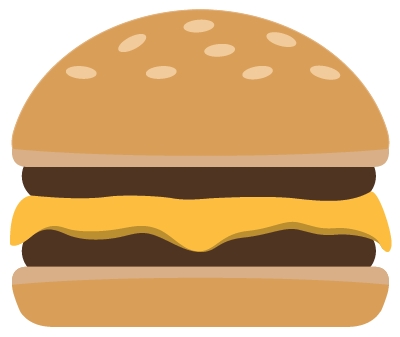
Final Result
Step 1
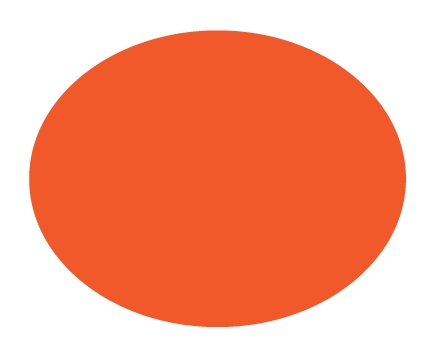
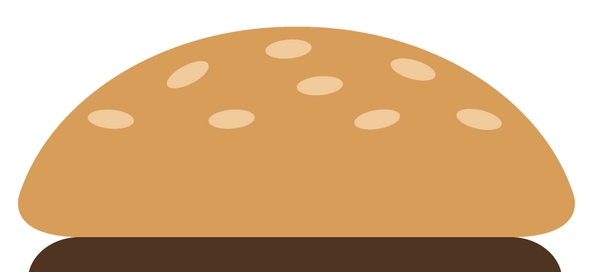
Create a new file in Illustrator and pick the Ellipse Tool (L). Draw a wide ellipse and fill it with CMYK=15, 40, 74, 1.
Step 2
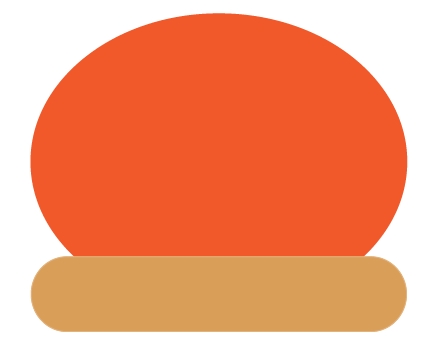
Select the Rounded Rectangle, set the radius to 50px in the Preferences and draw the bottom part of the bun. Fill it with the same colour that you filled the upper part.
Step 3
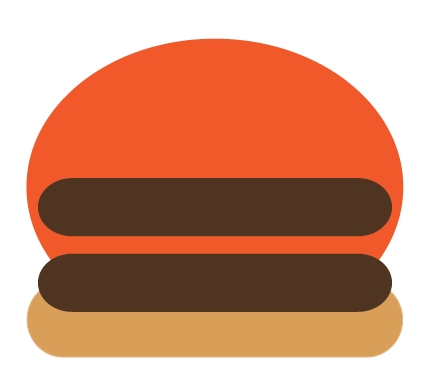
Now, draw two more rounded rectangles, only this times make them thinner and fill them with CMYK=25, 52, 65, 71.
Step 4
Select the Ellipse Tool (L) again and draw some small ellipses for the sesame seeds. Fill them with CMYK= 5, 21, 42, 0.
Step 5
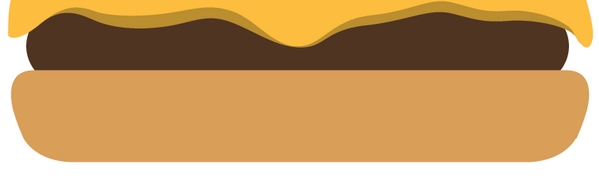
The next step is to draw the cheese. Pick the Pen Tool (P) and draw a molten slice of cheese between the two burgers. The colour we chose is CMYK= 0, 27, 85, 0.
Step 6
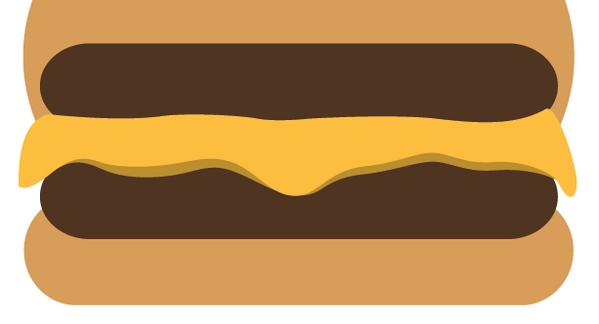
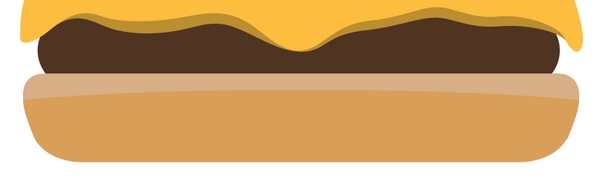
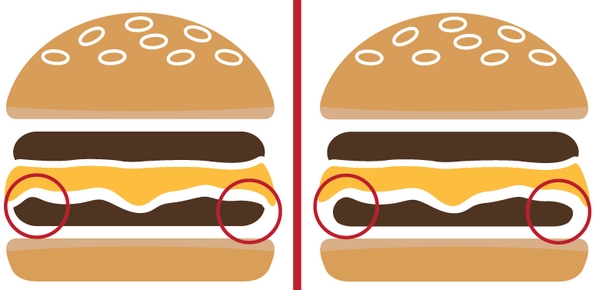
Copy the cheese shape and move it downwards 10px. Change its colour to CMYK= 0, 27, 85, 30. Press A to pick the Direct Selection Tool (or whatever it’s called) and start deforming the anchor points so that you create a 3D effect. Use the image below as a guide.
Step 7
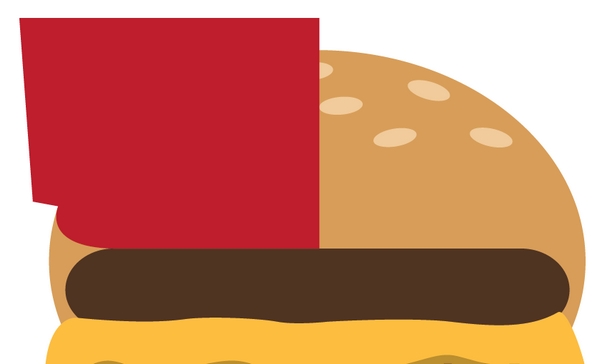
Ok, now we need to form the buns. Select the Pen Tool (P) and draw a shape like the one on the first image. Then holding Shift select the upper bun shape and click on the Intersect icon. Then, copy the newly formed shape, flip it horizontally and move it to the other side to form the bun.
If you have a drawing tablet you can use the Path Eraser Tool instead.
![]()
![]()
Step 8
Repeat the process for the other part of the bun.
Step 9
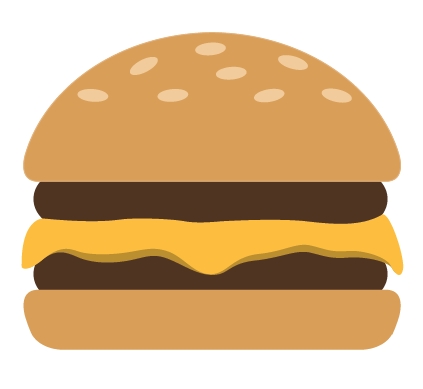
Your hamburger should by now look something like this.
Step 10
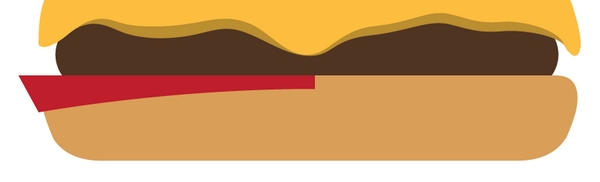
Select the Pen Tool and draw a shape like the one on the first image below. Duplicate the lower bun shape. Select the shape you’ve just created with the Pen Tool, hold Shift and click on the lower bun. Click on the Intersect icon. Change the colour of this new shape to CMYK= 15, 31, 50, 0. Next, duplicate it, flip it horizontally and place it on the other side of the bun.
Step 11
Repeat the previous step for the upper bun.
Step 12
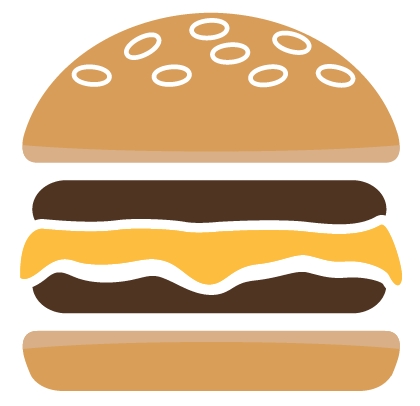
Our hamburger icon is now ready. However, we’ll create another version that will have only one colour. We’ll need to play with the negative space to achieve this. So, select the whole hamburger and holding Alt drag it anywhere on the canvas. This will create a copy of the hamburger. Start by selecting the sesame seeds shapes (select the first seed and holding Shift simply click on the other seeds). Go Object->Paths->Offset Path and select 5px. Next, hold Shift and select the upper bun shape. Click on the Subtract icon. Move the upper bun shapes 20px (Shift+UP x2).

Step 13
Keep doing this with the rest of the shapes (delete the dark yellow shape under the cheese slice) until you have something that looks like this (make sure to leave enough space).
Step 14
Use the Pen Tool to make the edges smoother.
Step 15
Combine all the shapes and that’s it. You can now scale it down, add effects and use it in your web design projects. Before combining the shapes you may want to create a copy of your icon so that you can modify it (let’s say delete one of the burgers).
Conclusion
That’s the end of this article. We hope the tutorial was helpful and that you learnt something new. If you have any questions or specific tutorial requests, post them in the Comments section below. Check the Variations for inspiration.
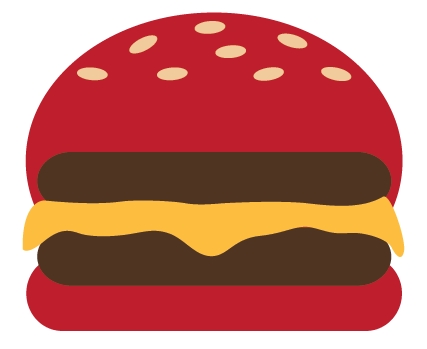
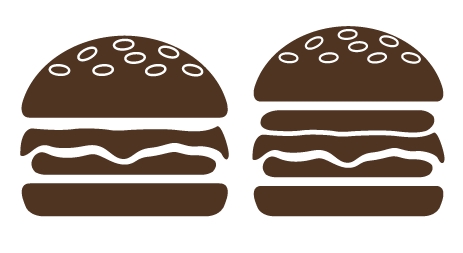
Variations


Cute tutorial.
Your tutorial is really an interesting one,maybe because of the a good subject you use as an example for this tutorial.
You just gave 1 version in doing this icon but I think we can do this tutorial in other version,right?
I love this article,very appealing to my eyes and aside from that it’s very detailed.
Look so simple to do,cool!
cool tutorial! thanks
Mmmm! A yummy tutorial…
Very detailed,thanks for this!
This will take a while for beginners but not that long. 🙂