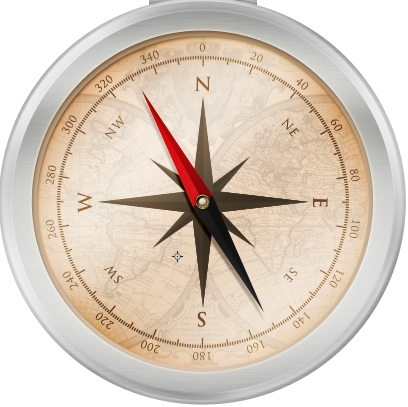
In this tutorial we’re going to create a realistic and detailed compass illustration.
Tutorial Details
- Program: Adobe Photoshop
- Version: CS5
- Difficulty: Intermediate/Advanced
- Estimated Time of Completion: 2 hours
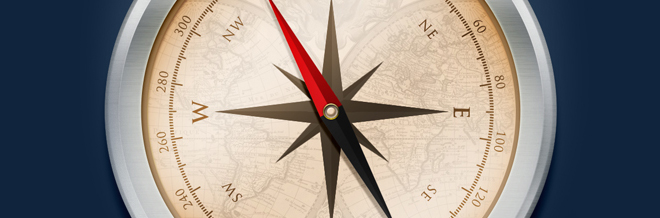
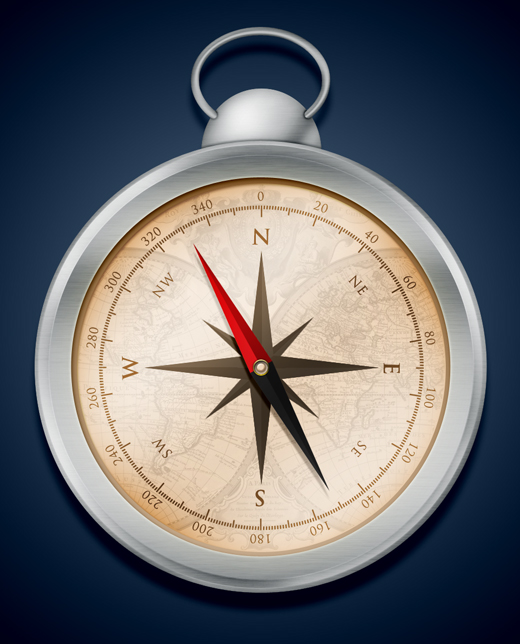
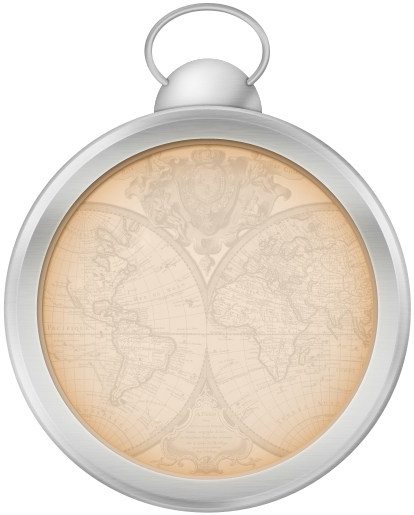
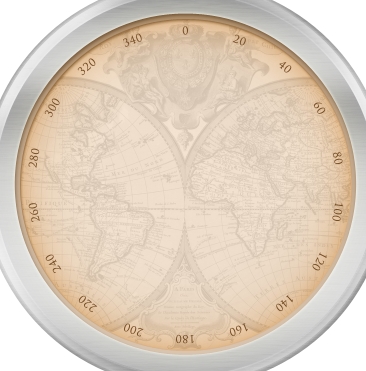
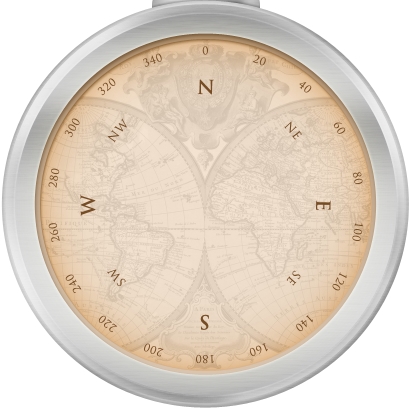
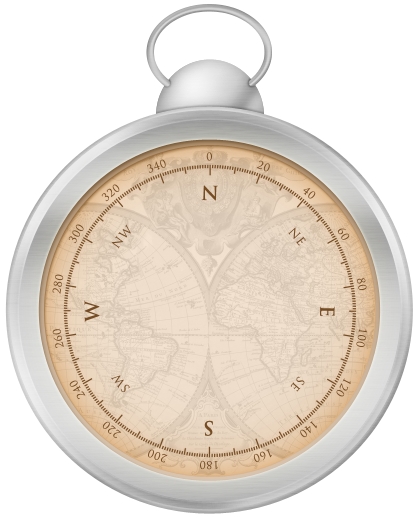
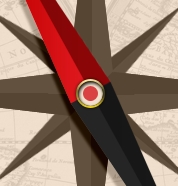
Final Result
Step 1
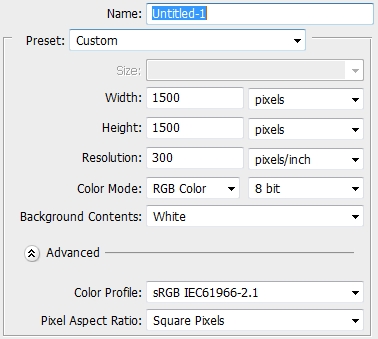
Create a new file in Photoshop.
Step 2
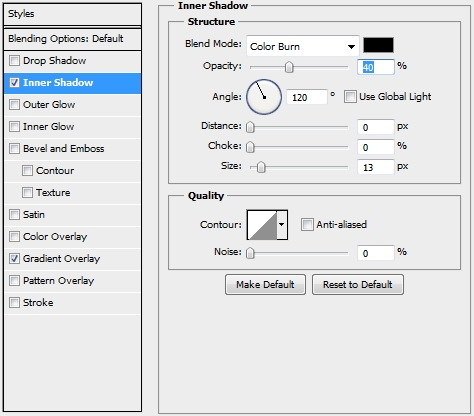
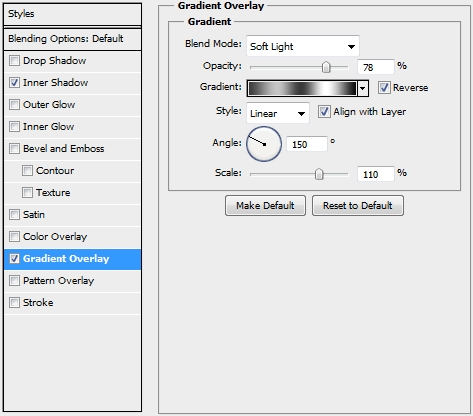
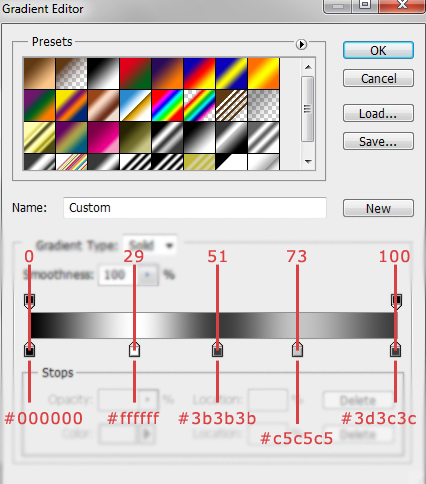
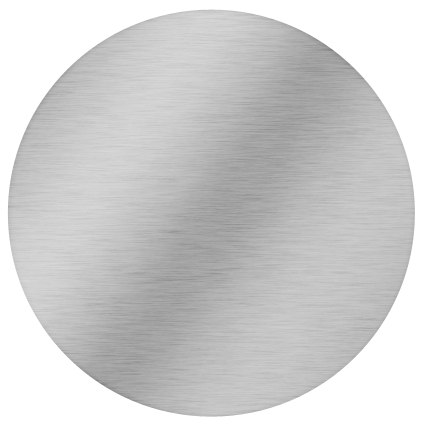
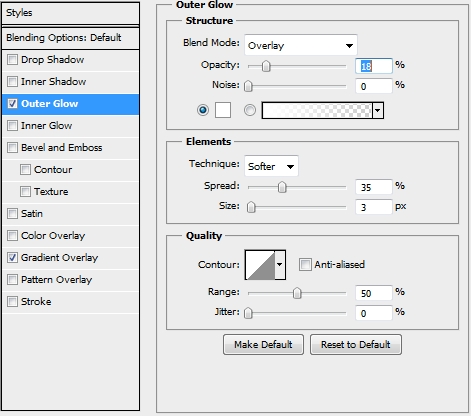
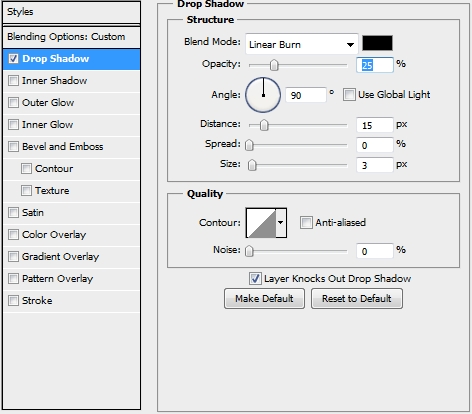
Pick the Ellipse Tool (U) and draw a big circle (hold Shift). Fill it with #c2c2c2 and apply the following styles.

Step 3
Create a new layer and select the circle’s pixels. Fill the selection with #ffffff. Go Filter>Pixelate>Mezzotint and then Filter>Blur>Motion Blur (angle: 0, distance: 35px). Change the Blend Mode to Color Burn and lower the Fill to 40%.
Step 4
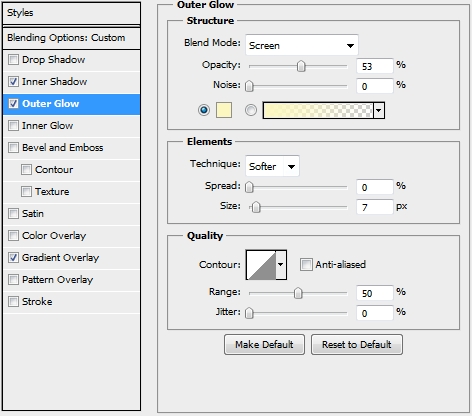
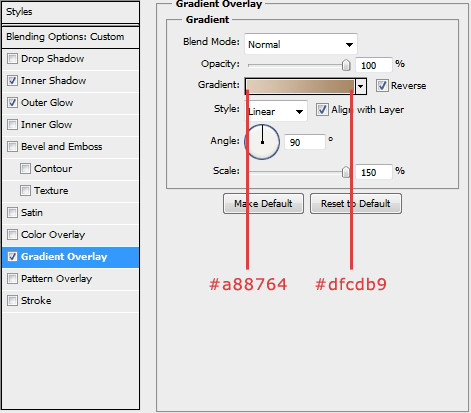
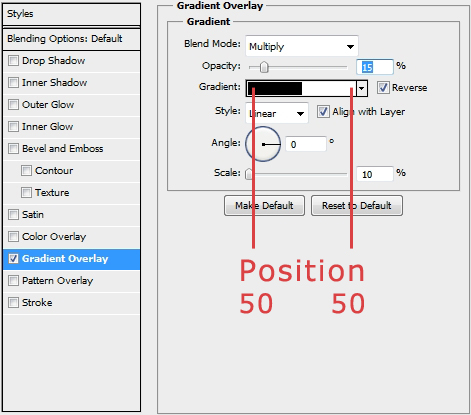
Duplicate the circle layer and place the copy on top of the layers stack. Scale down the shape a bit. Replace the Inner Shadow style with the Outer Glow (keep the Gradient Overlay, yet change the angle to give it a more realistic and random effect).
Step 5
Repeat Step 3 for this new layer. Using a Soft Round brush add some highlights.
Step 6
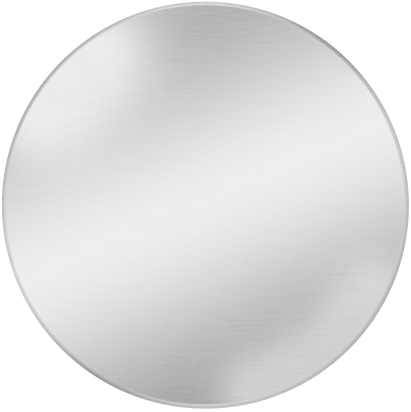
Duplicate the circle from Step 4 and scale the copy down. Keep the Gradient Overlay (once again change the angle and the scale) style and replace the other ones with these.


Step 7
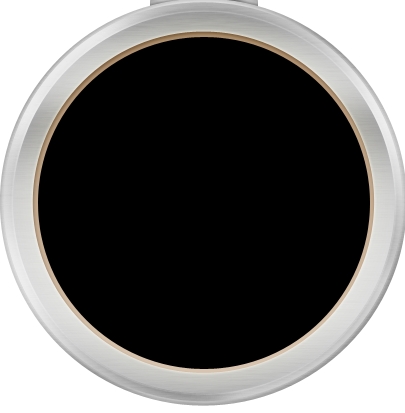
Repeat Step 3 for this layer. Group all the layers created so far (except from the background) and name the group “Metallic base”.
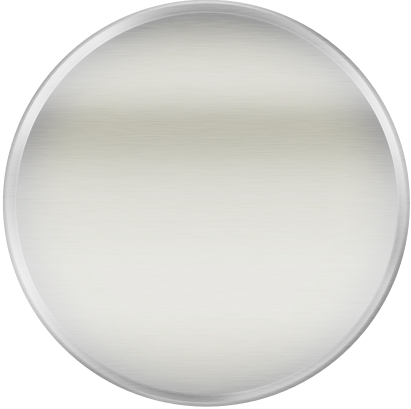
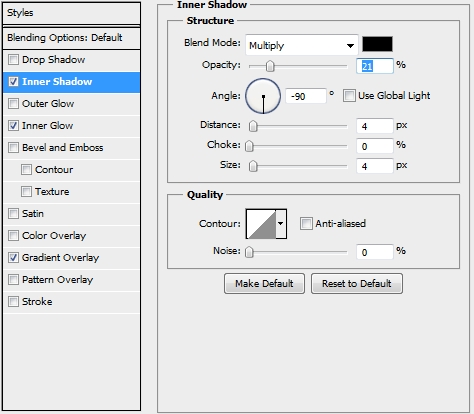
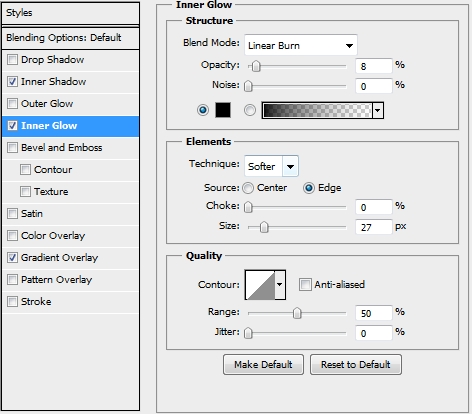
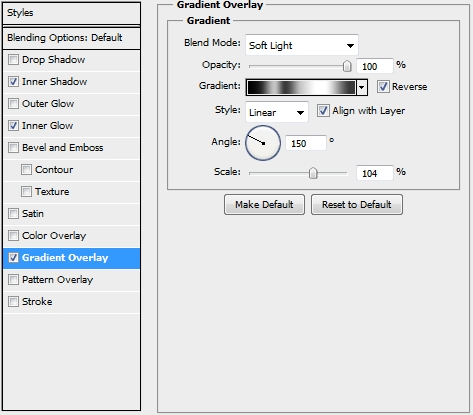
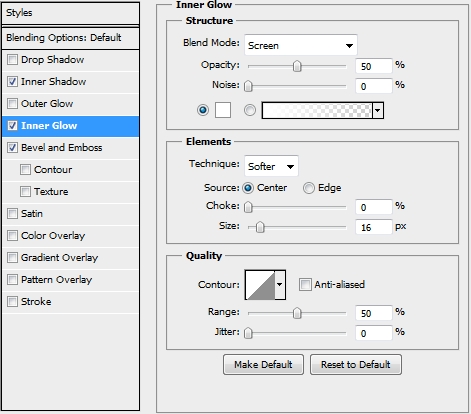
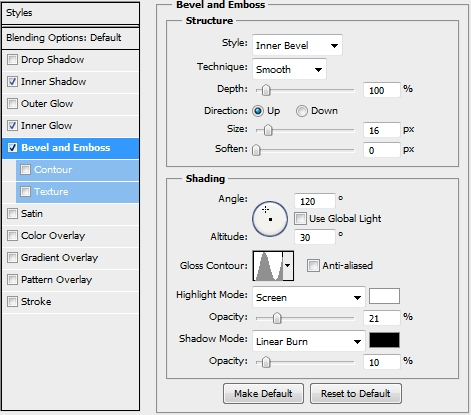
Step 8
Create a new layer and place it before the “Metallic base” group. Pick the Ellipse Tool (U) again and draw a relatively small ellipse. Fill it with #c2c2c2 and apply the following styles.
Add a layer mask and “erase” (paint black with a hard round brush) this selection.

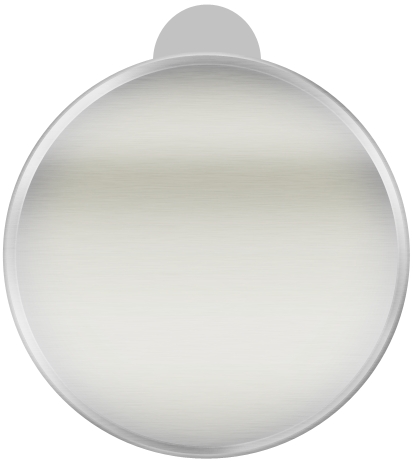
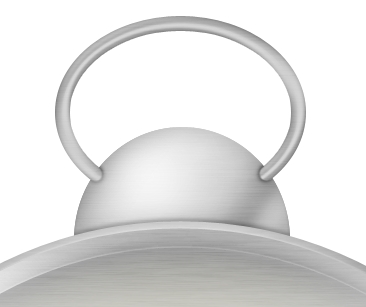
Step 9
Create a new layer and draw an ellipse (Ellipse Tool – U). Fill it with a random color and turn Fill to 0%. Apply this Stroke (color: #c2c2c2).
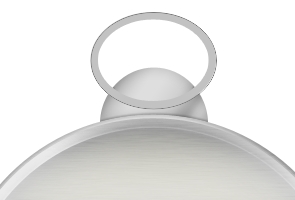

Step 10
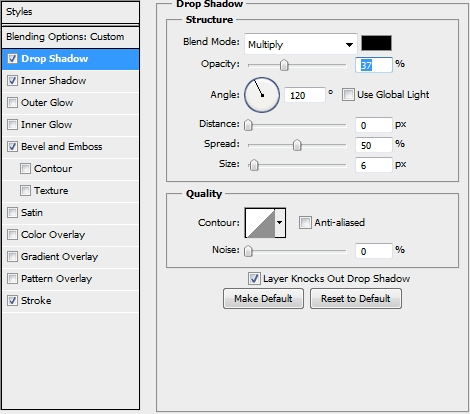
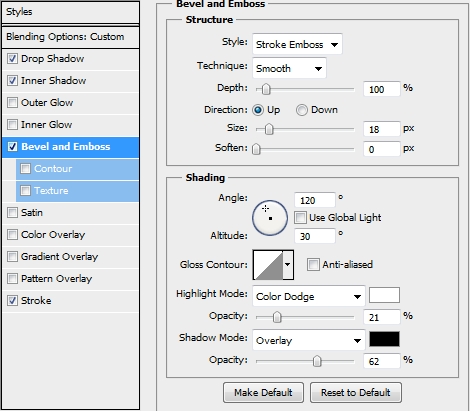
Create a new layer and merge it with the ellipse created in the previous step. Now apply the following styles to this new layer.

Step 11
Duplicate the ellipse created in Step 8 and place it on top of the layers stack (still before the “Metallic base” group). Create a new layer and pick the Brush Tool (B). Select a Soft Round brush and add some highlights and shadows (repeat Step 3 once again).
Step 12
Group all the layers created in Steps 8-11 and name the group anything you want. Now, create a new layer and place it above the “Metallic base” group. Select the Ellipse Tool (U) and draw a circle. Fill it with #f1e0cd and turn Fill to 0%. Apply these styles.
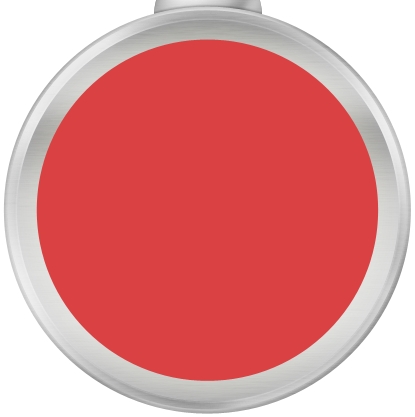

Step 13
Duplicate this circle. Scale the copy down a little bit, turn Fill to 100% and replace its styles with this one.

Step 14
Duplicate this new circle and turn Fill to 0%. Replace the Inner Shadow’s parametres with the following ones.

Step 15
Duplicate the circle from the previous step and once again adjust the Inner Shadow’s parametres.
Step 16
This step is optional. Add an image, your logo or anything else you want to decorate the compass. Unfortunately, I can’t remember where I found the map shown in the tutorial.
Step 17
Pick the Type Tool (T) and click on one of the beige circles to reveal its path (click on its thumbnail). Then hover your mouse over the path and when the cursor changes click on the path. Add some text. The font we used is Trajan Pro (size: 5pt, color: #754c24).
Step 18
Add some more text (size: 9 & 5,5pt, #754c24).
Step 19
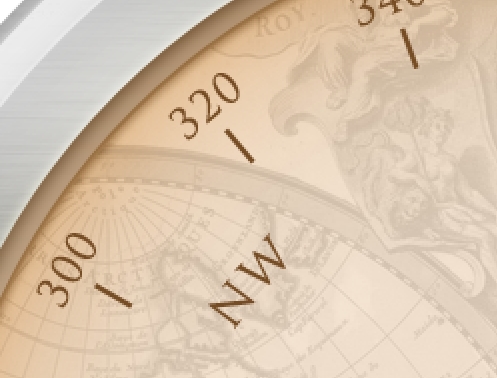
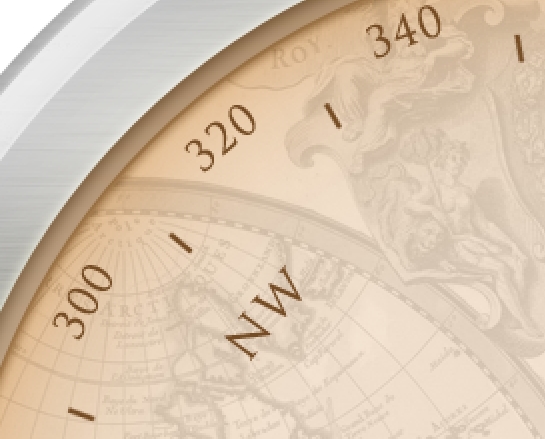
Now you need to decorate even more the compass by adding the degrees. If you read our tutorials regularly you’ll be now familiar with the, what I like to call, “Transform Again Rotation” technique. If not, go to Step 28 in this tutorial. We have to make clear that you’ll need to create three kinds of lines. The ones on the first image have to be rotated by 1 degree (yes, you’ll have to make a lot of copies).

The ones on the second and third image are rotated by 20 degrees.
Step 20
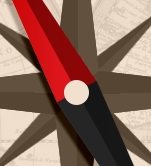
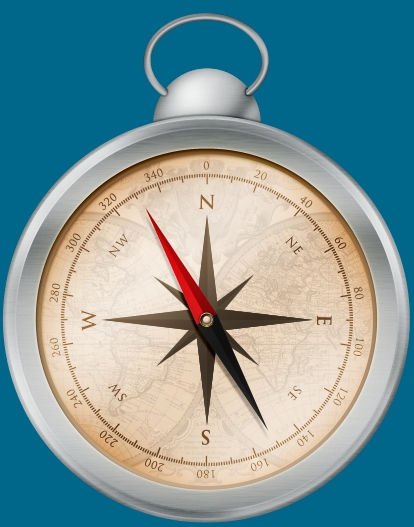
Your design should by now look something like this.
Step 21
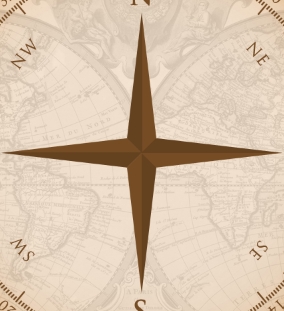
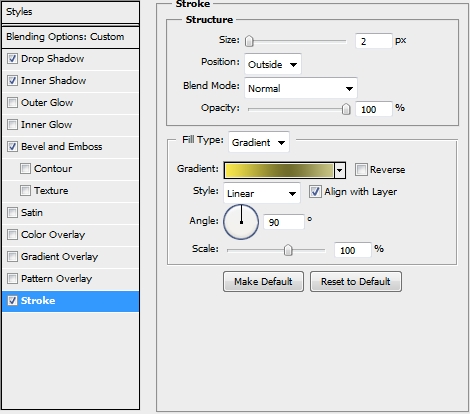
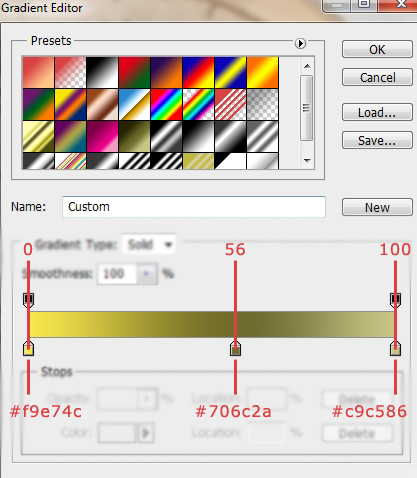
Create a new layer and select the Custom Shape Tool (U). Find the triangle and draw a narrow triangle. Fill it with #754c24. Then select the Rectangle Tool (U) and draw a small rectangle. Rotate it by 45 degrees. Fill it also with #754c24 and apply this gradient to both of the shapes.

Step 22
Duplicate these two shapes three times. Rotate each copy pair and adjust the gradient (Reverse, change the angle from 0 to 90).
Step 23
Merge these layers and duplicate the new layer. Scale it down, rotate it (40 degrees) and place the copy before the original merged layer). Finally, change the Blend Mode of both of the layer to Luminosity.

Step 24
Repeat Step 21, only this time don’t draw the small rectangle.The colors for the triangles are #cc080a (red) and #252525 (black).
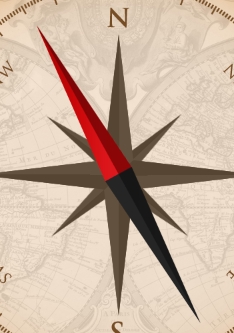
Step 25
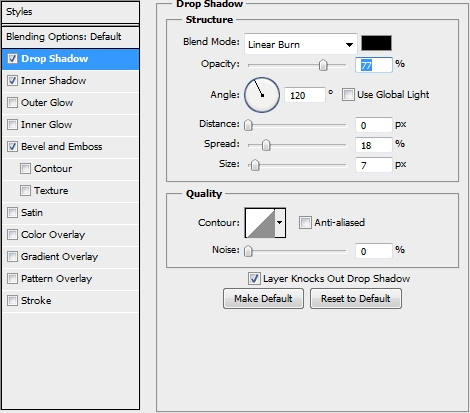
Merge the two triangles created in the previous step and place the copy before the original layer. Turn its Fill to 0% and apply this style.
Step 26
Create a new layer and pick the Ellipse Tool (U). Draw a small circle and fill it with #f1e0cd. Then apply the following style.

Step 27
Duplicate this circle and turn its Fill to 0%. Replace the Inner Shadow style with these ones.

Step 28
Duplicate once again the small circle and scale the copy down a bit. Clear its existing styles and apply the following ones (Fill 100%).

Step 29
Create a new layer and add some highlights using a soft round brush.
Step 30
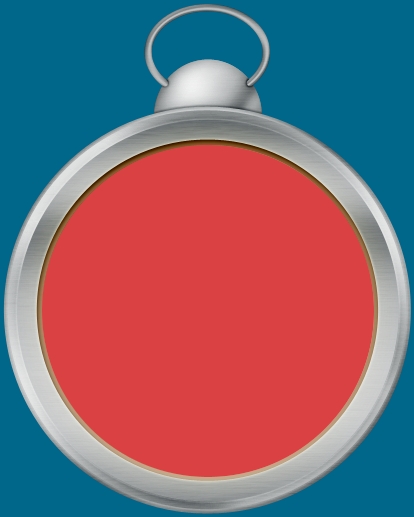
Create one last layer and fill it with #767f82. Change the Blend Mode to Color Burn and the Opacity to something around 65%. Add a layer mask and paint black the selection shown on the second image.
Conclusion
That’s it. You’ve just created a very nice compass illustration. We hope you enjoyed the tutorial and learnt something new. If you have any questions, post them in the comments section and we’ll answer asap.


