Do you need a new wallpaper for your screen? Learn how to create yours. Here is another round of a cool tutorial about making your own wallpaper. Today we will create a Character Illustration Wallpaper in Photoshop. In this tutorial we will focus more on the shapes, scaling and using group layers. Before we start our tutorial take a look at the final result first.

Step 1
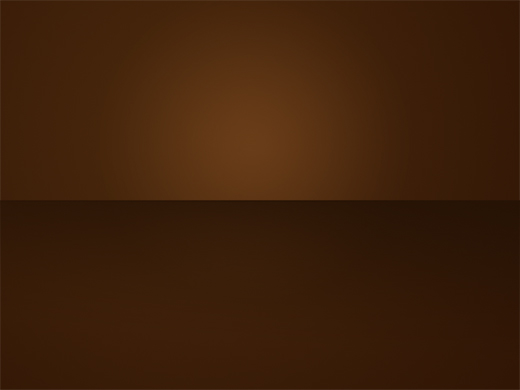
Open new document 1024 x 768. Set Foreground color to #683c19 and Background color to #341906. Choose Gradient Tool (G) and set it to Radial Gradient. Now fill in the color with gradient.

Step 2
Create new layer. Select the center part Rectangular Marquee Tool (M). Set foreground color to #2d1807. Choose Gradient tool and set it to “Foreground to Transparent” and apply the gradient on the selected area.
Step 3
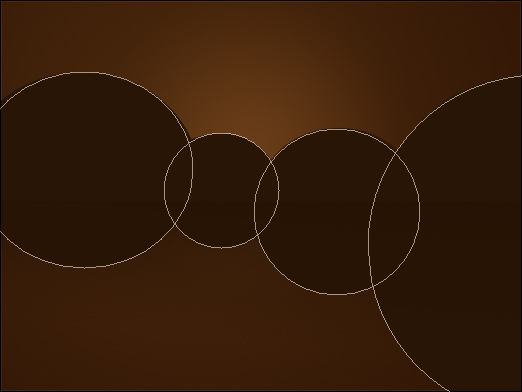
Create new layer. Choose Ellipse Tool (U) then create a circles. Hold “Shift” to create a perfect circle and so all circles will be in 1 layer only. See image below. Name the layer to “Mountain”.
Step 4
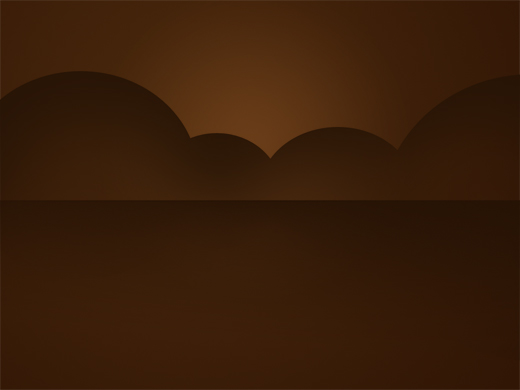
Right click the Mountain layer on the layers palette then choose “Rasterize Layer”. Choose Erase Tool (E). Adjust the Opacity of the Brush to 30% then erase the lower part of the circles.
Step 5
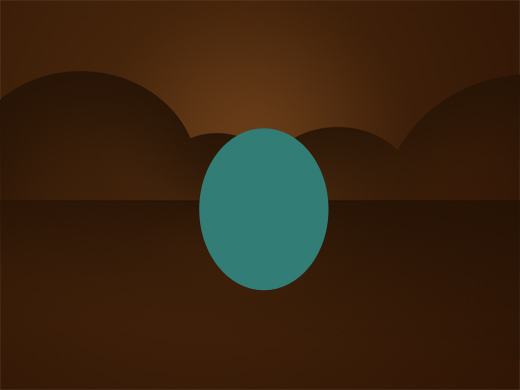
Create a new layer. Set the foreground color to #327d76. Choose Ellipse Tool (U) and create an ellipse shape. Name the layer to “Body”.
Step 6
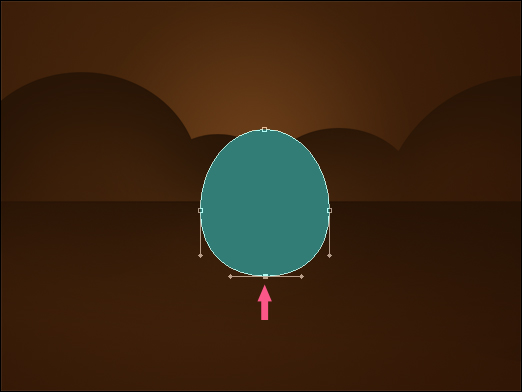
Choose Direct Selection Tool (A). Click on the bottom part and drag it a bit upward. See the image below for detail.
Step 7
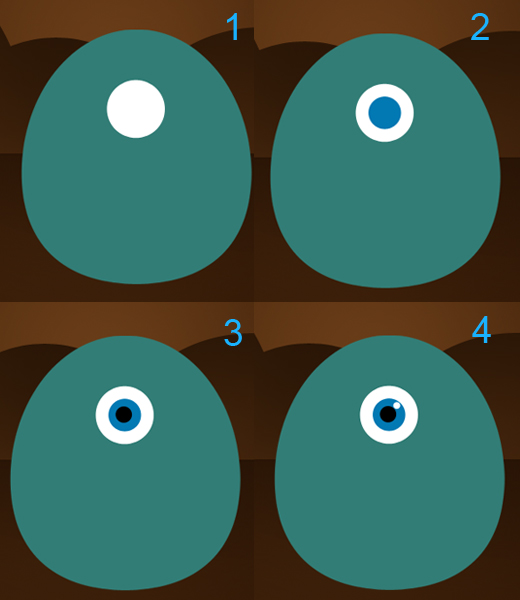
Now lets add the eyes on our character illustration. Select Ellipse Tool (U) and create a circle. See the steps below. it must be new layer for every circles. Since its a four circles, name the layers o 1, 2, 3 and 4.
Step 8
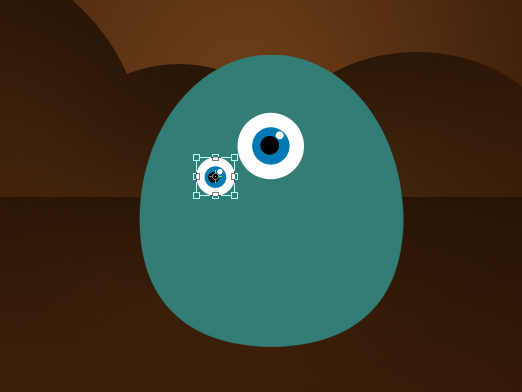
Put the 1, 2, 3 and 4 layers to a group by Hold+Select the four layers then press CTRL+G. Now that the four layers are in a group, duplicate the Group Layer. Move the original group on the lower left side of the eye and go to Edit>Transform>Scale. Scale the group to 60% in width and 60% in height.
Step 9
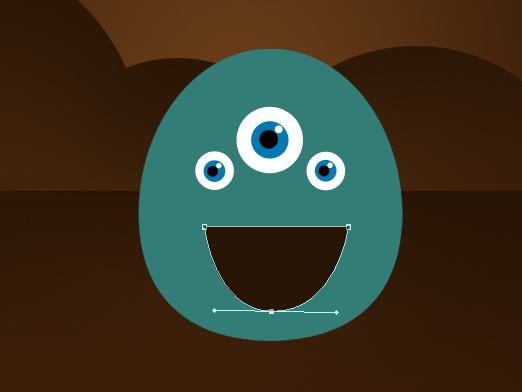
Now lets work for the mouth. Choose Line Tool (U) then create a line horizontally. Select Add Anchor Point Tool and add an anchor point on the bottom center of the line and drag it downward. See the image below. Name the layer to Mouth.
Step 10
On this step we will still working more on the mouth. Right click on the Body layer and choose Rasterize Layer. Now Hold CTRL and click the Mouth layer on the layers palette.then press DELETE. you can close now the Mouth layer.
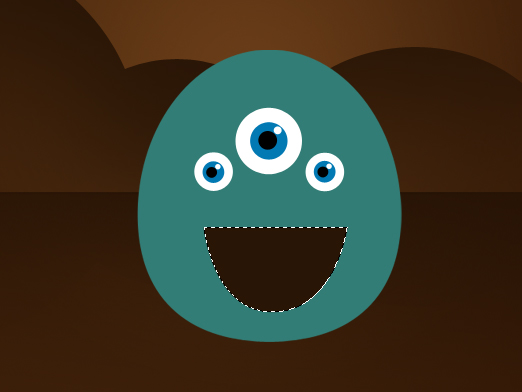
Step 11
Set the foreground color to #a51313. Create a new layer below the Body layer and name it to Tongue. Choose Ellipse tool and create an ellipse shape. See image below
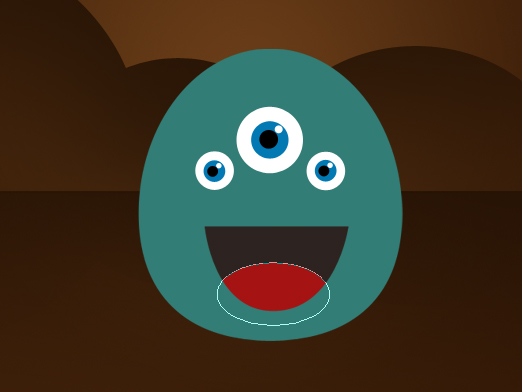
Step 12
Now for the Teeth, Set color to #ffffff. Choose Rounded Rectangle Tool (U) and adjust the Radius to 10 Pixels. See image below.
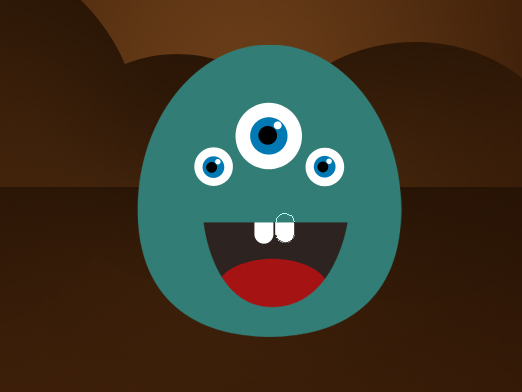
Once your done on the teeth it will look something like this.
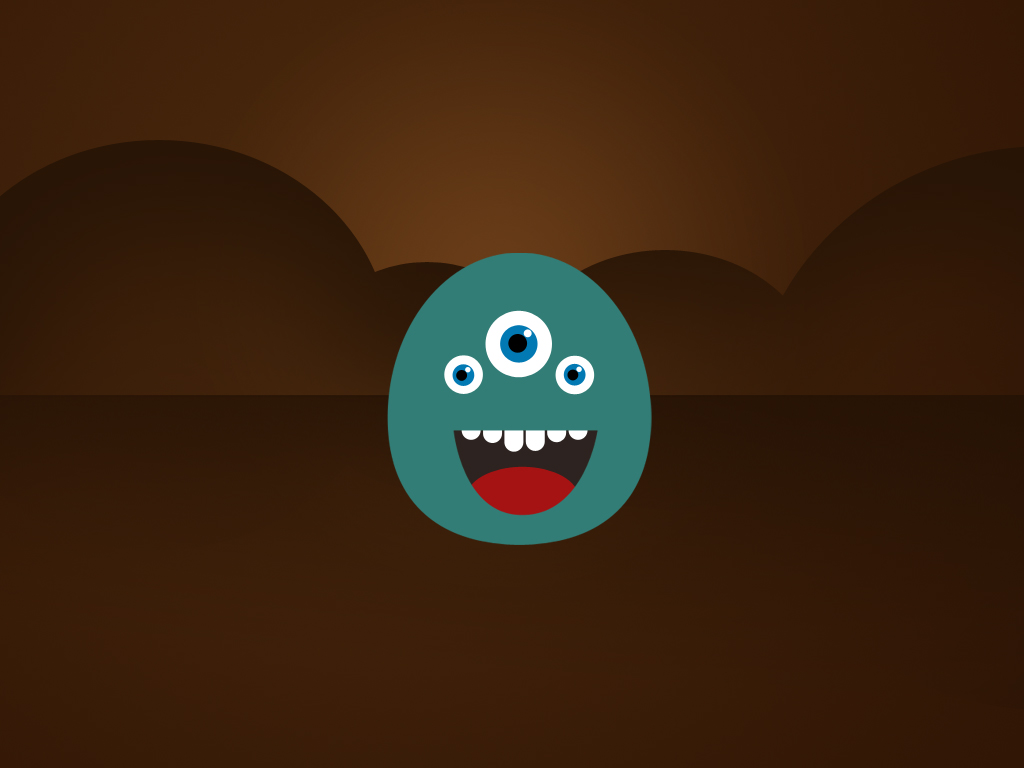
Step 13
Lets create a little highlight somewhere on the character illustration’s head. Create a new layer above the Body layer. Set the foreground color to #1b5751. CTRL+Click on the body layer so it will create a selection. Now choose Gradient Tool (G) and set it to “Foreground to Transparent” and Linear Gradient. Apply the gradient starting from the top to bottom.
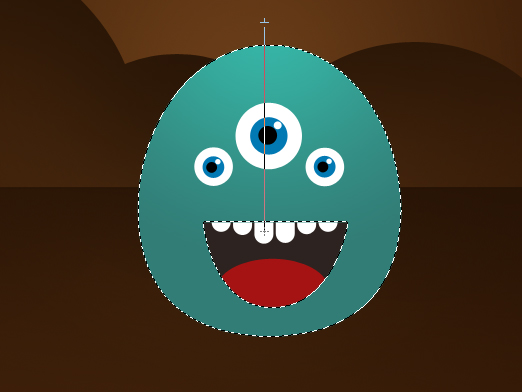
Step 14
Lets add a feet. Create a new layer below the Body Layer and name the layer to Feet. Set the foreground color to #215a55. Choose Rounded Rectangle Tool (U) and use it for creating the feet. See image below.
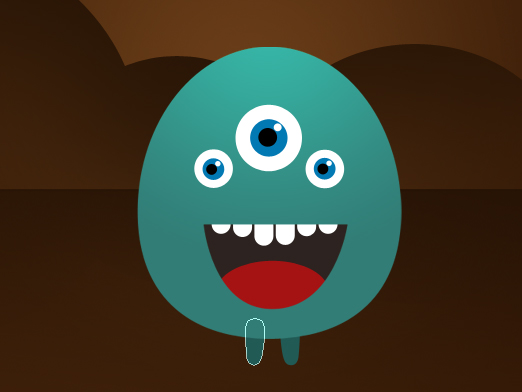
Step 15
Now for the shadow, Create a new layer below the Feet layer. Set the foreground color to #261304 and choose Ellipse Tool (U) then create a thin ellipse shape to create the shadow.
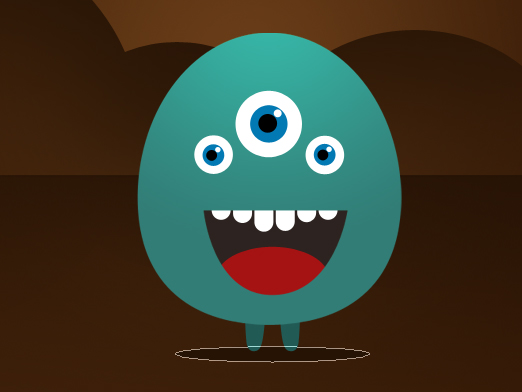
Step 16
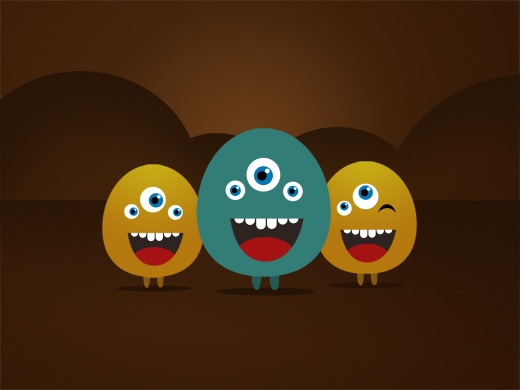
For this step, Select all the layers except for the Background and press CTRL+G so that all layers will be in a Group. We will add a new character illustration in different color. Duplicate the Group Layer and move the Original Group layer to the left using Move Tool (V). Go to Edit>Transform>Scale and set the width to 75% and height to75%. For the body, Use the color #b5780f and #85590d for the feet. You can adjust the eyes if you like.
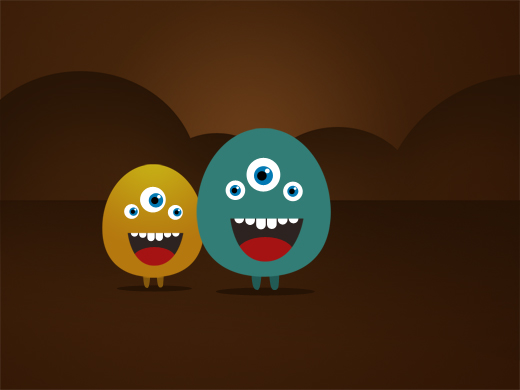
Step 17
Duplicate the orange character group and move the duplicate group to the right side. On this step I change one of the eye. To change it, close the right eye layer then choose Line Tool and create a line on the right side. After that Choose the Add Anchor Point Tool then add an anchor point between the line and drag it upward.
Step 18
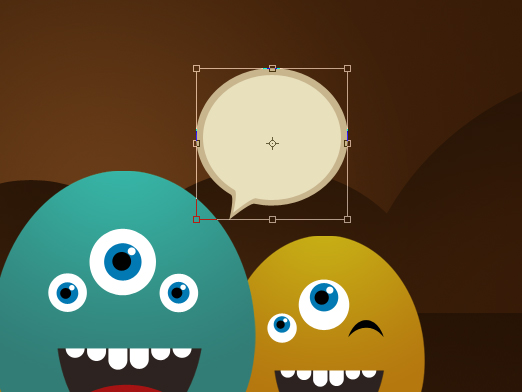
Now lets create a Talk Bubble on the green character. Create a new layer. Name the layer to Talk. Set the color to #e8e0bc. Choose Ellipse Tool (U) and create a a bit ellipse shape. Choose Add Anchor Point Tool and add 3 anchor point on the lower left of the shape and drag the center anchor point. See image below.

Step 19
Duplicate the Talk layer then select the original layer. Change to color of the layer to #c8b58d. Go to Edit>Transform>Scale and adjust the width to 110% and height to 110%.
Step 20
Now lets add a text inside the bubble. I use “LOL!” on this tutorial. and Rockwell for the font.

Now here is our finish wallpaper.

Finally We’re Done. Thanks for being with us on this tutorial. I hope you enjoy our tutorial for today. Drop us a link sample of your work on this tutorial in the comment area. More Tutorial will come. Dont forget to Subscribe our RSS Feed so you can receive new Tutorials on your inbox.


Haha! I love it!
Great design and colors! What I think is that following these steps (ok, some ‘analogies’) in Illustrator one can make a vector one. Thank you.
Very nicely designed wallpaper. Good details
what a g8 work yaar
Thanks for the kind feedback guys:) much appreciated
Cute 🙂 I love the idea and the design.
Nice! keep up the good work
i like this little tutorial. its cool, quick and easy. good job.
This is a really great tutorial and thank you for creating it. If you feel like creating a video of this tutorial we have a $1000 USD contest running for the best video tutorial. We are a social learning network and we would love to have great work like this displayed for everyone to learn from. Check us out @ http://www.gurushare.com, but regardless, thank you again for a solid tutorial.
Excellent tutorial, simple character but great impact, and is not difficult at all to follow
this is great AI tutor
i’ll showcase on my blog
thank for share
Really funky result! thanks for the post.
Thanks for a great tutorial!
that thing you did was simple but it was still cute
taht is sooo cute!!!
Fantastic, in-depth tutorial and I’d like to try this =) Love the three-eyed little guys
What a fantastic tutorial!
Cool and Funny Result 🙂
Gracias por el tutorial, muy práctico.
Maraming salamat po 😀
Parang pareho kau ni kuya ron 😀
Awesome bud 🙂
Hehe, looks really cool and funny, great work.
I love it but i heb problems with step 11, If I press delete i will delete the mouth but than i see the body.
PLZ help me
nice tutorial
will use the alien as avatar
Thanks for the feedback guys 🙂
@Ianno
Check Step 9 and Step 10 🙂 To solve your prob, you need to Rasterize the Body first. CTRL+Click on “Mouth” layer to create a selection[Note: make sure that the Body layer is still the one selected on layers palette.]Now Press Delete on you keyboard then close the Mouth layer:) Now that solves the prob and continue on the Tongue
Hope it helps.goodluck
Nice =)
Good stuff Ronald 🙂 Simple and cute 🙂
awesome.
thanks for lesson
God lesson,thanks
Nice t. Thanks!
what programm did you use, photoshop or illustrator?
thanks! 🙂
It’s made in Photoshop 🙂
I’ve done it. Thank you so much! 😀
Hey there, I made this. And spectacularly failed!
I could not do the mouth properly; so didnt bother about the teeth and tongue even though I am sure that I can do that! And oh, the legs got left out too.
I am facing problems doing STEP 2 actually. I cant get that effect whatsoever! Can I get any help on that part?
Also, when I go to duplicate the blue guy’s layer; I am asked to flatten/merge the whole layer in order to do that or I cant do it. Which in turn means that I cant get the other shapes in the other colour!
IF you cant help me on the first part, please do tell me what is the problem with the second part.
I am using PS-CS5.