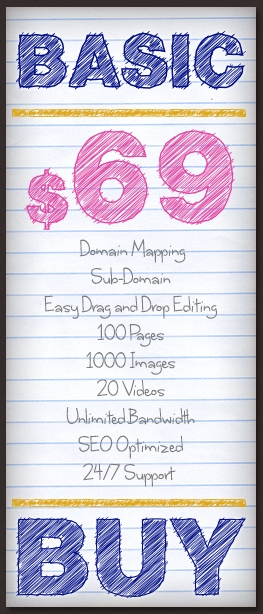
In this quick tip we’re going to create a pricing table that you can add to your website and is pretty easy to code. We’ll be using both Photoshop and Illustrator to achieve the hand-drawn effect and it won’t take you more than 30 minutes.
Tutorial Details
- Program: Adobe Photoshop / Adobe Illustrator
- Version: CS6 / CS5
- Difficulty: Beginner
- Estimated Completion Time: 30 Minutes
Tutorial Assets
Final Result
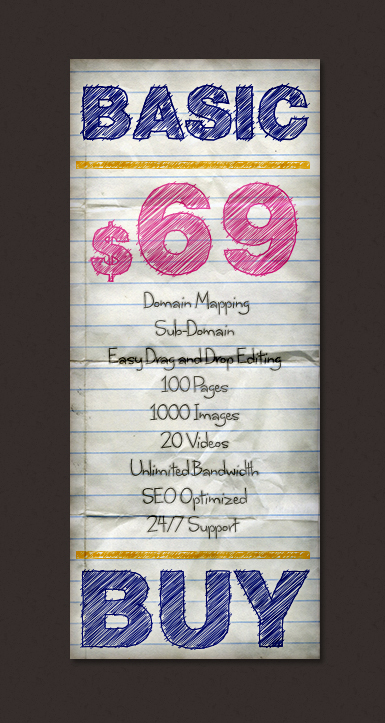
Step 1
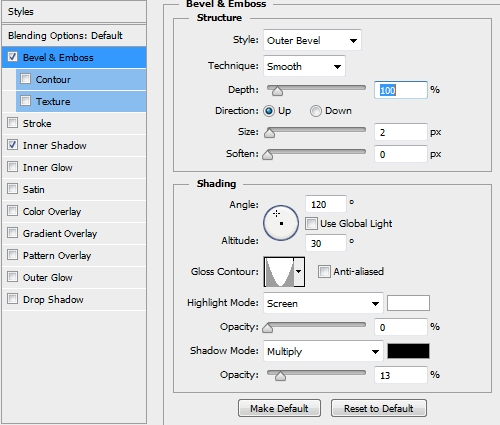
Create a new file in Photoshop and pick the Rectangle Tool (U). Set 250 for the width and 600 for the height. Fill it with #ffffff (white) and apply the following styles.

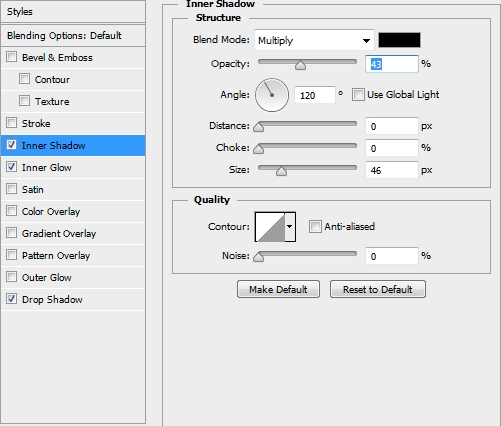
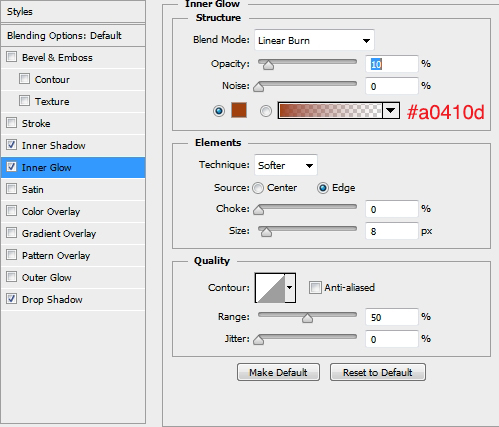
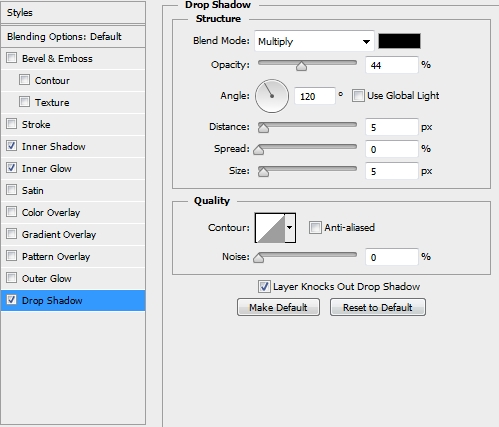
Step 2
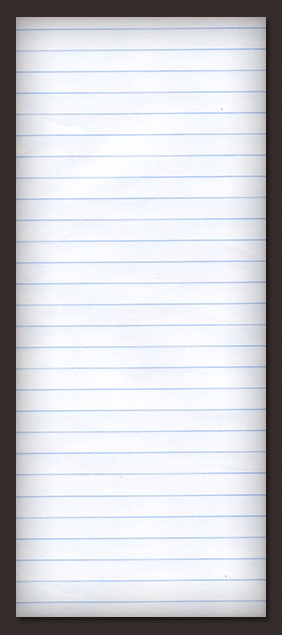
Place the paper texture and clip it (Layer>Create Clipping Mask / Alt+Ctlr+G) to the white rectangle.
Step 3
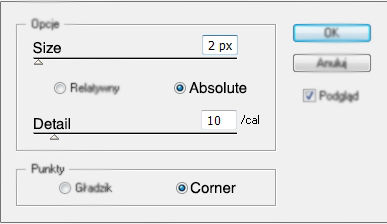
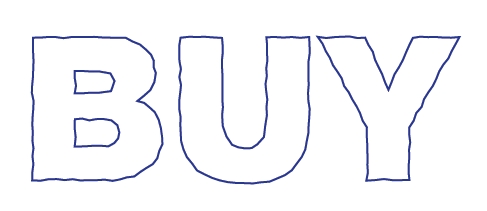
Now create a new file in Illustrator. Pick the Type Tool (T), write anything you want and make a copy of the text (hold Alt and drag the text). We won’t convert it to a path, as we want to keep the texts editable. Select one of the texts and apply a simple stroke (color: C=100 M=95 Y=5 K=0). Change the Fill to None/Empty (sorry, I’m using the polish version of Illustrator). Next, go Effect>Distort & Transform>Roughen. The parametres depend on the size of the text. We chose the Arial Black font with a 200pt size. Feel free to experiment with the values until you’re satisfied with the effect.
Step 4
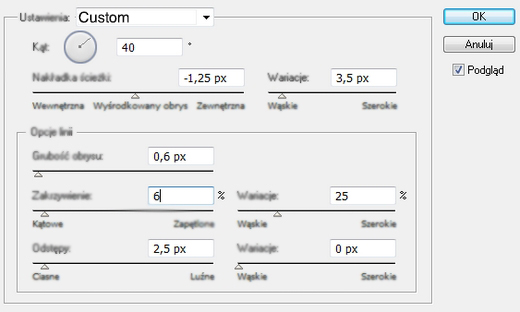
You can now save this style simply by dragging the text to the Styles panel. Select the second text and fill it with the same color that you used in the previous step (don’t apply a stroke). Then, go Effect>Stylize>Scribble. Again, experiment with the parametres.
Step 5
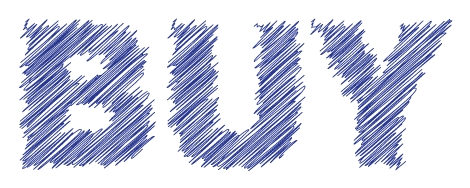
Your texts should look by now like this.

Step 6
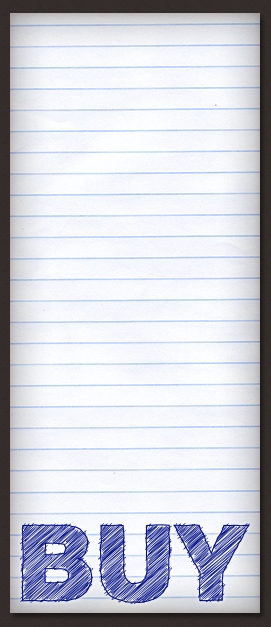
Select both the texts and press Ctrl+C to copy them. Switch back to Photoshop and press Ctrl+V. Place the text as a Smart Object and scale it down.
Step 7
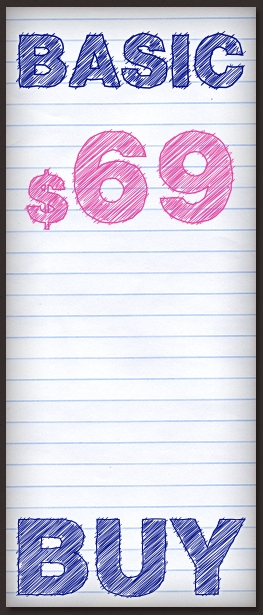
Add some more text. To do it, simply go back to the Illustrator and edit the texts. You can tweak a bit the effects to give it a more random look.
Step 8
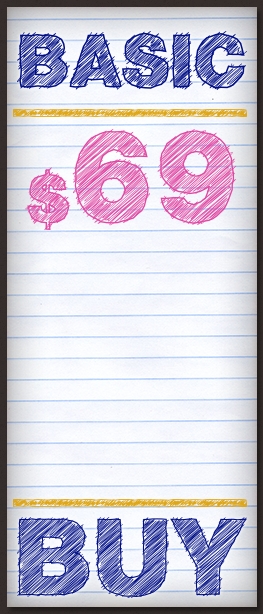
Add some lines to decorate the paper. Create them in Illustrator by repeating the technique described in Steps 3-4.
Step 9
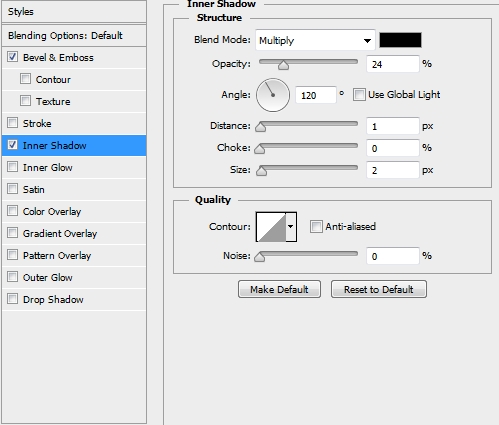
Download the “Where stars shine the brightest” font from dafont.com. Create a new layer and pick the Type Tool (T) (in Photoshop). Write anything you want (color: #7d7d7d, size: 32px) and apply the following styles to create a pencil-like effect.
Step 10
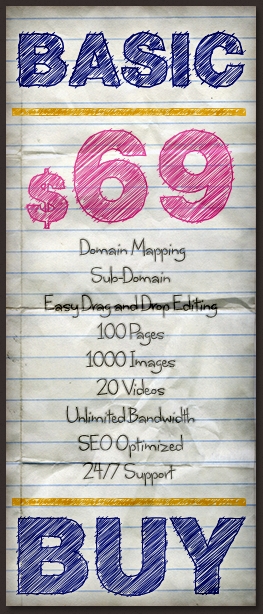
Place the Folded Paper Texture and change its Blend Mode to Color Burn and lower the Opacity to 45%. Select the white rectangle’s pixels (step 1) and click on the Add Layer Mask icon.
Variation
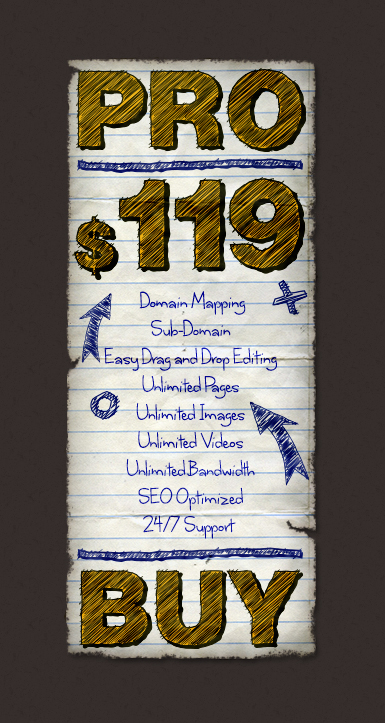
Conclusion
That’s it, your pricing table is now ready. Add any effects you want to make it look better. You can use this technique with any shape, path or text.


Thanks Alan for your concern to the beginners in photoshop..
Easy..:)Thank you.
I really like your site,in making an article like this you assure that your reader can easily catch up the steps.
It is absolutely easy if we can make this for only 30 mins.,I will try it later to see if your post is really effective.
Great job Alan,you’ve delivered it well.
Thank you for this very detailed tutorial Alan..