In this article we’ll try to explain you the Actions feature of Photoshop. It’s a very handy tool that can save you a lot of time.
Tutorial Details
- Program: Adobe Photoshop
- Version: CS5
- Difficulty: Beginner
Tutorial Assets
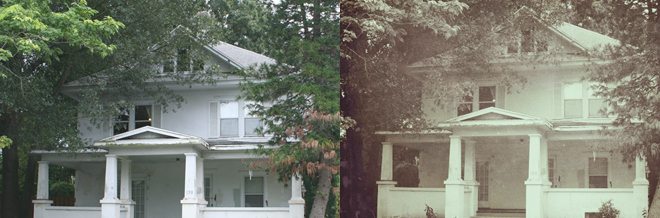
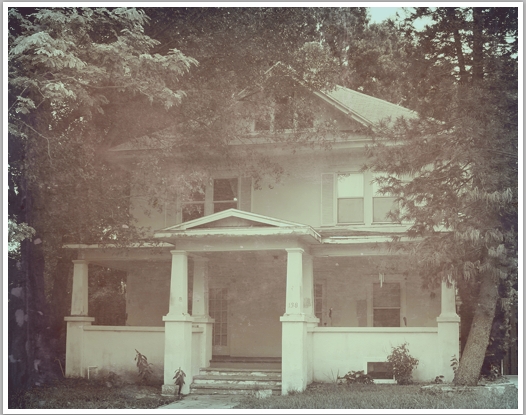
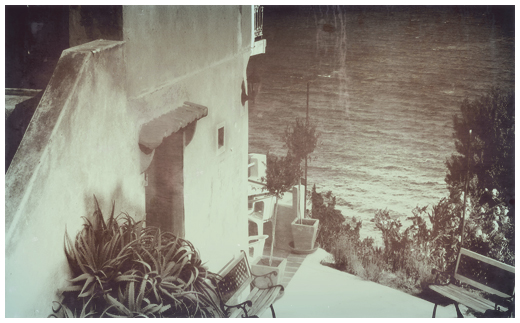
Final Result
Part 1 – A little bit of theory
Imagine Actions as a simple programming language where you “teach” your computer a process. The difference is that in a programming language you do this every time, while the Actions save this process for ever and give you the opportunity to modify all of its parametres at any time.
Using the Actions is extremely easy. The only thing you have to do is to plan the effect or the process before you record it. What I like to do for instance, is to create the desired effect in a separate file and then simply repeat the process, recording each step. There’s no hurry when recording an action, since you can pause it.
Another useful part of creating an Action, is the Snapshots. Snapshots are like a “quick save on a new file” (they don’t actually create a new file). They generate a “screengrab” image of your canvas and can be very useful if you’re satisfied with an effect, yet you want to add some more things or experiment with some effects. We’ve all been in this situation where you add and add things and then something’s wrong but you can’t go back because the History positions have been overlapped. So, every now and then click on the little camera icon in the History tab to make a snapshot (yes, even if your History state is set to 1000).
Ok, enough with the theory. Let’s create a simple Action.
Part 2 – Creating your Action
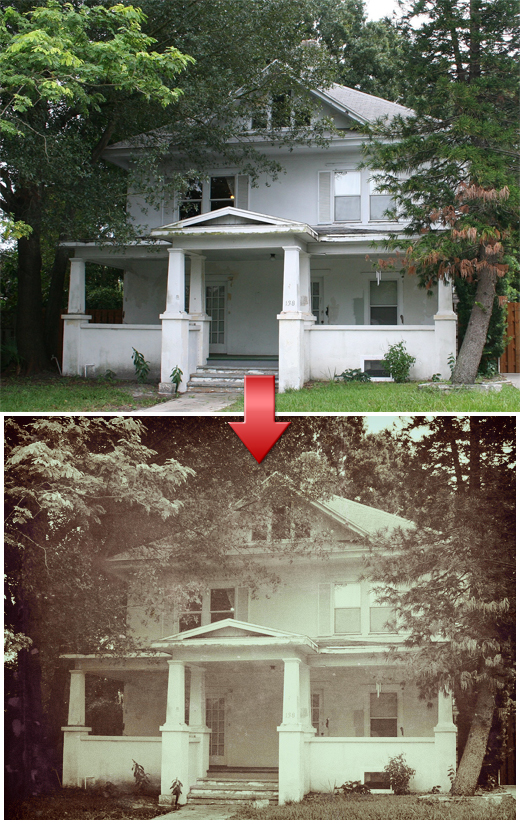
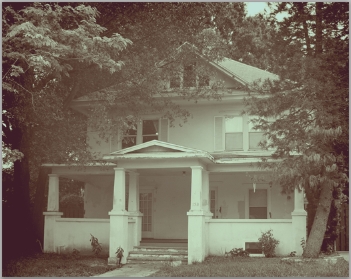
Suppose you have a blog and you want all your images to have a specific look. Instead of repeating the same process each time, you can record it once and then simply adjust some parametres (if necessary). What we will be creating is a simple lomo photo effect.
Step 1
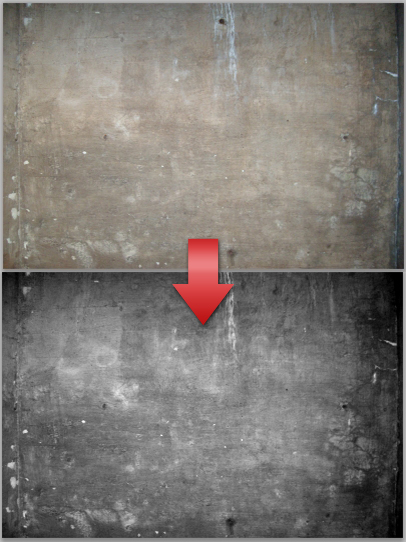
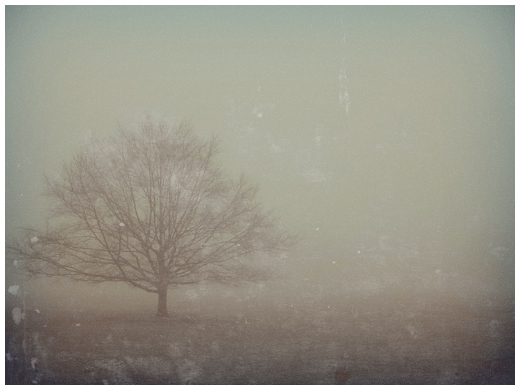
Open the texture and rasterize it. Go Edit>Adjustments>Hue/Saturation and desaturate the photo. Then hit Ctrl+L (Levels) and increase the contrast a bit. Finally, go Edit>Define Pattern and hit OK.
Step 2
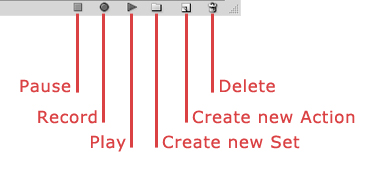
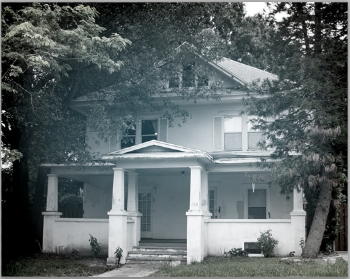
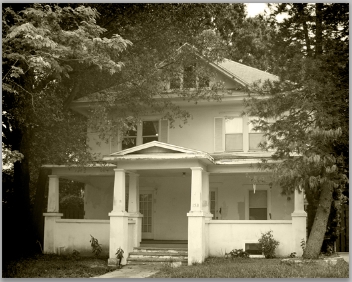
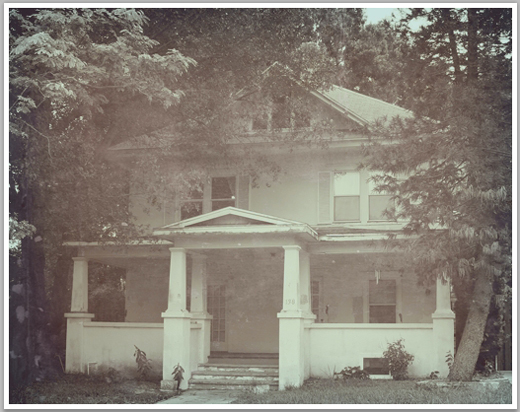
Open the photo (house) and rasterize it. If you can’t find the Actions panel, go Window>Actions (Alt+F9) and you’ll see it appear next to the History tab. Click on the Create new Set and the Create new Action icons. Once you click the Create new Action you’ll see that the small circle turns red. This means that from now on every change or effect will be recorded. If you want to pause it simply press on the Stop icon (to resume press on the Record icon again).
Step 3
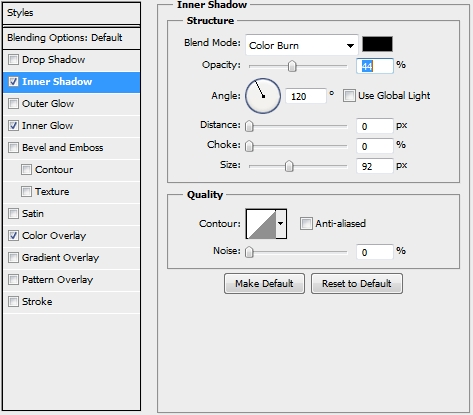
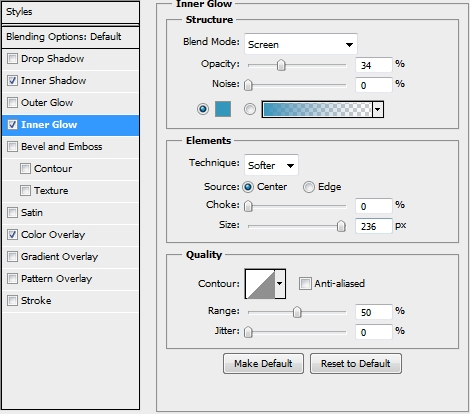
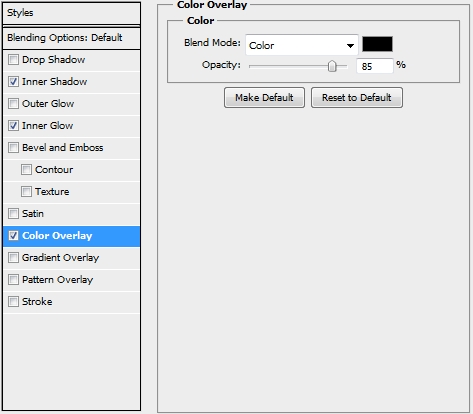
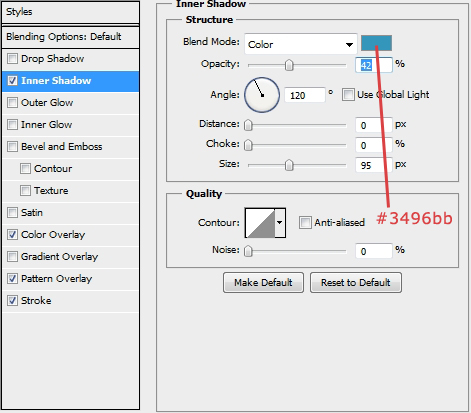
Now that Photoshop’s recording the action, go Image>Image Size and set 520 px for width. Then apply the following styles to your photo (Inner Glow’s color: #3496bb).
Step 4
Click on the Create new Fill or Adjustment Layer icon and select the Solid Color. Pick #ada58a and change the Blend Mode to Color.
Step 5
Add another Solid Color layer and fill it with #cb6586. Change the Blend Mode to Exclusion and lower the Fill (or Opacity) to 30%.
Step 6
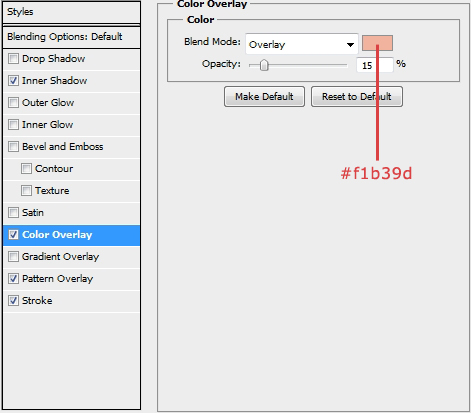
Merge these three layers and on the new one apply these styles.
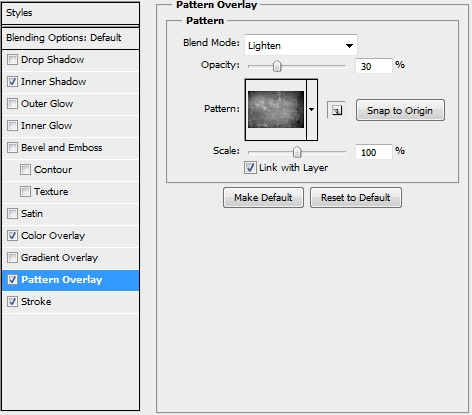
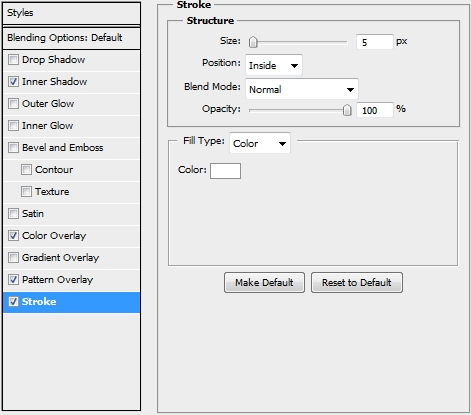
Step 7
Add a Solid Color layer and fill it with black (#000000). Change the Blend Mode to Color and lower the Fill to 20%.
Step 8
Press on the Pause icon to stop recording the Action. That’s it. Your action is now ready. Load any photo you want and simply press the Play icon (make sure the background layer is unlocked). Add any effects you want to make it even better.
Conclusion
As you can see Actions are extremely easy to use and can save you a huge amount of time. We hope you liked this article and if you have any questions, post them in the Comments section and we’ll answer asap.


Overall nice tut, thanks for it 🙂
nice tutorial!!! step by step guide to learn this tutorial
thanks