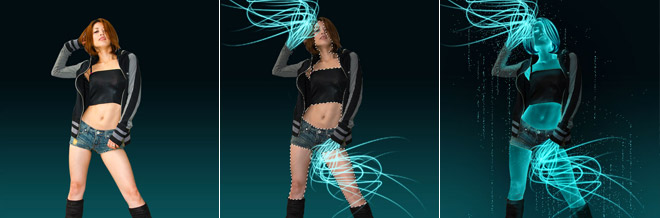
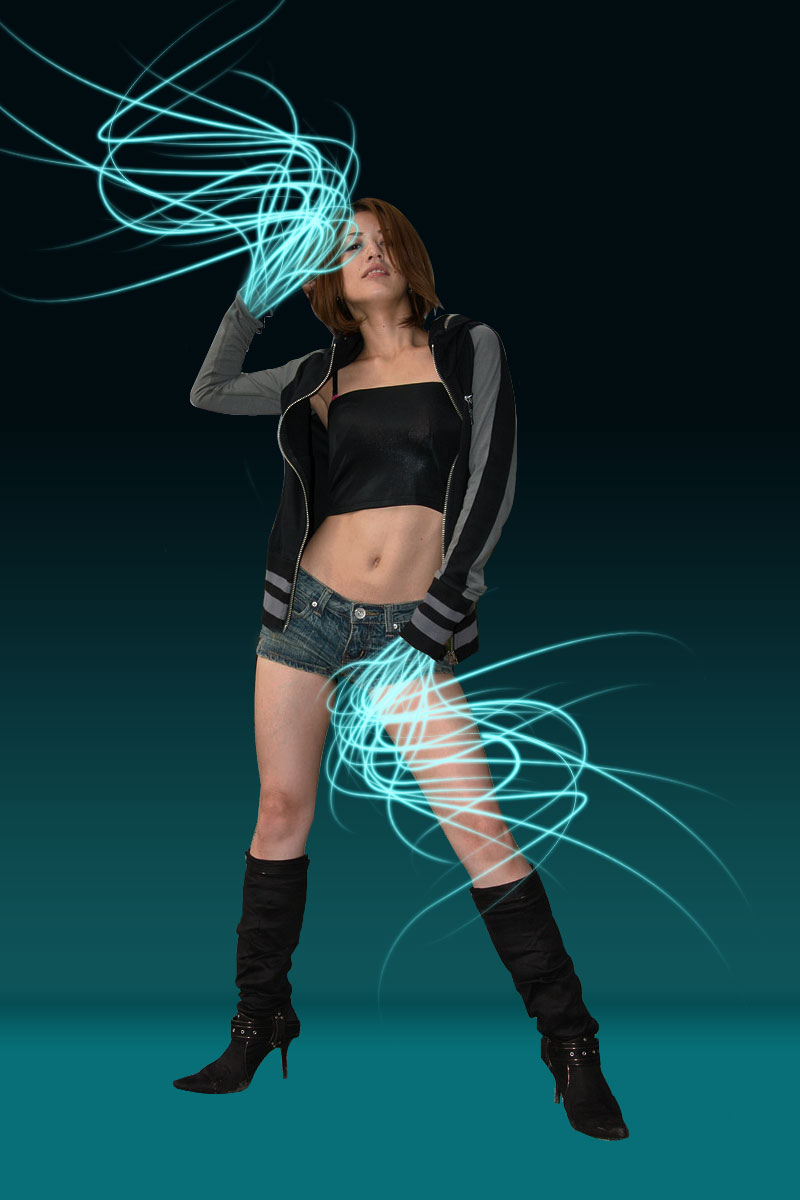
In our Photoshop Tutorial, we will create a Glowing Neon Girl from scratch. Throughout this tutorial, you will simply learn how to make some cool Glowing Effects in Photoshop. This is quite a little long so patience is a virtue.Take a look at the Preview of our Final Image.
Final Image Preview

Step 1
So to start, Open an new document in Photoshop.(800×1200). Working on our background,use #0e5358 and #020d11 color. Select Gradient Tool (G) and apply.

Step 2
Add New Layer. Select Rectangular Marquee Tool (M) and create a selection below the image. Use color #086f78. Then, Select Paint Bucket Tool (G) and apply a color.name the layer to BG1.

Step 3
Add another Layer. Name the layer to BG2 Shift+Click on BG1 layer so that selection will appear. Use color #000000 then select Gradient. Adjust the Gradient to foreground to Transparent. now apply the gradient on the upper part of the selection.

Step 4
Go to Filter>Blur>Gaussian Blur. From there,Set the Radius to 2 pixels. Do the same thing on BG1 layer. Now it will look something like this

Step 5
Now that we’re done on our background, lets add the model. You can download to Model Stock Photo in HERE Now Start Removing the back using Pen Tool (P) or Polygonal Lasso Tool (L). After removing the background of the Model Stock Photo, transfer it to our working document using Move Tool (V) by dragging. Name the layer to Model Stock Photo.
 .
.
Step 6
Lets try edit our Model Stock Photo first. Choose Lasso Tool (L) and select an area in the pants, Duplicate the selected are by Pressing CRTL+J then move it on the hand. The reason is we need to hide the hand using it. Once its on the right position you can use Clone Tool Tool (S) to clone the edges.

Step 7
Choose Lasso Tool (L) and select the area shown on the image below. After selecting, Press DELETE on your Keyboard.

Step 8
After all the editing and cutting our Image should now look something like this.

Step 9
Choose Polygonal Lasso Tool (L) and select an area on the Model Stock Photo jacket same as the image below. The reason of doing this has something to do with our next 2 Steps. Name this duplicate layer to Model Stock Photo 2

Step 10
Select Model Stock Photo layer then Click Add New Layer, This new layer is now between Model Stock Photo and Model Stock Photo 2 layer. Choose Pen Tool (P). adjust the Pen Tool to Path ![]() create something like on the image.
create something like on the image.

Step 11
Set color to #b0fcff. Right click to the path and choose Stroke Path>Brush. Make sure you check on Simulate Pressure.Name the layer to Glow. Now Right Click on the Glow layer and select Blending Mode then choose Outer Glow. from there, add color #2cecf1 ,Opacity to 100% and Size to 3 pixels.the effect will be like this.

Step 12
Continue adding more Glowing Effects and doing the same process until you made something like this one. Doing this 1 layer each in every path that you made is better so you have option to move and adjust.

Step 13
Add new Group and Put all the Glowing layer to the Group. Duplicate the Glow Group by Right click on the Group and choosing Duplicate Group.then move it to the other hand. Rotate the Group and Move it to the right position. CTRL+T then drag your mouse from the outside to Rotate the Group. Now you should have like this

Step 14
Now lets make the skin on the Model Stock Photo Glowing as well. Lets have a selection on the skin first. Select Magnetic Lasso Tool (L). Now start selecting the face. Then After the first selection Hold Shift then use the Magnetic Lasso Tool again so you can select another area while the first selection that you made is still selected. Do the same process until you finished selecting all the skin parts.

Step 15
Duplicate the Selected skin area and name it to Dup1. On the Duplicate layer, Adjust the hue/saturation. Go to Image>Adjustments>Hue/Saturation and set the Saturation to -100. Right Click the Dup1 layer and choose Blending mode. On the Blending Mode, Select Inner Shadow. Adjust the color to #94f3f6 and set Blend Mode to Color. The image will now look like this

Step 16
Duplicate the Dup1 and name it to Dup2. Right click the Dup2 and go to Blend Mode. This time add and additional adjustment in Inner Glow. Use color #0af2ea and Opacity to 100%. Now CTRL+I to invert the color.

Step 17
For the hair, Add New Layer and lets do the same process like what we did on the glow effect on the Model Stock Photo hands. Check out the image below.

Step 18
Use color #b0fcff. Right Click the path again and choose Stroke Path>Brush. make sure Simulate Pressure is Checked. Delete the path by pressing DELETE on your keyboard after the color is added. Right click the layer and choose Blending Mode. From there select Outer Glow and apply the color #2cecf1. and Opacity to 100%

Step 19
Continue doing the same process on the hair.You can use 1,2 or 3 pixels thick on the brushes to have different sizes.

Step 20
Go back to the Model Stock Photo layer and erase the head part of the image. after erasing it will now look like this.

Step 21
This time we will make the glowing shadow thing. Use color foreground to #23d5d9. Add new layer below the Model Stock Photo layer. Choose Brush Tool (B) Use a blurry brush with a Master Diameter of 40 pixels and apply the brush.check the image below. Name the layer to Light Shadow 1.

Step 22
Now Duplicate the Light Shadow 1 layer. Go to Filter>Blur>Gaussian Blur and set the Radius to 10 pixels.

Step 23
Now lets make the image a little dark so the glowing effect will be more emphasize. Add New Layer above glowing hair layers. Use color foreground to #31c1c7. Choose the brush and apply the brush on the whole body.

Step 24
Go to Filter>Blur>Gaussian Blur and set the Radius to 60 pixels.Name this layer to Add Glow.

Step 25
Now Our image is now something like this.

Step 26
On the layers palette change,set it to linear Burn and Opacity to 50%. Now our image will look like this.

Step 27
Time to add highlights on the jacket,short and the shoes. Add New layer above the Add Glow layer. Name it to Highlight. Choose Brush with a blurry brush and having a Master Diameter to 15 pixels. Apply the brush on the area which near to the skin Check the image below on where to add the highlights.

Step 28
On the layers palette, choose Color Dodge and Opacity to 60%. Now we have a little highlights.

Step 29
Now lets create a little Sparkling Effect on the hands Add new layer, and choose Brush Tool (B). Apply the brush on the Glowing Effect area. See the image below.

Step 30
On the Layer Palette, Set the layer to Dissolve and Opacity to 3%

Step 31
Let do another one. Add new Layer, use Brush Tool. Use Master Diameter of 5 pixels on the brush. Apply something similar on the image below.

Step 32
Add new layer. Now lets create a vertical line. Choose Brush Tool with a Master Diameter of 2 pixels and start making lines.

Step 33
On the Layer Palette, Set the layer to Dissolve and Opacity to 20%

Step 34
We’re almost done in here. for the last part, Add new layer and go to blending mode by right click on the layer and select Outer Glow. From there, Set the color to #2cecf1, Opacity to 100%, Noise to 38% and Size to 0%. Now choose Brush Tool with a Master diameter of 2 pixels and create a dot on the lower part on each and every vertical dissolving lines.


That’s a really cool effect. Thanks for sharing with us!
Awesome effect!
Thanks guys=)im glad you like it
great Tutorial.
@esmauro
Wow pretty long but worth the read. I really like how you did it Naldz. Great work.
Cool stuff Ronald!
NICE SHARING KEEP IT UP
Wow, Naldzgraphics u guys rock !
Great graphic, nice work done.
great idea
thank you I really love your active blog
really nice tuts . I will bookmark you`re website
looks great!
Thanks for the kind words guys:)
@Sisk
thanks for the bookmark:)
Very interesting. The missing hands are a bit creepy but it makes for a nice effect and it’s great. thanks for teaching us designers how.
Nice tut man. thanks
Help please, at steps 10 and 11 I have a brut line in the tentacle, what’s the matter ?
thanks for the comments guys:)
@LightBen
Make sure the layer of the tentacle your saying must be in between “Model Stock Photo” and “Model Stock Photo 2” layer.
when you choose Stroke Path then Select the Brush, Make sure you check on “Simulate Pressure”. Hope this help:)
very cool tutorial.
awsom tut it was very easy with the right steps.
There is an image of my result :
http://img183.imageshack.us/my.php?image=sanstitre1l.jpg
I see the problem now:) please check “Simulate Pressure”
see this: http://tinyurl.com/byc25t .good luck:)
I have maked that.
My result in two steps :
http://img19.imageshack.us/img19/3065/step1g.jpg
and then :
http://img19.imageshack.us/img19/5255/step2d.jpg
What’s the matter ?
Thanks for yout help 🙂
I have understood !
It is because my brush has got a size of 100…
Sorry for this stupid matter…
Great tuto !
Thanks from France 😉
I continue my project ^^
Thanks!
@Filsuf
Excelente trabajo y fuente de inspiración.
muy buen tutorial, gracias.
nice dude:)
Awesome picture Ronald.
In what version of phososhop is this picture made?
Keep up the good work and I will definately bookmark this website!
Thanks guys:)
@Bernice
I made this on PS cs4. but all versions are fine=)
nice
this is my try at this but with a different chick
LINK
What a great photo retouching tutorial which I will recommend to my students. Thanks for sharing!
Really nice effects !
Thanks for shearing Ronald !
interesting effect and great tut, thanks for sharing.
Thanks for sharing! Some really good tips here – bookmarked.
Cheers – Deano
Hi Ron, when making the tentacle, what size brush and hardness do you specify for the stroke? I always click on simulate pressure, but can not get past the blunt end of the stroke. Thank you soooo much for your help.
Hadn’t seen this before. Well done.
what layer is step 15 supposed to be on, havin a little trouble with the skin, help if u can thanks
WoW 🙂 Awesome Tutorial. Easy and well explained . Fantastic to learn. Thanks to share this nice tutorial.
Is best tutorial……..
cool effects and some really good tips thanks!
thanks for this tutorial…very easy to follow 🙂
PLEASE HELP
I CAN’T GET THE EFFECT IN STEP 11
MY LINE HAS A BLUNT END
help pleaseeee
Great tutorial. Step by step learning system is so helpful.
yeah i know
To thos who can’t get the STEP 11, first adjust the brush size to, i think in the range of 11. then go back to Pen tool and click stroke fill and brush and click Simulate Pressure. That works for now. be sure to select the glow layer and it is between the two images.
wow.veryyyyyyyyyyyyyyyyyyyy good.tank.exselent
Its realy amazing effect, thanks for helping me…….
This is amazing…..what a fantastic effect you have created…Thanks a lot dude.
this is an amazing trick… i wonder if I can do it to on GIMP.. thanks for this. 🙂
More explanation would help.
This is where it stopped for me ;
~Add another Layer. Name the layer to BG2 Shift+Click on BG1 layer so that selection will appear. Use color #000000 then select Gradient. Adjust the Gradient to foreground to Transparent. now apply the gradient on the upper part of the selection.~
No explanation as to what to do if the individual steps don’t work….and no idea what layer you’re talking about here.
can you give a video tutorial? with a video tutorial will be easy to create the design. thanks your tutorial bro i like it
For the blunted edge issue you can also try selecting the brush tool, right clicking at the brush icon in the top left corner (this is in CS5 I’m not sure if it has the same location in other versions) and resetting the brush tool before changing the size and hardness.
Most beautiful and coolest work ever, I want to know more trik and tips please send me some of ur beautiful tutorial/lessons. My mail is atiqatiq22@gmail.com
atiqatiq22@live.com