As I was looking on Chris blog, I was inspired on his illustrator tutorial about creating a cute vector monster so I decided to make a quick tutorial and in this tutorial we will going to make a blue character Illustraion thing. I myself don’t even know what he is so let’s just name him ranran. I use photoshop on this tutorial. You need to get a pencil and a paper bacause we’re going to start this with sketching.

Lets start creating a guide shape like what animators usually do. Then draw the final sketching.Heres what i just sketch.I know its a bad quality picture. I just took it on my cellphone but it doesn’t matter anyway coz it will be just our guide.
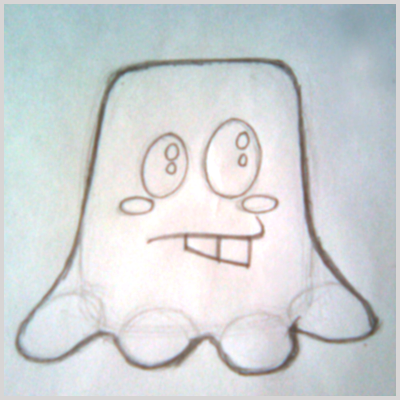
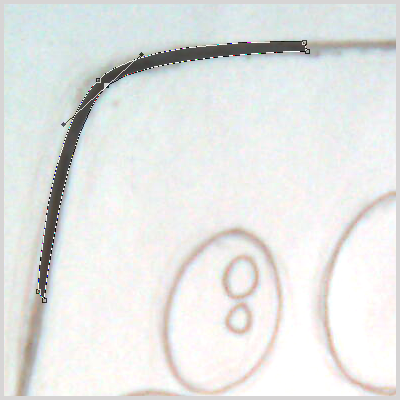
Now that we’re finish sketching lets start inking our character. We’re gonna use Pen Tool (P). Name the Layer into “INK LAYER“. To ink our sketch using Pen Tool See the procedure below.
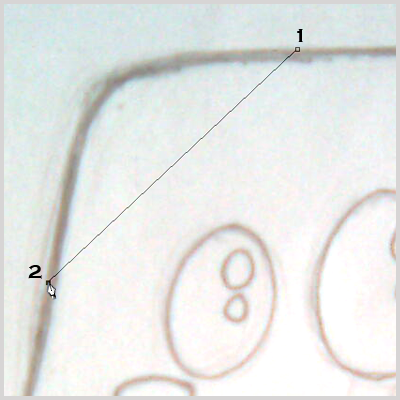
After the 4th point, click on the 1st one so it will be closed.
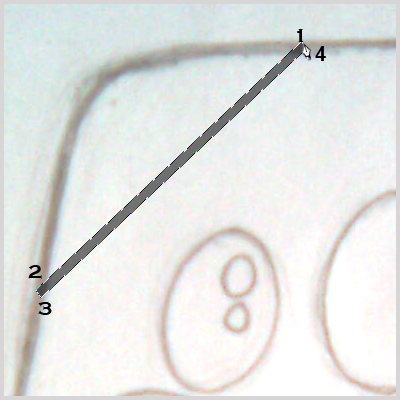
Now choose Add Anchor Point Tool (P) and add an anchor point on the center 1-2 and 3-4 then drag it on the upper right using Direct Path Selection (A).(note: change the Opacity to 50% for a while so you can see the sketch guide clearly).
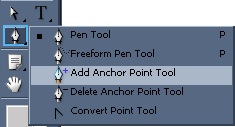
Just continue the process and use the same process apply on the mouth. When its done it will look something like this.
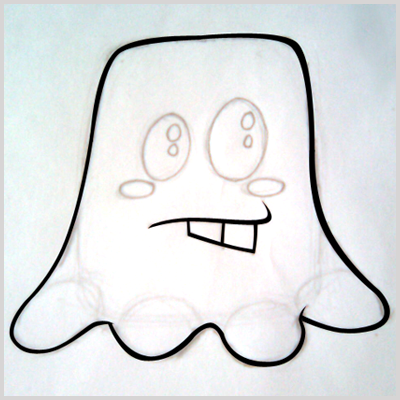
For the Eye, I use Ellipse Tool (U). To adjust simply go to Edit>Transform> Scale for the size and Edit>Transform>Rotate for the angle. Also adjust the Opacity first to 50%.
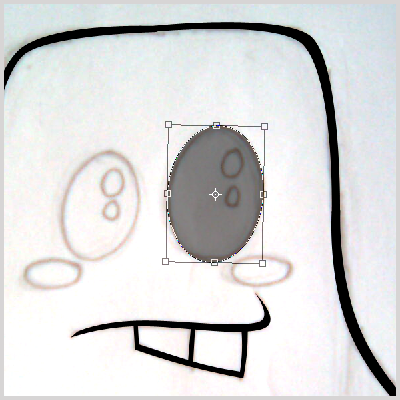
do the same process on the left eye.
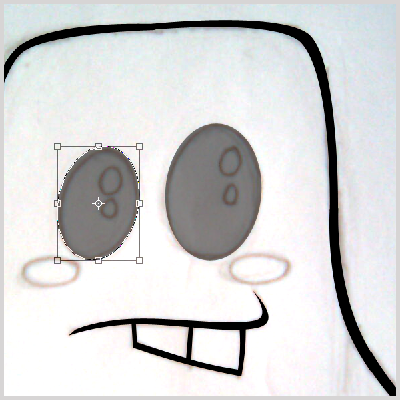
Also same process in here like what we have just done with the eye. Use #ffffff color. After that adjust the Opacity to 100% again.
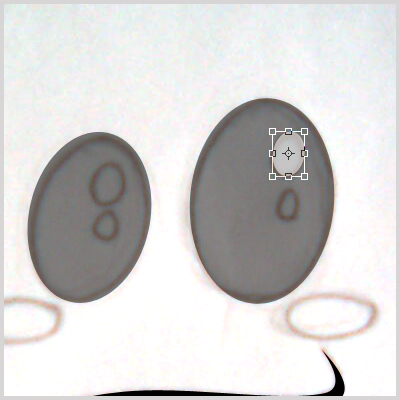
Now working on the chicks, I use Costum Shape Tool (U) and choose Circle thin Frame.

To adjust the size and angle same process as what we just have done a while ago.
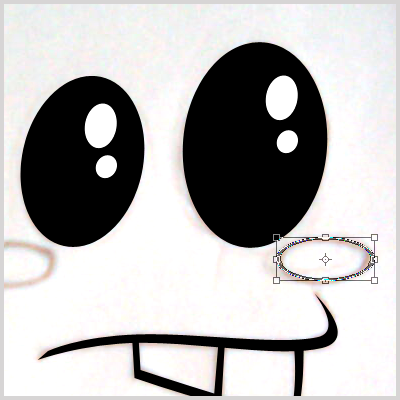
Heres the final result of our inking process.

Now its time for our coloring process. We will still gonna use Pen Tool till the end of the coloring process.Below “INK LAYER” add a new layer and name it “COLOR LAYER“.Use #7ceeff on the color. Choose Pen Tool (P) and start pointing on the sides of our character. When its done it should look like this.
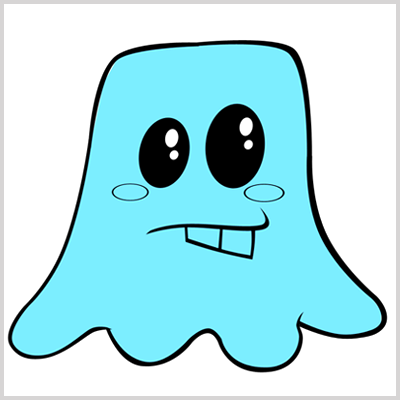
For the chicks, use #f40a00 color.
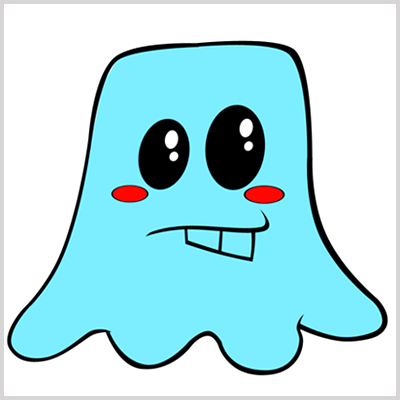
For the teeth use #ffffff color.
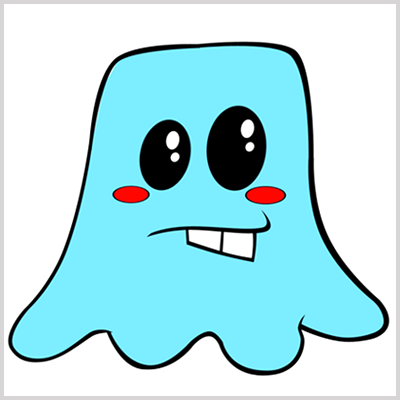
Now click on “COLOR LAYER” on the layers palette.Choose Magic Wand Tool (W) and select on the blue color.
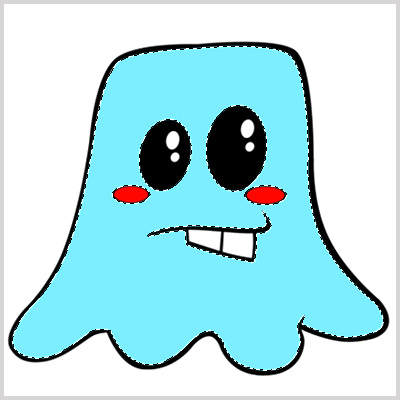
Add New Layer. Then Choose Paint Bucket Tool (G) and fill in the Layer Using #0ac7ff color. After you fill in the color press arrow left on your keyboard 10 times then press delete. Just erase the color that are useless specially on the eye,chicks, and on the mouth part using Erase Tool (E). Now your work show look like this.

Now for the highlight create a new layer again and same process on above.Use #ffffff color. press arrow right on your keyboard 10 times then Adjust Opacity to 70%. Heres the final result.

Now we’re done creating ranran.

Here he is with a background. Do you think he’s cute?What can you say about ranran?
If you like this post, please Subscribe to my RSS feed.


he is so cute, isn’t it ?
those cloud and sunrise brushes cool too
would like to know how do we make the background, thank you!!
CHEEKS
C-H-E-E-K-S
k thanks. had to point that out.
I’m an asshole.
Nice tut.
okay bye.
i did this exactly how you said up until the coloring part.
what exactly do you mean by, “start pointing on the sides of our character” ?
are we supposed to trace the guy again and then color it in?
happy ghost ^_^
This is most useful information. Got lot of tips regarding the same, thank you very much friend post a nice article.
Thanks a lot for this. Very clear and helpful.
Those icons are so awesome.
Thank you very much friend post a nice article.