In this tutorial we’re going to create a nice camera/filters iOS app icon using pre-built Photoshop shapes, layer styles and some techniques that we’ve already shown in some of our previous tutorials.
Tutorial Details
- Program: Adobe Photoshop
- Version: CS6
- Difficulty: Advanced
- Estimated Completion Time: 2 hours
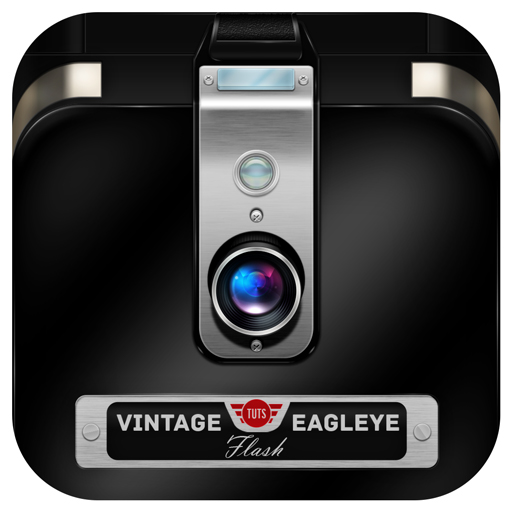
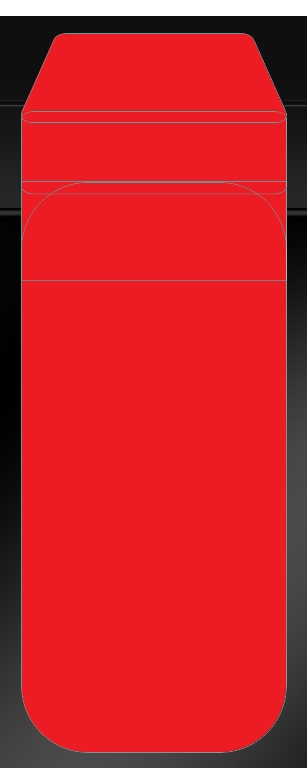
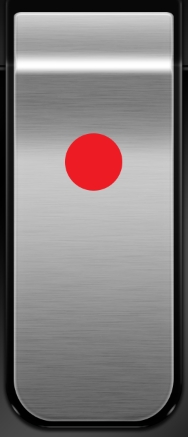
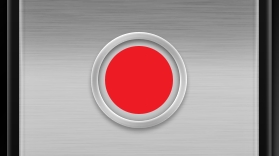
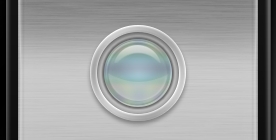
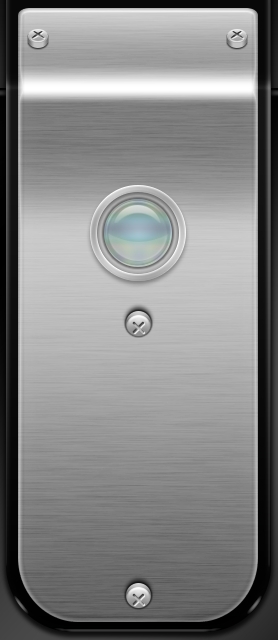
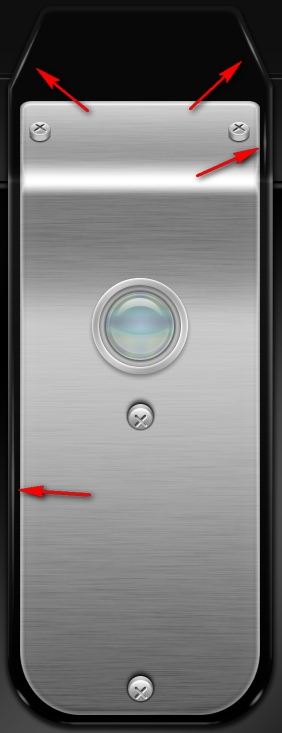
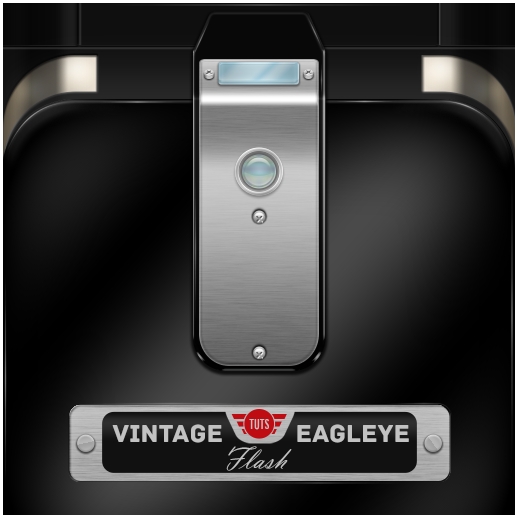
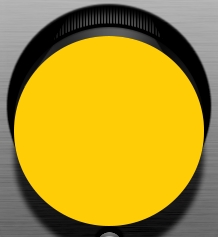
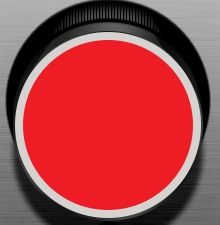
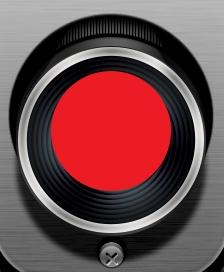
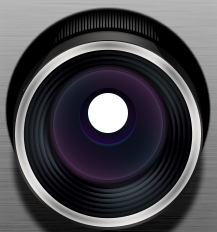
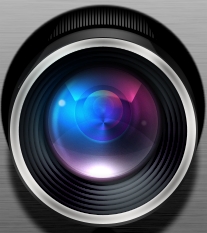
Final Result
Step 1
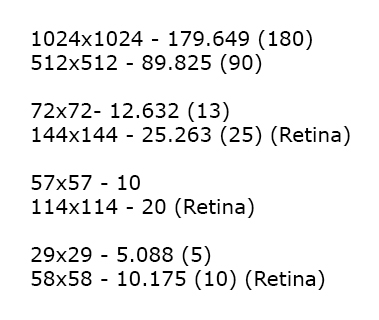
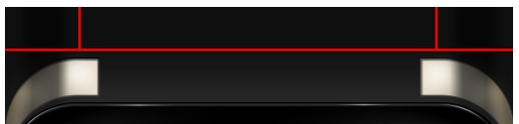
First of all, we need to clarify some things regarding the iOS icons. When designing an iOS icon make sure you don’t apply any rounded corners on your (what we always call in our tutorials) “base shape”. This is very important. Apple will do the cropping automatically as well as adding the shine/gloss effect (this is optional, and you can choose whether it will be applied or not). The next thing is that you have to be precise with your dimensions and always keep in mind that a 1024×1024 version may look good but the 72×72 is a completely different story. Thus, experiment with the size throughout the design process to make sure everything looks good. The last thing is creating a Retina-compatible version of your icon. The “Retina display” is basically a cool name for Apple’s LCD screens that do however have a significantly higher pixel density, which allow your eye to see things smoother without noticing any pixelation at all. So, if you want your icon to be compatible with the Retina displays, simply add the “@2x” to your icon’s name and double its size. Let’s say you create a 72×72 version of this icon and save it as “camera.png”. All you have to do is create another version with the dimensions set to 144×144 and save it as “camera@2x.png”. Here are the icons’ dimensions and their rounded corner radius.
Step 2
Create a new file in Photoshop. We’re going to create the big 1024×1024 version so make the canvas’es size at least 1300×1300 and set the resolution to 300 dpi. Now grab the Rectangle Tool (U) and draw a 1024×1024 square. Fill it with 0f0f0f and name this layer “Base shape”.
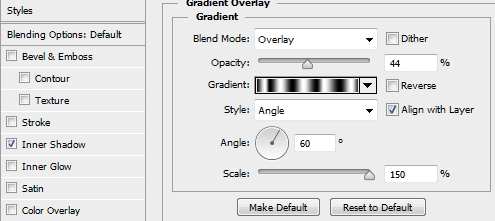
Step 3
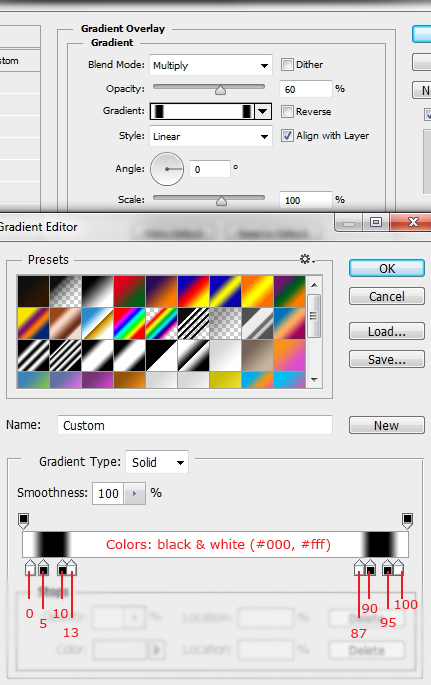
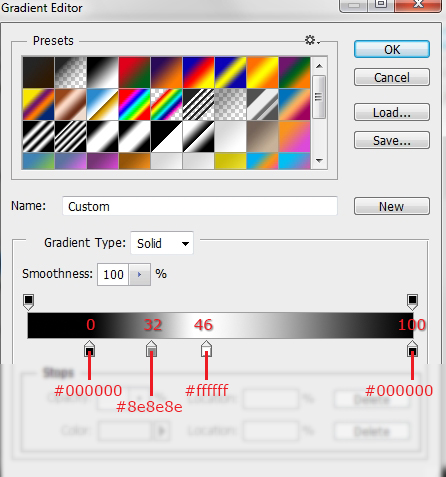
Create a new layer, clip it to the base shape layer and select the base shape’s pixels. Fill the selection with a random color, set the Fill to 0% and apply this gradient.
Step 4
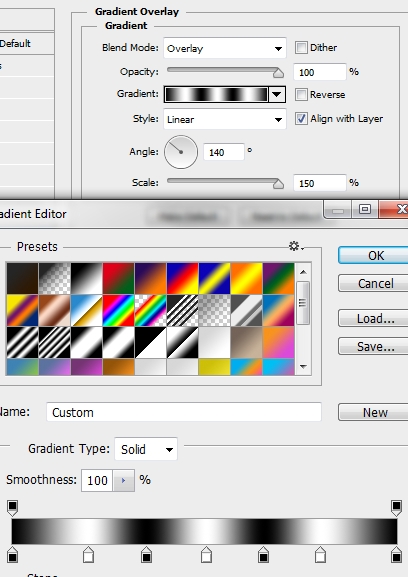
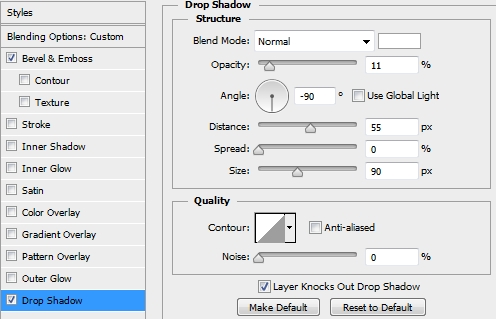
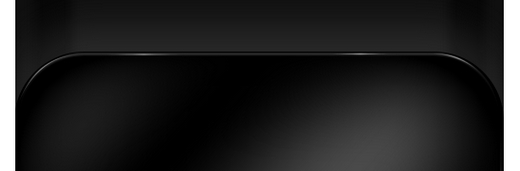
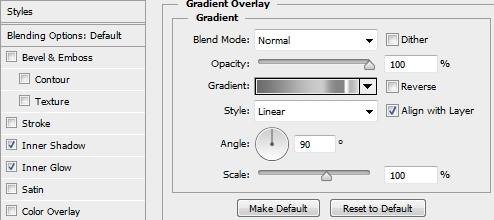
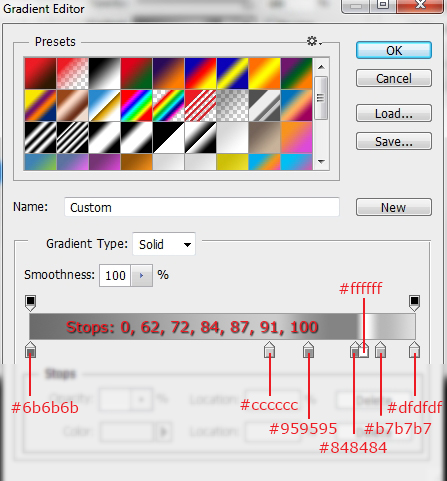
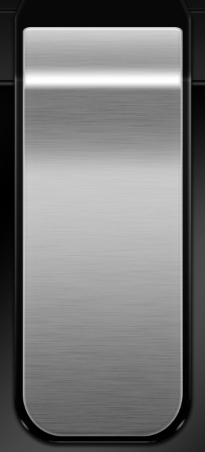
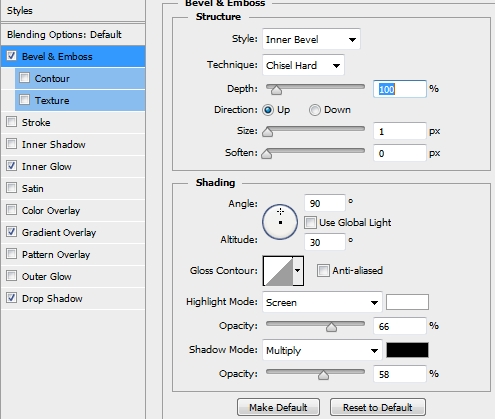
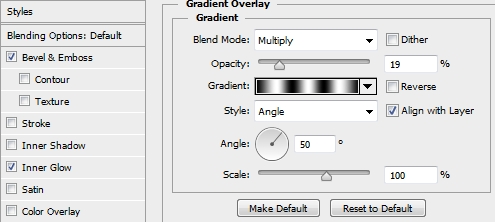
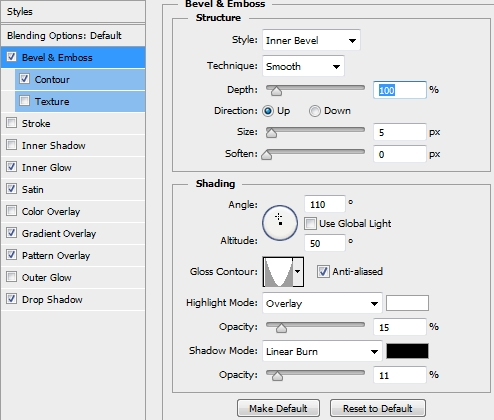
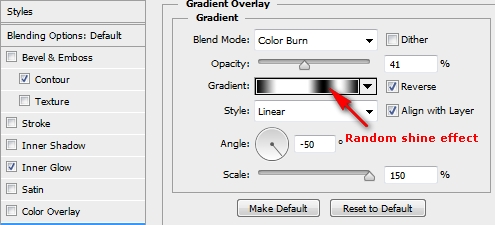
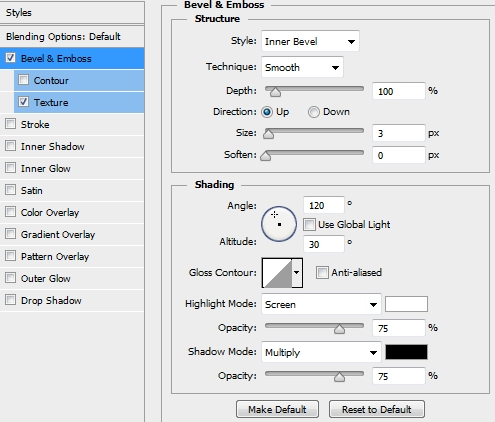
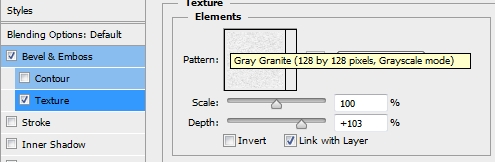
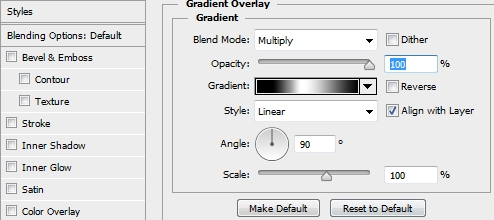
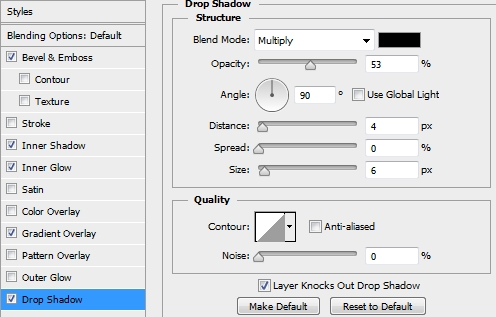
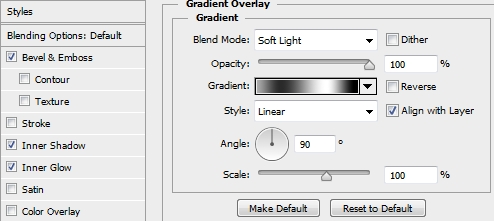
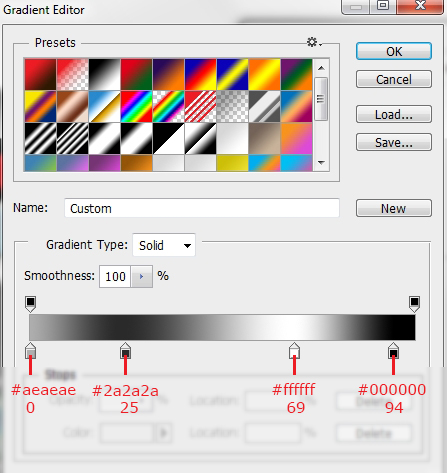
Create a new layer and once again clip it to the base shape. Pick the Rounded Rectangle Tool (U) and set the radius to 180px. Draw a big rounded square and fill it with #252525. Move it downwards to give your icon a 3D effect. Apply the following styles (we’re not giving the exact stops for the gradient since we want a random shine effect).


Step 5
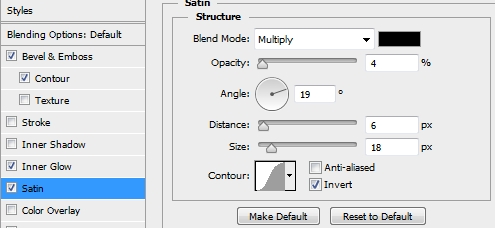
Duplicate this rounded square and turn the Fill of the copy to 0% (make sure it’s clipped to the base shape). Replace the existing styles with these ones.

Step 6
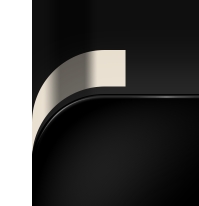
Create a new layer and add some highlights using the Pen Tool’s Stroke Path technique (hard round brush, 3px, pressure simulation: on).
Step 7
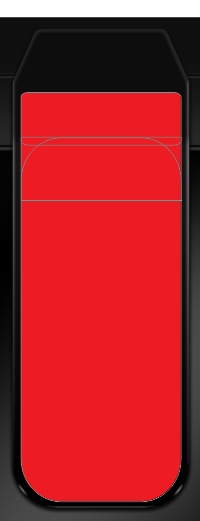
The next thing is to create a couple of buttons to decorate the upper part. So pick the Rounded Rectangle Tool (U), keep the radius at 180px and draw a big square. Place this layer before the one created in Step 3 (yes, clip it to the base shape). Fill it with #e8dece and add a layer mask. Paint with black to “erase” any unwanted parts. Keep doing this until you have something that looks like this. Then simply apply the following styles.
Step 8
Add some highlights using a soft round brush (color: white, blend mode: overlay, opacity: 60%).
Step 9
Duplicate this button (and the highlights layer) and flip the copies horizontally (Edit>Transform Path>Flip Horizontal) and move it to the other edge of the icon.

Step 10
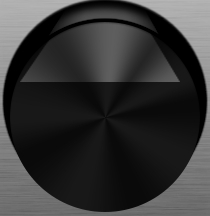
Create a new layer, place it before right after the gradient layer created in Step 3 and draw three lines (use the first image as a guide). Merge them and turn the Fill to 0%. Then add the following styles.


Step 11
Create a new layer and add some highlights to make a depth-effect.

Step 12
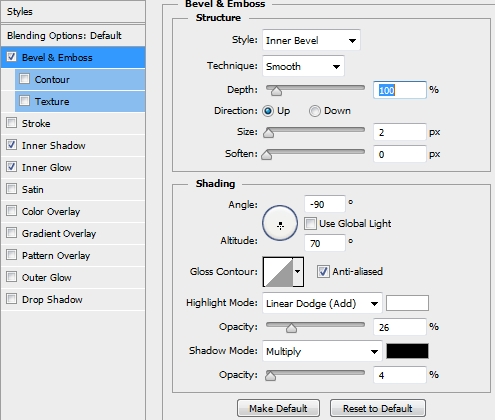
From now on, no new layer should be clipped to the base shape. So, create a new layer and place it on top of the layers stack. Pick the Rounded Rectangle Tool (U), and start drawing some rounded rectangles (color: #252525). The radiuses that we used are: 20, 10, 5. Use the first image as a guide to create this shape. Once you’re done, merge all the rectangles and apply the following styles to this new layer.


Step 13
Create a new layer and using the same technique from the previous step (combining shapes) draw the shape of the first image (radiuses: 20, 5). Once again, when you’re done merge them and apply the following styles.


Step 14
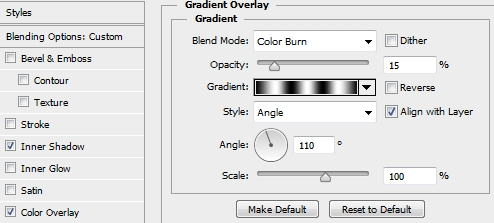
Create a new layer and select the pixels of the shape created in the previous step. Paint the selection white, go Filter>Pixelate>Mezzotint, then Filter>Blur>Motion Blur (angle: 0, distance: 20-25). Change the Blend Mode to Color Burn and lower the Opacity to 40%.
Step 15
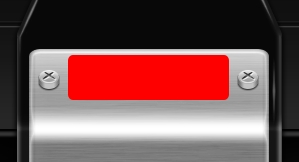
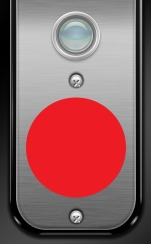
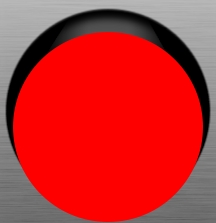
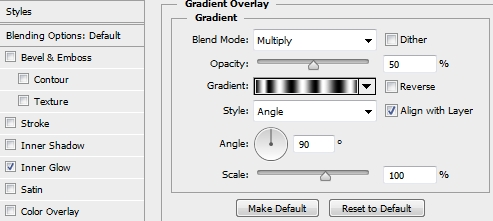
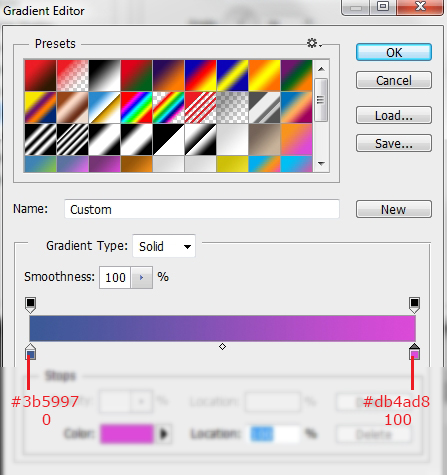
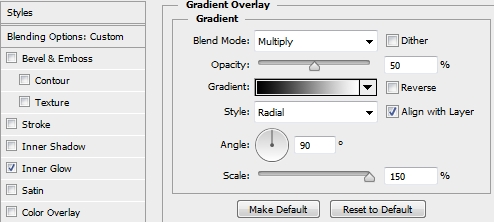
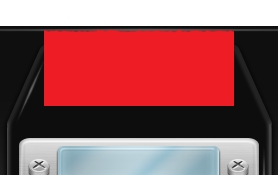
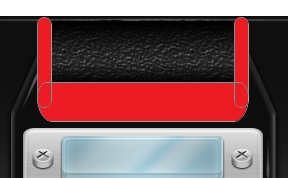
Now, create a new layer, pick the Ellipse Tool (U) and draw a perfect circle (hold Shift). Fill it with #cccccc and add a layer mask. Paint black the selection shown on the second image (red color) and then apply the following styles.


Step 16
Create a new layer and draw a smaller circle. Fill it with #dcf9f9 and apply these styles.


Step 17
Add some highlights to give a glass look.
Step 18
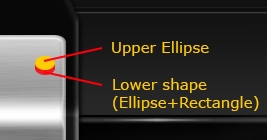
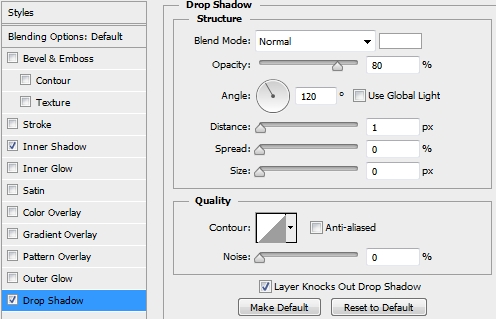
Group the layers created in Steps 15-18 and name the group “Mirror” (or whatever you want). Now, we’re going to create some screws. To do this we need to combine some shapes again. Draw a small ellipse (Ellipse Tool-U), duplicate it, move the copy upwards and draw a rectangle between these two ellipses. Change the colors of all the components to #c2c2c2. Merge the rectangle with the lower ellipse and apply the following styles. Change the colors of all the components to #c2c2c2.

Step 19
Select the upper ellipse and apply these styles.


Step 20
Pick the Rectangle Tool (U) and draw two small rectangles. Fill them with #898989 and form a cross. Rotate it by 45 degrees, distort it a little bit to give it some depth and apply these styles.

Step 21
Group the layers created in Steps 18-20 and name the group “Screw”. Duplicate this group three times and place the copies accordingly to the image below (the lower screws are flipped vertically and scaled up).
Step 22
Add some highlights.
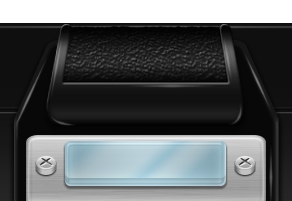
Step 23
Create a new layer and pick the Rounded Rectangle Tool (U). Set the radius to 5px and draw a shape like the one on the first image. Fill it with #abcedb and apply the following styles.


Step 24
Duplicate this shape, clip the copy to the original rounded rectangle and move it a bit upwards. Replace the existing styles with these.

Step 25
There’s no point in describing the next element, since it’s basically a rounded rectangle with some random decorative elements inside. All the techniques used to create it have already been described in the tutorial.
Step 26
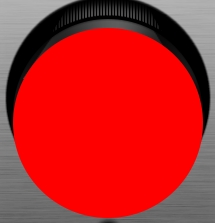
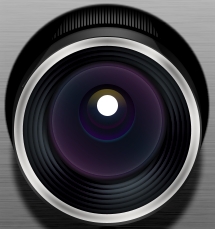
Your icon should look by now something like this.
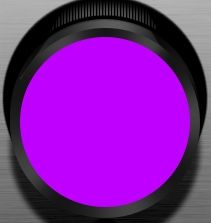
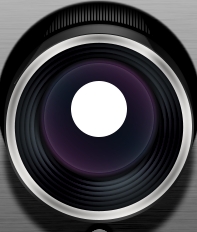
Step 27
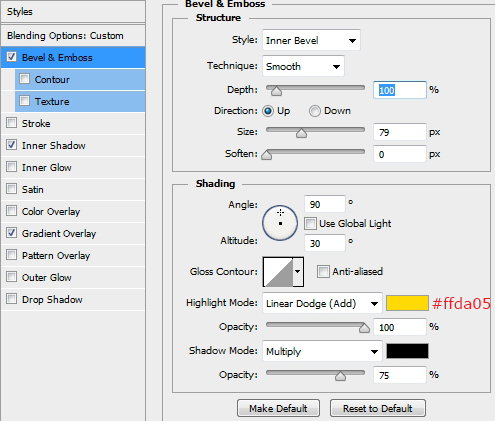
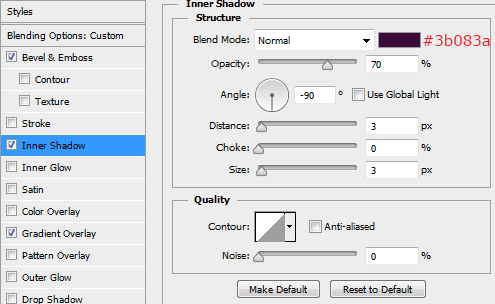
As you can see there’s one last element we need to create, the camera lens. This can be a bit tricky but it’s much easier than it looks. So, grab the Ellipse Tool (U) and draw a circle. Fill it with #252525 and apply the following styles.

Step 28
Add some highlights and clip this layer to the one created in the previous step.
Step 29
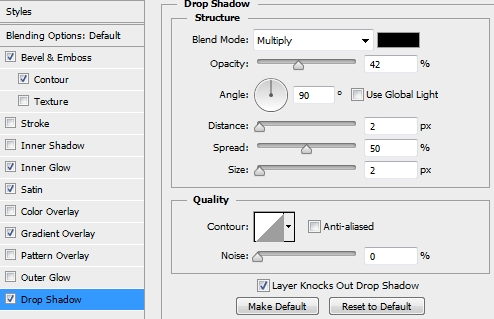
Duplicate the circle from Step 27, clear its styles, move it a little bit downwards and scale it down by 5px. Add the following styles.


Step 30
Again add some highlights and clip this layer to the circle from Step 29.
Step 31
Repeat Step 29. Apply these styles to this new circle.

Step 32
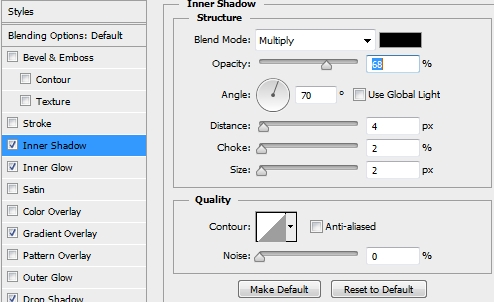
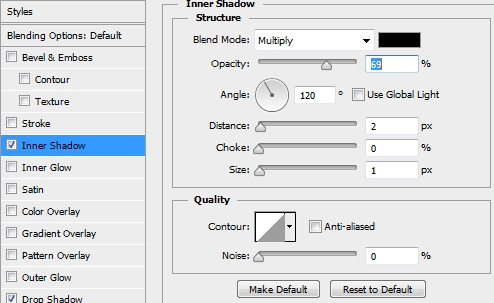
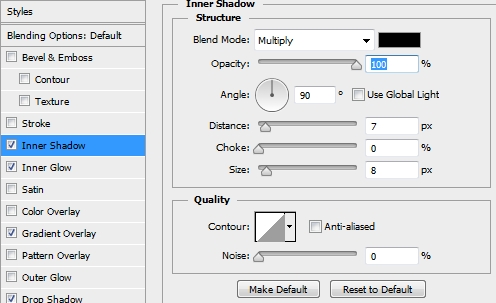
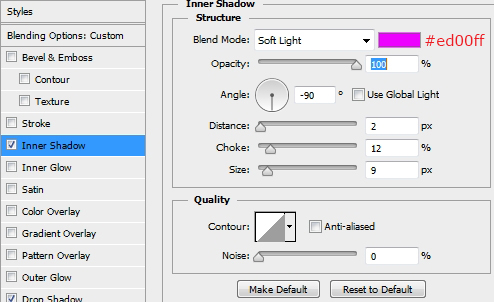
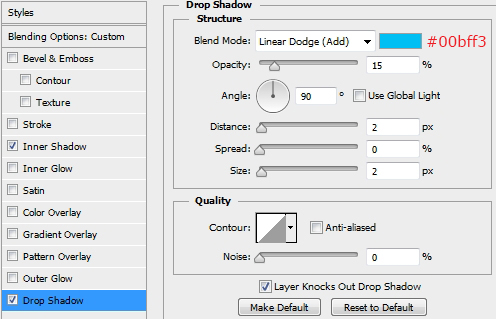
Create a new layer and draw a smaller circle. This time fill it with #2c292d and add the following inner shadow style.

Step 33
Duplicate this circle seven times. Scale each copy down by 10px.
Step 34
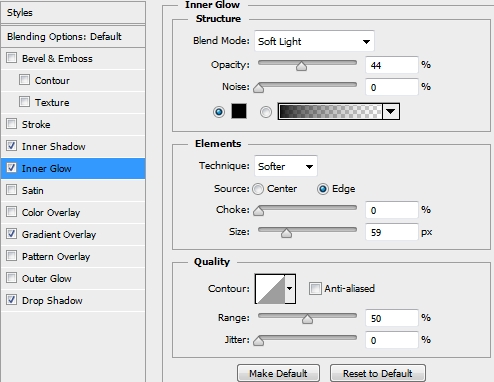
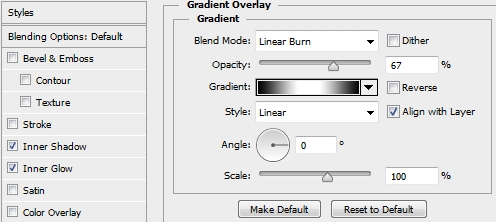
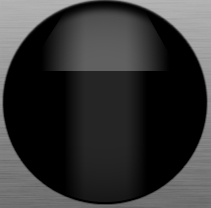
Create a new layer and select the pixels of the circle created in Step 32. Paint it with a random color, turn the Fill to 0% and apply these styles.

Step 35
Create a new layer, pick the Ellipse Tool (U) and draw a circle as big as the one you created in Step 29. Fill it with #d5d3d0 and add a layer mask. Paint black the selection shown on the second image and apply the following styles.

Step 36
Create a new layer and pick the Ellipse Tool (U). Draw a circle and place it accordingly to the image below. Then simply add the following styles.

Step 37
Duplicate this circle, turn the Fill to 0%, scale it down by 5px and replace the existing styles with these ones.


Step 38
Draw a much smaller circle, fill it with a random color, turn the Fill to 0% and add these styles.
Step 39
Draw another smaller circle and add the following styles (change the Fill to 0%).
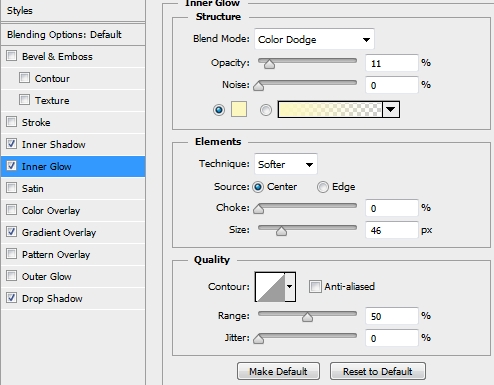
Step 40
Draw an even smaller circle, turn the Fill to 0% and add the following inner glow style.
Step 41
Now, all you have to do is add some random highlights. Use a soft round brush and experiment with the Blend Modes (Overlay, Color Dodge).
Step 42
Keep adding highlights until you’re satisfied with the result.
Step 43
Create a new layer and pick the Rectangle Tool (U). Draw a rectangle like the one on the first image, fill it with #252525 and add this style.
Step 44
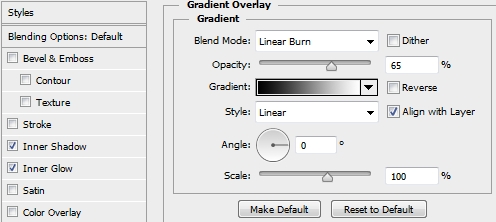
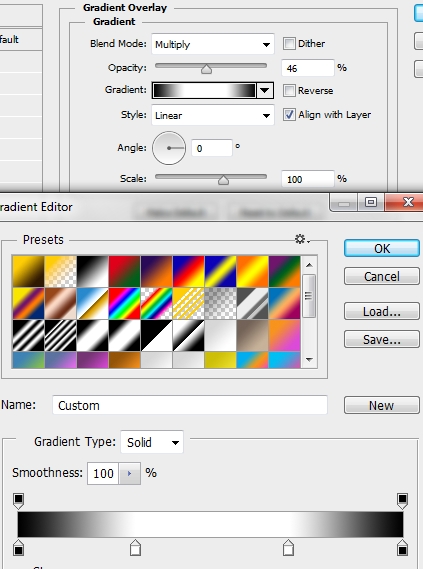
Create a new layer and merge it with the one created in the previous step. Now select the pixels of this new layer and go Select>Modify>Contract and select 3 px. Press Shift+Ctrl+I and hit Delete. Now add this gradient.
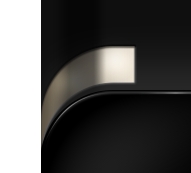
Step 45
Combine three rounded rectangles to create the shape shown on the first image (radiuses 5, 20). Fill these shapes with #252525 and merge them. Apply the following styles to this new shape.


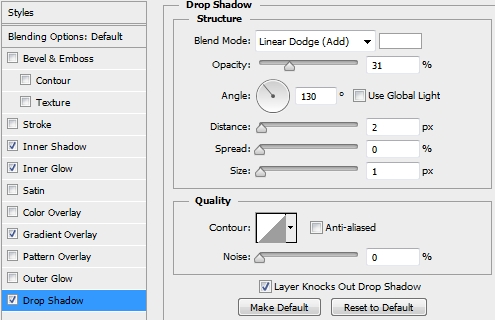
Step 46
Finally, create a new layer and add some highlights.
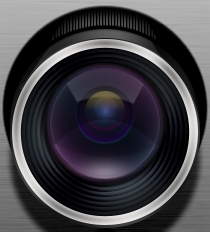
Conclusion
That’s it. Your camera icon is now ready. We hope you enjoyed the tutorial and learnt something new. If you have any questions or tutorial requests, feel free to post them in the Comments section below.


Interesting tutorial,good job!
Thank you for the ideas in creating things using Photoshop..
Nice!But can we do this tutorial in other version?
Yes, you can use any version for this. The only problem with older versions is that you can’t merge vector shapes without rasterizing them first.
Ohh,that’s it.okay!!Thank you for the info.
I’m happy to learn from this tutorial,new knowledge I can adopt here.
Thanks!!
I’m really impress the way you deliver your post,very detailed.
thanks so much,great!!!