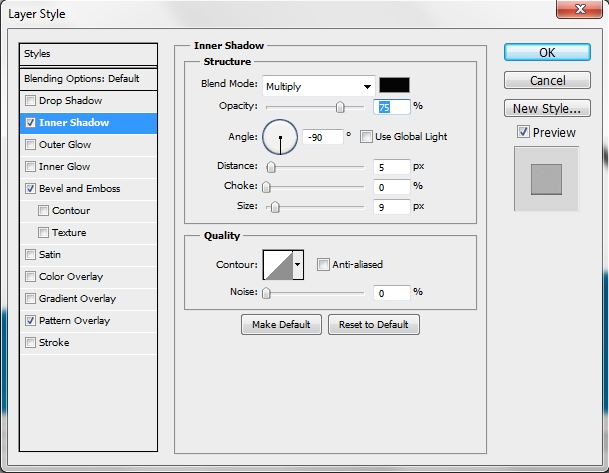
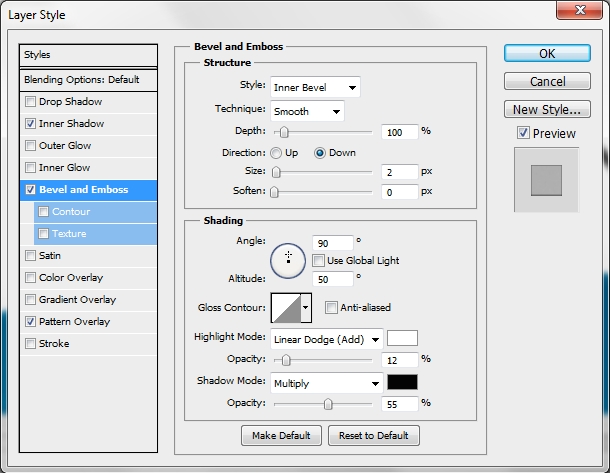
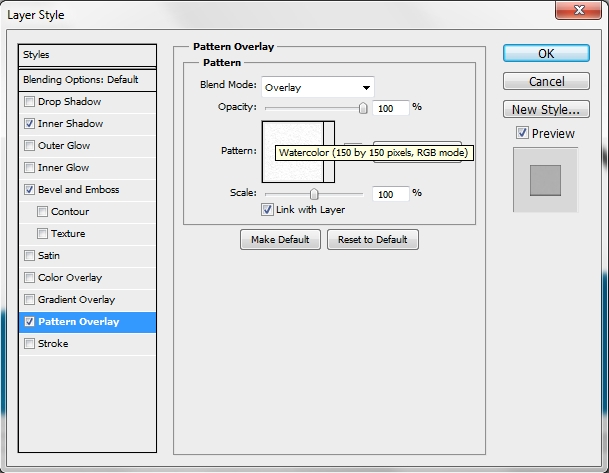
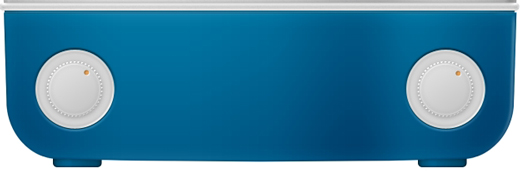
Today’s photoshop tutorial is about designing an icon from scratch. In this tutorial we’re going to create a really cool and fancy vintage radio.
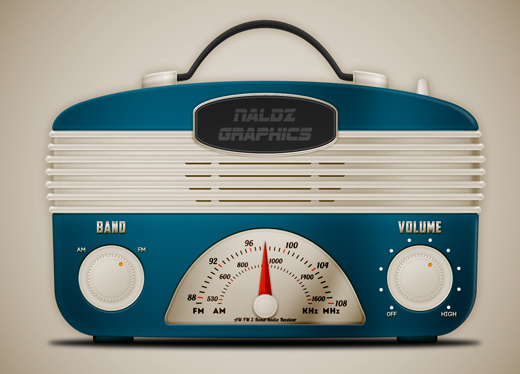
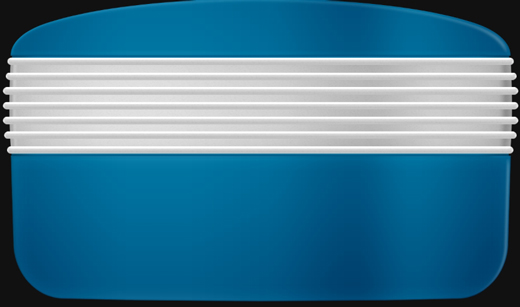
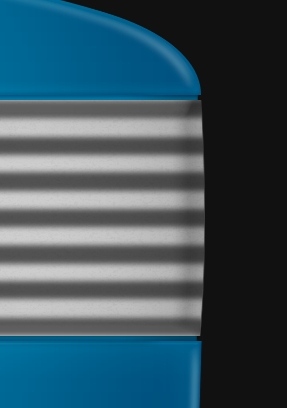
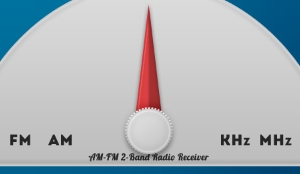
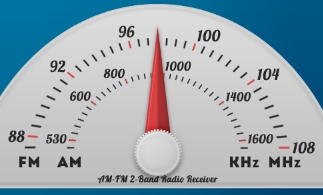
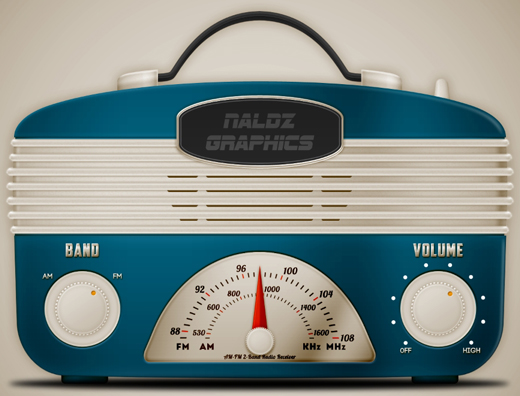
Final Result
Design
Step 1
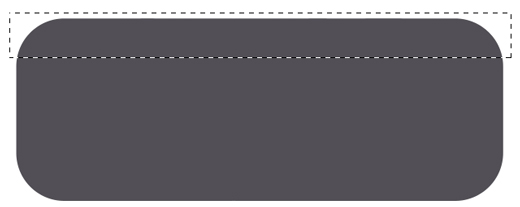
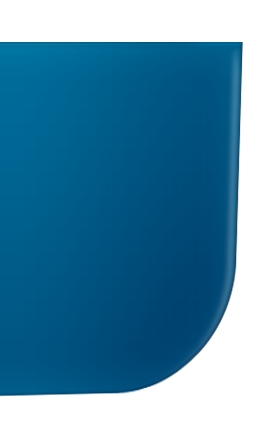
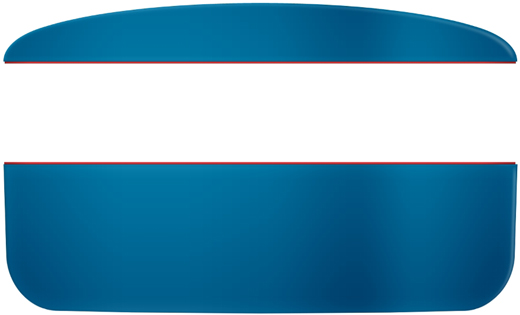
Create a new document in Photoshop. For this one I used 1500 x 1500 pxs, res.:330, c.m.: RGB color – 8bit and a simple white background. Grab the Rounded Rectangle Tool (U) and set the Radius to 100px. Then holding Shift draw a shape like the one below.
Duplicate this shape and place the copies next to each other.
Change the color to #0076a3 and merge these layers.
Step 2
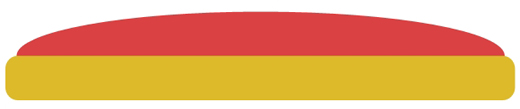
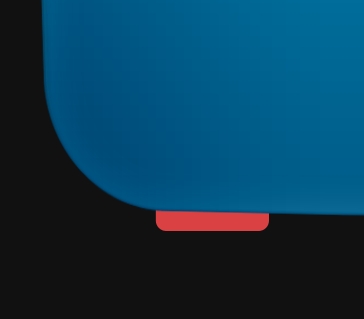
Grab the Rectangular Marquee Tool (M) and draw a rectangle like this.
Then hit Delete to erase this part from your shape.

Next, go Edit>Transform Path>Perspective and widen the upper edges.

Step 3
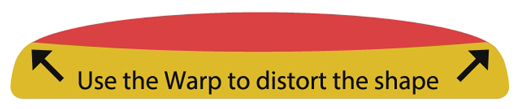
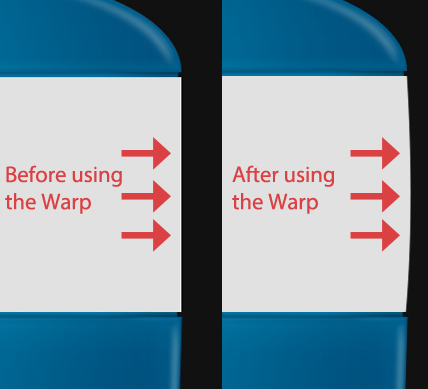
Finally go Edit>Transform Path>Warp and distort the lower edge of the shape.

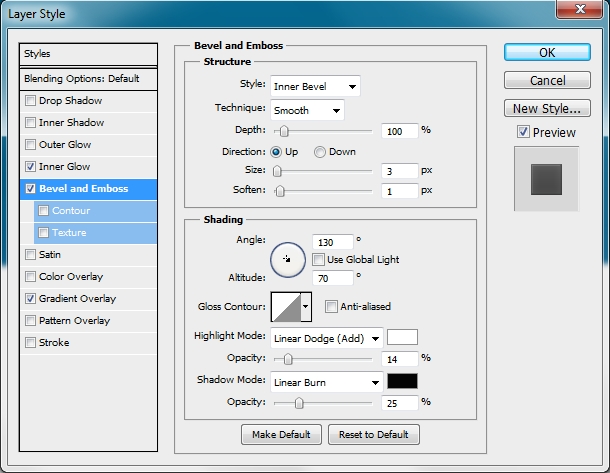
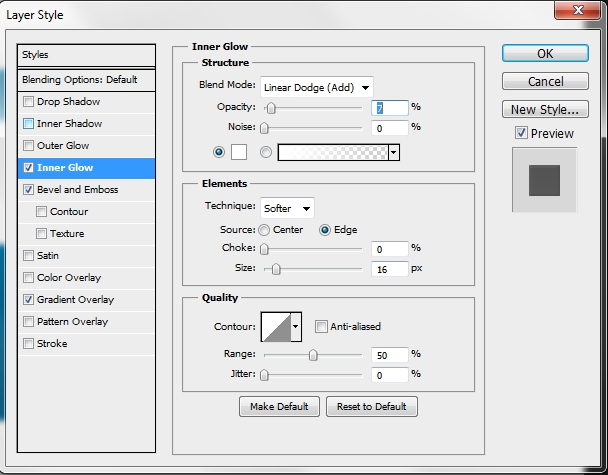
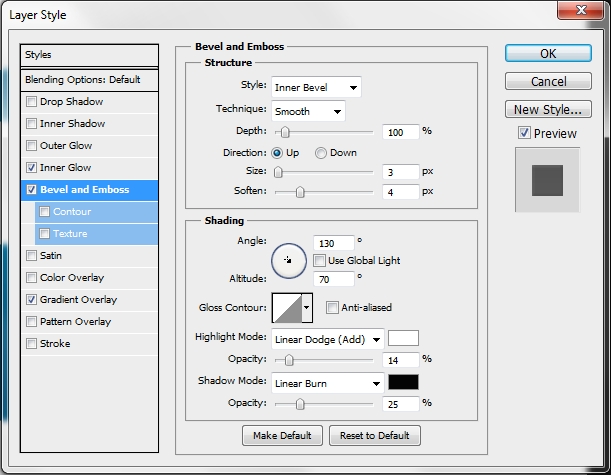
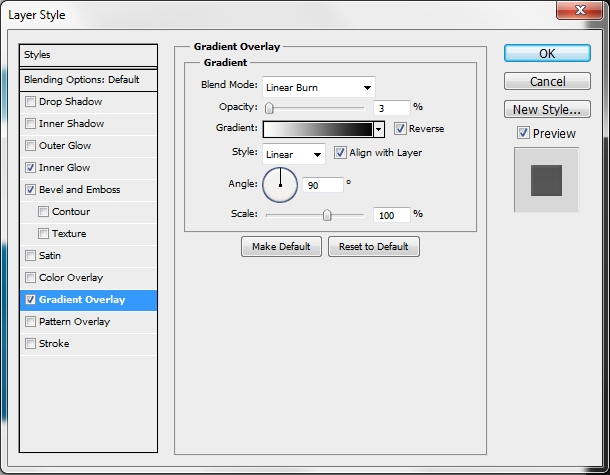
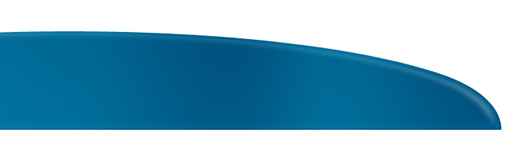
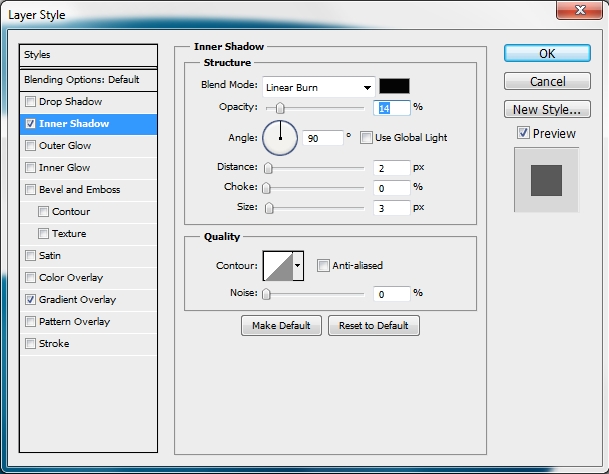
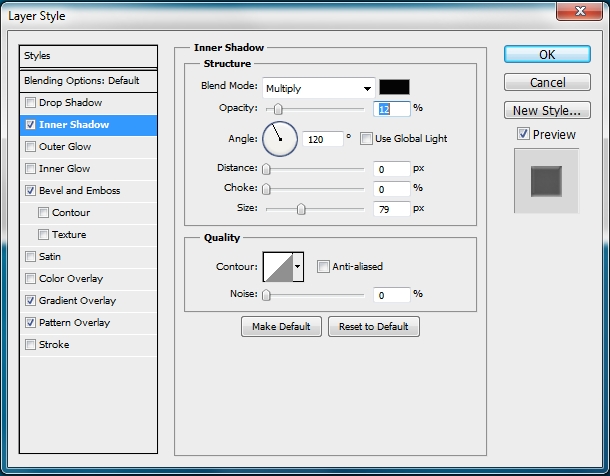
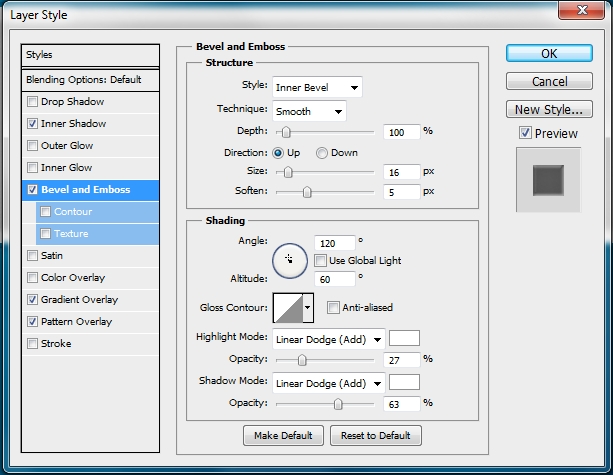
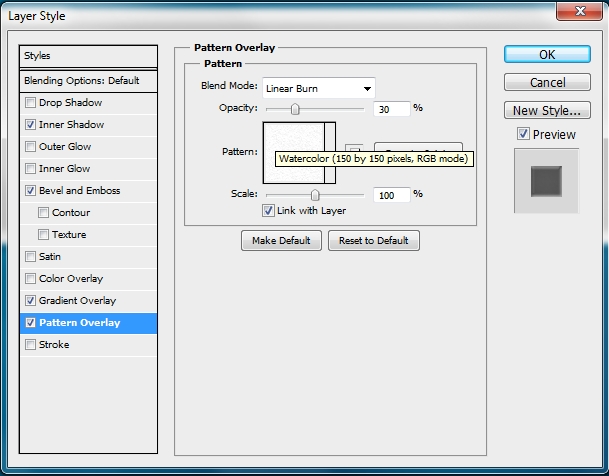
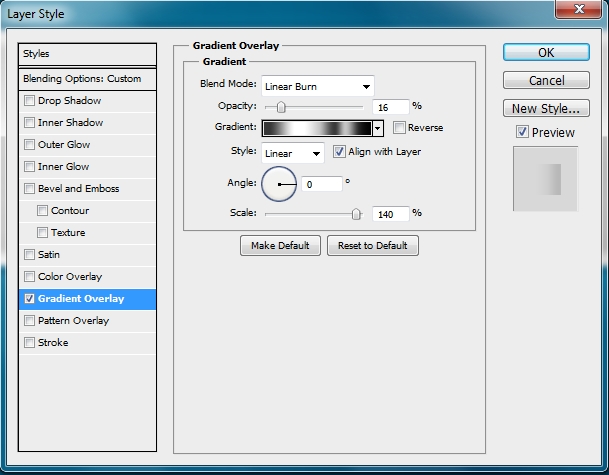
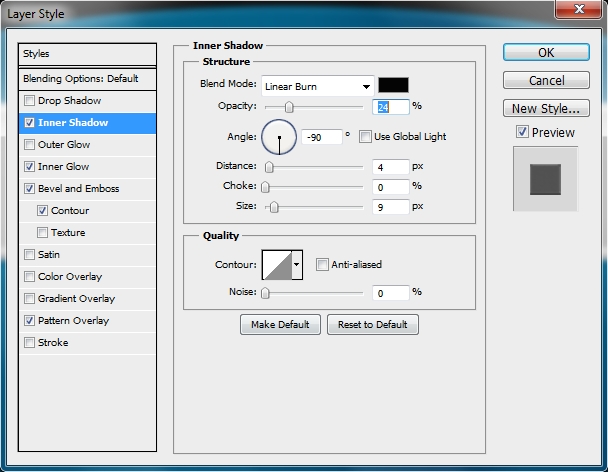
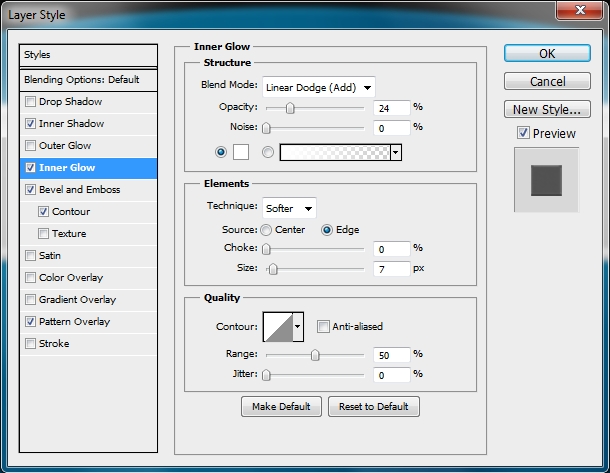
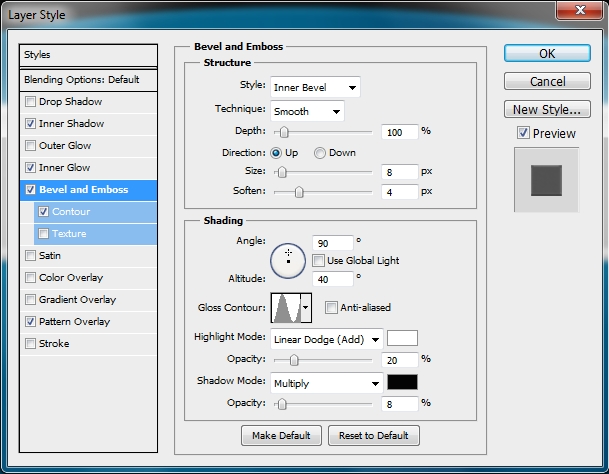
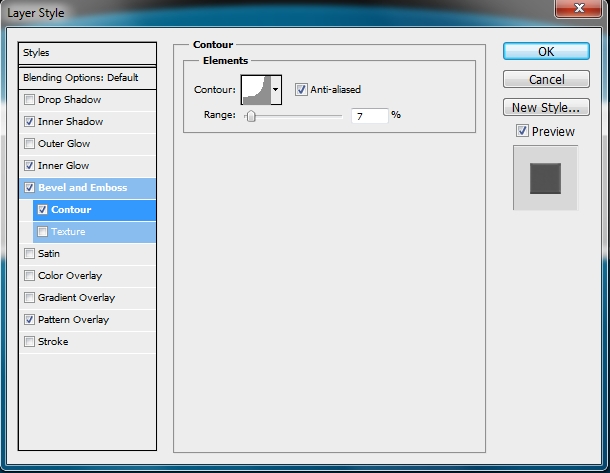
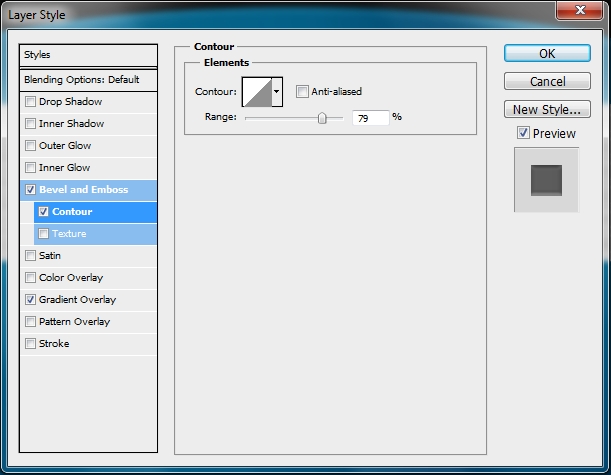
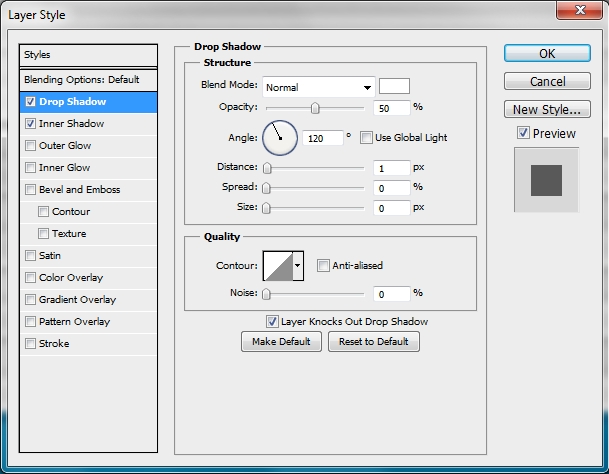
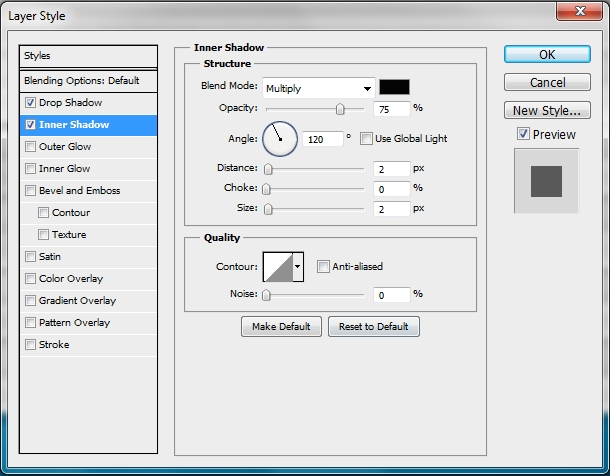
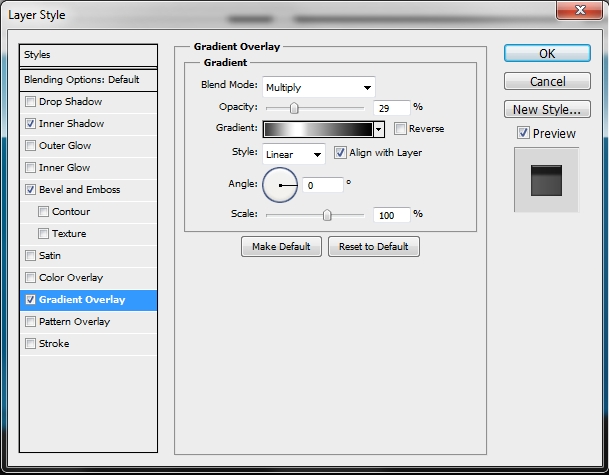
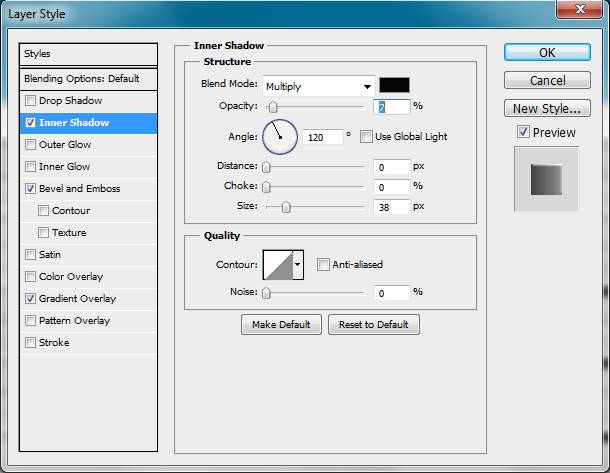
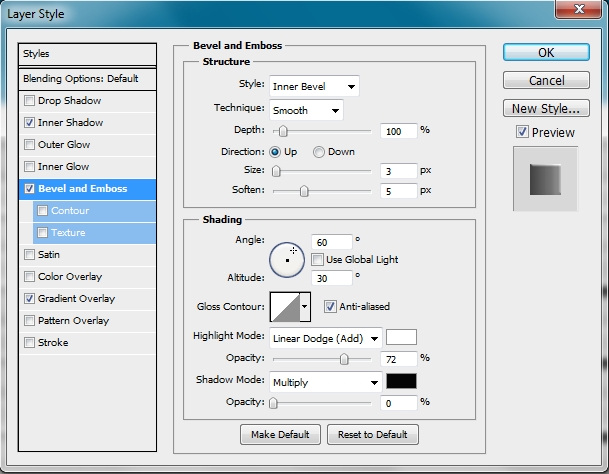
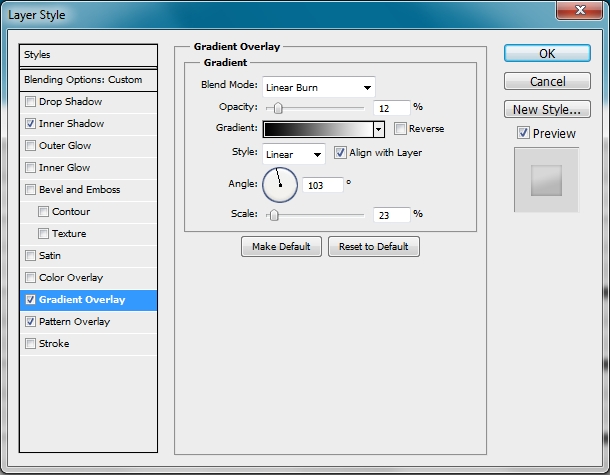
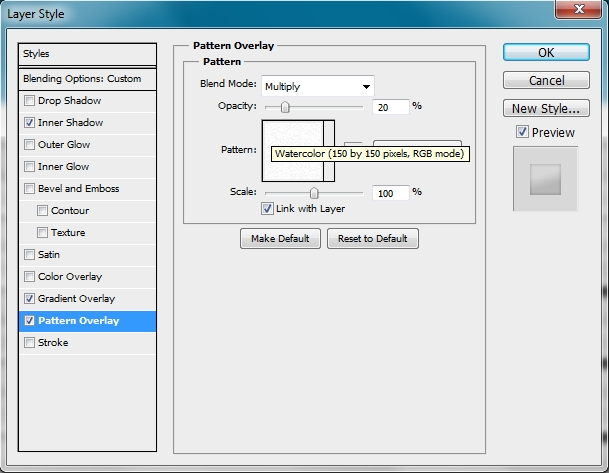
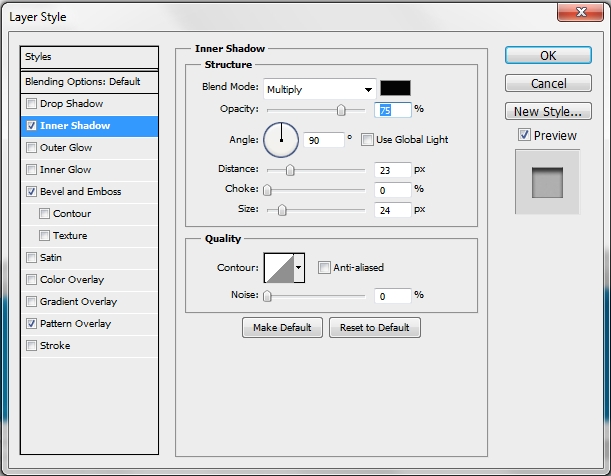
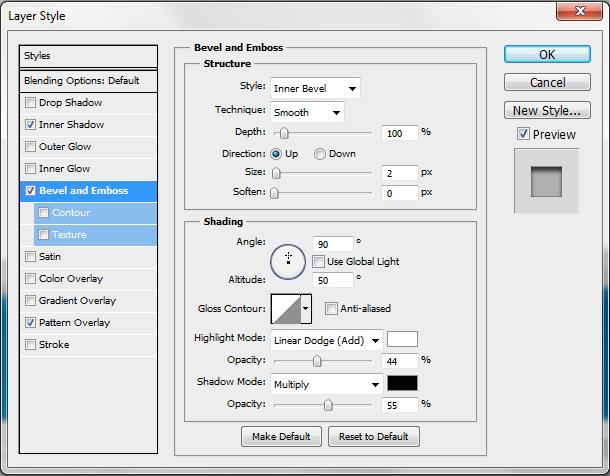
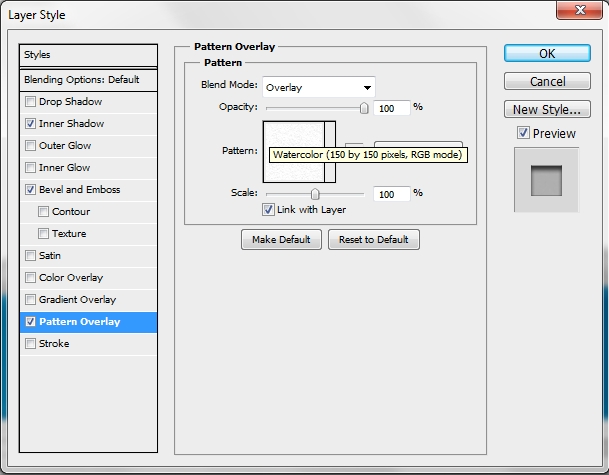
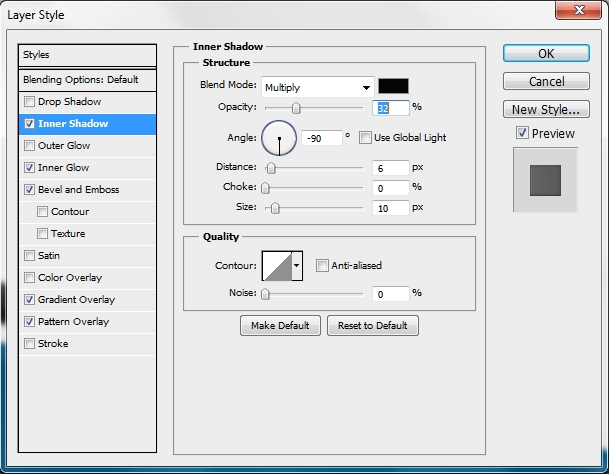
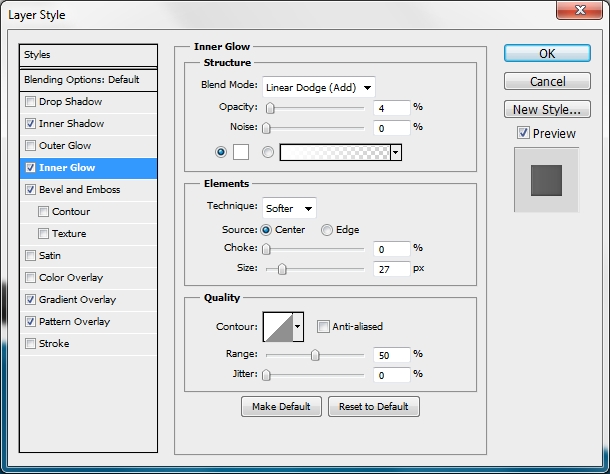
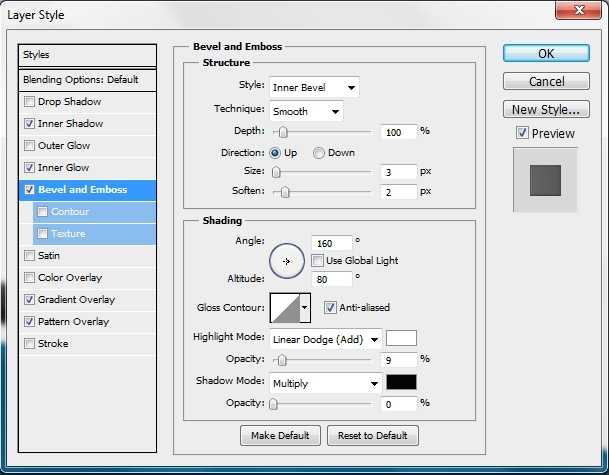
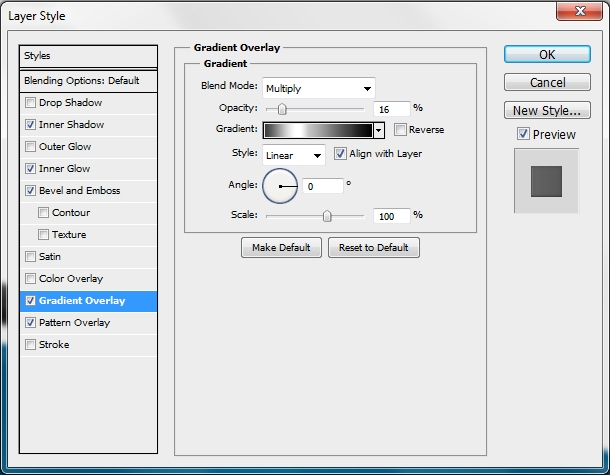
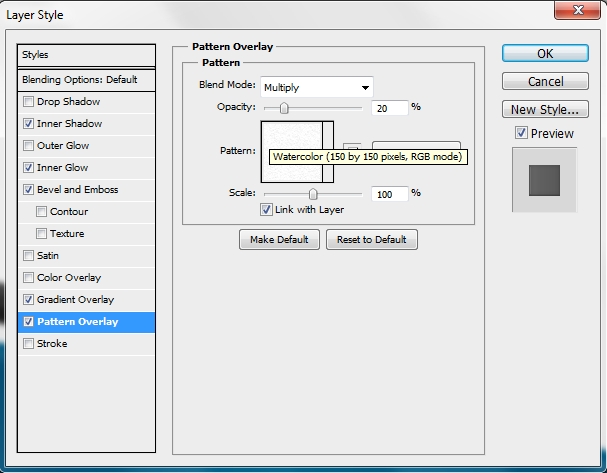
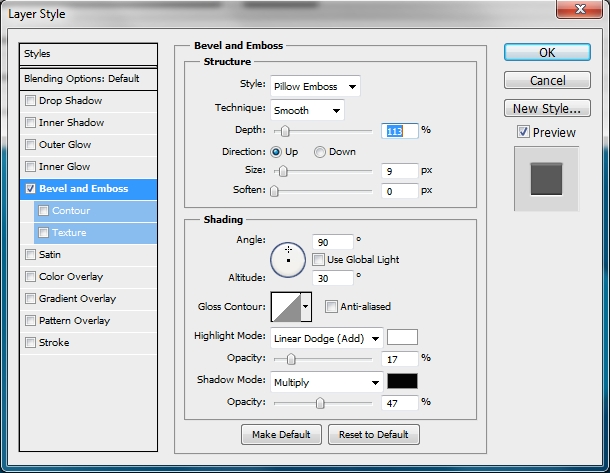
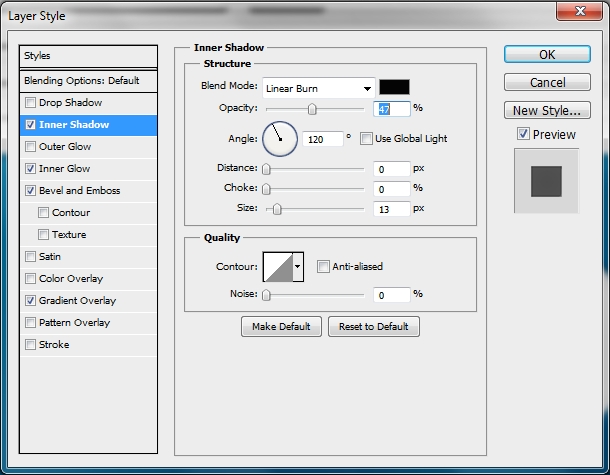
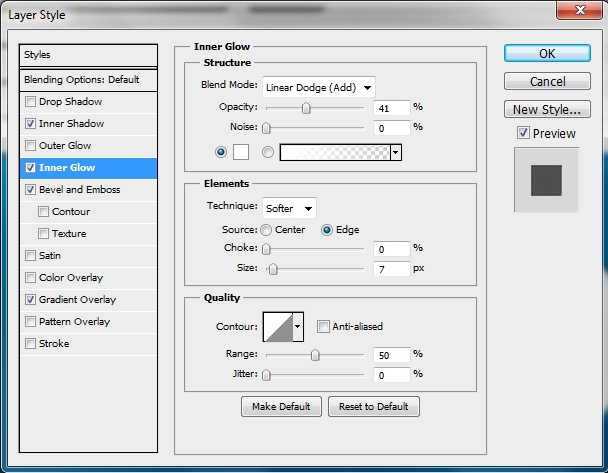
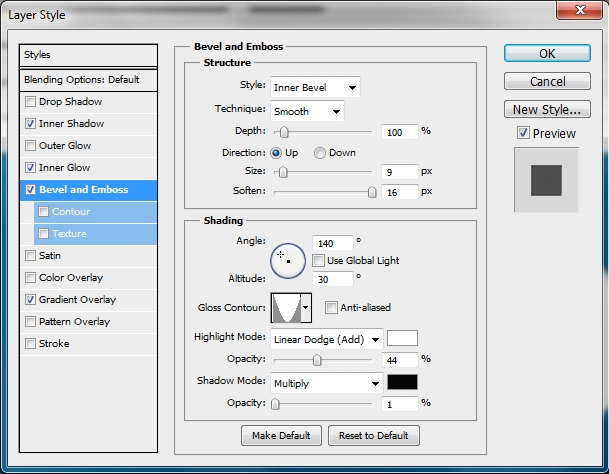
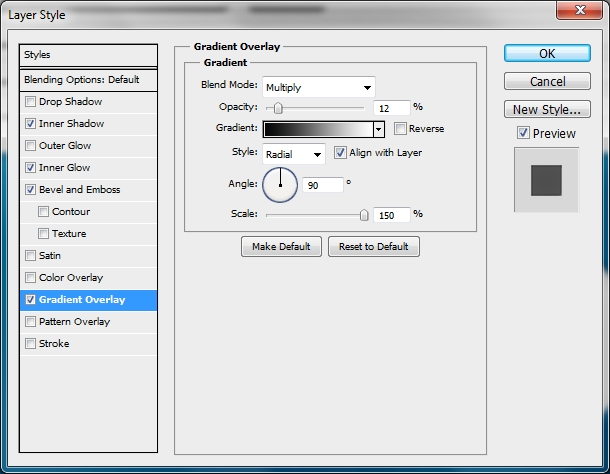
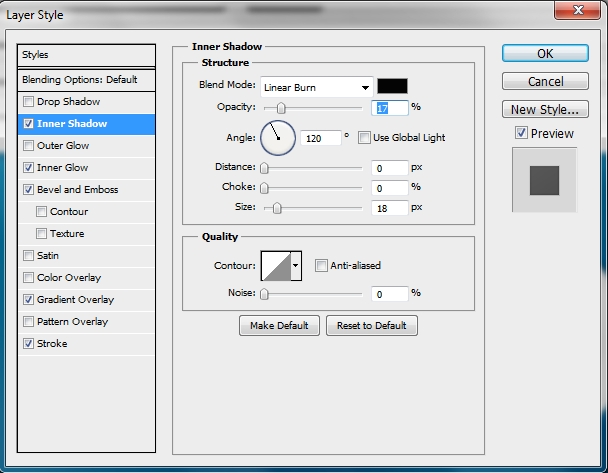
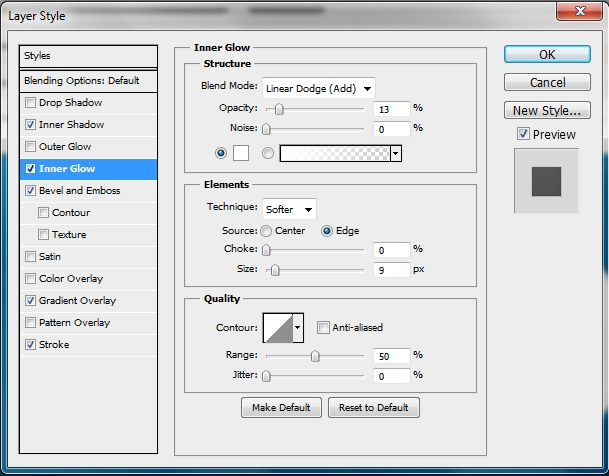
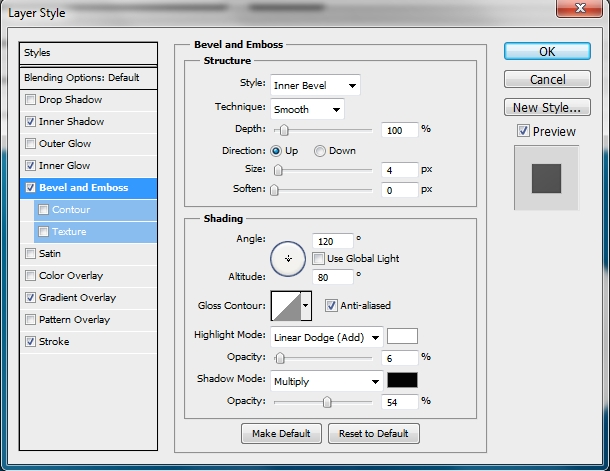
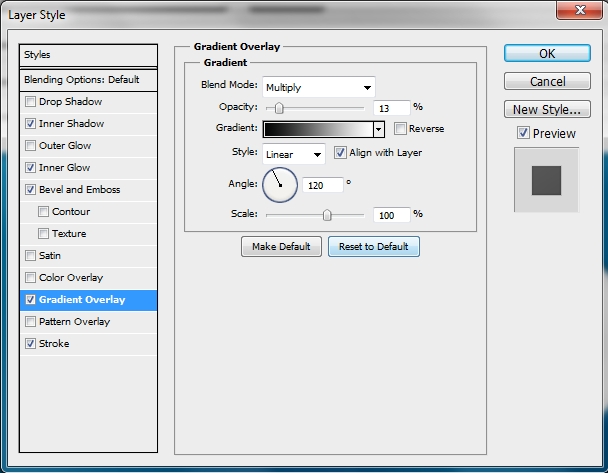
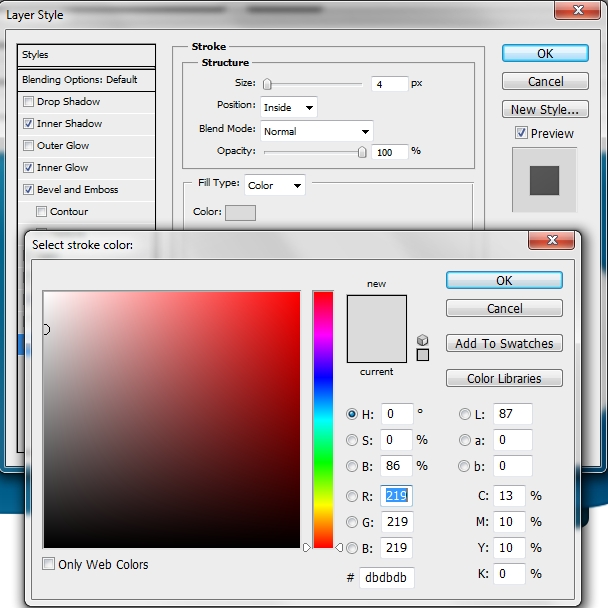
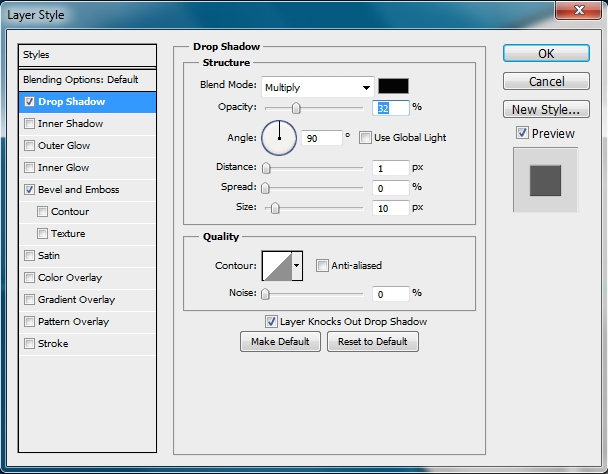
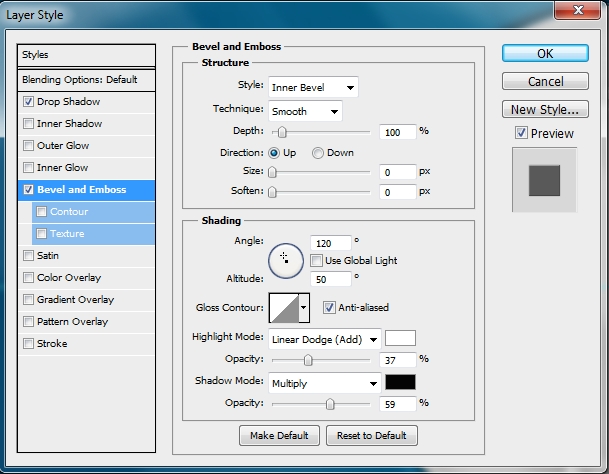
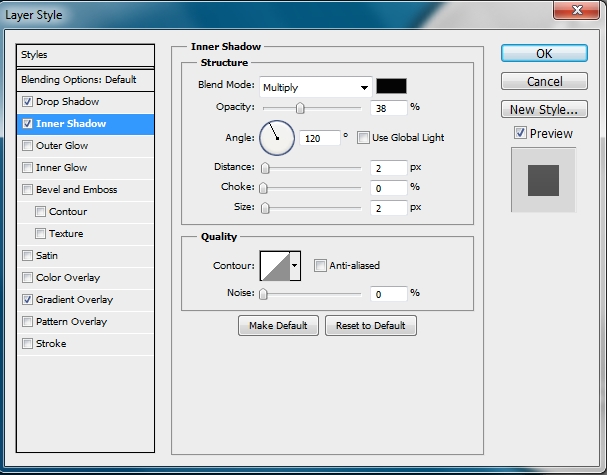
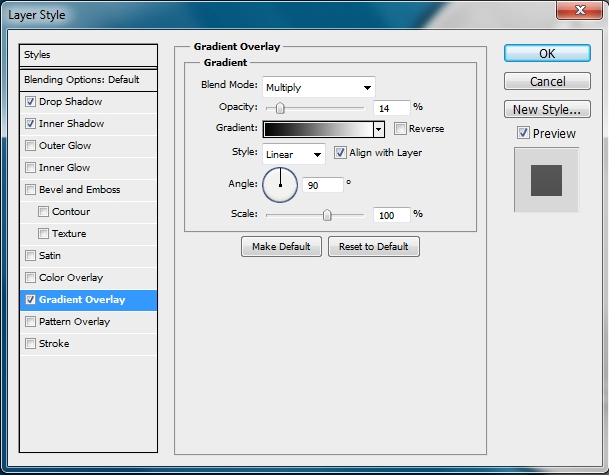
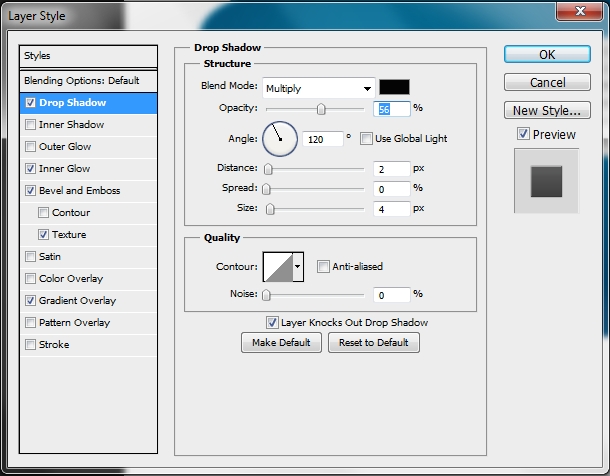
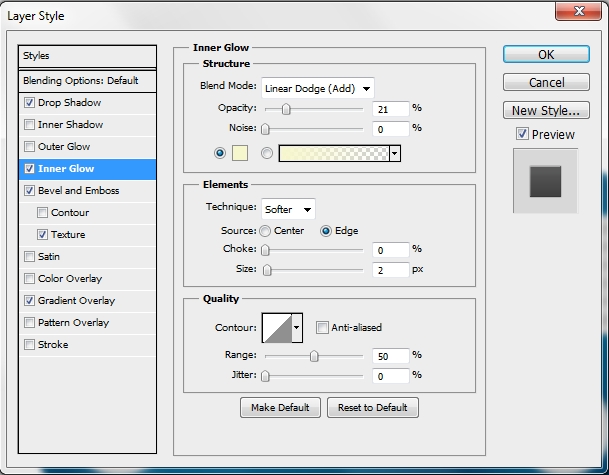
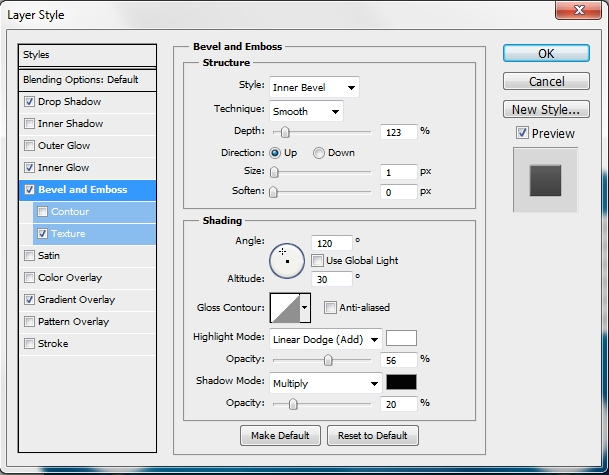
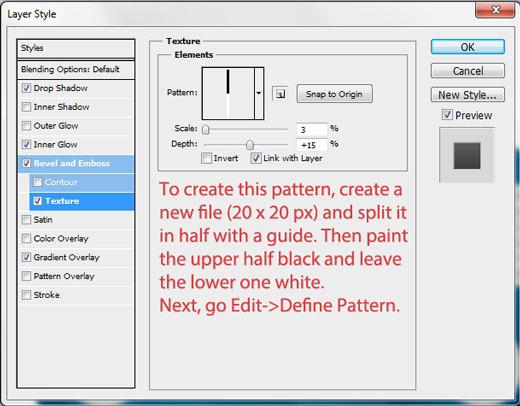
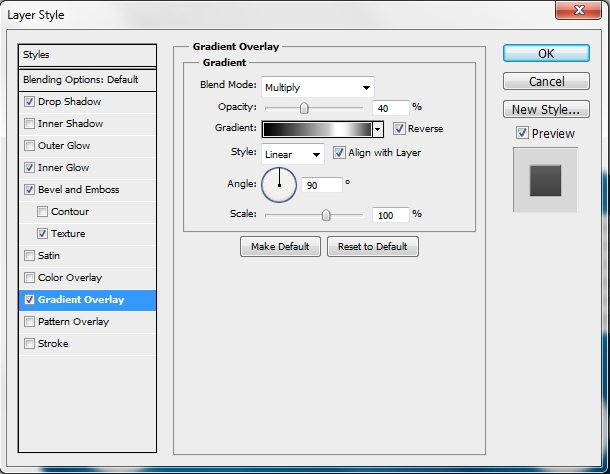
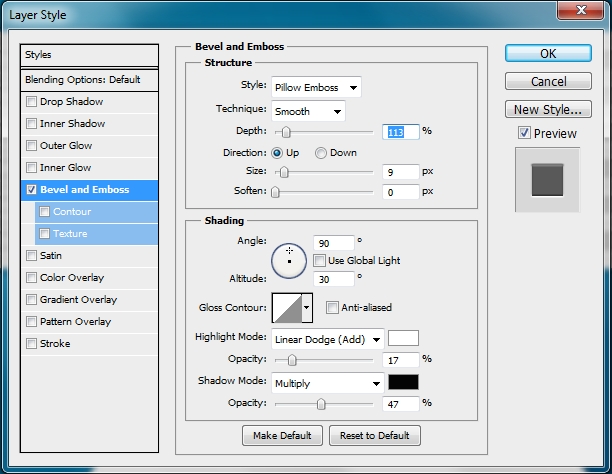
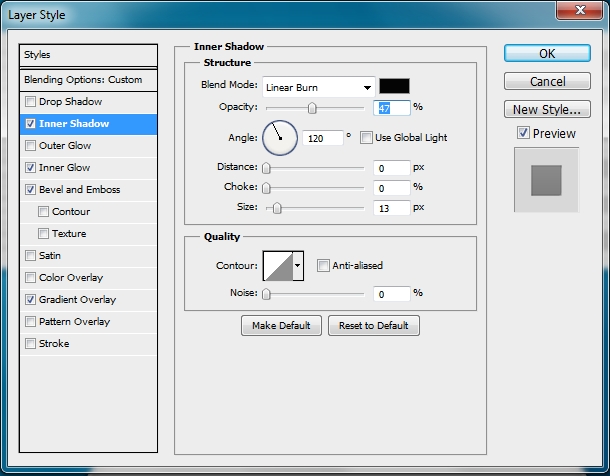
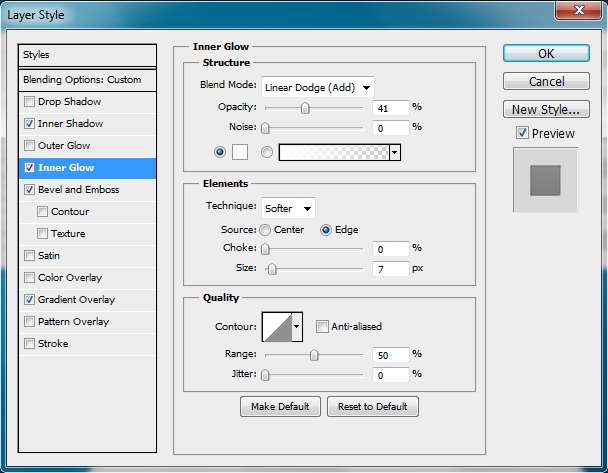
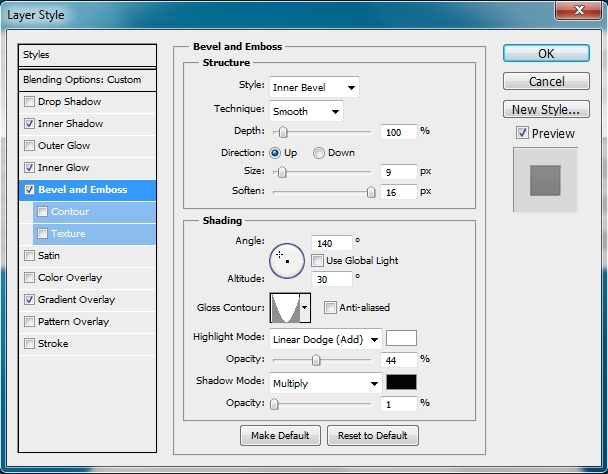
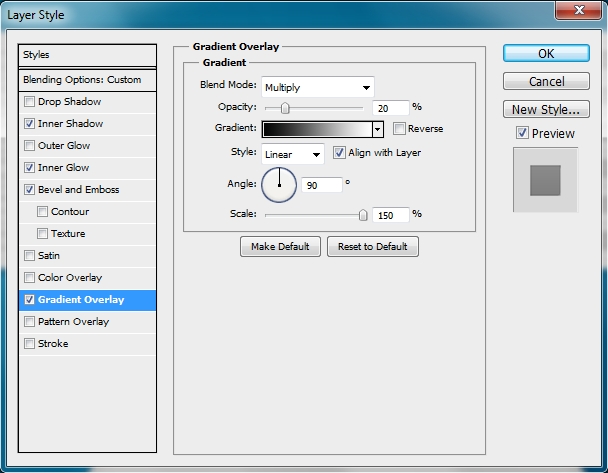
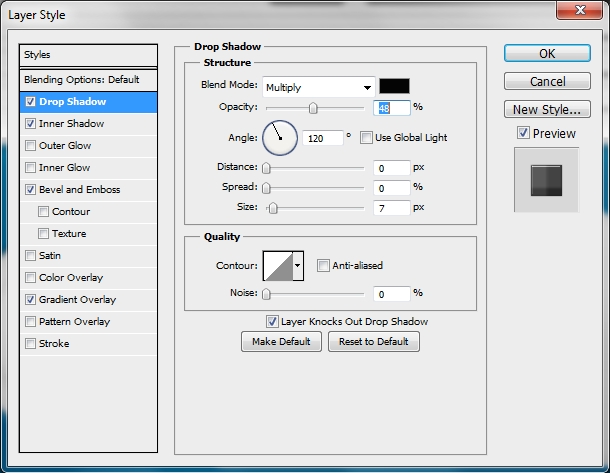
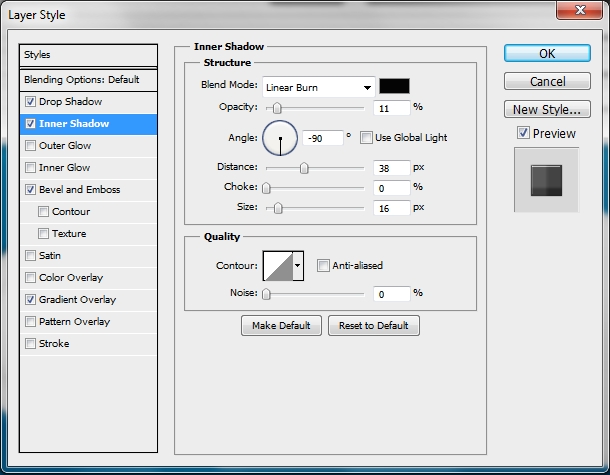
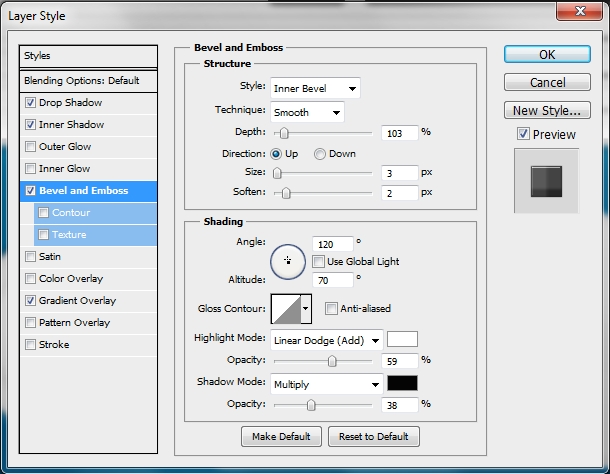
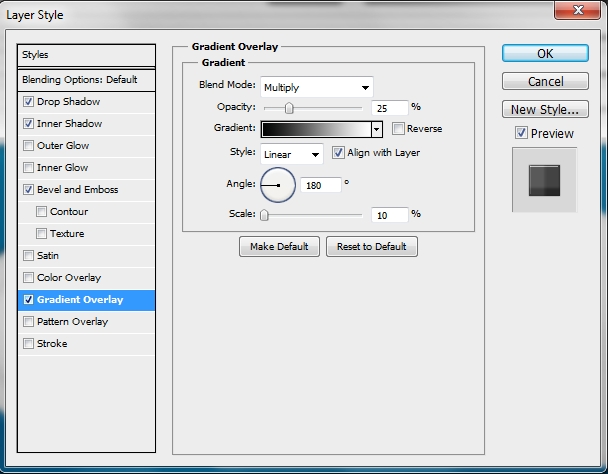
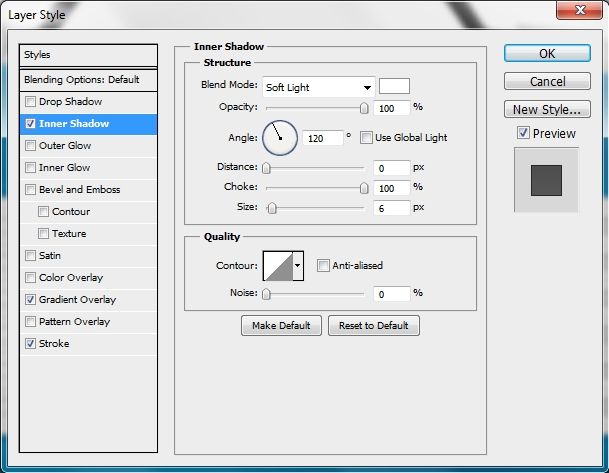
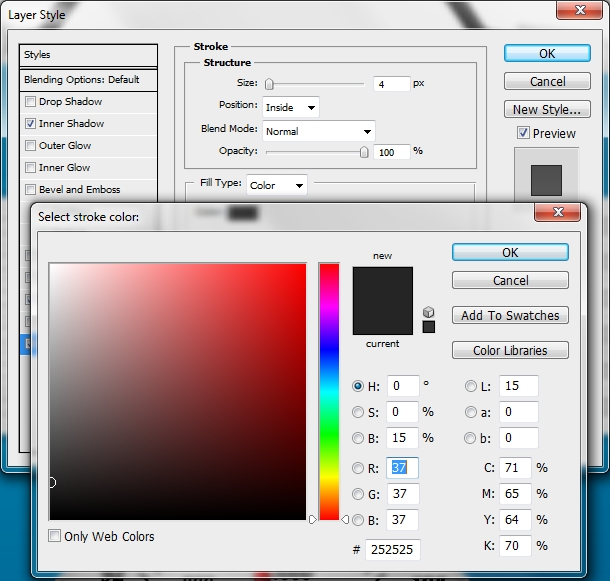
Then apply these styles.
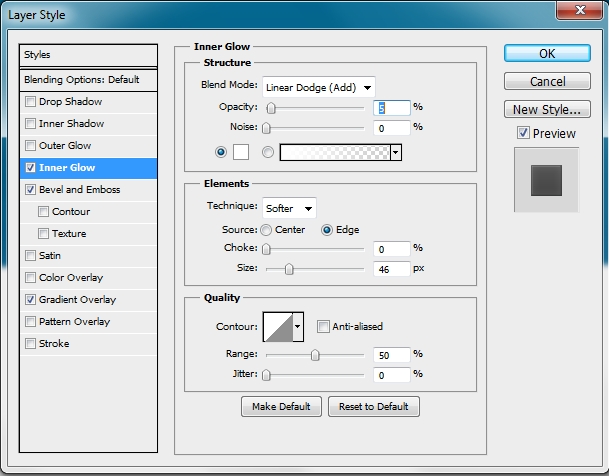
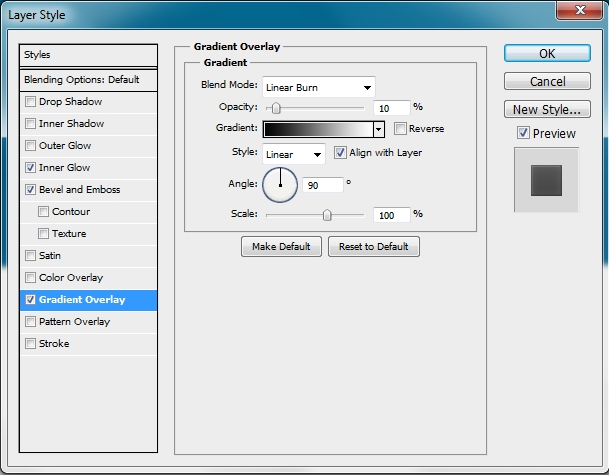
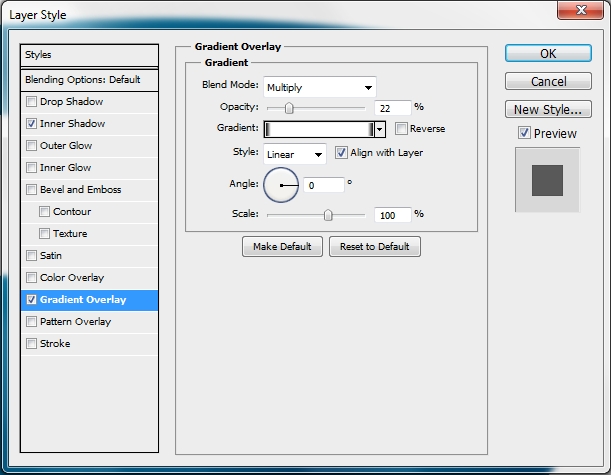
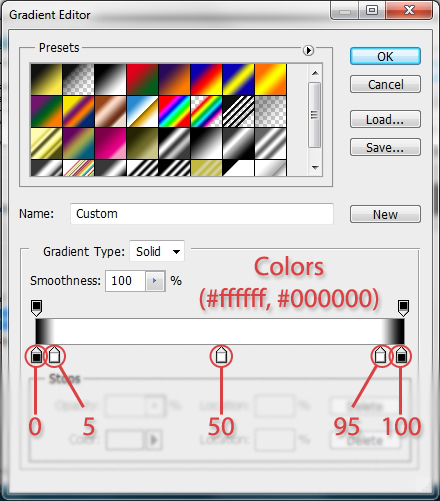
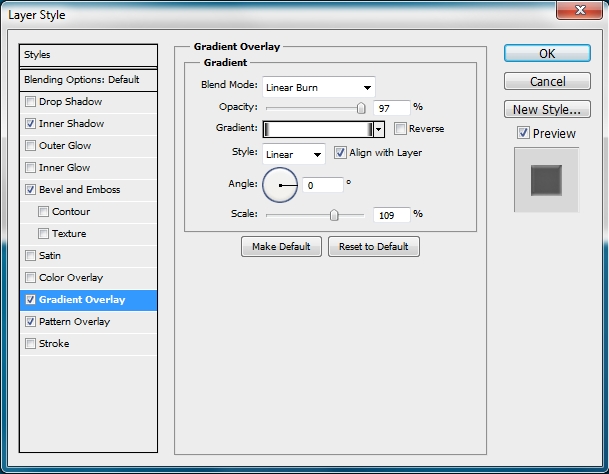
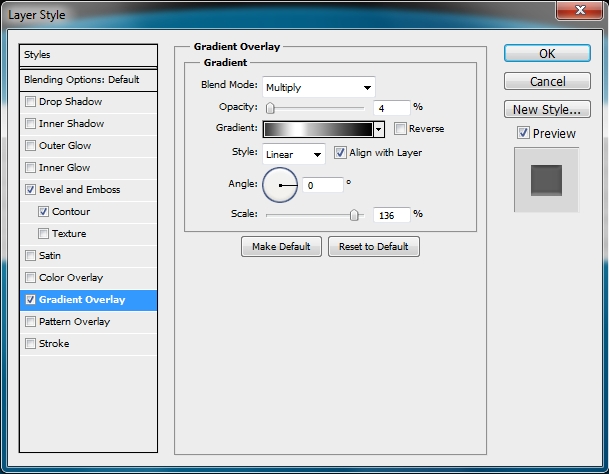
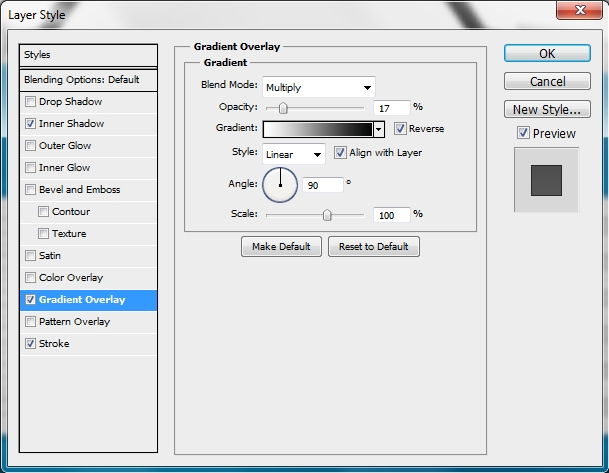
Duplicate this layer and add the following gradient. Don’t forget to turn Fill to 0%.
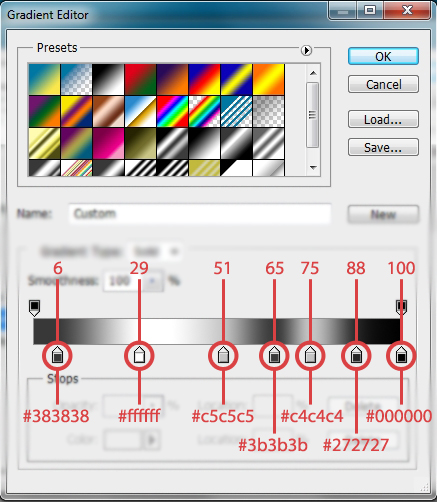
• Note: Save this gradient, as you’ll need to use it a couple of times later.
Step 4
Create a new layer and using a soft round brush draw some highlights.
Step 5
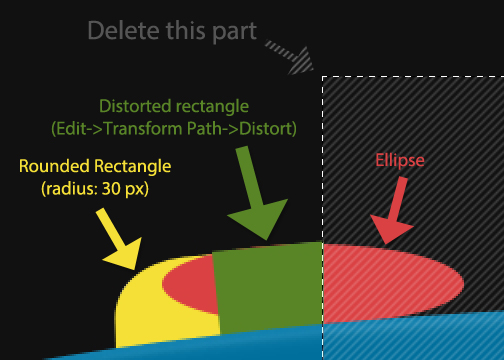
Now we need to create the upper part of our radio. To do this, there are two ways; either use the Pen Tool (P) and draw the shape, or you can use the Ellipse Tool (U) and the Rounded Rectangle Tool (U) (radius: 30 px) to draw a couple of shapes and then merge them. *Note that you’ll need to experiment with the Warp a bit.
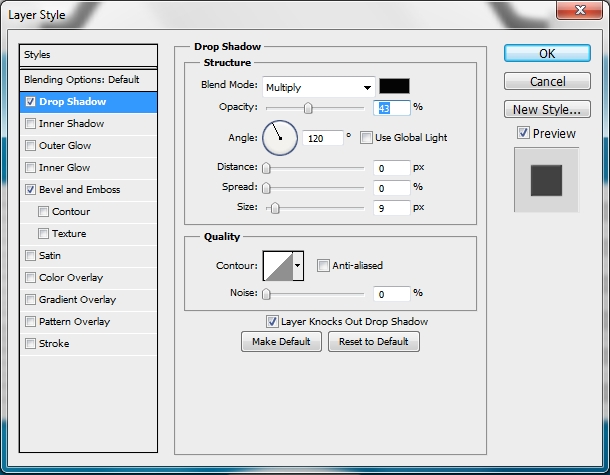
Then simply add these styles.
Step 6
Duplicate this shape and clear its styles (Right click on layer > Clear Layer Styles). Then apply this gradient. Again, make sure you turn Fill to 0%.
Step 7
Create a new layer and once again pick a random soft round brush and draw some highlights.
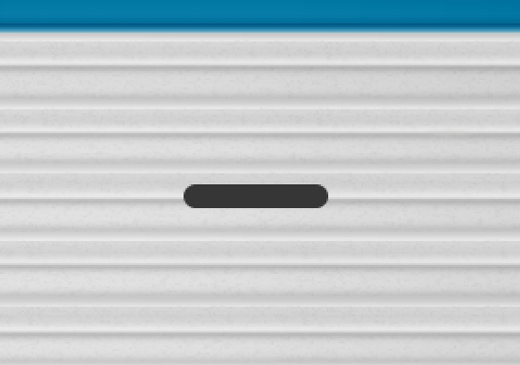
Step 8
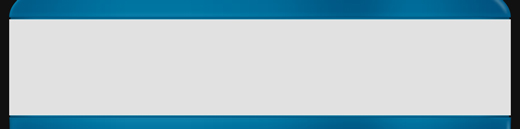
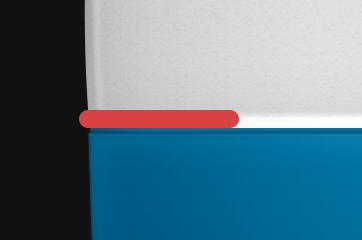
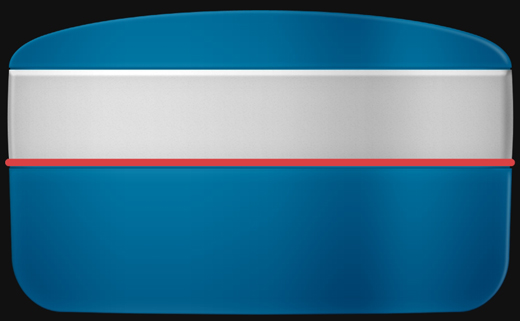
Create a new layer and grab the Rectangle Tool (U) and draw a wide and thin rectangle. Use the image below as a guide.

Then add these styles.
Step 9
Duplicate this layer and place it on top of the lower part of the radio.
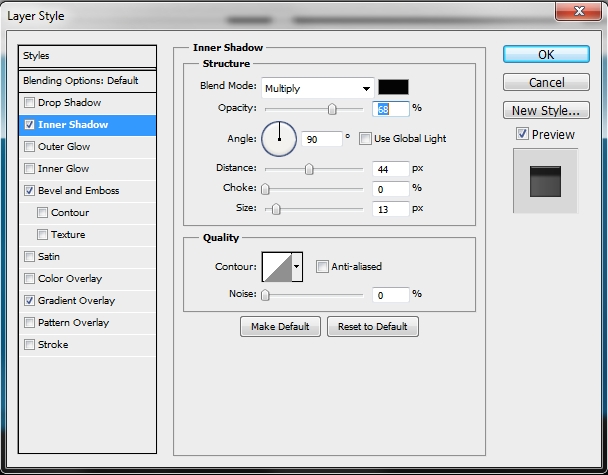
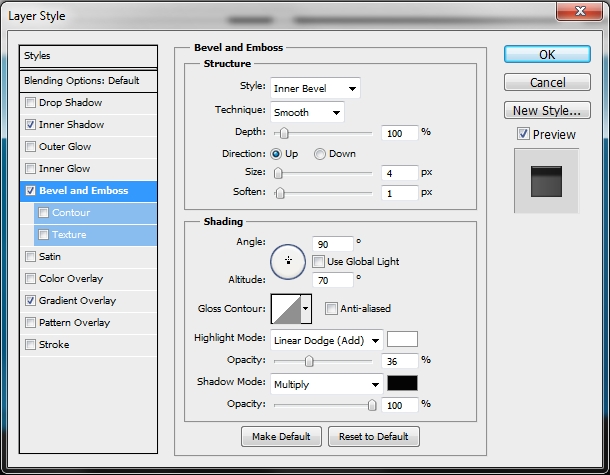
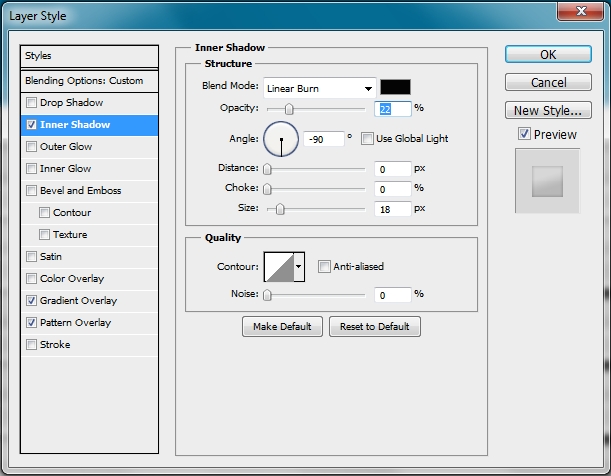
• Note: Change the Inner Shadow’s Angle from 90 to -90. Change the color of the shapes to #0076a3.
Step 10
Group all the layers created in the previous steps and name the group “Basic blue shapes” or something.
Then create a new layer and place it before the “Basic Blue Shapes” group in the layers stack. Grab the Rectangle Tool (U) and draw a big wide rectangle. Change its color to #e1e1e1.
Then using the Warp (Edit>Transform Path>Warp) distort the shape a bit.
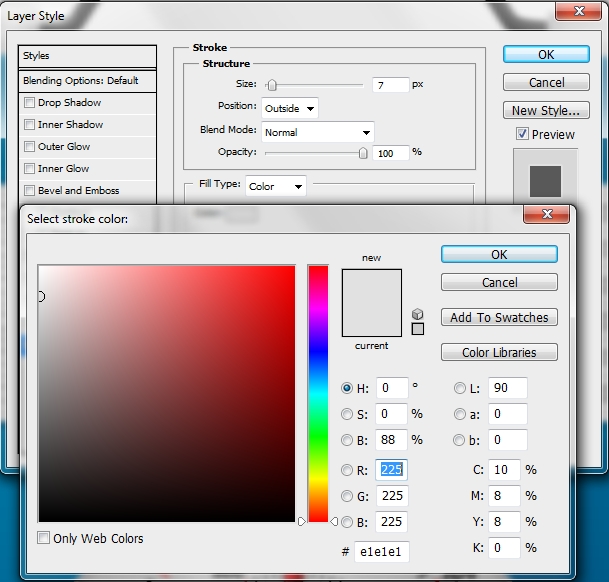
Then apply these styles.
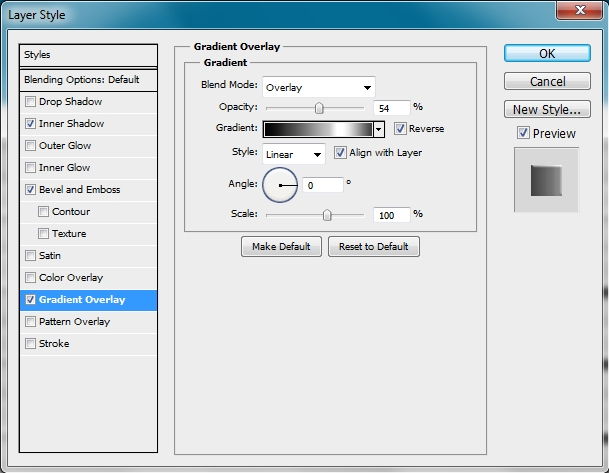
Step 11
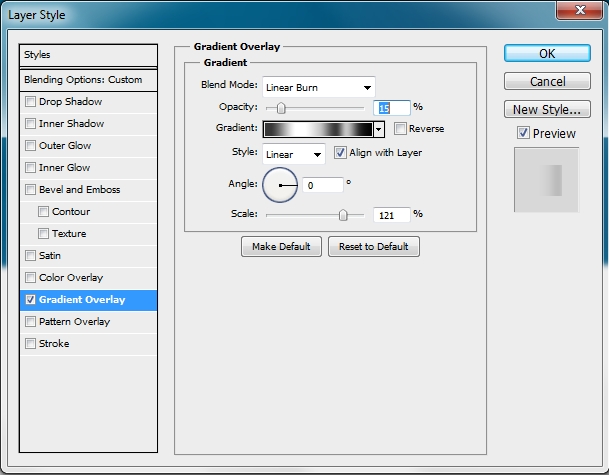
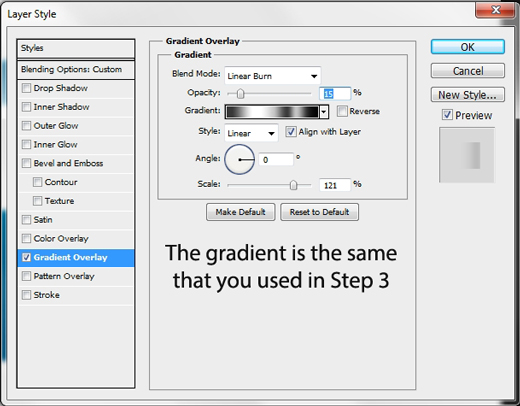
Duplicate this shape, turn the Fill to 0% and clear its styles. Then add this gradient. Don’t forget to save this gradient. You’ll be using it quite a lot later.
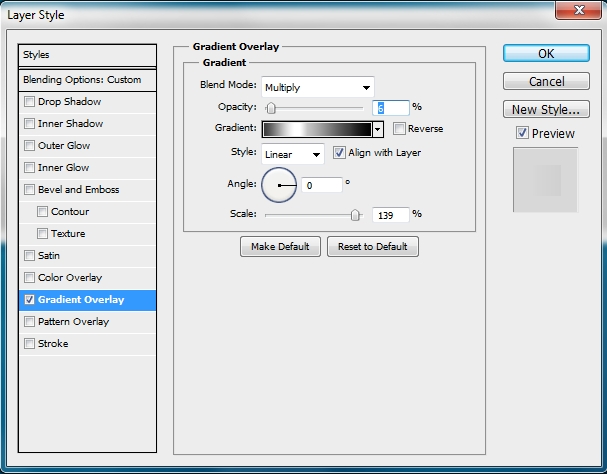
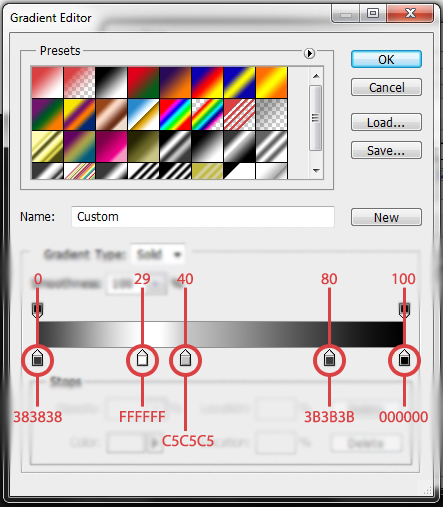
Duplicate this new layer and change apply this gradient (Fill=0%).
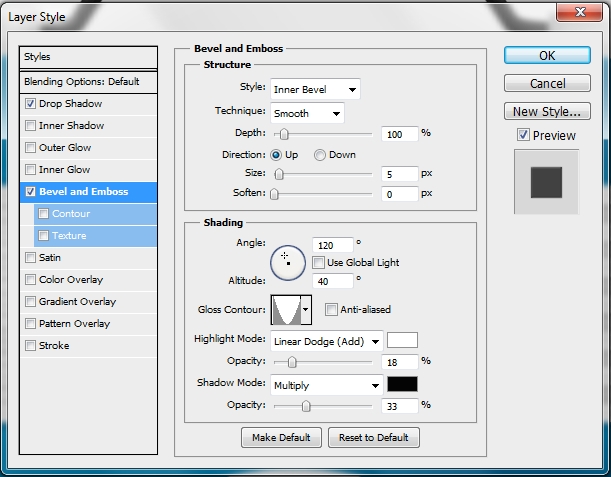
Step 12
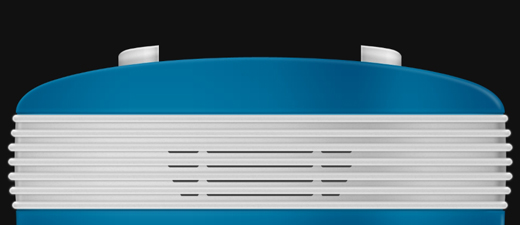
Now we’ll decorate the speaker. Pick the Rounded Rectangle Tool (U) and set the Radius to 30px. Draw a small shape like the one on the image below. Change its color to #e1e1e1.
Duplicate this layer couple of times and place the copies next to each other (just like you did in the beginning of the tutorial with the lower part of the radio).
Merge all these layers and add the following styles.

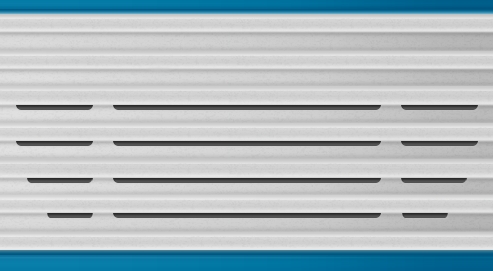
Step 13
Duplicate this layer six times and place the copies above the original.
Step 14
Once you done this, group those layers and name the group anything you want. Then duplicate the group and merge it (Right Click on the group > Merge group). Apply these styles to the new layer.

Step 15
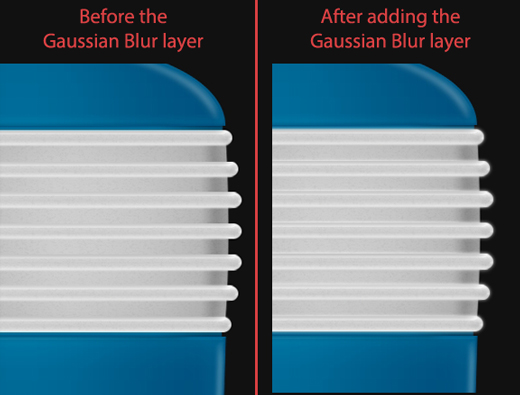
Duplicate this layer and place it before the original one in the layers stack. Then clear its styles and go Filter>Blur>Gaussian Blur and set the radius to something around 1,5-2,5px.
Step 16
Duplicate this layer and place the copy again under the original layer in the layers stack. Then go Image>Adjustments>Hue/Saturation (or simply hit Ctrl+U) and set the Saturation to -100. Select the pixels of the shape created in Step 10 (Ctrl+Left click on the layer’s thumbnail) and press Ctrl+Shift+I to inverse the selection. Then simply hit Delete to erase the unwanted parts.
Step 17
Create a new layer and select the Rounded Rectangle Tool (U); radius: 20 px. Draw a small rectangle and rasterize the shape.
Delete the upper half of the shape (use the Rectangular Marquee Tool (M)). The color is #252525.

Duplicate this shape and place the copies in accordance with the image below.
Merge all these layers and apply these styles.
Step 18
Group all the layers created so far and name the group “Base”.
Create a new layer and place it under the “Base” group in the layers stack. Grab the Rounded Rectangle Tool (U) and set the Radius to 10 px and draw a small rectangle.
Then apply these styles.
Duplicate the layer and place it near the right edge.

Finally group these two layers and name the group “feet” or something.
Step 19
Create a new layer (again place it before the “Base” group in the layers stack) and select #e1e1e1 as your foreground color. Once again to create the next shape there are two ways; the Pen Tool (P) or combining some basic shapes. After creating the shape, merge the layers and delete the unwanted part.
Then apply these styles.
Step 20
Duplicate this layer and clear its styles. Turn Fill down to 0% and add the following styles.
Step 21
Duplicate those two layers and then go Edit>Transform Path>Flip Horizontal. Move the copies to the right side.
Group these four layers and name the group “Handle holders” or something.
Step 22
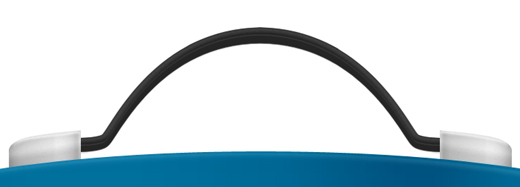
Create a new layer and place it before the “Handle holders” group in the layers stack. Grab the Pen Tool (P) and draw a path like this. You only have to draw the half of the path.
Then select the Brush Tool (B) and pick a hard round brush. Set the size to 15 px (color: #252525) and pick again the Pen Tool (P). Right click on your canvas and go Stroke Path (uncheck the Simulate Pressure box).
Then simply duplicate this layer and flip it horizontally (Edit>Transform Path>Flip Horizontal).
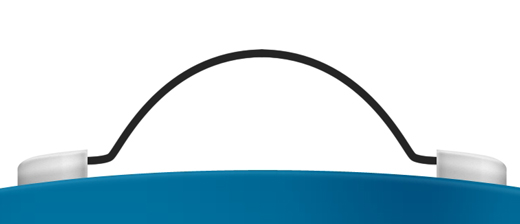
Merge those two layers and add the following styles.
Step 23
Repeat the previous step only this time make your brush larger (25 px). Move the layer a bit downwards to create a 3d effect and apply these styles. After that, group those two layers and name the group “Handle”.
Step 24
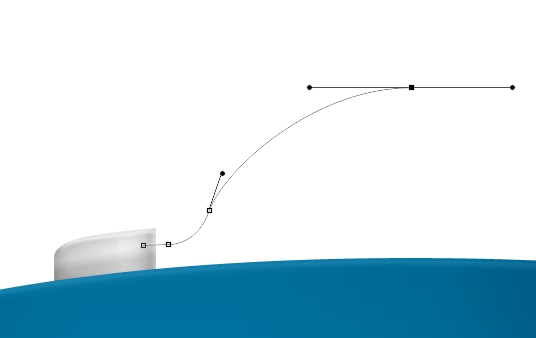
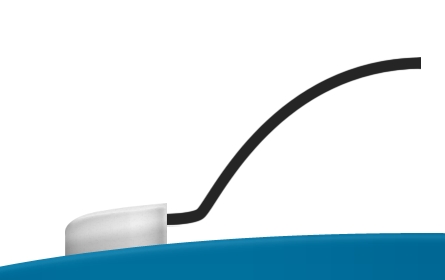
Create a new layer and place it under the “Handle” group in the layers stack. Grab the Ellipse Tool (U) and draw a small circle. Fill it with #e1e1e1. Then pick the Rectangle Tool (U) and draw a simple rectangle. Use Perspective to make it look more like a trapeze.
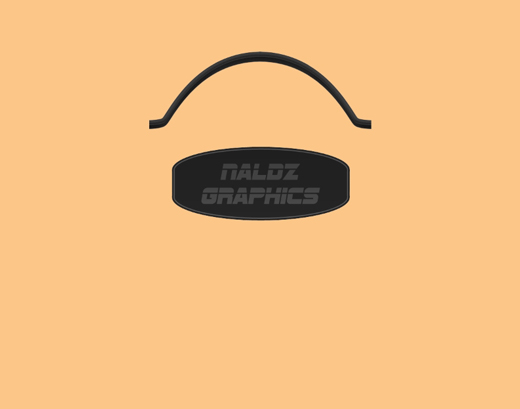
Merge the two layers and add the following styles. Rename the layer to “Antenna” and place the shape near the right “handle holder”.
Step 25
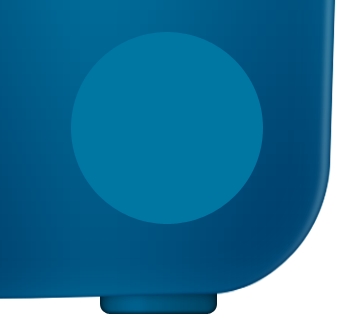
Now it’s time to decorate the radio. From now on, every new layer you’ll be creating has to be placed on top of the layers stack. So, create a new layer and pick the Ellipse Tool (U). Hold Shift and draw a medium sized circle. Fill it with #0076a3 and add this style.
Step 26
Duplicate this layer and scale it down only a little bit (so that it fits perfectly in the first circle). Change the color to #e1e1e1 and apply the following styles.

Step 27
Duplicate the circle created in the previous step and scale it down.

Replace the existing styles with these ones.
Step 28
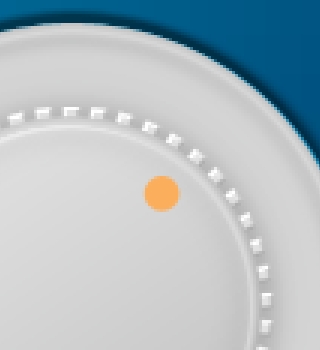
Create a new layer and place it before the one you created in the previous step. Pick the Rectangle Tool (U) and draw a very small rectangle. Change its color to #e1e1e1.
Then holding Alt, click and drag the shape’s anchor point to the center of any of the circles that you created before.
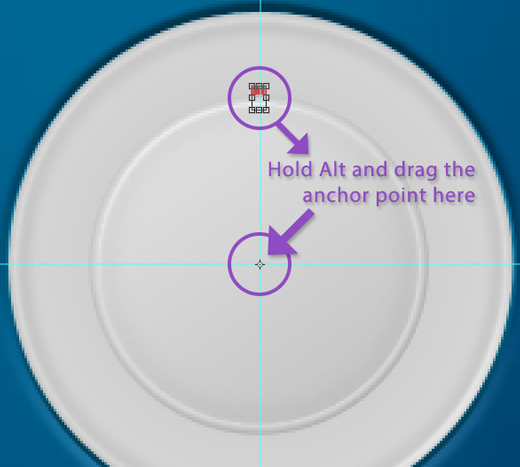
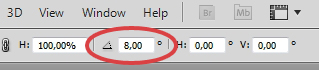
Then go to the Rotate box and replace 0 with 8.
Duplicate this layer a lot of times until you reach the spot from where you began. Remember to press Ctrl+Shift+T every time you duplicate a layer to apply the rotation. Once you’re done, merge all the layers and apply these styles.
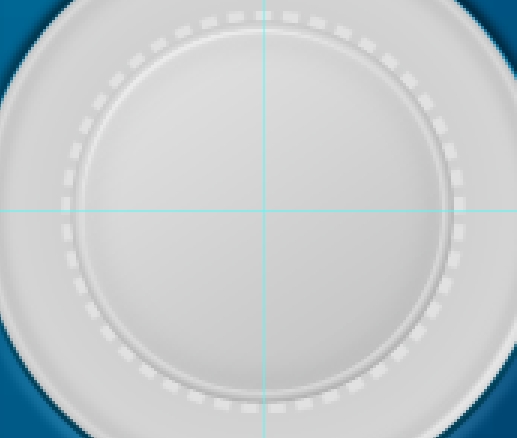
Since you’ll need to repeat this process again later, we’ll call it the “Transform Again Technique”.
Step 29
Create a new layer and pick the Ellipse Tool (U). Draw a small circle (remember to hold Shift) and fill it with #fbaf5d (or any other color you like). Then add the following styles.
Step 30
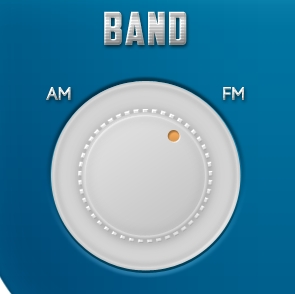
Group all the layers created in Steps 25-30 and name the group “Volume Switch”. Duplicate the group, change its name to “Band Switch” and move it to the left side.
Step 31
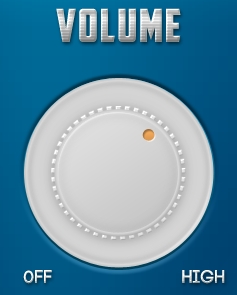
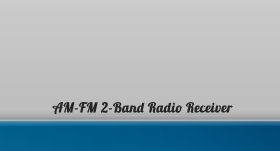
Now we’re going to decorate the switches. So, create a new layer and grab the Type Tool (T). Write “VOLUME”, change the color to #e1e1e1, place it above the right switch and apply these styles (the font I used is American Captain; size: 10pt).
Duplicate this layer and change the text to “Band”. Then simply move it over the left switch. Right click on the layer and press “Copy Layer Style”.
Step 32
Let’s add some more text. Write “AM (leave a couple of spaces) FM”. The font I used is Code (Bold); size: 4pt. Right click on the layer and press “Paste Layer Style”. Repeat the process for the volume switch (text: “Off (leave a couple of spaces) High”).
Step 33
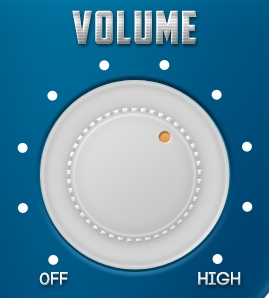
Create a new layer and draw a small circle using the Ellipse Tool (U). Change its color to #ffffff (white) and repeat the “Transform Again Technique” you learnt in Step 28 (change the “8” value to “20-30”). Then group all the layers created in Steps 31-33 and name the group “Band, Volume deco”.
Step 34
Create a new layer and pick the Pen Tool (P). Draw a path like the one below.
Fill the selection with #ffffff (white) and duplicate the layer. Then go Edit>Transform Path>Flip Horizontal.

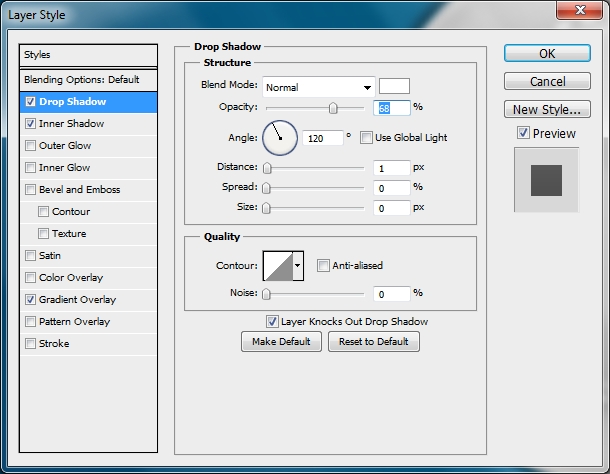
Next, apply this style.
Step 35
Duplicate this layer and clear its styles. Turn Fill to 0% and then add the following styles.
Step 36
Add some text on the bottom of the shape. The font I used is called Lobster 1.3; size: 5 pt, color: #252525.
Step 37
Duplicate the “Volume Switch” or “Band Switch” group and delete the bigger circles.
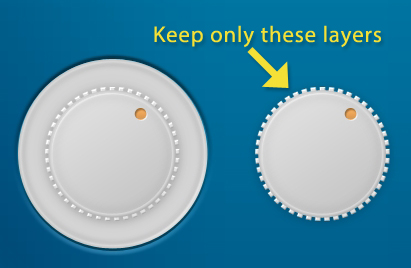
Scale down the group and place the objects accordingly to the image below. Ungroup the layers.

Step 38
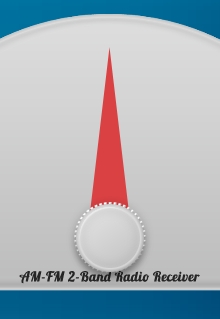
Create a new layer and place it before the layers created in the previous step. Pick the Custom Shape Tool (U) and look for the Triangle. Draw a narrow and long (distorted) triangle and fill it with #da4143. Then simply apply these styles.
Step 39
Add some text to decorate the shape. The font this time is Intro; 5 pt, color: #252525.
Step 40
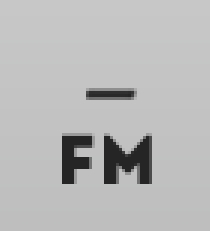
Create a new layer and draw a very narrow rectangle. Fill it with #252525. Place it right above the FM. Use the image below as a guide. Then once again repeat the “Transform Again Technique” you used before (Steps 28 & 33).

Duplicate this layer and apply this style.
Step 41
Add some text to decorate it (font: Lobster 1.3, size: 5 pt, color: #252525).

Step 42
Go back to the layers created in Step 40 and add a layer mask to each other. Then simply erase (paint black with a brush) the unwanted parts on both masks. The image below will explain everything.
Step 43
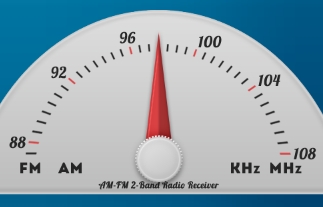
Duplicate all the layers created in Step 40-42 and scale them down a bit. Don’t forget to change the numerical values for the Amplitude modulation (AM).
Step 44
Create a new layer and select the pixels of the shape created in Step 34. Then fill it with a gradient like the one below. Change its Blend Mode to Color Burn and Fill to something around 60%.

Step 45
Group all the layers created in Step 34-44 and name the group “Bands”. Next, create a new layer and grab the Ellipse Tool (U). Draw two ellipses like the ones on the image below.
Then draw a rectangle using the Rectangle Tool (U). Change the color of all the layers to #252525.
Merge these three layers and apply these styles.
Step 46
Duplicate the shape created in the previous step and clear its styles. Then turn Fill to 0% and add this stroke.
After doing this, simply create a blank layer and merge it with the one created in this step.
Then apply these styles.
Step 47
Finally, add some text or a logo to decorate the shape. The font I used is called SF Sports Night; size: 12pt, color: #ffffff, Blend Mode: Overlay. Group the layers created in Steps 45-47 and name the group “Logo”.
Post Production
Now that our design is finished we can proceed to the post production. Read the following steps only if you want to achieve the effect shown in the Final Image (preview).
Step 48
Select all the layers created up until now (except from the background) and merge them. Then add this style.
Step 49
Paint the background with #e2e2e2 and apply the following style.
Step 50
Create a new layer and paint the whole canvas with #fdc689. Add a layer mask and “erase” the “logo” and “handle” parts.
Change the Blend Mode to Color Burn and the Fill to 65-70%.
Step 51
Create one last layer and using the Ellipse Tool (U) draw a wide and thin ellipse. Then go Blur>Gaussian Blur and set the radius to something around 2-2,5%. Change the Blend Mode to Linear Burn and the Opacity to 90%. Make some adjustments if needed.
Conclusion
That’s it. You’ve just created a nice vintage radio icon. I hope you enjoyed the tutorial and learnt something new.


Wow! Great tut.
hi Alan Klim it very cool.. tut man you did great job keep it up always like….
thanks but seems i need to brush up on my skillz, mind reading being one of them.
Cheerz :p