In this article we’ll show you how to create a nice and clean piano app UI.
Tutorial Details
- Program: Adobe Photoshop
- Version: CS5
- Difficulty: Beginner
- Estimated Completion Time: 1-2 hours
Tutorial Assets
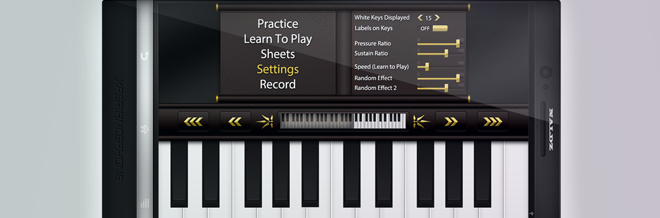
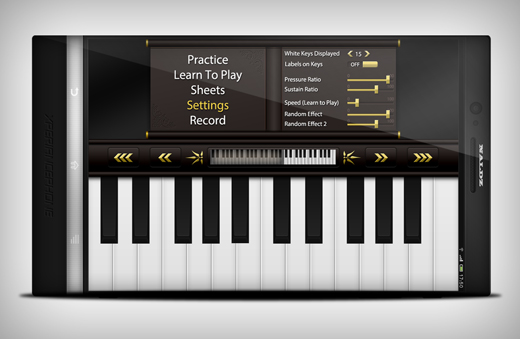
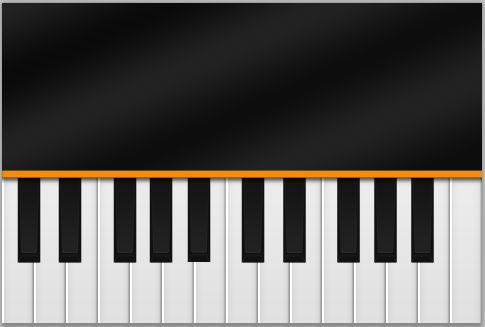
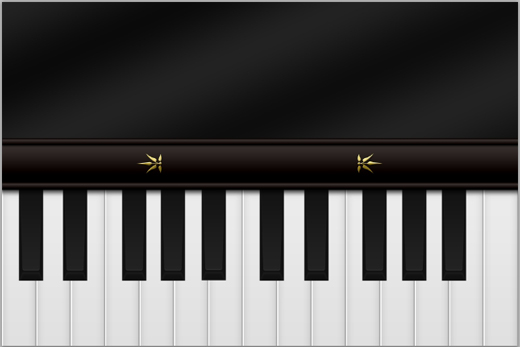
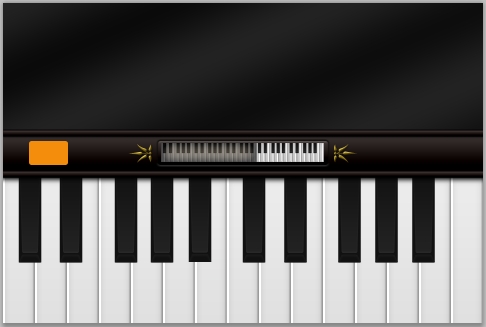
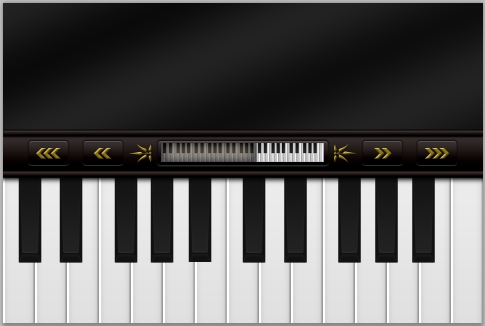
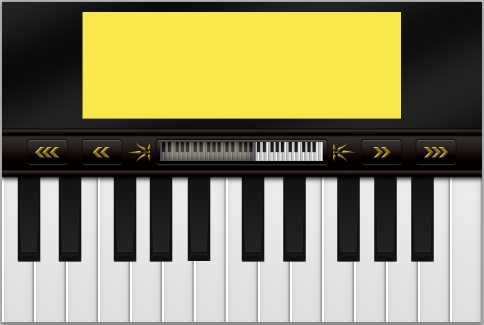
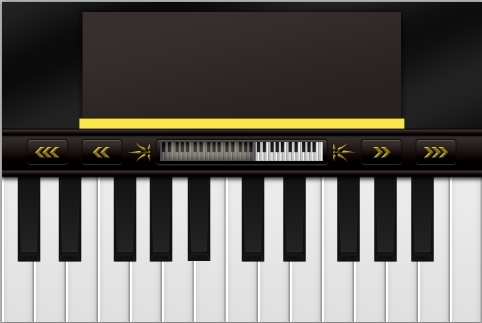
Final Result
Step 1
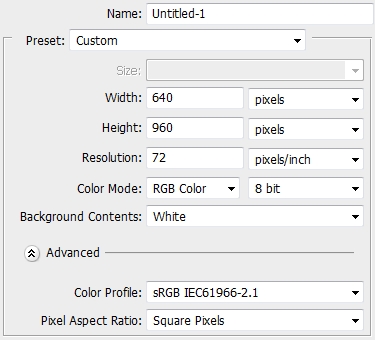
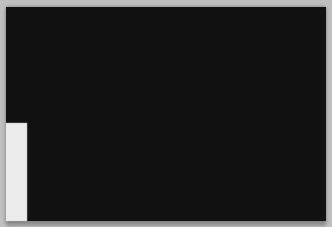
Create a new file in Photoshop and paint the background layer with #111111.
Step 2
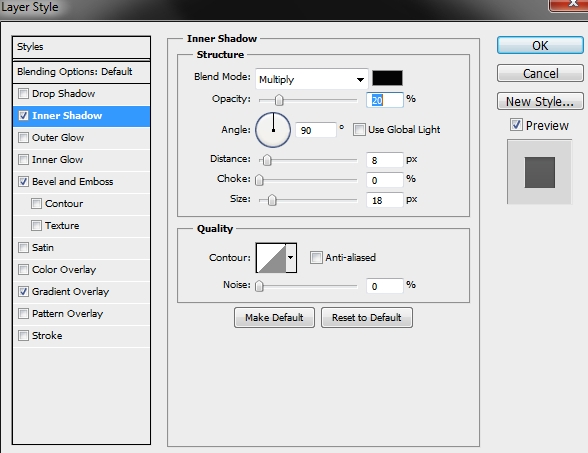
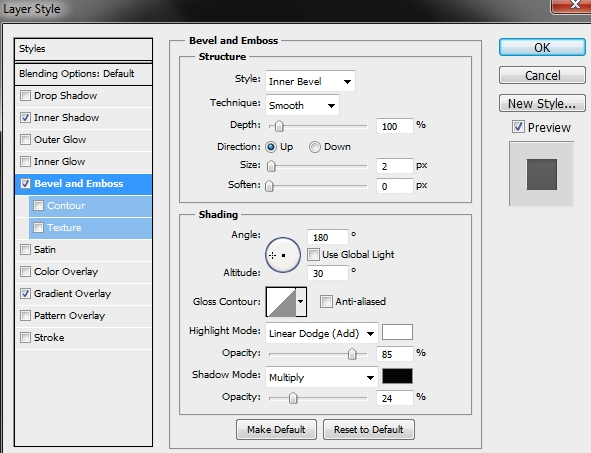
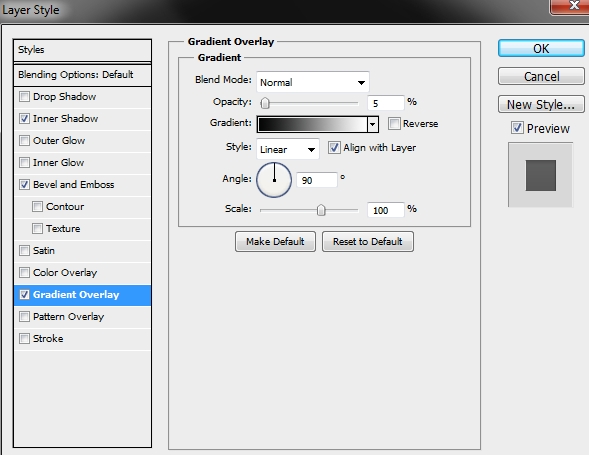
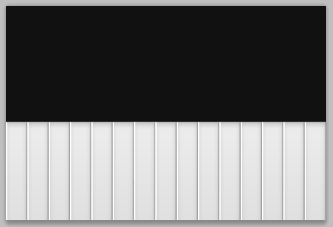
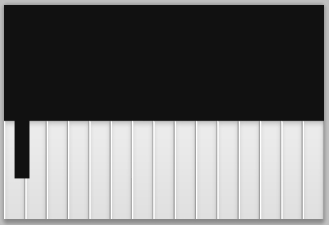
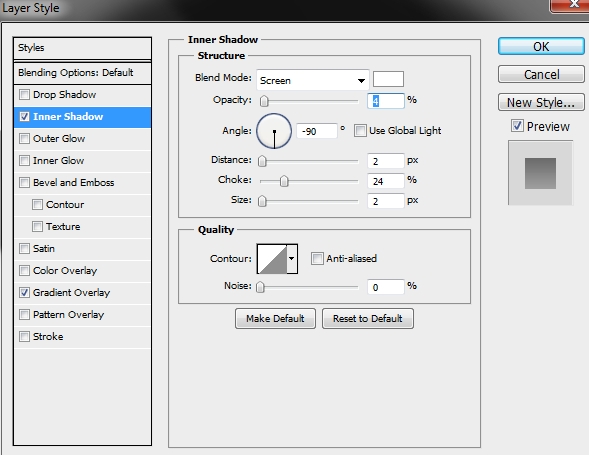
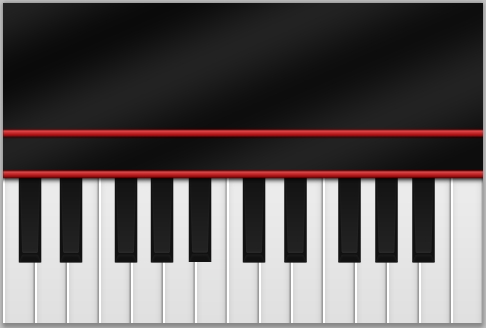
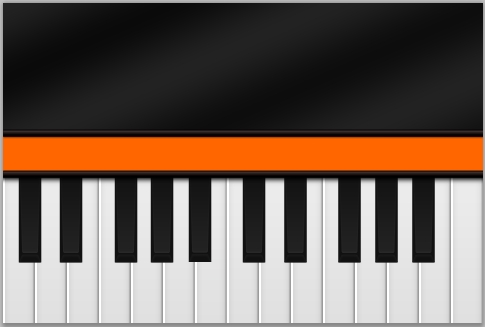
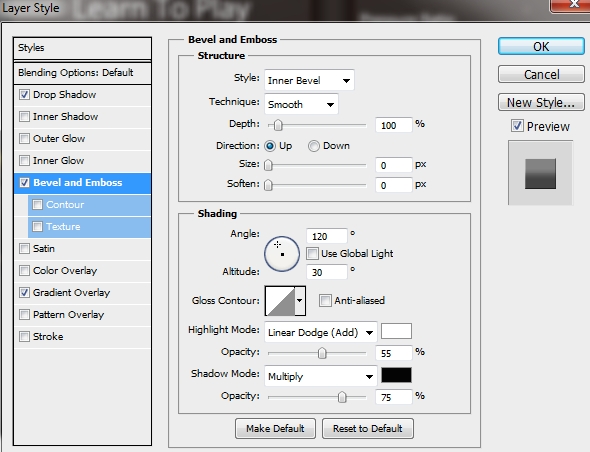
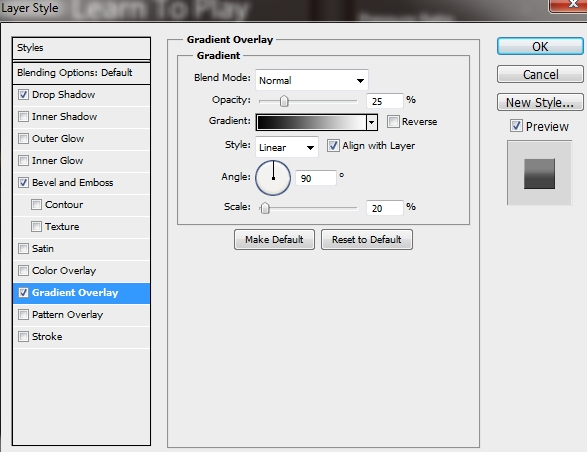
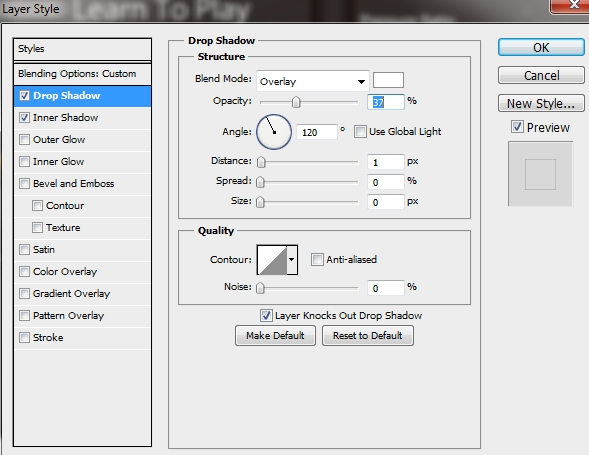
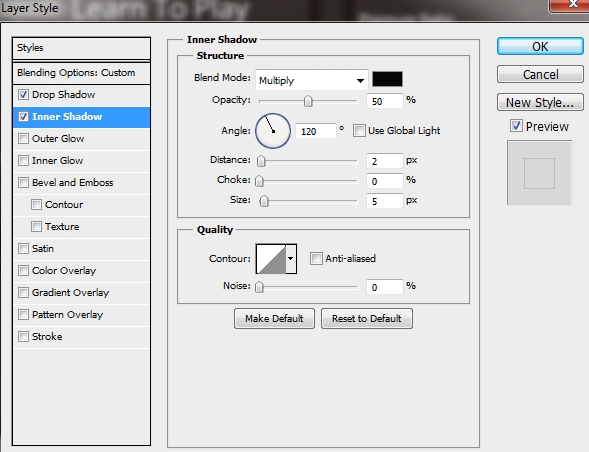
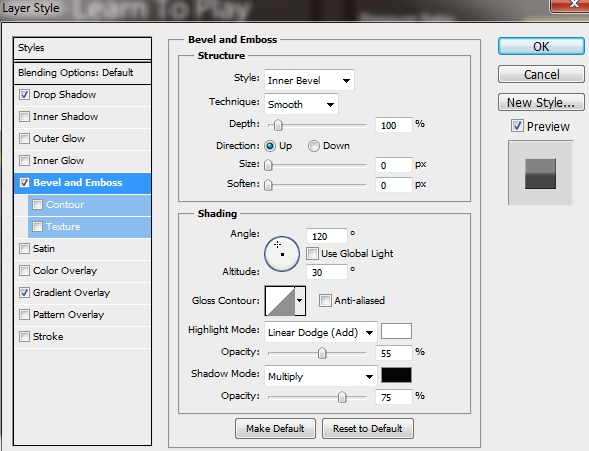
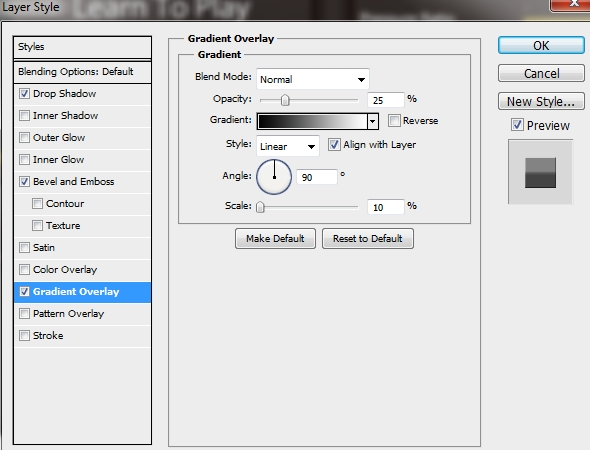
Create a new layer and pick the Rectangle Tool (U). Draw a rectangle like the one on the image below (color: #ebebeb) and then apply the following styles.
Step 3
Duplicate this shape until you fill the canvas from side to side.
Step 4
Group these layers and name the group “white keys”. Then, create a new layer and once again pick the Rectangle Tool (U). Draw a much smaller rectangle and fill it with #111111.
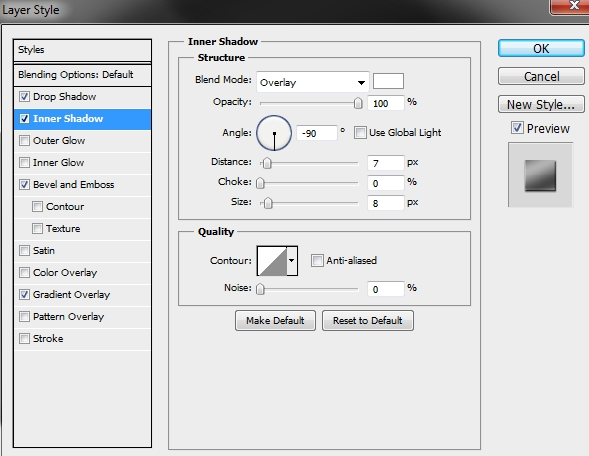
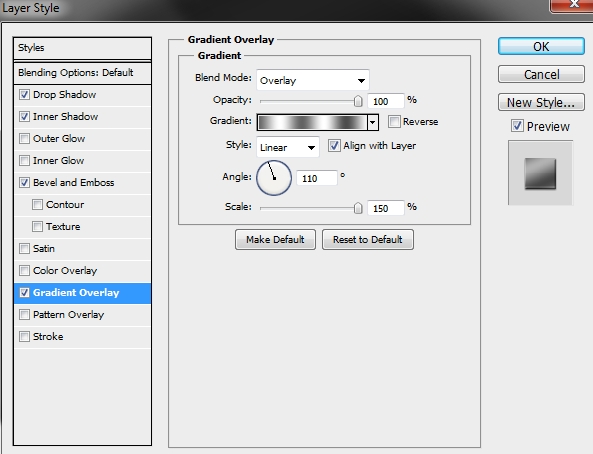
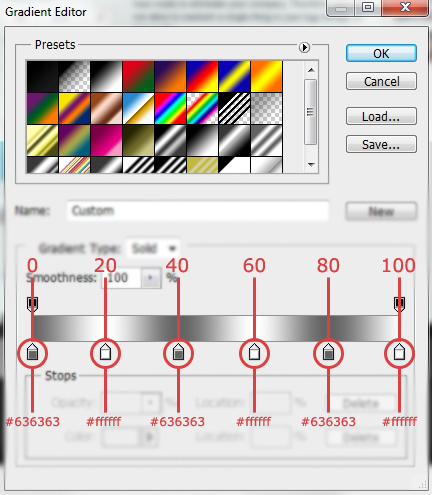
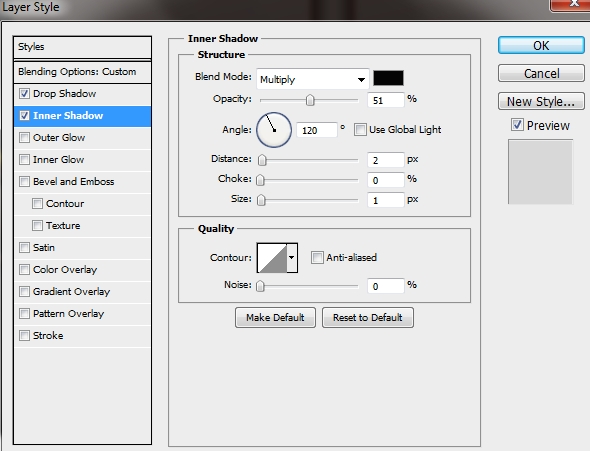
Step 5
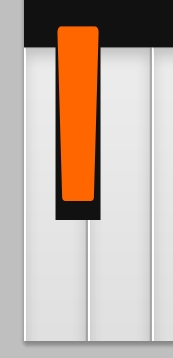
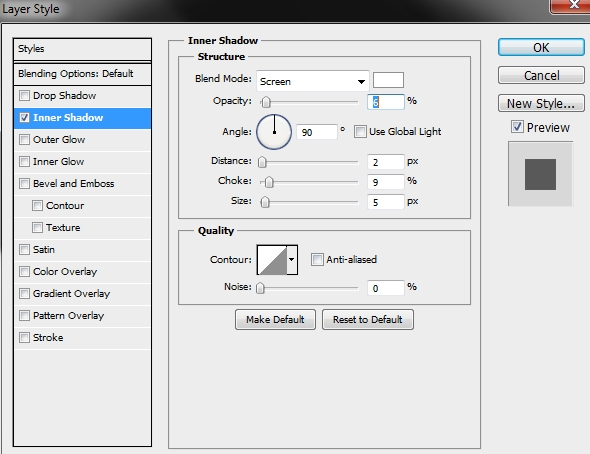
Create a new layer and grab the Pen Tool (P). Draw a shape like the one on the image below, fill it with #111111 and apply the following styles.

Step 6
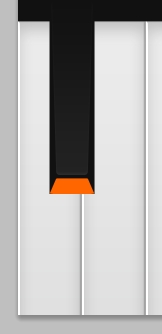
Create a new layer and again select the Pen Tool (P). Draw a shape like this (color: #111111) and add the following style.
Step 7
Group these three layers and duplicate the group nine times. Place the copies accordingly to the image below. Then, group all the black key groups and name this new group “Black Keys”.
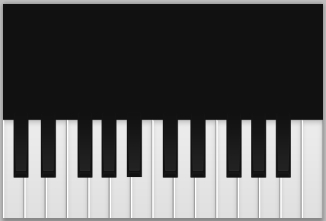
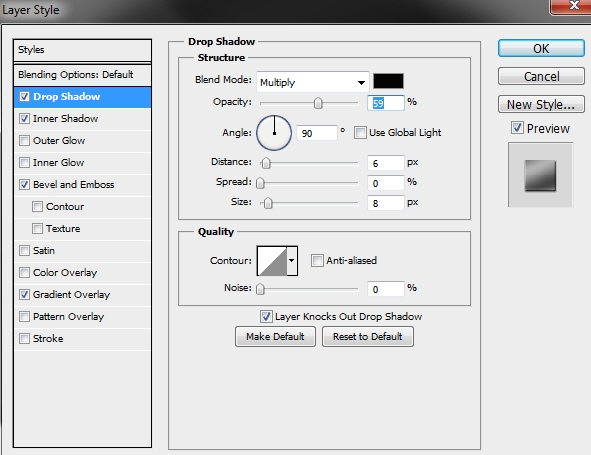
Step 8
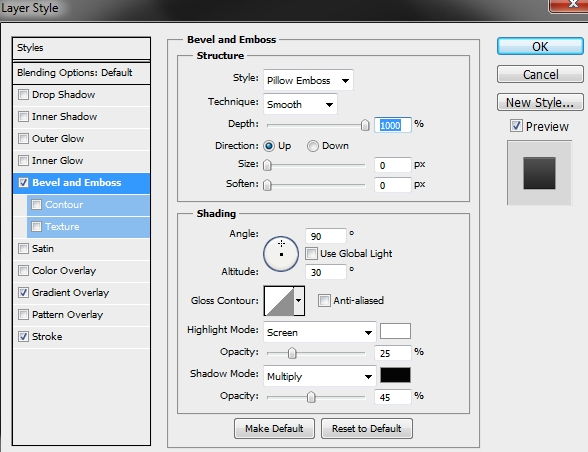
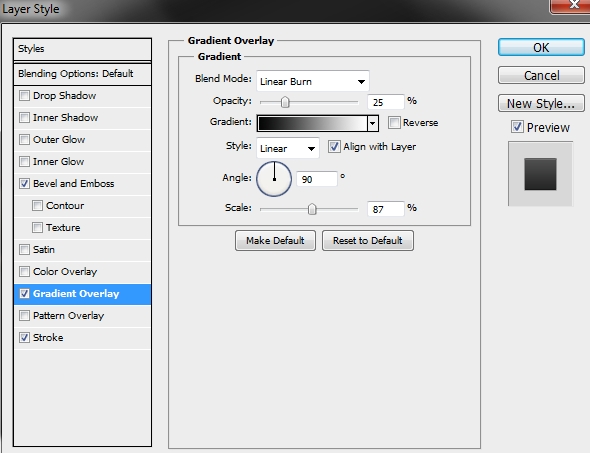
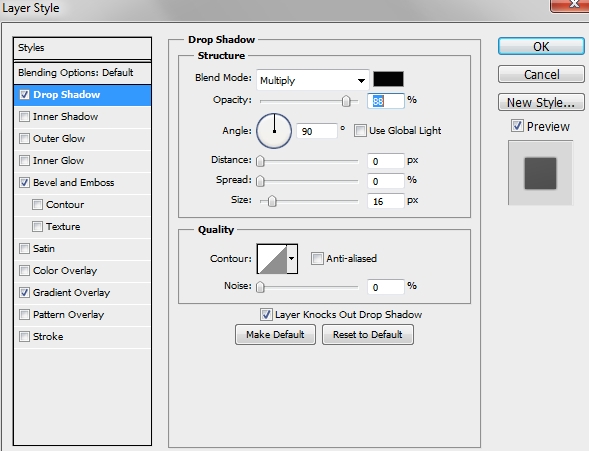
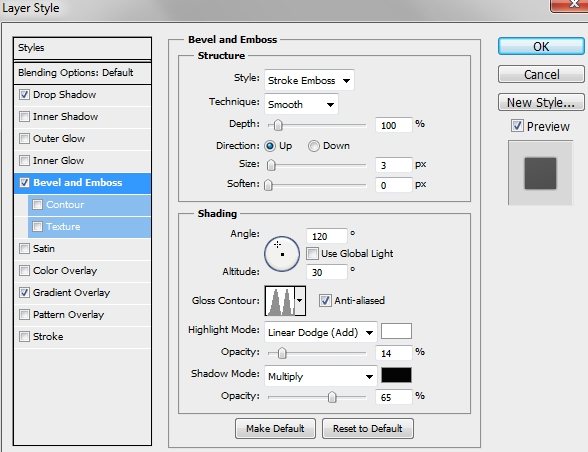
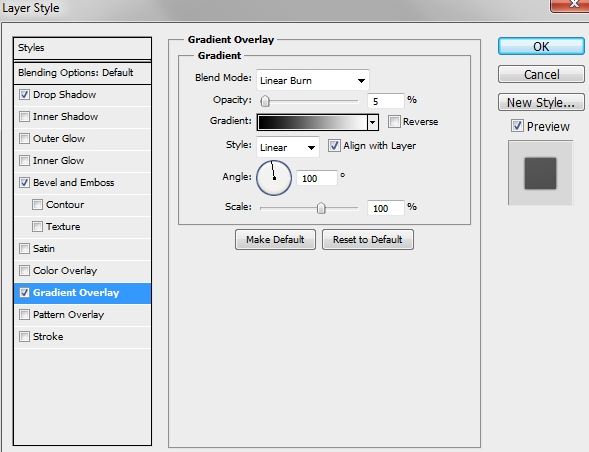
Create a new layer and draw a big rectangle using the Rectangle Tool (U). Fill the shape with #111111 and add the following styles.
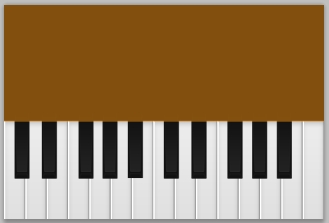

Step 9
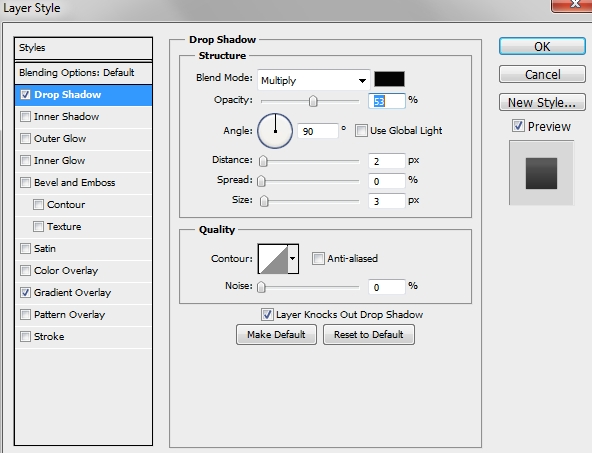
Create a new layer and once again select the Rectangle Tool (U). Draw a narrow rectangle from side to side of the canvas. Fill it with #362f2d and apply the following styles.

Step 10
Duplicate this layer and move the copy upwards.
Step 11
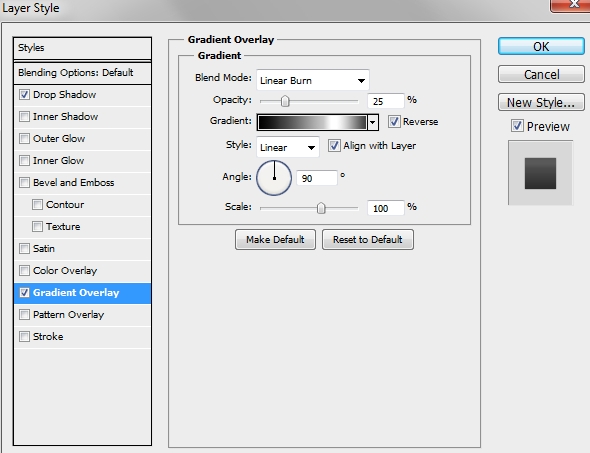
On a new layer draw a rectangle between these two narrow rectangles. Place this layer before the ones created in the previous two steps. Fill this new shape with #362f2d also, and add this style.

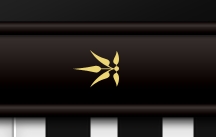
Step 12
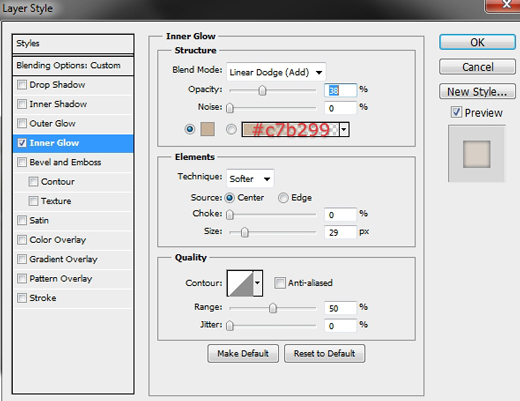
Create a new layer and select the Custom Shape Tool (U). Find the “Shape 23” (from the pack you downloaded) in the list. Change its color to #ecd573 and add these styles. Finally, duplicate this shape and go Edit>Transform>Flip Horizontal.


Step 13
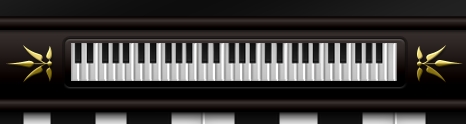
Create a new layer and select the Rounded Rectangle Tool (U). Set the radius to 10 px and draw a shape between the two ornaments. Fill it with #362f2d and apply the following styles.

Step 14
Duplicate the “White keys” and “Black keys” groups and merge the copies. Scale down a lot the new layer and duplicate it until you fill the rectangle you created in the previous step.
Step 15
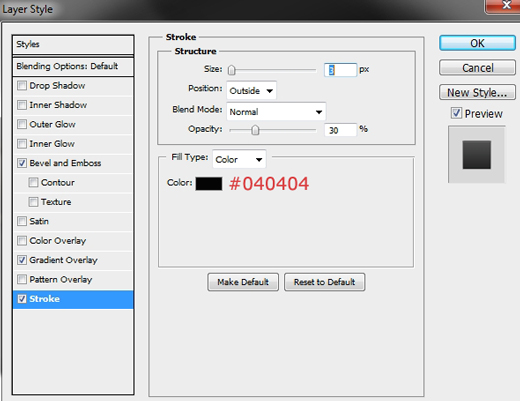
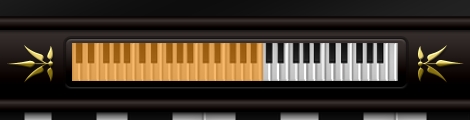
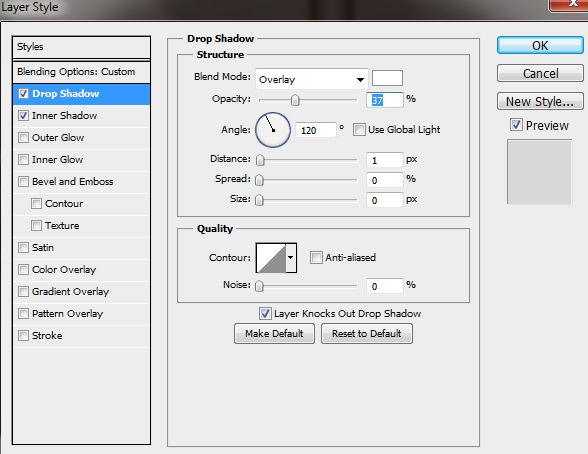
Draw a rectangle (Rectangle Tool – U) to cover some of the keys. Fill it with #000000 and turn its Fill to 60%. Add the following style.
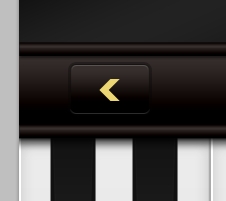
Step 16
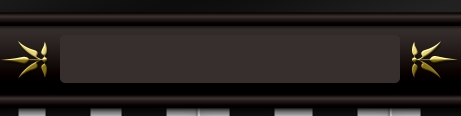
On a new layer draw a rounded rectangle (radius: 10 px) and fill it with #362f2d. Then apply the following styles.
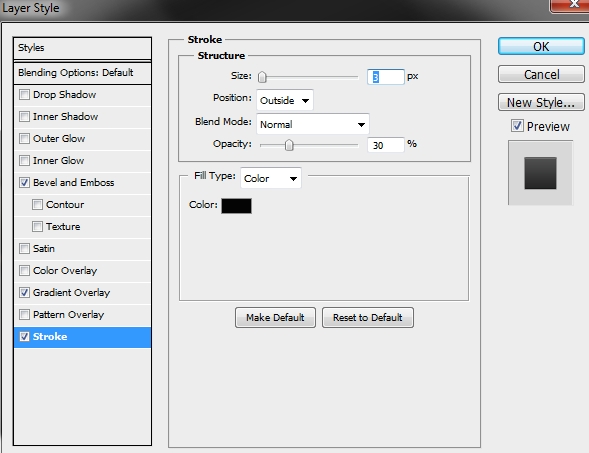
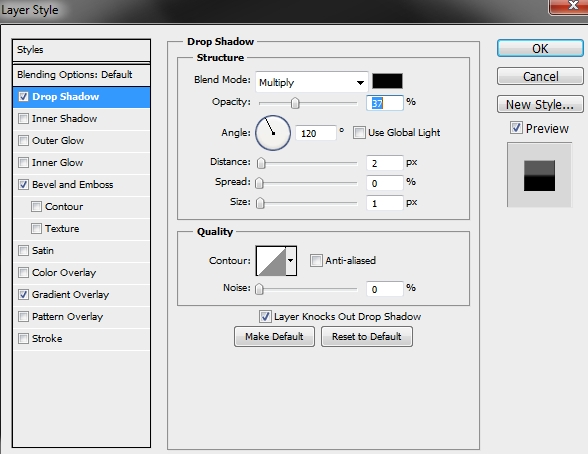
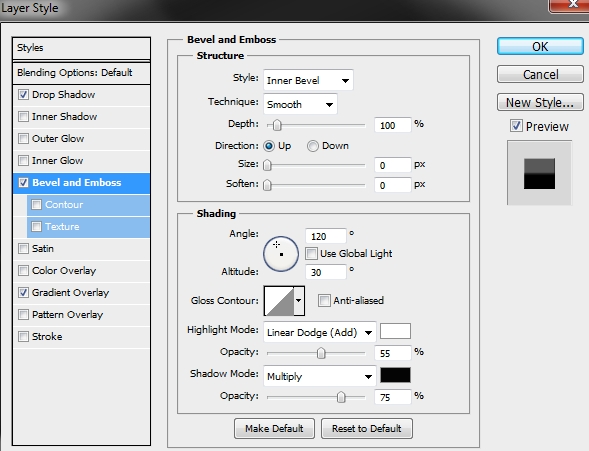
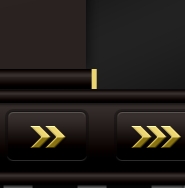
Step 17
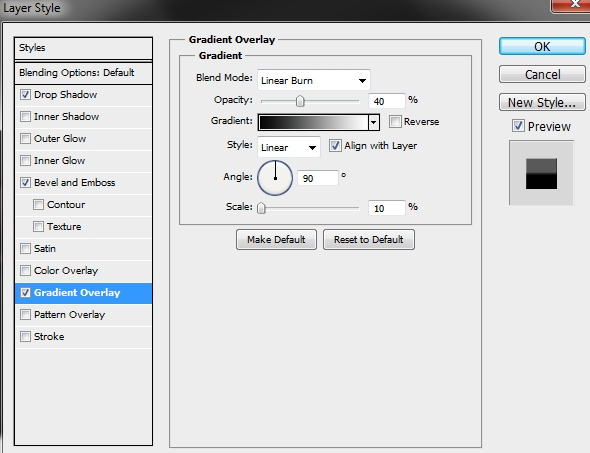
Pick the Custom Shape Tool (U) and find the “Arrow 2” shape in the list. Change its color to #ecd573 and apply the following styles.
Step 18
Duplicate this arrow twice.
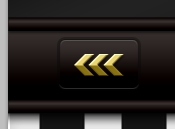
Step 19
Repeat the two previous steps, only this time duplicate the arrow once.
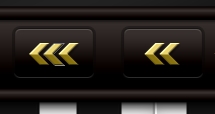
Step 20
Group these layers and name the group “Arrows”. Duplicate it and place the copy on the other side (flip the group horizontally).
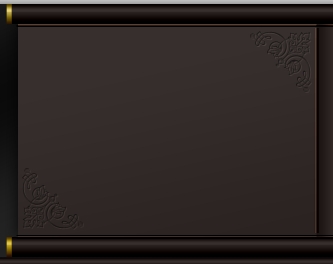
Step 21
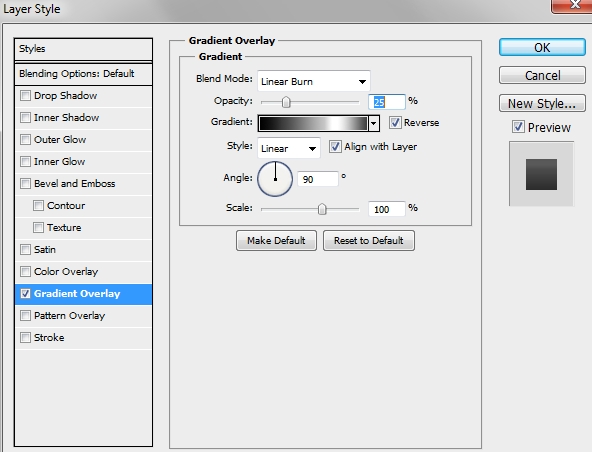
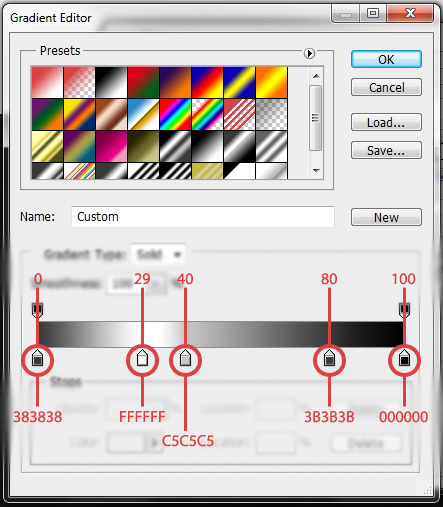
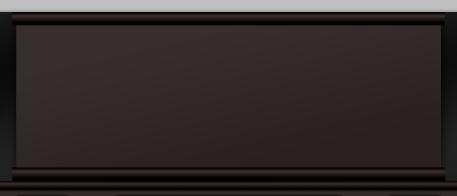
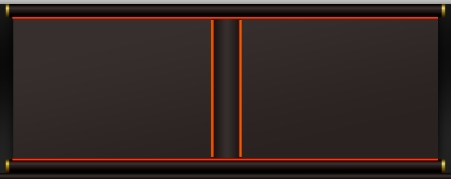
Create a new layer and draw a big wide rectangle. Change its color to #362f2d and apply the following styles.
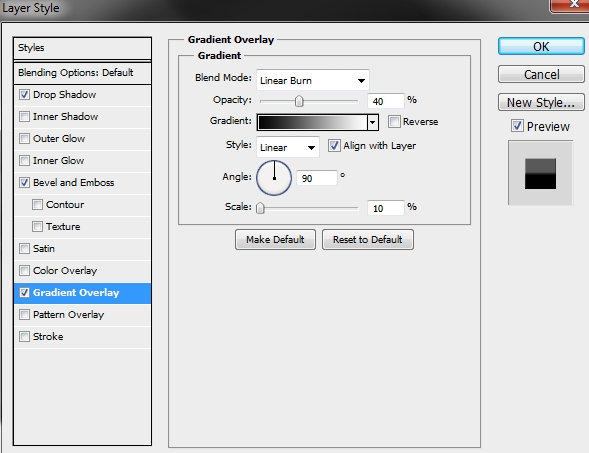
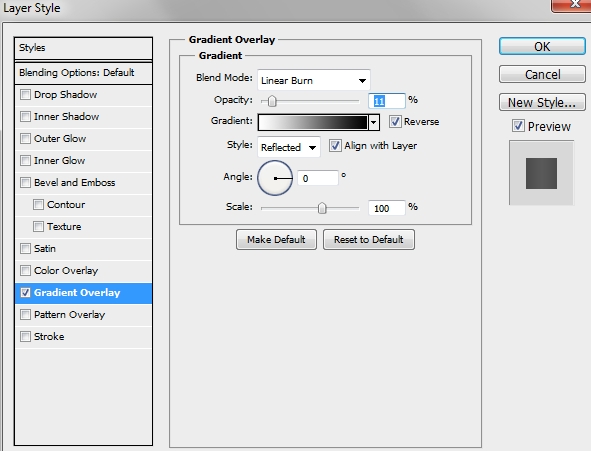
Step 22
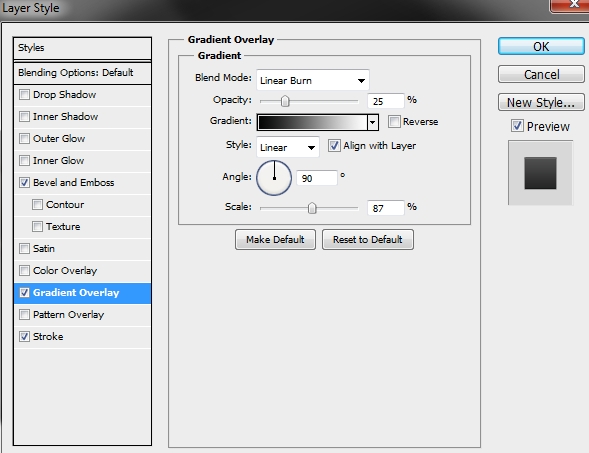
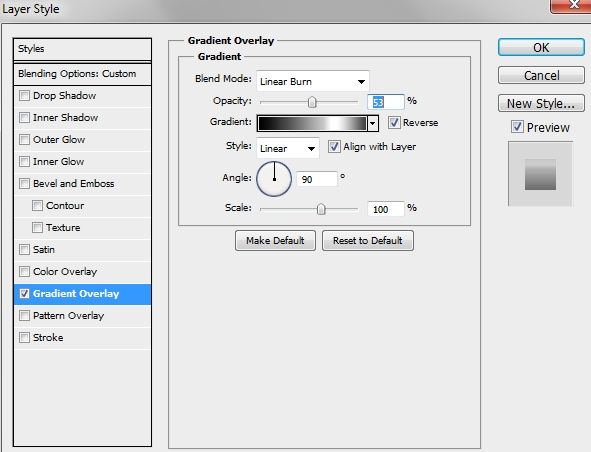
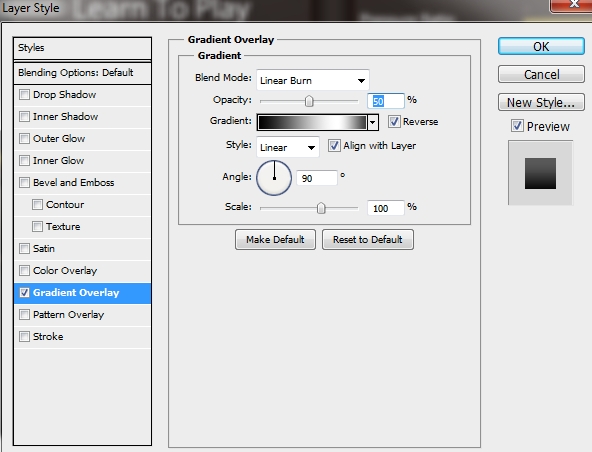
Draw another rectangle and add this gradient (color: #362f2d).
Step 23
Duplicate this shape and move it upwards.
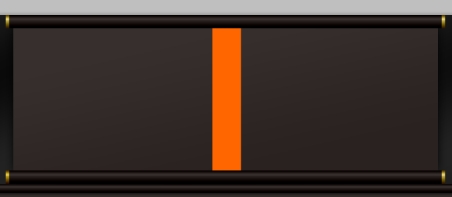
Step 24
Create a new layer and using the Rectangle Tool (U) draw a tiny rectangle. Fill it with #ecd573 and add this gradient (it’s the same you added in Step 22).

Step 25
Duplicate this shape three times and place them accordingly to the image below.

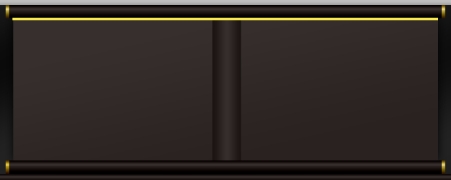
Step 26
Draw another rectangle and fill it with #362f2d. Add this gradient.
Step 27
Create a new layer and grab the Rectangle Tool (U). Draw a very narrow rectangle and change its color to #d6c5b2. Change the Blend Mode to Overlay and apply the following style.
Step 28
Duplicate this layer three times and place the copies accordingly to the image below.
Step 29
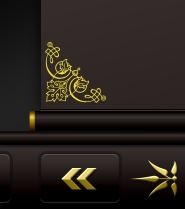
Create a new layer and select the Custom Shape Tool (U). Find the “Shape 63” and fill it with a random color. Turn Fill to 0% and apply these styles.
Step 30
Duplicate this shape and place it on the other corner.
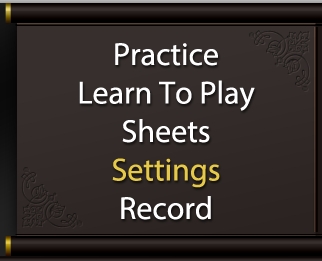
Step 31
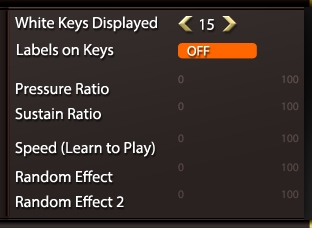
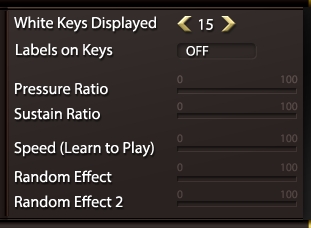
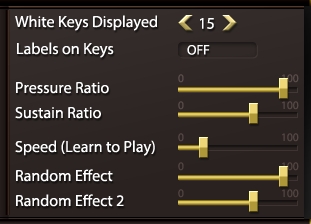
Add some text (font: Verdana, size: 7pt).
Step 32
Repeat the previous, but on the other side of the music stand.
Step 33
Create a new layer and select the “Arrow 2” from the Custom Shape list. Draw a very small arrow, change its color to #ecd573 and apply the following styles.

Step 34
Duplicate this arrow.
Step 35
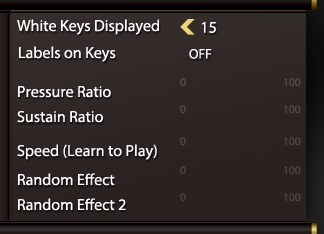
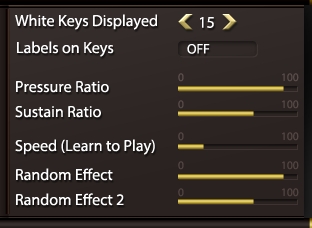
Pick the Rounded Rectangle Tool (U) and set the radius to 5 px. Draw a shape like the one below, turn Fill to 0% and apply the following styles. Copy these styles (right click>Copy Layer Style).
Step 36
Create a new layer and select the Rectangle Tool (U). Draw some rectangles and then right click on these layers>Paste Layer Style.
Step 37
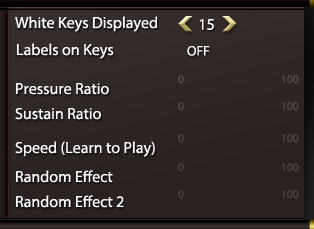
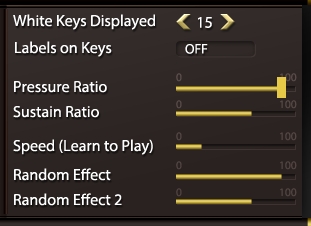
Duplicate these rectangles, change their color to #ecd573, modify their length, turn Fill to 100% and replace their styles with this one.
Step 38
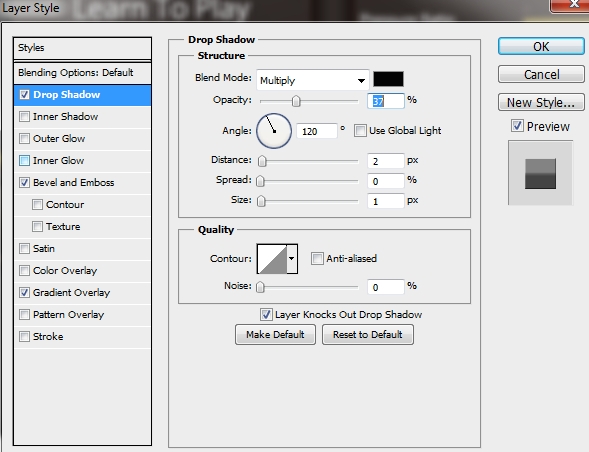
Create a new layer and draw a small rectangle. Apply the following styles.
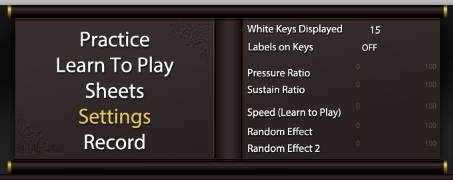
Step 39
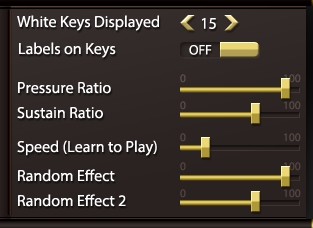
Duplicate this rectangle five times and place the copies accordingly to the image below.
Step 40
Copy the layer styles from Step 38 and duplicate the rounded rectangle from Step 35. Paste the copied styles and change its color to #ecd573. Add a layer mask and hide the unwanted part by painting it black.
Conclusion
That’s it. Your piano app UI is now ready. We hope you enjoyed the tutorial and learned something new.


