Last time when I did my tutorial on Create a Blue Vector Character from Pencil Sketch to Coloring I was really amaze because my traffic was suddenly increase to 2x. So I came out a conclusion that I should focus more on tutorial post for a while since it’s really effective to drive visitors to my blog. So, our tutorial for today, we will create a One Eye TV Man Grunge Vector Design. Take a look first on the outcome of our tutorial.
Before we start this tutorial, Here’s what you’re going to expect in your final result.

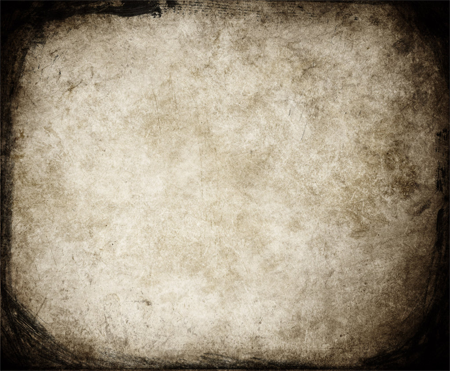
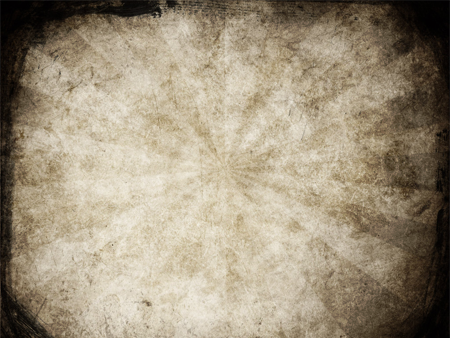
So to start, we need to make the background first. I found this stock picture on deviantart by ~darkrose42~ and we will gonna use this one on our background.
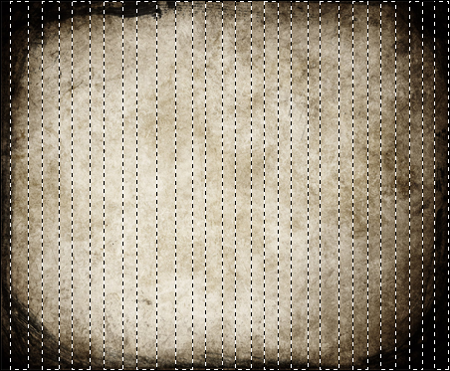
Create a New Layer and make a selection using Marquee Tool (M) in Add to Selection Mode or Shift+Select for shortcut. I try to make 15 selection here. It doesn’t need to be same size of selection.See below.
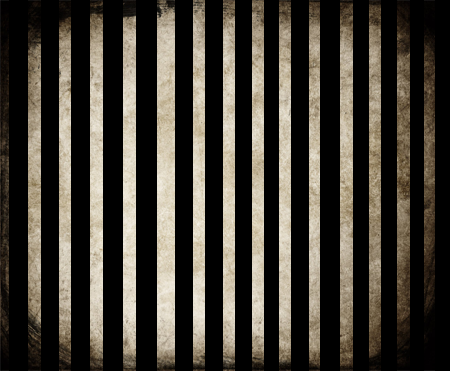
After you select fill it with #000000 color using Paint Bucket Tool (G). Once your done it must look something like this.
Go to Filter>Distort>Polar Coordinates. On Polar Coordinates select the Rectangular to Polar and click OK. Our selection that we just made earlier will now look like this.
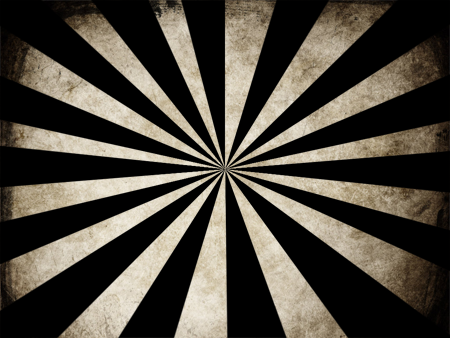
Now choose Overlay and adjust the Opacity to 22%. Now we are done with the background.
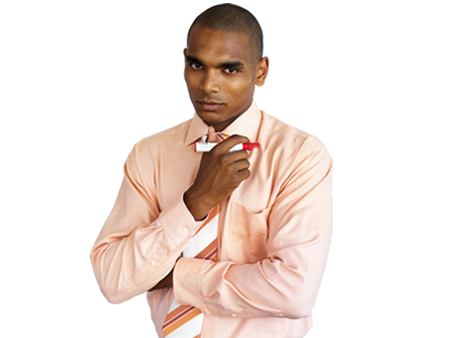
Now we are going to make on our main content. To start with, we need this man to continue our work. You can download this stock photo in Here. After you download, remove its background by using Polygonal Lasso Tool (L). Once Your done transfer it to our Layer and Name it “MAN“.
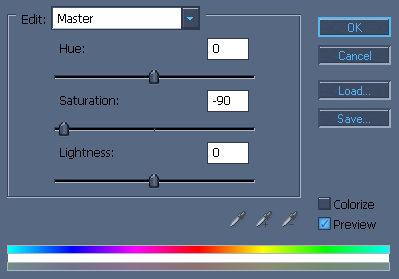
Go to Image>Adjustments>Hue and Saturation or CTRL+U. Use this setting.
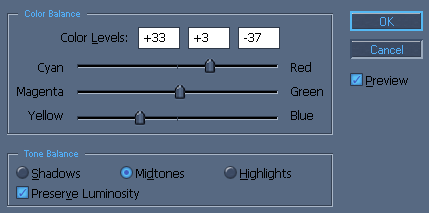
Now go to Image>Adjustments> Color Balance or CTRL+B for shortcut.
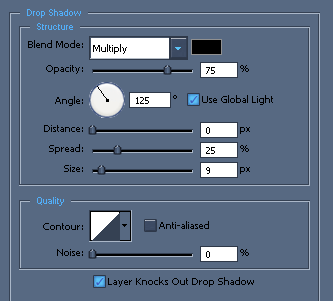
Lets add up some Drop shadow. Right click on MAN Layer the choose Blending Options. On the Drop Shadow use this setting.
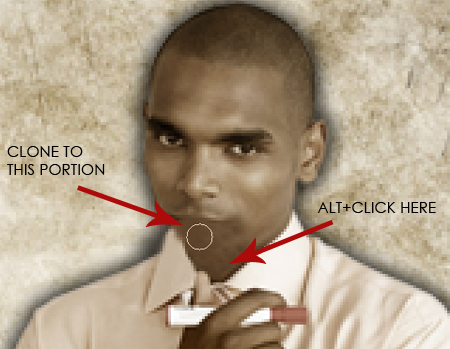
Now lets Clone on the man’s chin using Clone Stamp Tool (S). The purpose is to blend on our old television that we will gonna work later on. Follow the procedure below.
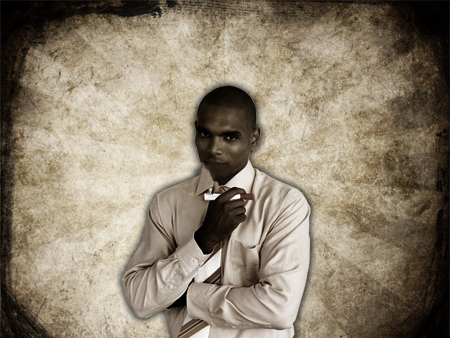
Now Lets Duplicate the Layer “MAN“. Desaturate the Original Layer. Go to Image>Adjustments>Desaturate. And for the Copy Layer set it to Multiply. Now it will look like this.
Now we need this old television and put it on the Man’s head
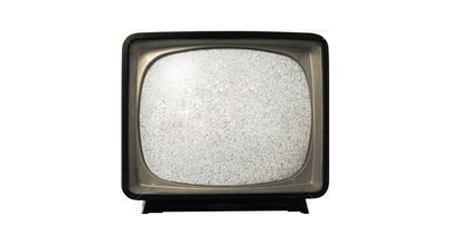
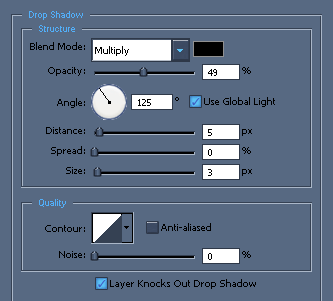
You need to remove first the white background of this television and once your done put it on our working layer and name it “OLD TV“. Lets put Drop Shadow on our old television by right click on the layer “OLD TV” and simply choose Blending Options. Use this setting
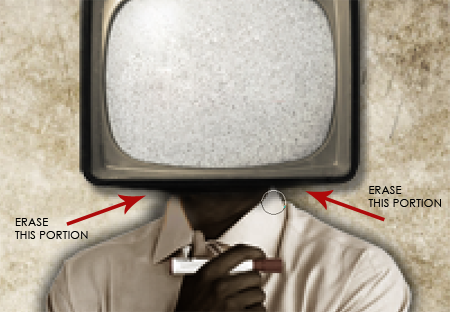
Now to finish manipulating the old television to the man’s head use Erase Tool (E) and follow the procedure below.
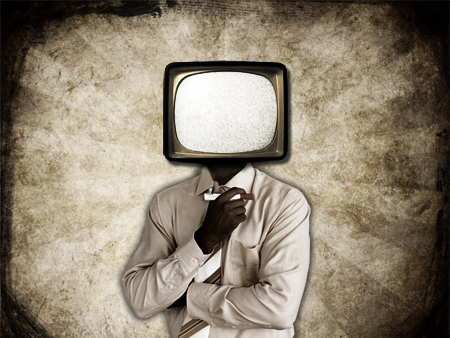
Now duplicate the Layer “OLD TV“. On the Duplicate Layer set it to Hard Light.Now heres the outcome.
Working for the eye that will be put inside our old television screen we need this. Add this to our working layer and name it “EYE“.
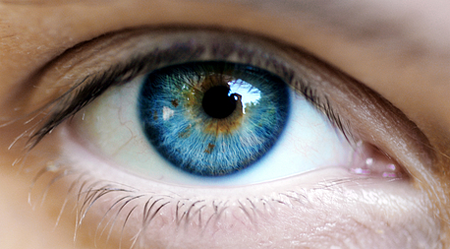
Desaturate the eye image.Go to Image>Adjustment>Desaturate. Erase the unnecessary area on on the eye using Erase Tool (E). Now lets warp the right portion on our eye image. Go to Edit>Transform>Warp or CTRL+T for shortcut. Adjust it until the right side of our image look like proportion on the left side of the eye.
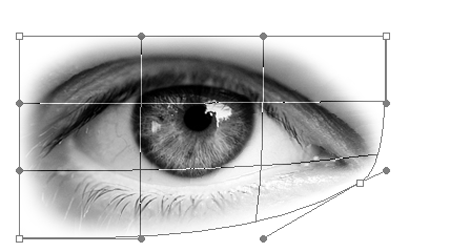
And once your done warping the image put the eye image inside the screen. Go to Edit>Transform>Scale or CTRL+T for shortcut and just resize it until it fit to our old television screen.
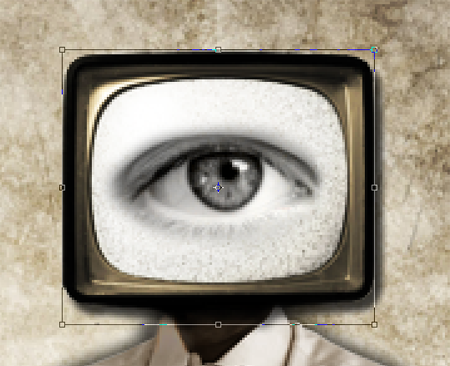
Once your done it will look like this.
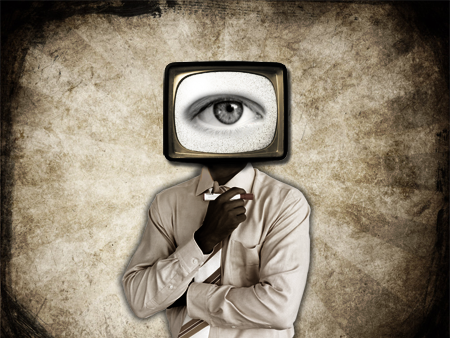
Now lets add a spray effect. Its a photoshop brushes and you can download it in tutorial9. If you still dont know how to Load brushes on photoshop check this How to Load Brushes in Photoshop tutorial.
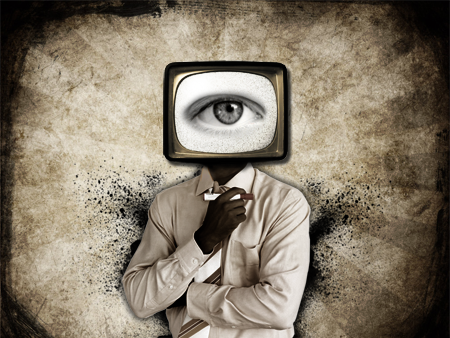
So once you done putting the brush in photoshop choose Brush Tool (B) create a new Layer below the MAN layer and use the brush that you just download. In this case when i use the brush i try to use rotate it by simply CTRL+T to find the right position and i came up to this. Now its really grungy.
This time we will gonna make some vector circle to be place on the mans back. To make a vector circle choose Ellipse Tool (U). Hold Shift so that you can make a perfect circle.
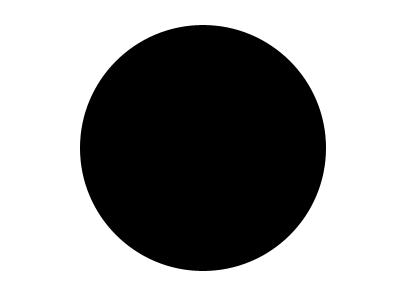
Duplicate the circle and change the color to #ffffff. Go to Edit>Transform>Scale. adjust the Width and Height of the Circle to 80.0%.
![]()
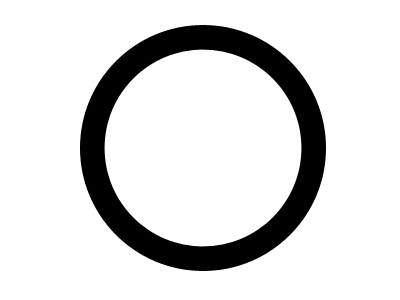
Duplicate the white circle and same process on how we adjust on the circle. Change the color to #000000 and adjust the width and height to 80.0%.
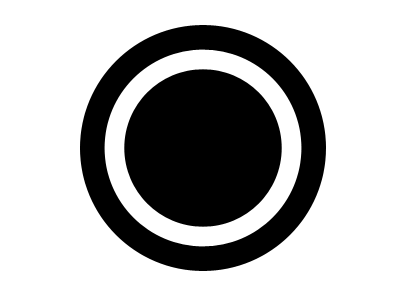
For this one adjust color to #ffffff the width and height to 90.0%
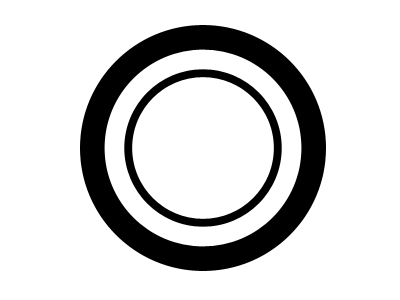
Adjust color to #000000 the width and height to 80.0%.
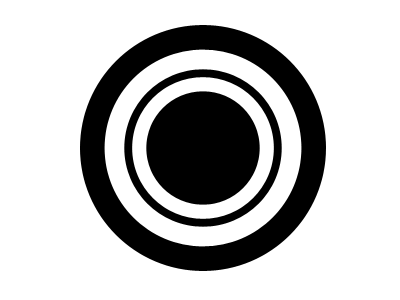
Once your done on our vector circle select all the circles on the Layer Palette. Right Click all the selected layers then choose Merge Layers. Once your done merging the circles set it to Color Burn.
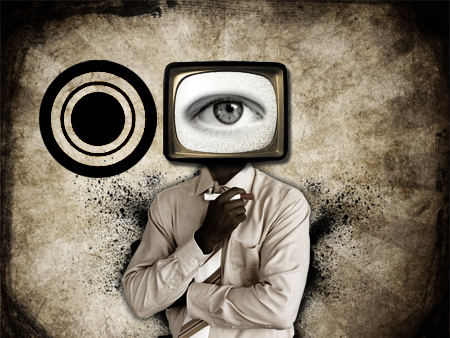
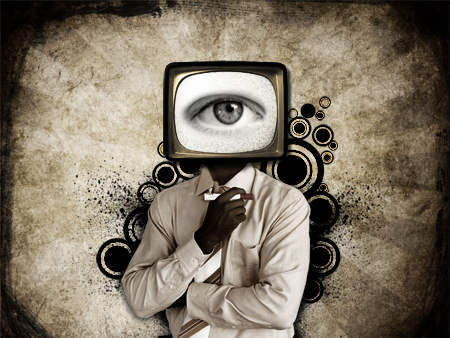
To adjust the size of the circles go to Edit>Transform>Scale. In this part i also make different kind of vector circles.
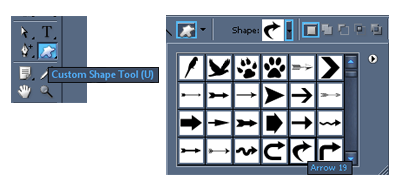
Lets work now on the arrow on the left side. Choose Costum Shape Tool (U).The shape that i use is Arrow 19.
To distort the arrow go to Edit>Transform>Distort.
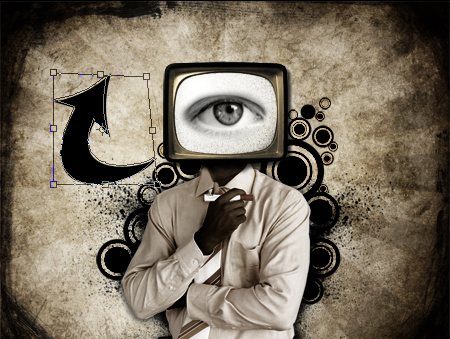
I also add another arrow pointing downward.heres how it look
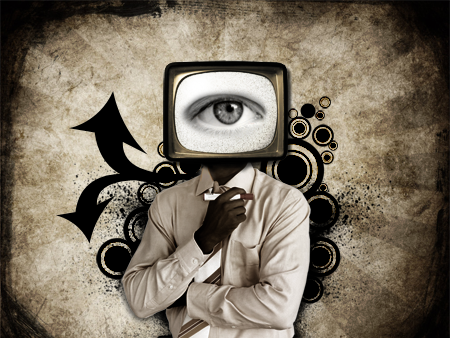
Another arrow from the right. I Use Arrow 7 on the Custom Shape Tool (U).
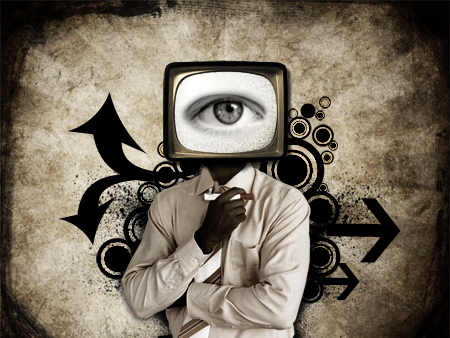
And to finish our work lets put some rain drop vector effect. To apply, Use Rounded Rectangle Tool (U). Adjust the Opacity of some of the rain drop vector style to 70% maybe 3 or 4.
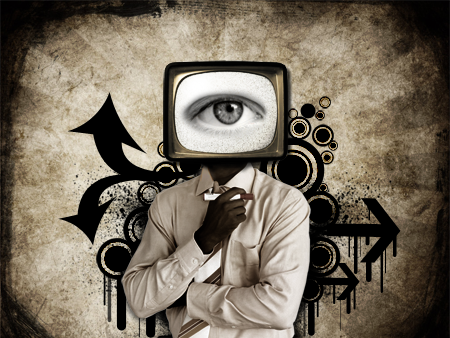
And were done creating our One Eye TV Man in Grunge Vector Design:)
Congratulations!!!!!
I hope you learn something on this tutorial and let me hear your feedbacks.
If you like this post, please Subscribe to my RSS feed for more updates. It makes me happy too:)
Also if you like you can bookmark this and share it with the others:)thanks for the support.


Well explained, nice tutorial. Keep them coming, it will definitely help with traffic!
Really cool tut, cool grungy end result too, Great.
The ‘Filter>Distort>Polar Coordinates’ is a new one for me. Great option for the sunburst effect.
Nice! and very well explained, I like it:)
thanks a lot guys:)im glad you like it
Nice tutorial. It is featured on my site!
Very nice tutorial, I love the background effects!
Very well written post, that will understand anyone, even if is novice in design. 🙂
it might be a good idea to find and use custom shapes to make the sunbursts. ive never had to make one and the ones i found look great, havent failed me yet
too bad i can’t see the tutorial because of this stupid comment window -.-
can i make this with gimp?
cool
fantastic
thanks for this great resource. i barely wait to do it myself.
Thanks for sharing, I had great use of this!
Cool Tut! I really enjoyed it 🙂