Wow its September. I just want to share a September 2008 Calendar Edition to everyone. I hope you it. I just love this green,yellow, and red color combination. It reminds me of reggae musics and Jamaican style. By the way, I also made quick tutorial for you. In this tutorial I’ll share to you on how did i made this Calendar Wallpaper. Here’s the final result.
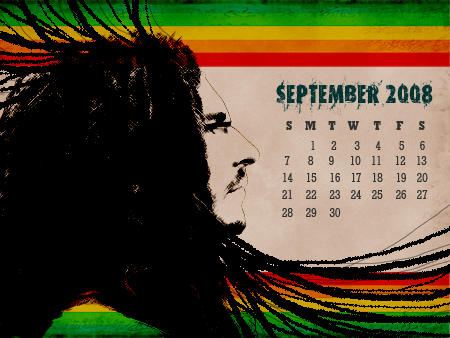
So if your ready lets start.
First, Create A Layer. We will use 1024×768 pixel since its the most common size for desktop resolution.
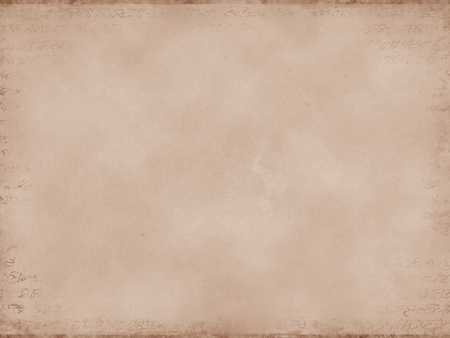
I used this grunge old paper below for our background. Sadly, this texture is not available anymore. You can try out other grungy old paper textures with this.
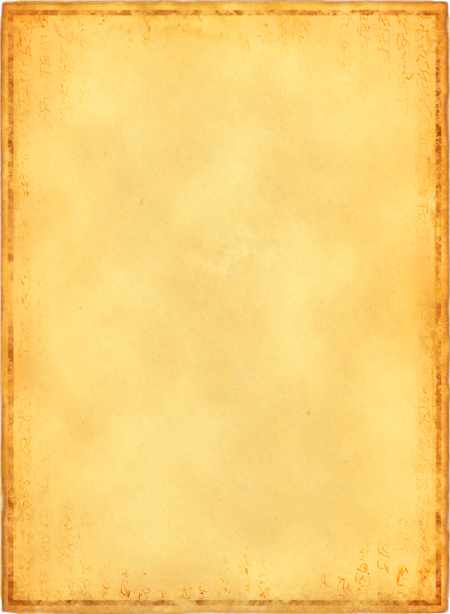
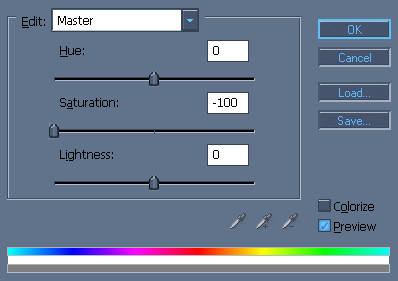
After you download one, open it in photoshop. Adjust the saturation. Go to Image>Adjustments>Saturation. Use the setting below.
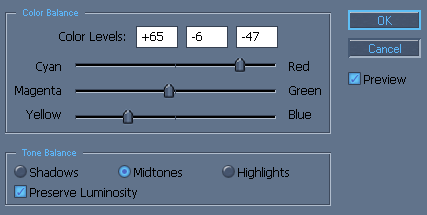
For the Color Balance, Go to Image>Adjustments> Color Balance.
Rotate the Old Paper image counter clockwise. Go to Edit>Transform> Rotate 90 ° CW.And drag it to our working layer. Also try to adjust the size of this image until it fit. To adjust just simple go to Edit>Transform>Scale. Hold SHIFT while you resizing it would still be in perfect form.
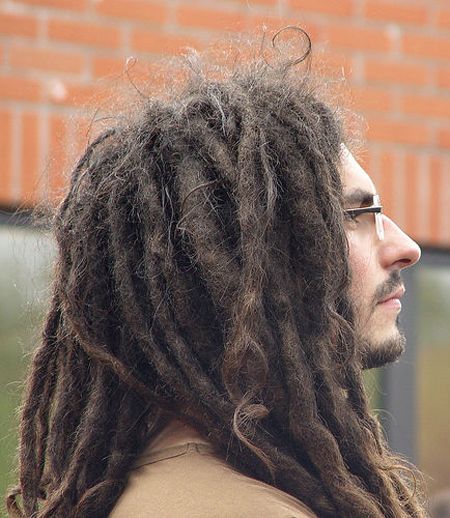
Next is to put this dreadlocks hair guy to our working layer. Download this in HERE
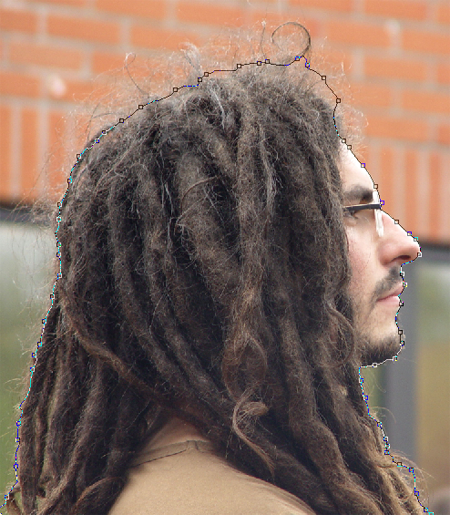
After you download, Open it in photoshop. Choose Magnetic Lasso Tool (L). Start selecting.
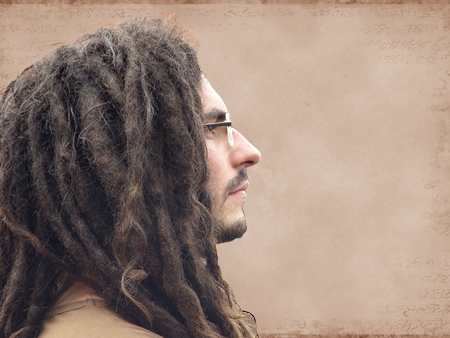
Use Move Tool (V) to transfer this image. Click and drag it to our working layer. Name this Layer to “Dreadlocks”
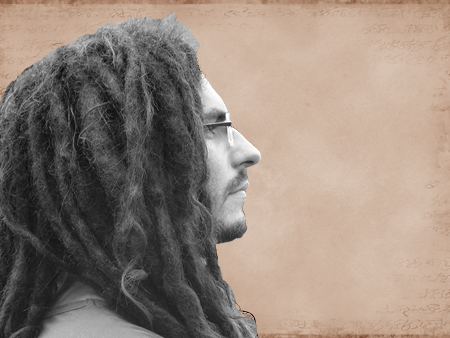
Desaturate the Image. Go to Image> Adjustments> Desaturate.
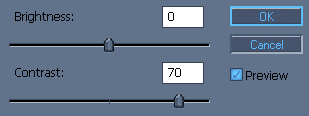
After you desaturate it, Go to Image>Adjustments>Brightness/Contrast.Adjust the contrast to 70.
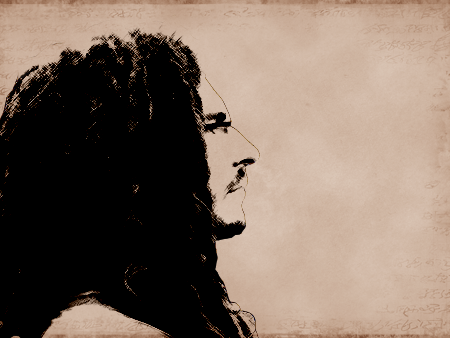
Then to make it look crosshatch, Go to Filter>Brush Strokes>Crosshatch. Then Adjust it to Linear Burn. Duplicate it to make the image more clearer. To duplicate Right click on “Dreadlocks” Layer and choose Duplicate Layer. Now you have something like this.
Make a New Layer for the colors and Name it to “COLOR“. To add this color, use the Marquee Tool (M) to make a selection. This colors are #189e7b, #3aba1f, #efc811, #f77805, and #e10e05. Just make a selection from side to side then use Paint Bucket Tool (G). After filling in the first color just press ARROW DOWN on your keyboard and fill in the second color. Do This until you apply this 6 colors. Now that your done, Duplicate the “COLOR” layer then flip it vertical then move it below.
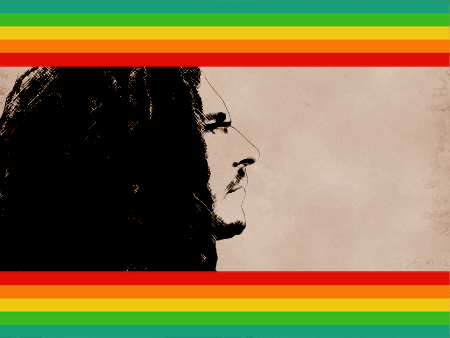
Adjust the setting of the COLOR and COLORcopy Layer to Color Burn.

Create new layer. Name this layer in “HAIR“.In this part just use Brush Tool (B). Theres nothing special here. Just adjust the Brush Master Diameter to 1px. And start creating curve lines on his hair.
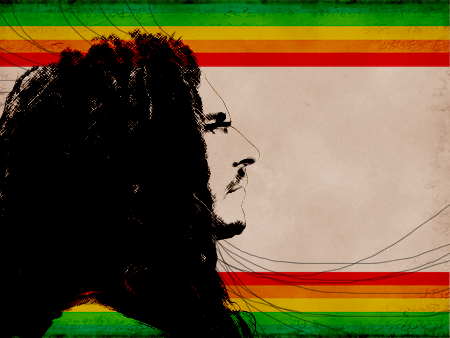
This time adjust the brush to 2px.
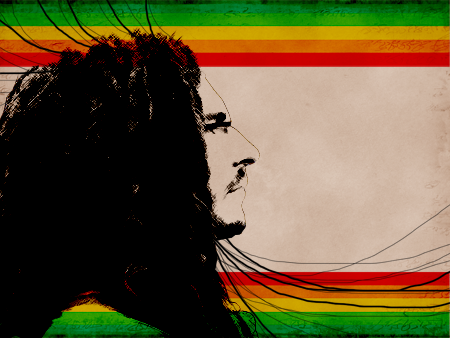
In here try to adjust the brush in 8px.
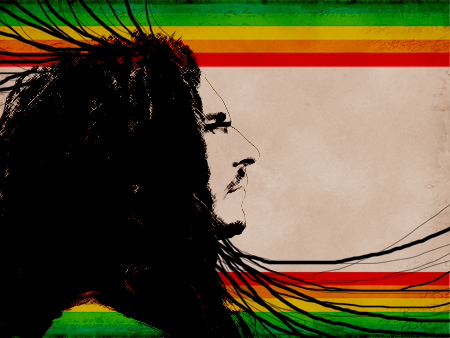
Now for the last retouch on the hair use 15px. Once your done just Adjust the “HAIR” Layer to Dissolve.
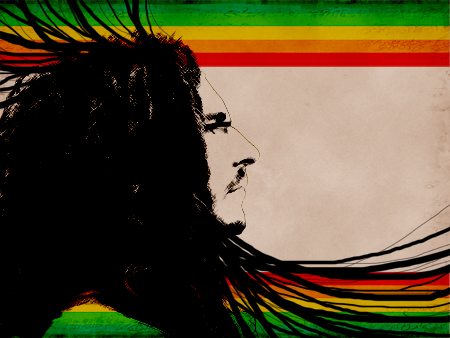
For the last part lets add the calendar. Use Horizontal Type Tool (T). for the text SEPTEMBER 2008 use this FONT. and for the Dates i use Rockwell Font.
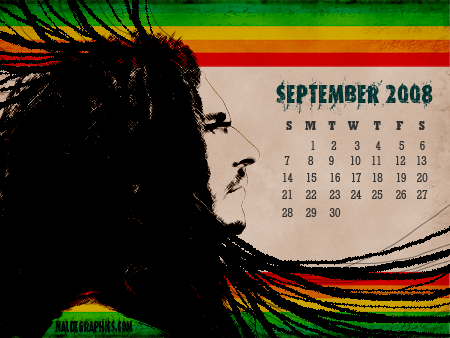
And we’re finish!!!!. Congratulations, you just made your September calendar for your desktop.
I hope you learn something on this tutorial and let me hear your feedbacks.
If you like this post, please Subscribe to my RSS feed for more updates. Heres How to Subscribe.It makes me happy too:)
Also if you like you can bookmark this and share it with the others:)thanks for the visit and for your support.


Kudos Naldz, one more of your classic tutorials i like it man, keep up the good work
totally awesome.a great tutorial and a free wallpaper.thanks and keep it up.
haa nice nice september is my bday too! so this looks real classic
A simple tutorial but its really cool. you have a good site.i just download this calendar for my desktop and i find it nice.thanks. keep it up.
wow, nice work. Excellent Guide!
Thanks Naldz!
Thanks a lot for the appreciation guys. Your comments and participation really influence me to do better.A lots of Thanks;)
This is cool.it looks classic but very nice outcome. Thanks for the tutorial
Nice work kabayan (^_^)
good tutorial on this sites. im gonna back to check the latest.
certainly helpful, nice tutorial!