
The second part of the tutorial includes the textures, setting up an animation that will create the exploding coins effect and a trick to make a smooth and clean background. So, let’s start.
Tutorial Details
- Program: Maxon Cinema 4D
- Version: R14
- Difficulty: Advanced
- Estimated Completion Time: 5-6 Hours
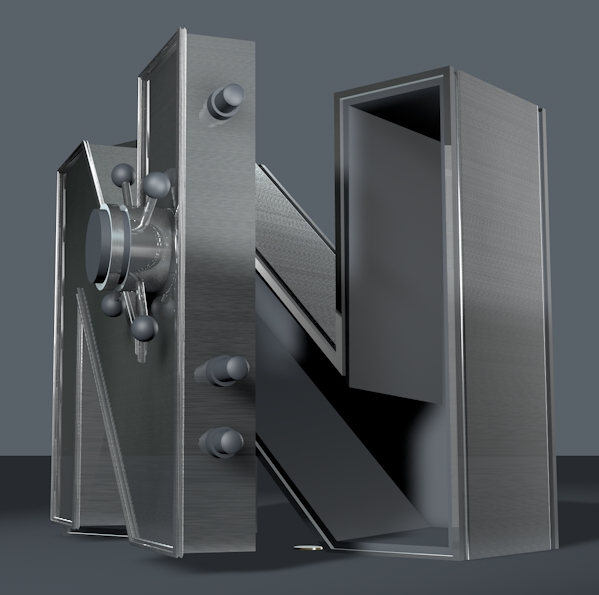
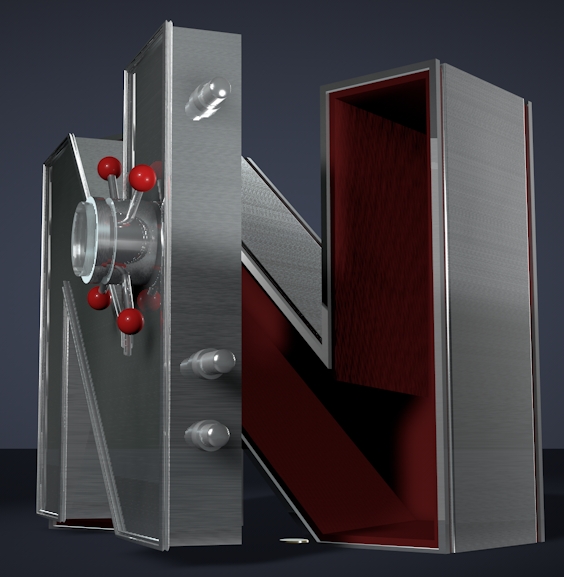
Final Result

Step 1
Open the file you’ve created in the first part. Select the Cylinder and set the parametres: radius 4 cm, height 1 cm, height segments 1, rotation segments 35. Rename the cylinder to Coins.
Step 2
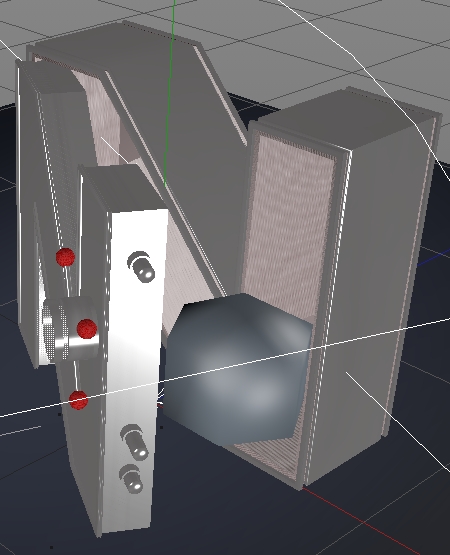
Create a sphere object (radius 30 cm) and move it somewhere between the Main Safe and the Open Door. Hide the sphere by making its traffic lights red.
![]()
Step 3
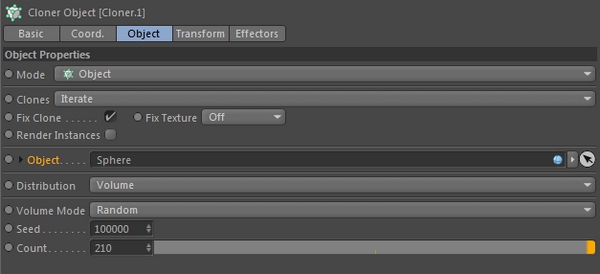
Now add a MoGraph Cloner and change its mode to Object. Select the sphere you created in the previous step and drag it onto the Object path. Change the Distribution to Volume and increase the Count to something around 210.
Step 4
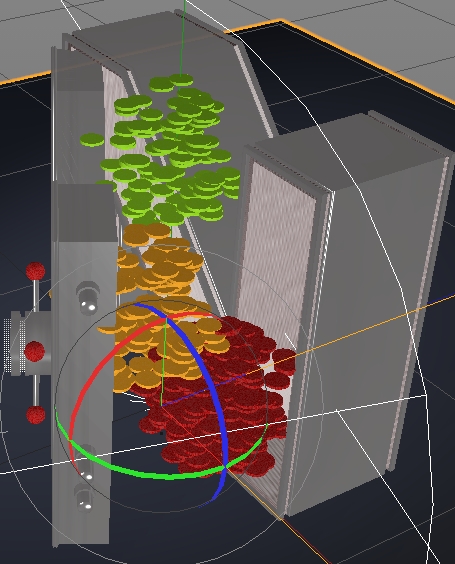
Now repeat the whole process twice so that you have three sphere objects (move them to random places) and three Cloners. We’re doing this to add a super random effect to the coins. Your design should look like this.
Step 5
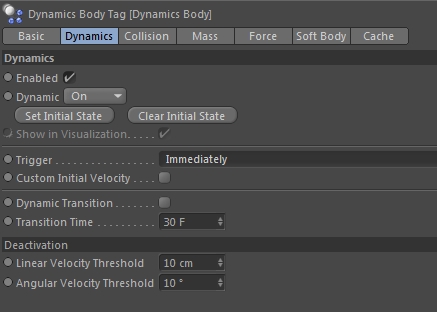
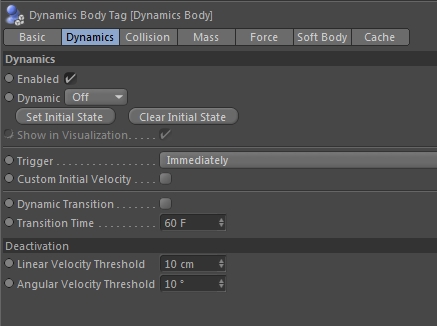
Ok, now that we’ve set up the coins it’s time to animate them. Create a Floor object and right click on it. Select the Collider Body from the Simulation Tags. Now add a Rigid Body tag to one of the Cylinders (coins) inside the Cloners. Double click on the small icon to make some adjustments.
Step 6
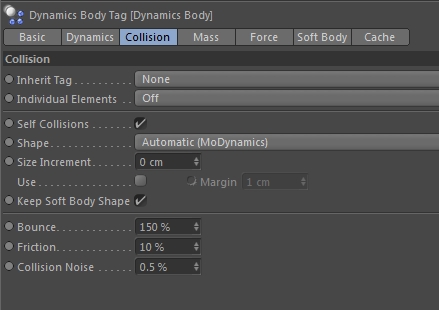
Copy and paste (Ctrl+Drag) this Rigid Body tag to the other cylinders (coins). If you hit play you see the coins falling and bouncing off the ground. But, they’re passing through the door and the safe. So how are we going to fix that? I found a very simple way. Select one of the Main Safe’s or Open Door’s object and add a Collider Body tag. Now adjust its parametres a bit.
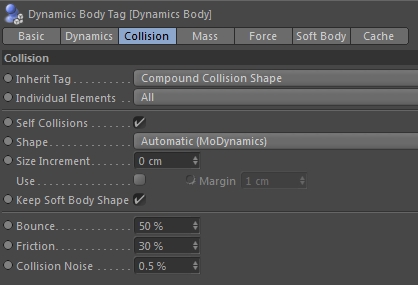
Step 7
Next, copy/paste this tag to every single element (object) inside the Main Safe and Open Door groups. The reason for doing this is to make sure it will work, since Cinema 4D has a strong personality and it sometimes likes to make things that weren’t requested. So, once you’ve add the Collider Body tag to every object you want to turn into an obstacle for the coins hit Play to see the animation. Stop it whenever you want. Remember, we’re creating a static image 😉

Step 8
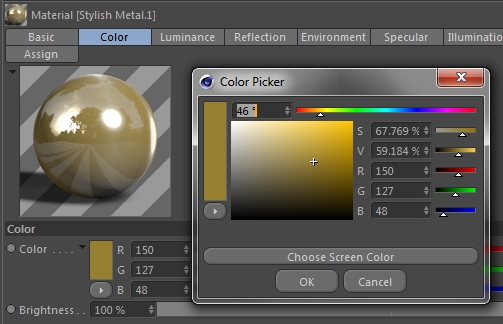
Now that the whole scene is ready and set up let’s add some textures. We’ll use some of the pre-built textures. Go Create->Load Preset Material->Prime->Materials->Misc and find Stylish Metal. Change the color from the default yellowish to a very light grey. Add this material to all the elements of the Main Safe and Open Door except from the spheres on the mechanism, the Extrude NURBS text and the lock bars.
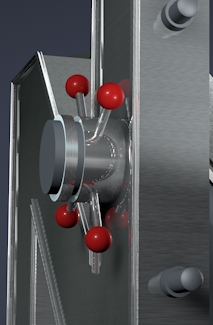
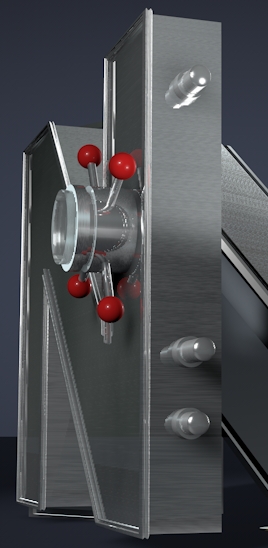
Step 9
Now find the Backlit 004 and apply it on the spheres on the mechanism.
Step 10
Next, add the Metal 006 material to the lock bars.
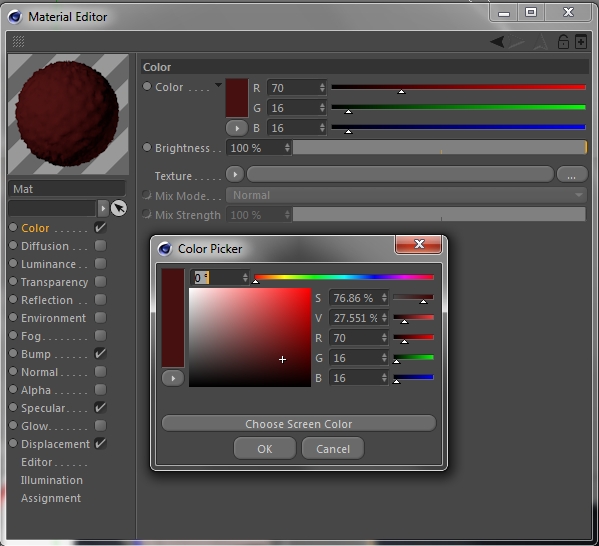
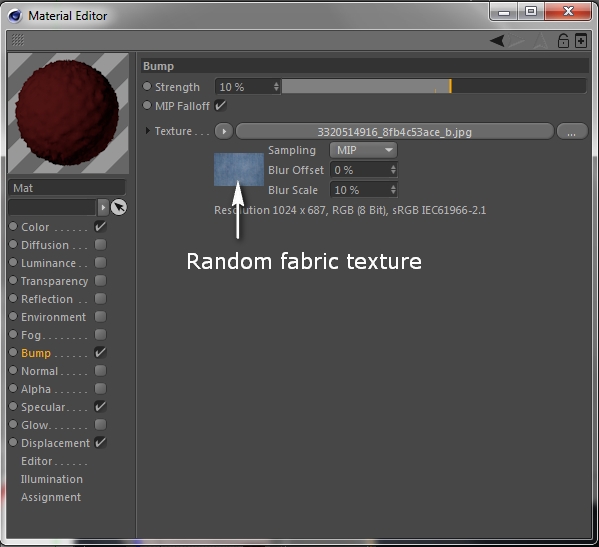
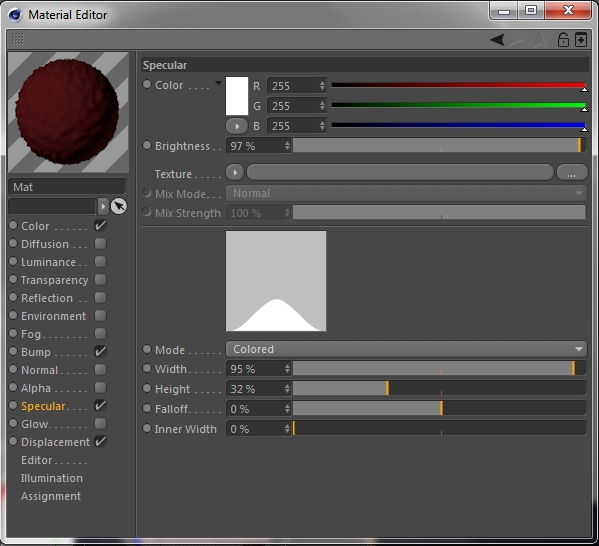
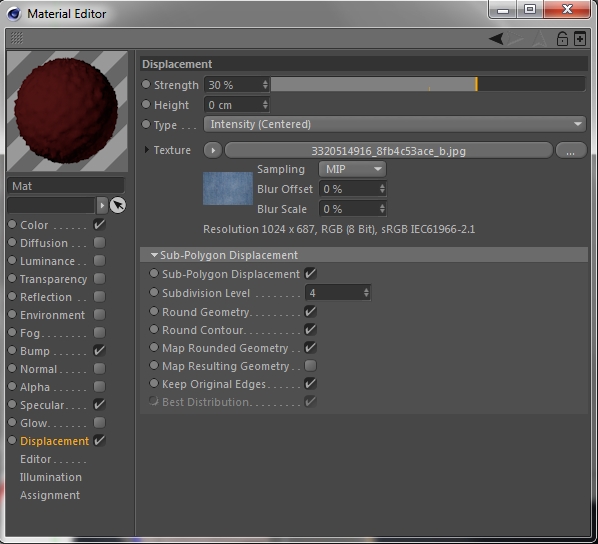
Step 11
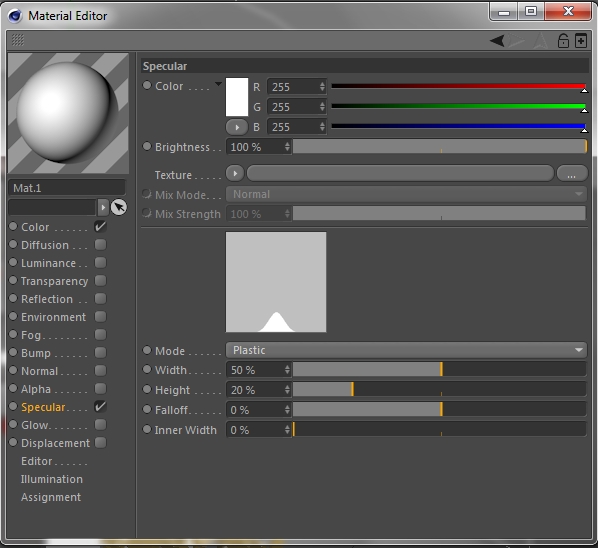
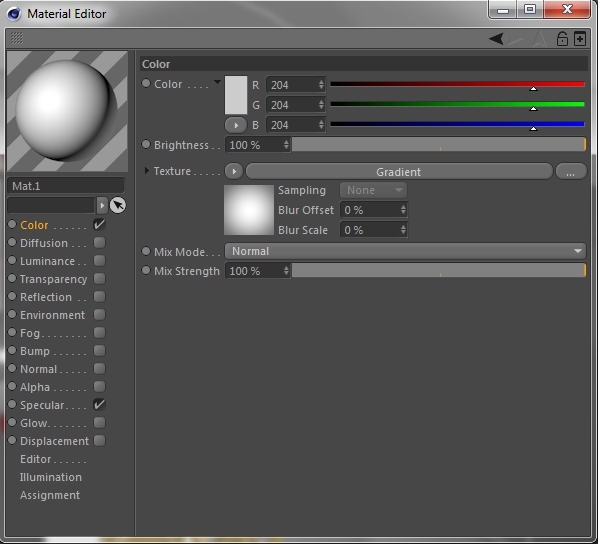
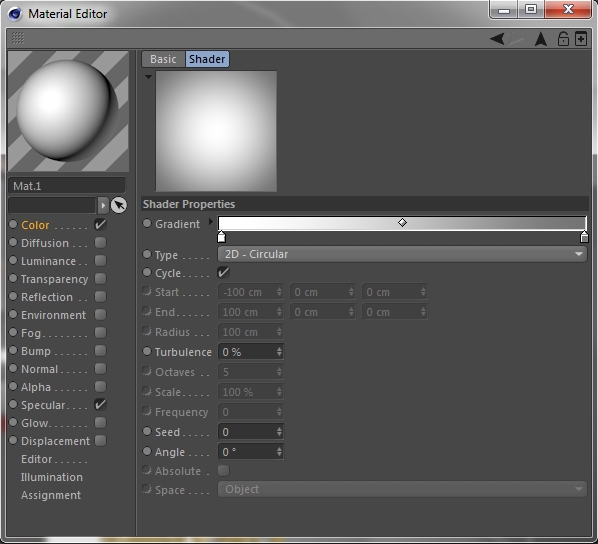
Create a new material and modify it according to the images below. Then add it to the Extrude NURBS object in the Main Safe group that is responsible for the “inside look” (fillet/fillet cap).
Step 12
Finally copy (Ctrl+Drag) the Stylich Metal material and modify the copy’s color. Apply this material to the coins.

Step 13
To make a smooth background all you have to do is add a Background object and create a new material.
Step 14
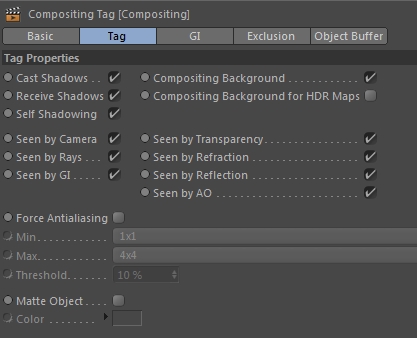
Apply this material to the Background object and the Floor. Select the Floor and right click on it. Go Cinema 4D tags->Compisiting.
Step 15
That’s it. Now all you have to do is add some lights, set up your camera and render the image.
Conclusion
We hope you enjoyed the tutorial and learnt something new. If you have any questions or tutorial requests, post them in the Comments Section and we’ll answer asap.


