It’s been a while since I made a tutorial here in Naldz Graphics. For this month Im gonna focus more on creating tutorials for everyone. Today you will learn how to create a Glowing Effect Scene in Photoshop.
This tutorial will teach you how to come up a cool glowing effects on your artworks. Lets take a quick preview first on the final result.

If you’re ready then lets start.
Step 1
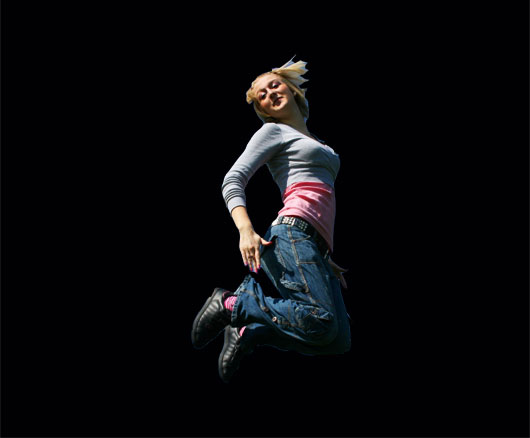
We used the image below. Open New Document. I use 530 x 438 pixels on this tutorial. Use color #000000 for the background. Move the Image to the Working document using Move Tool (V). Name the image to “Stock Image”.
Step 2
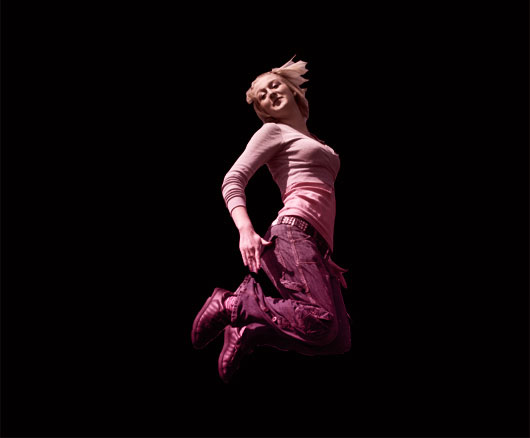
Create a New Layer above the Stock Image Layer. Choose Gradient Tool (G). Set the color to #9d5c5b and #b53564. Apply gradient to the new layer then set the layer to “Color” and 75% Opacity.
Step 3
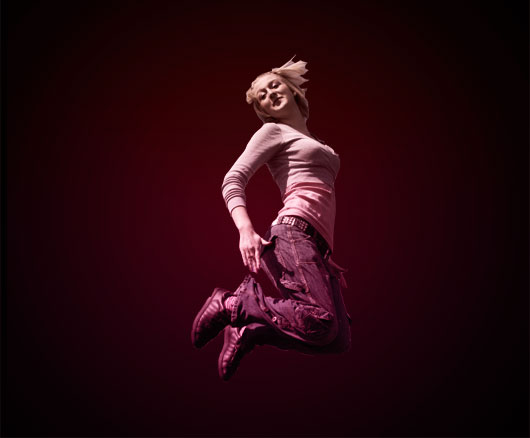
Create new layer between the background and the image. Set the color to #470310. Now choose Gradient Tool again and use “Foreground to Transparent” in Radial Gradient mode. Now apply it to our working document. Name the layer to “Highlight1”
Step 4
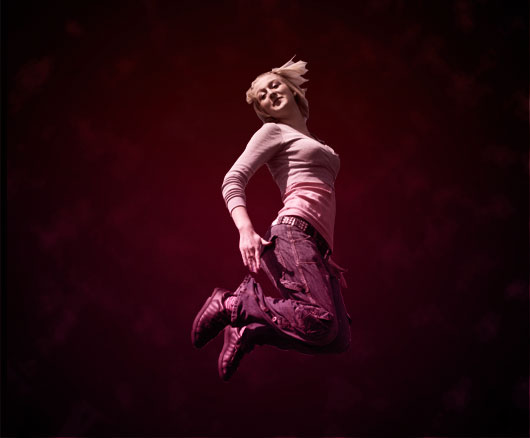
Create a new layer above the Highlight1 Layer then go to Filter>Render>Clouds. Set the layer to “Soft Light”. Name the layer to “Cloud”. Duplicate the “Cloud” layer by pressing CTRL+J.
Step 5
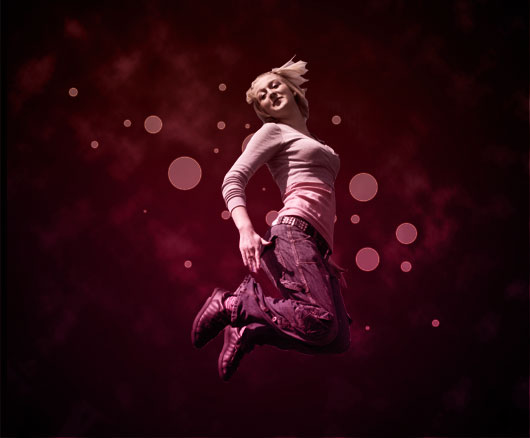
Create new layer behind the Stock Image layer. Name the layer to “Circles”. Set the color to #ffffff. Choose Ellipse Tool (U) and create some circles. Make sure to hold Shift while creating the circles (check the image below). Now adjust the Fill to 30%. Go to blending mode. On the blending mode, select Outer Glow then use color #e1851a. Opacity to 100% . Spread to 6% and Size to 2 pixels.
Step 6
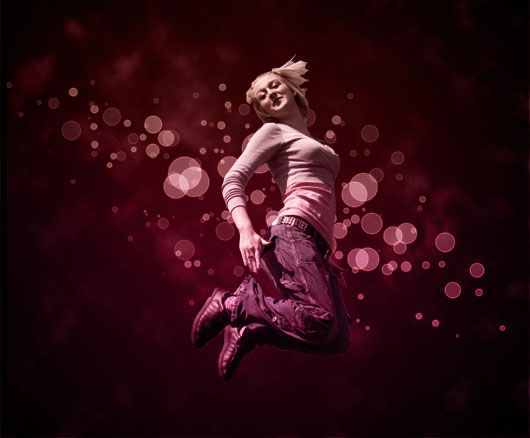
Duplicate the circle layer. What we’re gonna do here is to scale the duplicate layer and move it around the area so it will create more circles. Create a 6 duplicates. ( See the image below). You can also adjust the opacity to 50% of other circle layers specially for the small circles.
Step 7
Create new layer behind Stock Image layer. Choose Custom Shape Tool (U) then select “Tile 2”. Adjust the Opacity to 35%. Go to blending mode. On the blending mode, select Outer Glow then use color #e1851a. Opacity to 100% . Spread to 6% and Size to 2 pixels. Go to Edit>Transform>Warp and warp the Tile.(see image below)
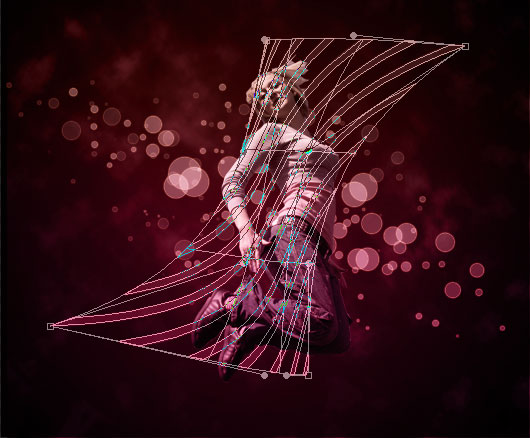
After warping, Go to Edit>Transform>Rotate and adjust the warped tile to a good position. Name the layer to Tile. Duplicate tile layer then set the duplicate layer to 100% Opacity and 30% Fill.

Step 8
Duplicate the Stock Image layer then select duplicate Stock Image. Go to Image>Adjustments>Hue/Saturation. On Hue/Saturation, adjust the Lightness to +100. Right Click the duplicate Stock Image layer then select Outer Glow. On Outer Glow, Set the color to #ffffbe. Opacity to 75%. Spread to 0% and Size to 18%. Now we have a highlight on the Stock Image.

Step 9
Create a new layer between Stock Image and Duplicate Stock Image. Set the color to #ffffff. Choose Brush Tool (B) and Set the brush to “Splatter 59 Pixels”. Now apply the brush on the right side of the Stock Image. (see image below)

Step 10
Lets add some little sparkles. Create a new later above Stock Image layer. Choose Brush Tool (B) then adjust the brush to Soft Round 5 Pixels.

Step 11
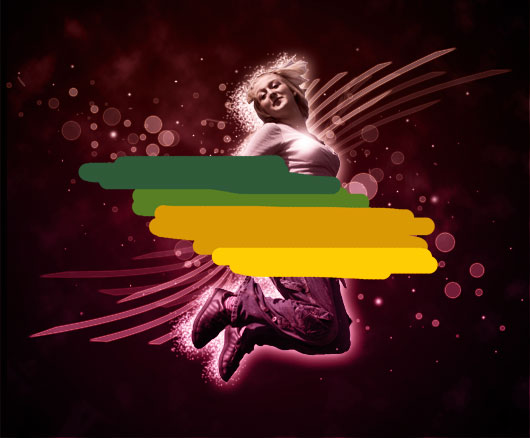
Create a new layer. For this part we will gonna use 4 kinds of colors. First use #ffffbe then apply it to the layer using brush tool. 2nd color is #587f23. 3rd is #d99905 and last color is #ffcd03. (see image below)
Step 12
Go to Filter>Blur>Gaussian Blur. In the Gaussian Blur, set the radius to 25 pixels.

Step 13
Almost done. Now Set the layer to “Color Dodge” and Opacity to 45%. Go to Edit>Transform>Rotate to adjust the position of the highlight.

And we’re Done. I hope you enjoy our tutorial for today. Drop us a link sample of your work on this tutorial in the comment area. More Tutorial will come. Dont forget to Subscribe our RSS Feed so you can receive new Tutorials on your inbox


Excelent. 😀
grate tutorial, colors and light work grate! >.<
Looks awesome, great work.
nice tut.. thanks
Nice effect and colors Ronald. Welcome back to tutorial writing!
How do i make an image layer softlight??
Step 4Create a new layer above the Highlight1 Layer then go to Filter>Render>Clouds. Set the layer to “Soft Light”. Name the layer to “Cloud”. Duplicate the “Cloud” layer by pressing CTRL+J.
Glad you like it guys 🙂 thanks for the feedback
@Darien
you can find it on the layers palette.
please see this image : http://bit.ly/TWKDs
i hope it helps 🙂
This is a really quality tutorial, although I might’ve made the background lines a bit smaller. Still, nice work. 🙂
is this for photoshop 7.0?? O.O
Nothing new under the sun
Nice tut’ but where was the lightning? You might want to try using the brush presets to create your own brush and randomly generate the opacity/spacing etc… of the circles.
wow, congratz with tutorial – didn’t see one for a realllly long time! Outcome still look very colorful and creative, I like it! Great work! 🙂
That’s a pretty design and tutorial. Thanks for sharing.
BTW, I found your blog at twitter. COngrats for being the Philippine’s most followed blog in twitter.
Very clear, very helpful, and a really great effect! Thanks a ton!
@ i use photoshop cs3.yea it work on that version
@ Vic thanks for the flattering comment :)cheers
Great effects.. awesome tutorial..will def try it out..
Very useful tutorial – I’ll try this out
– bookmarked & retweeted
thx
This is really excellent! Thank you for sharing! 🙂
so cute so good job thx!!
I could use some help with step 6, can’t figure out how to scale the layer and move it around…
To scale, press CTRL+T then hold Shift while dragging your mouse. to move it around, press V for Move Tool then move the circles by dragging it using your mouse. i Hope this help 🙂
Thanks for the great tutorial. It’s been a while since I’ve seen a good tutorial pop up on the internet in a while. Especially one that is so detailed.
I didn’t get the chance to follow along with it, and I probably won’t, but I did take a read through it.
Good work.
Where is the lighting?
Oh good, but i think that it’s still hard for me.(Beginner).
very nice tuts. love it. thanks
Keep up the good work.. more more more tuts.
please leave me a comment so that I will improve. thanks
Hi,Ronald
I like this tut very much.It’s so fresh!
But the free strock image has been deleted.Is here any other way I can get it?
verry nice toturial! and verry easy to succeed even for a beginner like me.
helped me alot =)
Awesome Naldz! 😉
can you save it as a pdf format for later read it.
Simple and beautiful
Very like it! awesome!!!
Very cool lol this is also funny: I know where you got that photo and I have used it in a project before. I love it though!
where and what is “tile 2” in step 7
@ s
You can find “Tile 2” when you select Custom Shape Tool then look for “Shape” on the upper toolbar then Look for “Tile 2”
Here’s sample: CLICK HERE
Hope it helps
Very Smart,Easy Simple Tutorial to make your images pop.i was thinkin that this was a little intricate until i liooked at it.I like it.
This is a great tutorial, I’ve used this tutorial to create some of my deviantart works, thanks for sharing. I placed a link on my works and added credits. =)
Where could i get the splatter brushes?..But yet..Your tutorial is SUPER AMAZING..!!!EXCELLENT!
thanks for sharing your gifts, God Bless
Thanks for the example..Great job..
very awesome..nice tuts it helped a lot…
thanks!!!!
Plz can anyone upload “Free Stock Image” again
Im trying to figure out how to get color in the Tile part of this..I’ve done every step-by-step and on the tiles the color isn’t filling in. I’m not sure what I’m doing wrong & it’s giving me a major headache lol
Very nice tut…. some of the colour codes didnt match up tho :\… oh well , still very good
very nice tut…..thanks
By step 3 i did all what was asked, but my background stays black and i dont see the round gradient. Am i doing something wrong?
Using Photoshop CS5
having a video tutorial would be great for beginner