In this article we’re going to show you a super-fast and easy way to create some fancy emoticon faces.
Tutorial Details
- Program: Adobe Photoshop
- Version: CS5
- Difficulty: Beginner
- Estimated Completion Time: 30 minutes
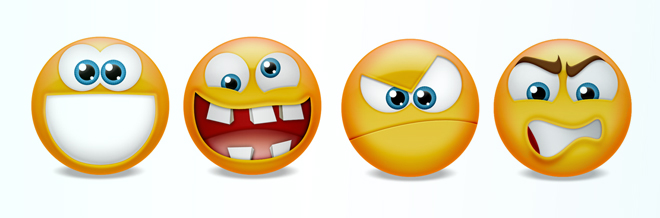
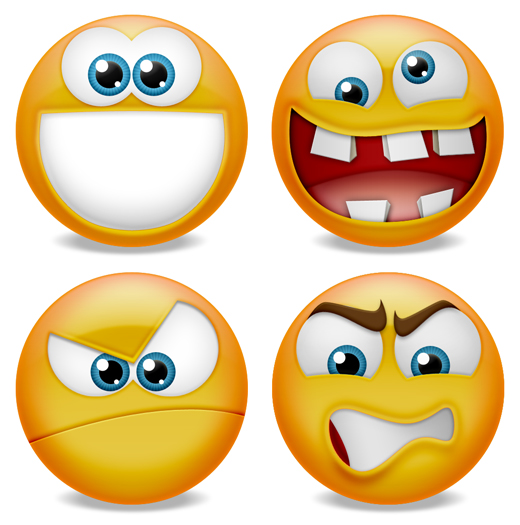
Final Result
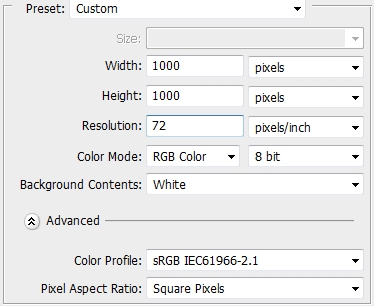
Step 1
Create a new file in Photoshop.
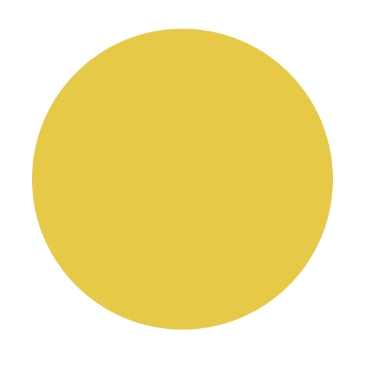
Step 2 – The face template
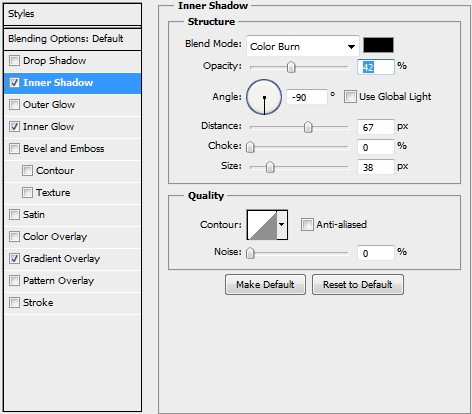
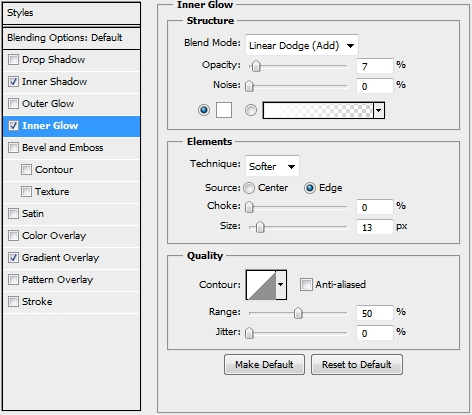
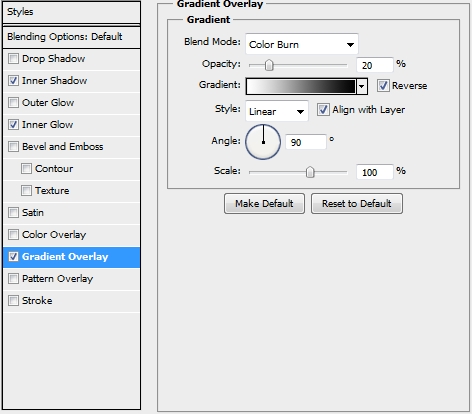
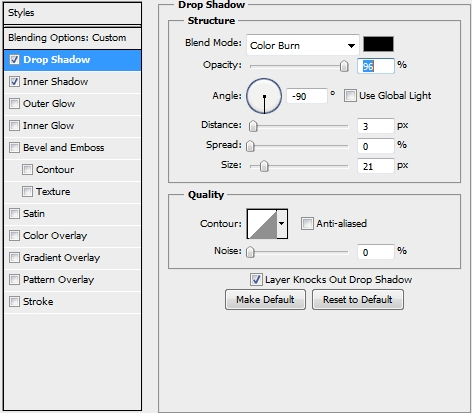
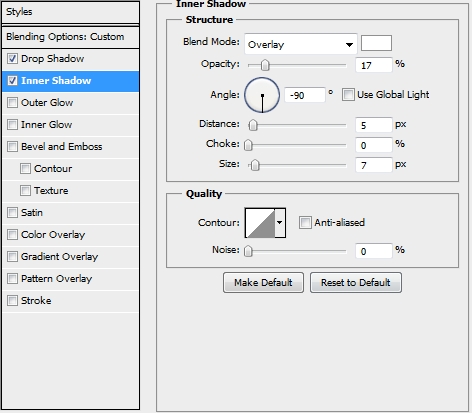
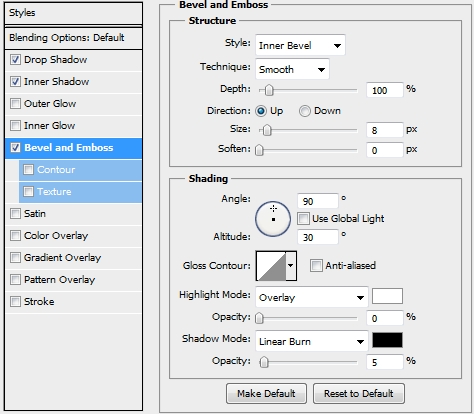
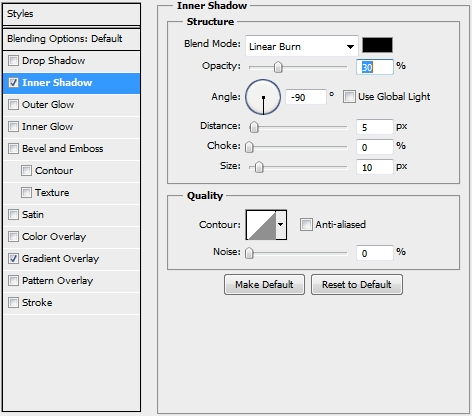
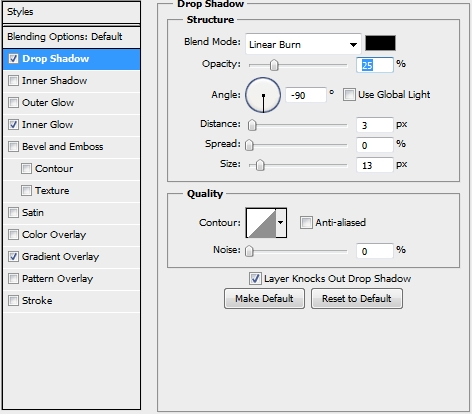
Grab the Ellipse Tool (U) and draw a perfect circle. Fill it with #e7c948 and apply the following styles.
Step 3
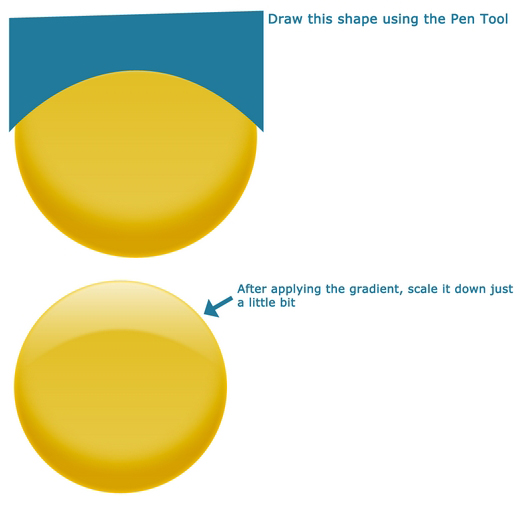
Create a new layer and pick the Pen Tool (P). Draw a shape like the one on the first image. Switch to the Paths tab and holding Ctrl, click on the created path’s thumbnail (to select its pixels). Pick the Gradient Tool (G) and draw a vertical line (white to transparent). Hit Ctrl+D to deselect the pixels and scale down this gradient shape just a little bit to give a stroke effect. Then simply apply the effect shown on the second image and clip this layer to your original circle shape.

Step 4
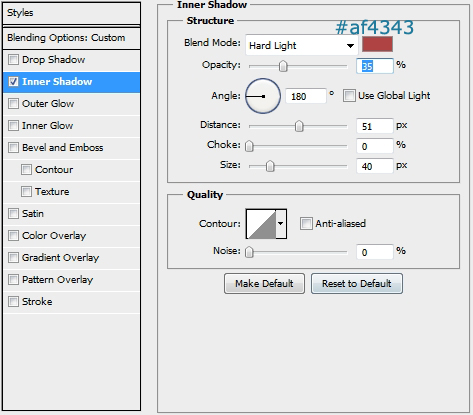
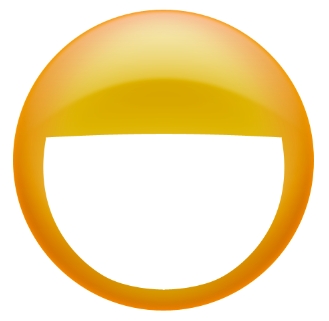
Create a new layer and select the pixels of your original circle. Paint the selection with a random color, turn its Fill to 0% and apply the following style. Then duplicate this layer and modify the style’s parametres (change the Angle from 180 to 0 degrees).
Step 5
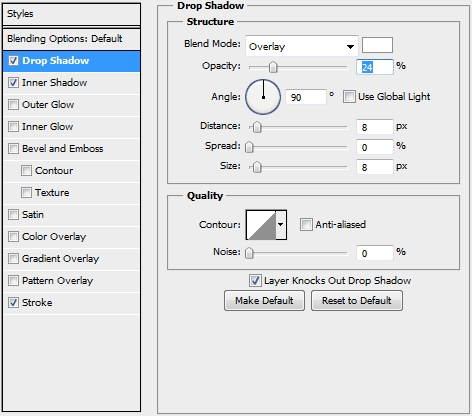
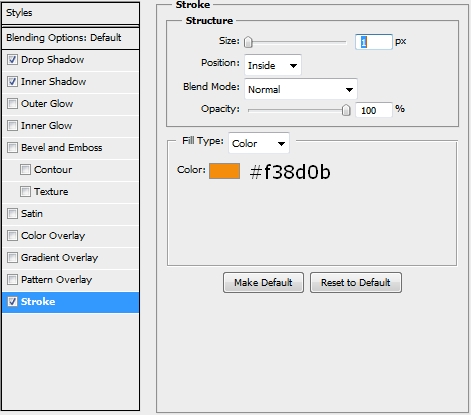
Finally, duplicate once again this layer and replace its style with the following one. This layer should be placed on top of each “expression groups”. In other words, deactivate it until you create the expression and then activate it.

Step 6 – Expressions / Proud
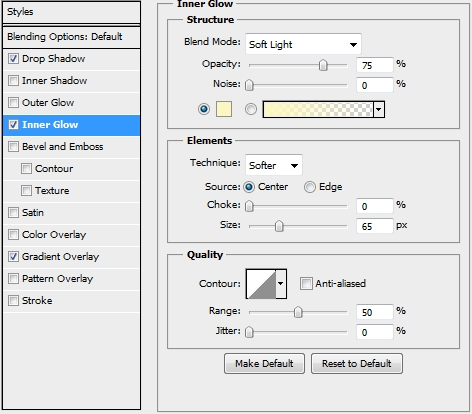
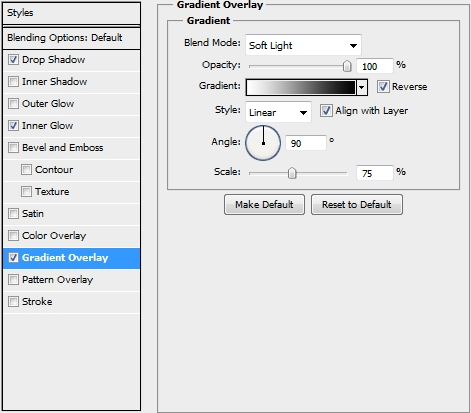
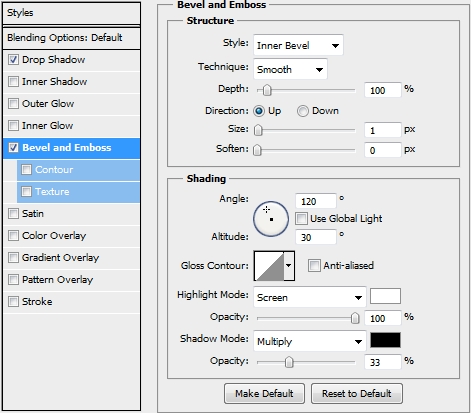
Pick the Pen Tool (P) and draw the shape of an open mouth. Fill it with #ffffff (white) and apply the following styles.

Step 7
Duplicate this layer, turn the Fill of the copy to 0% and replace the existing styles with this one.

Step 8
Now, create a new layer, select the pixels of the big smile (step 6) and switch to the Paths tab. Click on the Make Work Path From Selection icon and pick a soft round brush (20 px). Pick the Pen Tool (P). Right click anywhere on the canvas and select the Stroke Path (make sure the Simulate Pressure box is unchecked). Delete the part inside the smile and turn the Fill to 0%. Then apply the following styles and lower the Opacity to 55%.
Step 9
Draw two circles for the eyes. Merge the two shapes and apply the following styles.


Step 10
Draw a smaller circle and fill it with #3496bb (or any other color you want). Then add these styles.


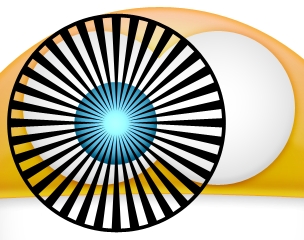
Step 11
Create a new layer and pick the Custom Shape Tool (U). Find the Registration Target 2 and fill it with #000000 (black). Change the Blend Mode to Soft Light and lower the Fill to 35%. Clip this layer to the blue circle created in the previous step.
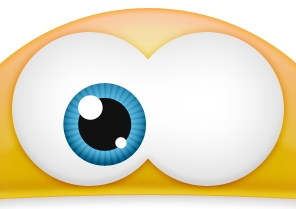
Step 12
Draw a couple of circles (a black one and two white) to finish the eye (you can add some highlights if you want – pic 2).

Step 13
Duplicate these layers and place them on the other eyeball.
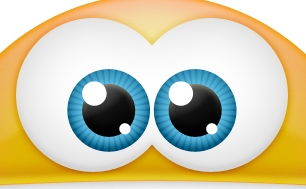
Step 14
Add some shadow under the face (ellipse tool>fill: black>gaussian blur (4-5px)>opacity: 30%). Group all the layers created so far and name the group “Proud”.

Step 15 – Expressions / Silly
Duplicate the “Proud” group and delete some of the expression layers (mouth, eyeballs – leave the iris). The second expression we’re going to create is the “silly guy”. First of all, draw two separate circles for the eyes. Apply the very same styles that you applied in the Proud expression; I’ve added some highlights under the eyeballs. Add a layer mask and erase some parts to give your emoticon a stupid look. Don’t forget to move the irises too.

Step 16
Create a new layer and select the Pen Tool (P). Draw the mouth; use the first image as a guide and fill it with #a3080a. Add some shadows on a new layer if you want (make it a clipping mask).


Step 17
Now draw the tongue using the Pen Tool (P). Use the first image as a guide. Fill the shape with #bf5f5f and apply the following styles. Finally, clip this layer to the mouth layer.

Step 18
Create a new layer and once again pick the Pen Tool (P). Draw some random shapes for the teeth. Fill them with #dddddd and apply these styles (make sure to make this layer a clipping mask too).


Step 19
Create a new layer and place it before the teeth layer created in the previous step. Draw some shapes to give the teeth a 3d feeling. Use the same styles that you used for the original teeth layer and add some shadows if you want.

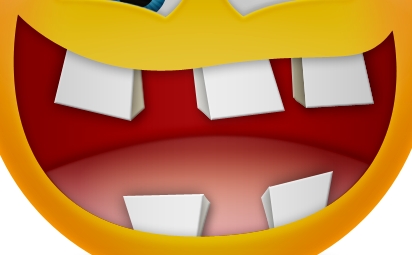
Step 20
Add some shadows inside the mouth and highlights right outside of it.
Step 21
Repeat Step 8.

Conclusion
Now create your own expressions! As you can see it’s pretty easy to draw some cool emoticons in less than 30 minutes. We hope you enjoyed the tutorial and if you have any questions, post them in the Comments section and we’ll answer them asap.


wow..:)
nice tutorial
i want to learn on it in my spare time.
is it not hard to do this?
It is not hard if you try it with a help of someone who really knew how to do it.
thank you for the tutorial,they’re really cute.
cute,,nice job!
good,you are very talented
i like it
i want to try but i think i can’t do that.
thanks for the tutorial
Nice tutorial Al as always :).