There are many creative faces in the design community who are waiting to be seen. If you’re a beginner to designing for the web then this will be a great tutorial for you. In this tutorial we will be creating a creative web layout for a business type website using adobe Photoshop cs, and various design tips and techniques.
If you follow the simple techniques used in this tutorial you will have no problem creating a beautiful and creative layout in the future. So are you ready??
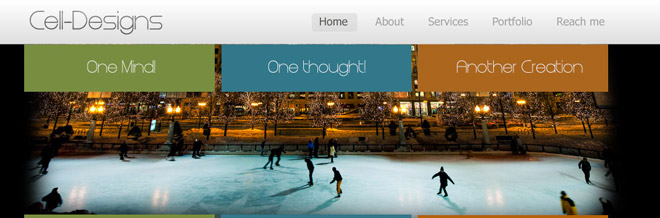
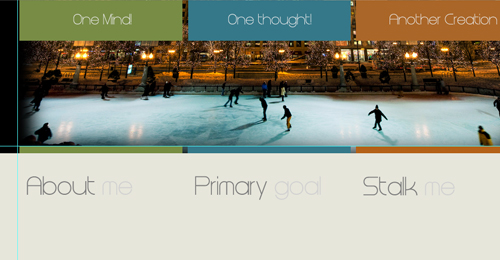
Preview Here
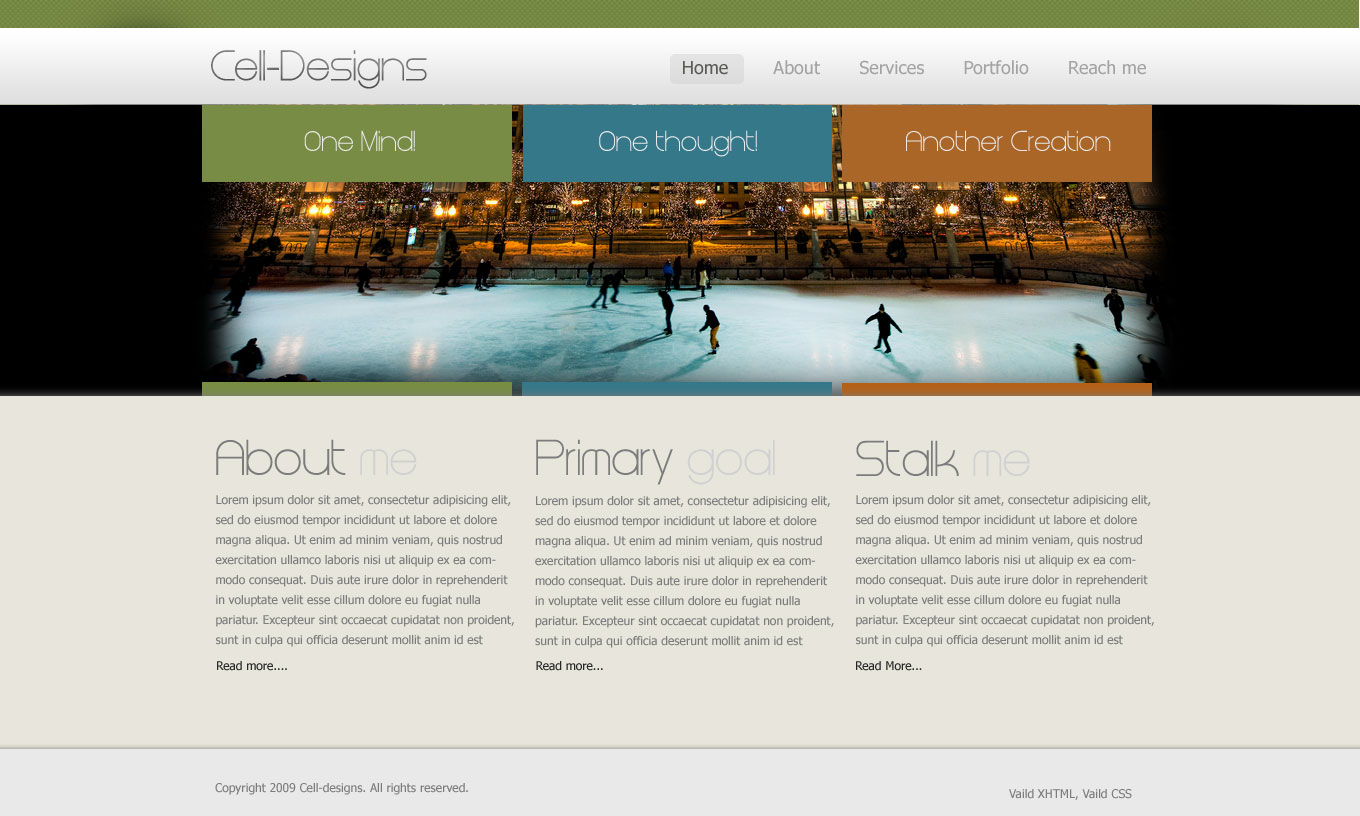
( Click to Enlarge )
Step 1
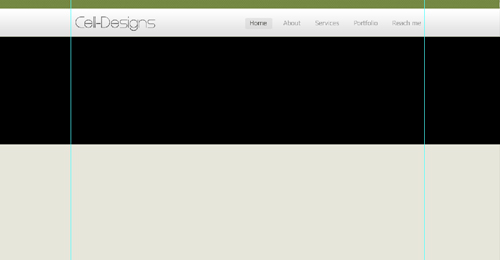
Create new document 960px x 816px 72dpi. Background Color #788d42
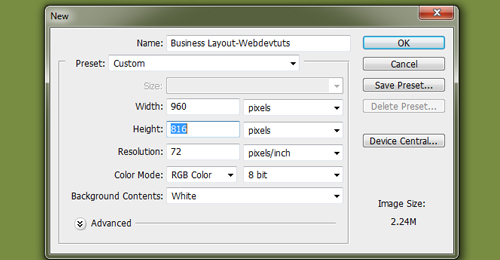
Note: Turn on photoshop guide lines
Step 2
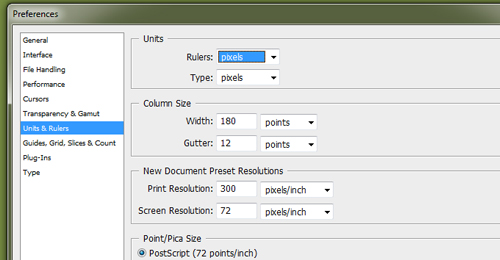
Now go to View>>Ruler and your ruler should now be turn on. Drag 2 guide lines to left and right of layout giving you the full 960px width.

Note: If your ruler shows up as inches go to Edit>>Preferences>>Units & Rulers. Change units to pixels
Step 3
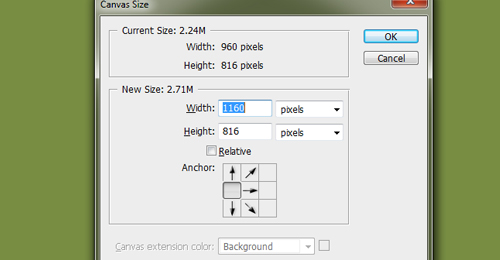
Now press CTRL + AlT + C (Windows), or CMD + ALT + C (Mac) to bring up canvas size box. Change 960px to 1160 and select the left arrow then press ok.
Step 4
Repeat step 3 but change 1160px to 1360px and select the right arrow. You should now have 200px on both sides of your 960px layout. If background is transparent select the paint brush tool color:# 788d42 and fill in the transparent background.

Step 5
Select the rectangle tool color:#e9e9e9 and draw a rectangle at the top of your layout. Leave about 30px of space between top.
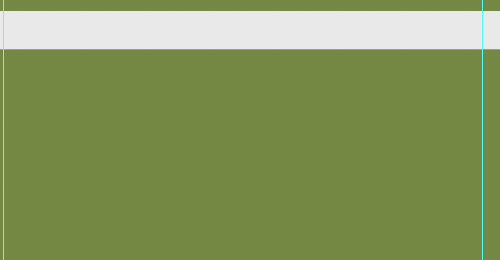
Now right click on the rectangle layer>>Blending options>>Gradient overlay. blend mode:normal, opacity:100, style: linear, angle90, scale100.
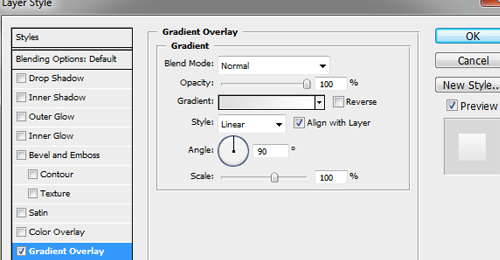
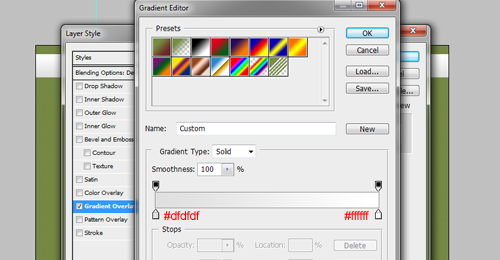
Now double click on gradient bar. Left color:#dfdfdf, Right color:#ffffff.
Step 6
Select the type tool color:#000, font:Steiner, size:36px, smooth. Type out a word for your company. In that case I’m going to use cell-designs.
![]()
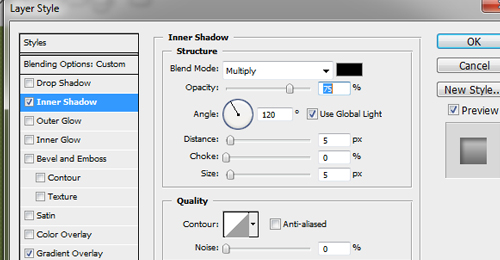
Now right click on text layer>>Blending options>>inner shadow. blend mode:Multiply, opacity:75, angle: 120, distance5px, choke:0, size:5px.
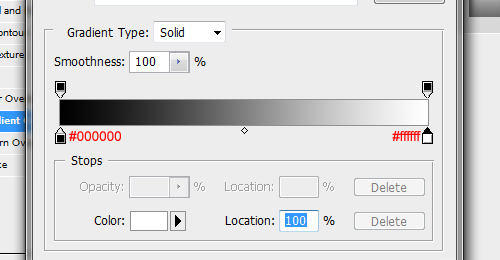
Select gradient overlay. blend mode:normal, opacity:100, style: linear, angle90, scale100. Now double click on the gradient bar. Left color:#000000, Right color:#ffffff.
Step 7
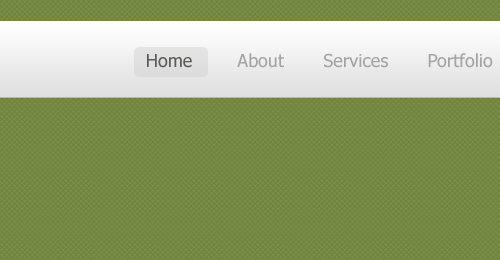
Select the type tool font:Tahoma, Size:18px, regular, smooth, color:#a3a3a3 and create menu links. Double click while type tool is selected to get single line text.
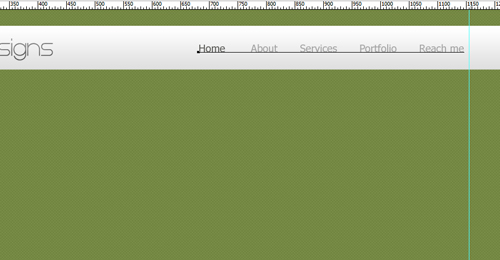
Select the rounded rectangle tool 10px, color:#e3e2e2, and create a hover on the home link.
Step 8
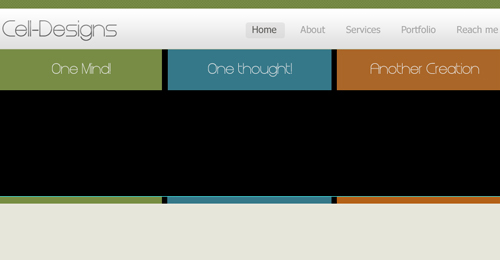
Select the rectangle tool color:#000000, and create a rectangle box under the menu nav. About 290px height or something close to.

Then select the rectangle tool color:#ffffff, and create a rectangle box under the first box. Make the second box expand all the way down the page
Step 9
For this next step we’re going to create 3 boxes. I’m not going to go into in-depth details for each box because they are very simple. Ok so Create 3 rectangle boxes. Each box has 10px space.
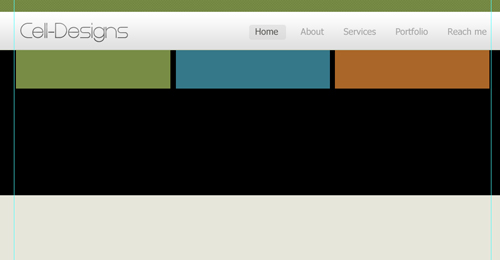
Box 1: color:#788c45
Box 2: color:#357889
Box 3: color:#aa6628
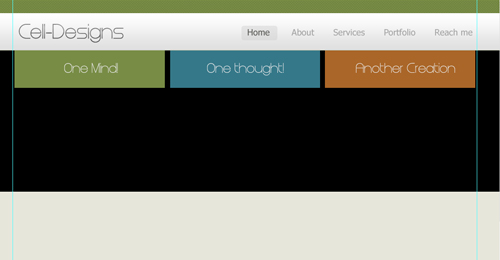
Step 10
Select the type tool Color:#e9e9e9, Font: Steiner, Size:24px, smooth then create 3 text headings. You can either copy the ones I use or create something unique for your own use.
Step 11
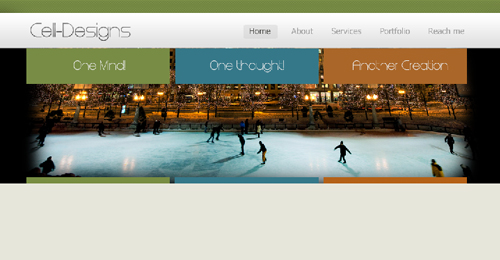
Ok so this might be confusing to some or simple but either way I will try to explain this the best I can. So earlier in this tutorial we created 3 boxes with different colors. We are now going to add 3 boxes below to the top color boxes but just smaller. So the way I did it was duplicate the box then press CTRL + T to bring up the transform option. Finally I dragged the box down below leaving about 20px of height.
Do the same for the other two boxes
Step 12
Now find and image for your website. After you have that image place it into photoshop under the box and text layers. If image is big like the one below do not worry we will take care of that next.
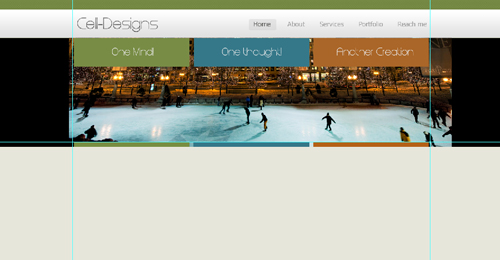
Select the blur edge paint brush tool color:#000000 then create a blur around the image so that your image fits with the layout.
Step 13
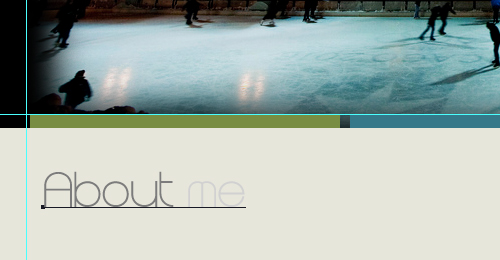
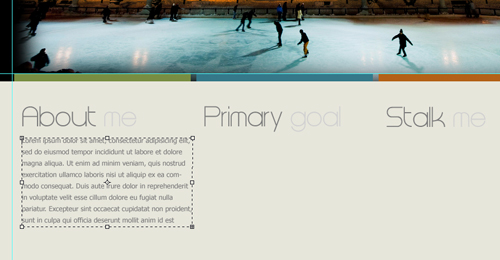
Now we’re going to create our heading text. Select the type tool color:#7c7c7c, Font:Steiner, Size:42px, smooth then create a heading title. I used About Me. Also
change the second word color to #d1d1d1 so it can have a lighter look(Lower case also for second word).
Repeat step 13 for other two headings. Remember you do not have to use my words you can create something unique.
Step 14
Select the type tool Font:Tahoma, Size:12px, smooth, Color:#7c7c7c and you can either write in your own text or used generated text. For generated text just Google search lorem ispum.
Repeat step 14 for other two columns.

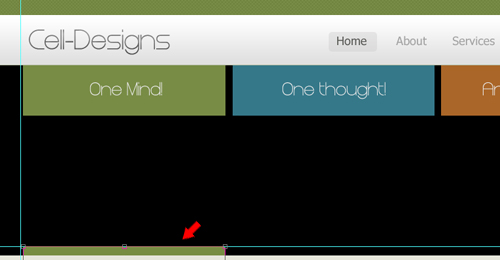
Step 15
Now we’re going to create our footer section. Select the rounded rectangle tool color:#e9e9e9 then create a rectangle box that goes across the entire screen. It
might be hard to notice since overlaying color is very similar to footer color.
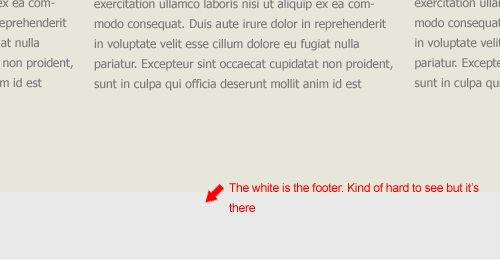
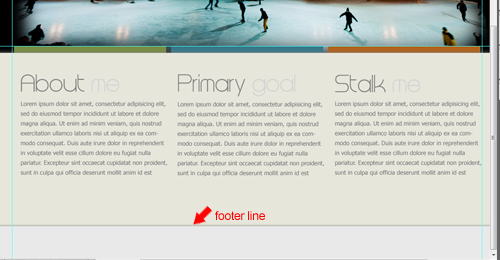
Now select the line tool 1px color:#00000 then create a black line directly above the footer rectangle. If footer is hard to see turn off some layers so you can see it better. Then go to Filter>>Blur>>Gaussian blur and create a blur thats not to big but just right.
Step 16
Select the type tool Font:Tahoma, Color:#7c7c7c, Size:12px and create your footer copyright text.
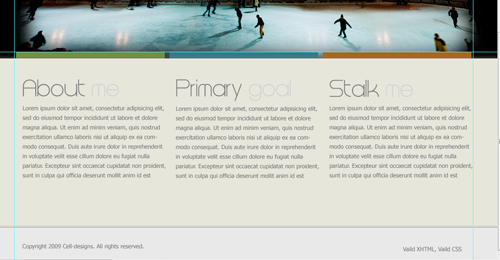
Final Result!
Now for the last step we will add read more links. Select the type tool Color:#272727, Font: Tahoma, Size:12px then create read more links. You’re now done
Congratulations!!!


This tutorial is very useful especially for me. I’m just starting learning photoshop.
well written tut. really helpful for beginners
Cool tutorial. Nice Job! 🙂
so far so good
well written tutorial but the outcome isn’t very different to other designs
hi Marcell Purham,
nice tutorial bro. I used to use GIMP and now I switch to Photoshop. 🙂
Best Regards
Nice tutorial, but what would make it fantastic is to make a followup and see the next step, from photoshop to HTML/CSS.
Well written, but its quite simple. Good for beginners.
Thanks guys for the replies.
Yes it is quite simple. I was focusing more on people who are just starting out in the design world.
@mook if I have time Ill write up one 🙂
Hi! thank’s that’s cool tutorial.
lovely!!!!
thanks man great web layout tutorial