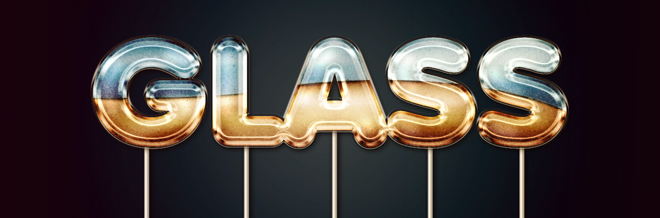
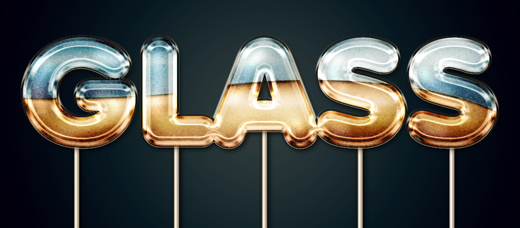
In this tutorial we’re going to create a nice candy lollipop text effect using the Layer Styles.
Tutorial Details
- Program: Adobe Photoshop
- Version: CS5
- Difficulty: Beginner
- Estimated Time of Completion: Less than one hour
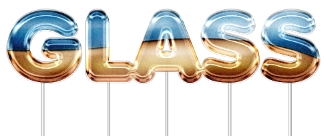
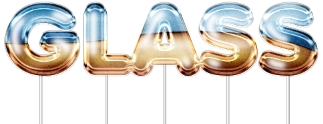
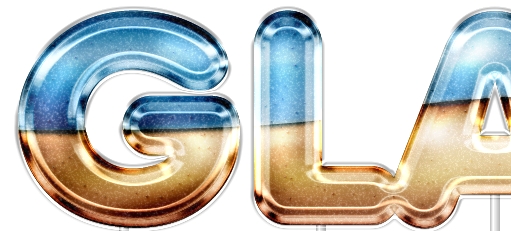
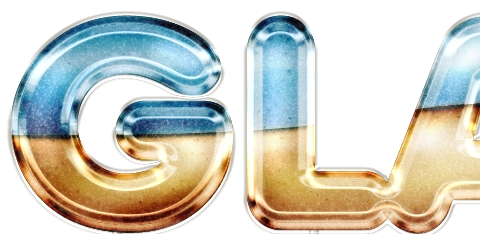
Final Result
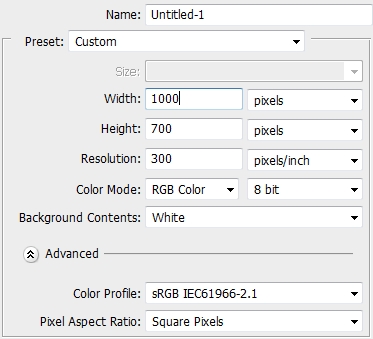
Step 1
Create a new file in Photoshop.
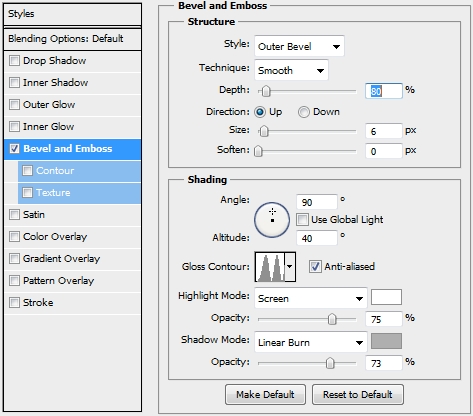
Step 2
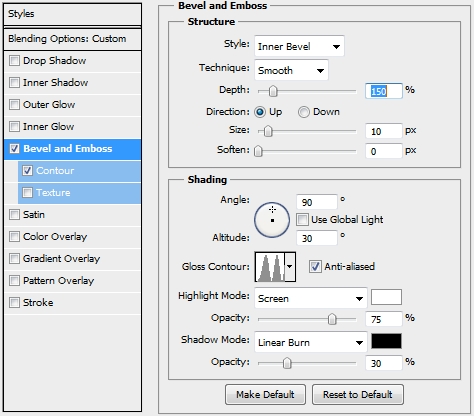
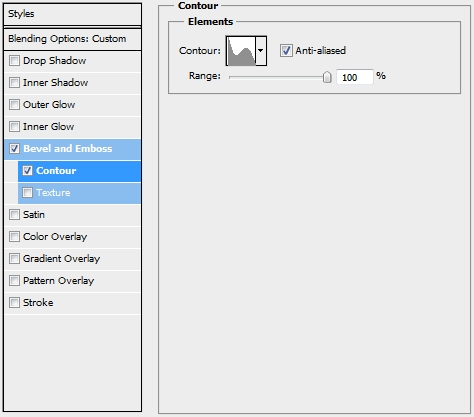
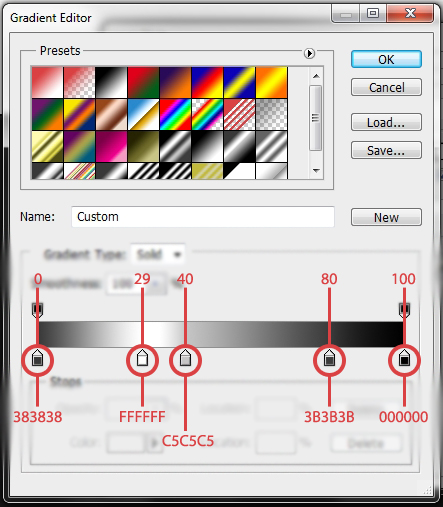
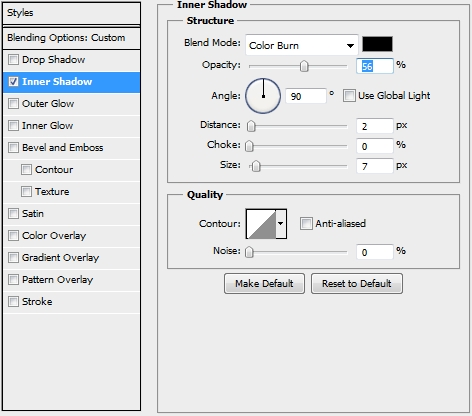
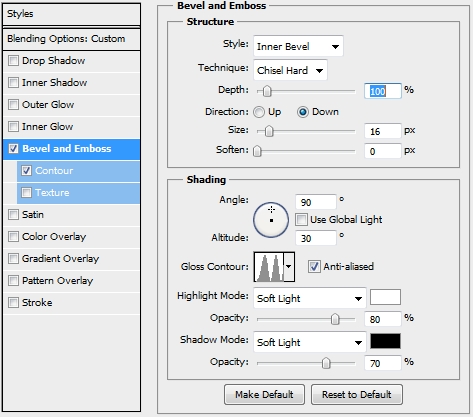
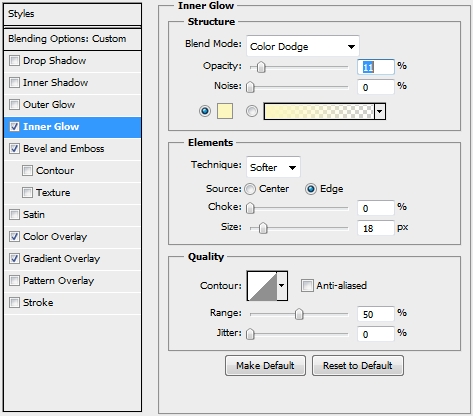
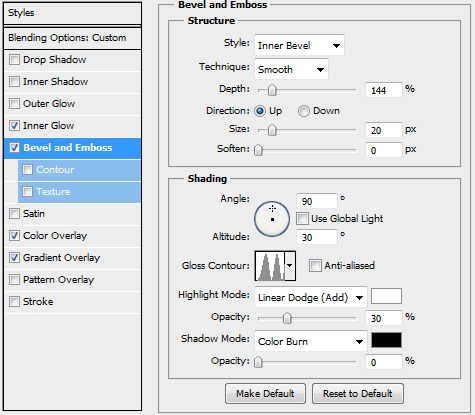
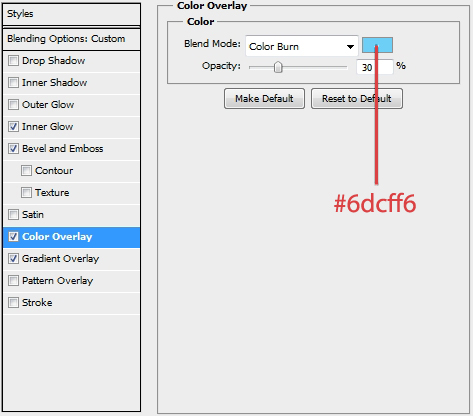
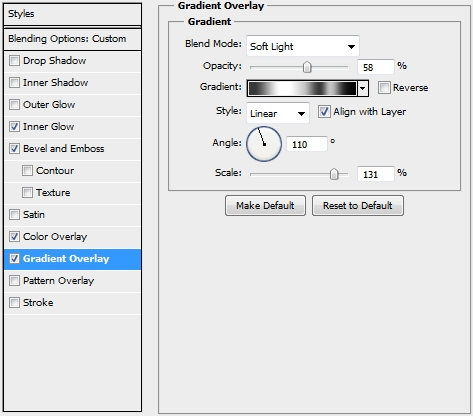
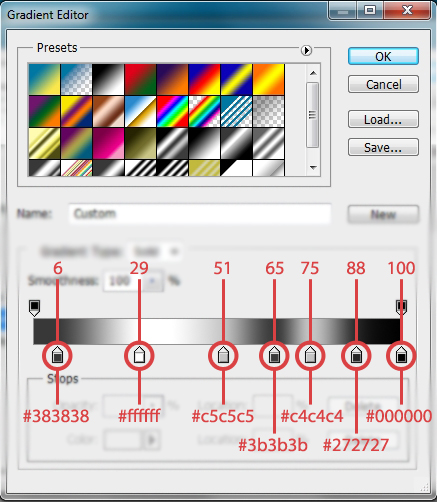
Pick the Type Tool (T) and write anything you want. The font used in the tutorial is called Anja Eliane (size: 70pt, color: #f8d0a4). Then apply this style.

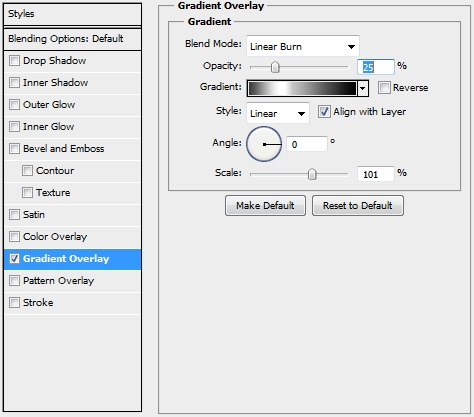
Step 3
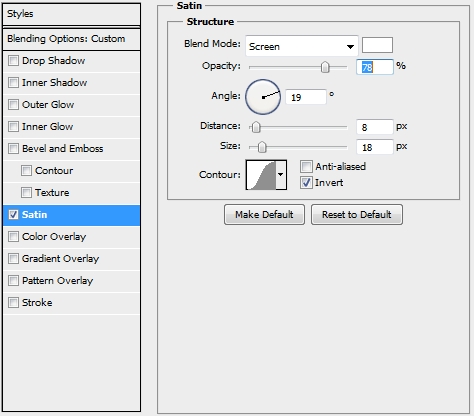
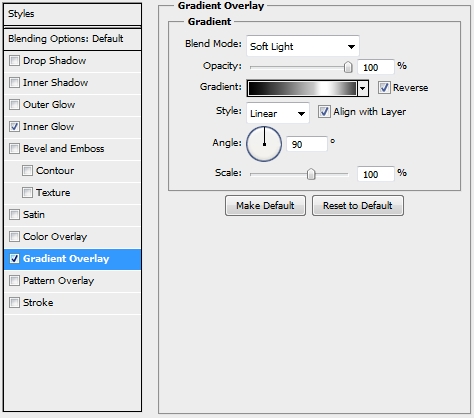
Duplicate the text layer and turn the Fill to 0%. Apply the following style.
Step 4
Duplicate this layer and replace the Bevel and Emboss style with this one.
Step 5
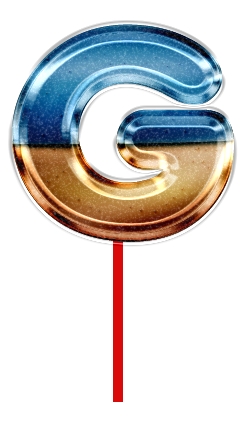
Create a new layer and pick the Pen Tool (P). Draw a crooked line and fill the selection with #d99949. Select type layer’s pixels and inverse the selection. Hit Delete to erase the unwanted part. After that apply the following styles (if you want add a blur effect using the Blur Tool). Finally, change the Blend Mode to Linear Burn.


Step 6
Duplicate this layer and change its color to #cbc5bd and the Blend Mode to Hard Light. Lower the Fill to 70% and replace its styles with this one.
Step 7
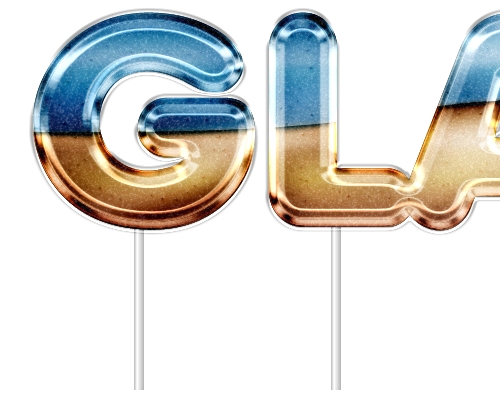
Repeat this process with the other half of the “lollipop”. The color I chose is #5875a4.

Step 8
Duplicate the original text layer and place it on top of the layers stack. Turn the Fill to 0% and apply this style.
 Step 9
Duplicate this layer and apply the following styles.
Step 10
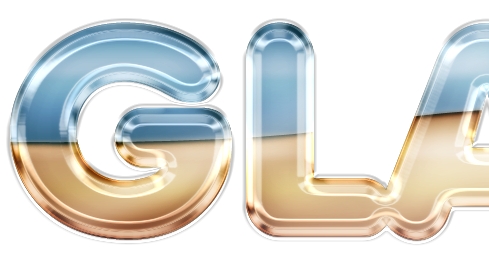
Group all the created layers (except from the background), duplicate the group the merge the copy. Desaturate the layer by pressing Ctrl+Shift+U. Then go Filters>Blur>Gaussian Blur (2px). Change the Blend Mode to Soft Light.
Step 11
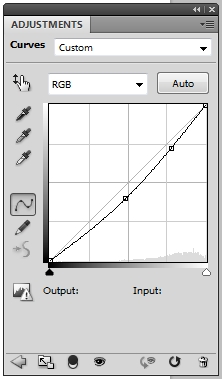
Click on the Create new Adjustment Layer icon and pick the Curves.
Step 12
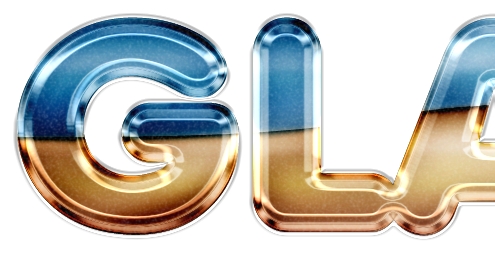
Create a new layer, select the text layer’s pixels and fill the selection with #1d2933. Change the Blend Mode to Vivid Light and lower the Fill to 45%.

Step 13
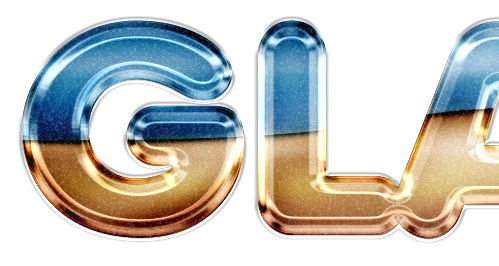
Duplicate this layer, change its color to #000000 (black) and go Filters>Noise>Add Noise (Monochromatic – 16%). Then go Filters>Blur>Blur. Change the Blend Mode to Screen and lower the Fill to 70%.
Step 14
Repeat the previous step, only this time don’t apply the Blur filter. Change the Blend Mode to Linear Dodge and lower Fill to 15%.
Step 15
Create a new layer and pick the Line Tool (U) and set the Weight to 5px. Change its color to #ffffff (white) and apply this style.
Step 16
Duplicate this layer as many times as you need.
Step 17
Group all the layers created so far, duplicate the group and merge the new copy. Desaturate the layer and change the Blend Mode to Soft Light and the Opacity to 50%. Go Filters>Blur>Gaussian Blur (1,5px).
Step 18
Create a new layer and using a Soft Round brush add some highlights. Change the Blend Mode to Linear Light and the Opacity to 30%.
Step 19
Create one last layer and fill the canvas with #ada58a. Change the Blend Mode to Overlay and lower the Opacity (or Fill) to 55%.
Conclusion
Your candy lollipop text effect is now ready. You can add any effects you want to make it look even better. We hope you enjoyed the tutorial.


nice design, ok tutorial but some parts are really hard to follow/understand.
i get stuck in the middle.. to bad i can’t reproduce this cool totorial.