In this article we’re going to focus on how to combine effectively separate shapes (elements) in order to create one complex object/scene. The object/scene that we chose for the tutorial is a bottle on a table. As you can see in the preview image, we won’t concentrate on the texturing. There will be another article about it next week or something. So, let’s start.
Tutorial Details
- Program: Adobe Photoshop
- Version: CS6 Extended
- Difficulty: Beginner
- Estimated Completion Time: 1 hour
Final Result
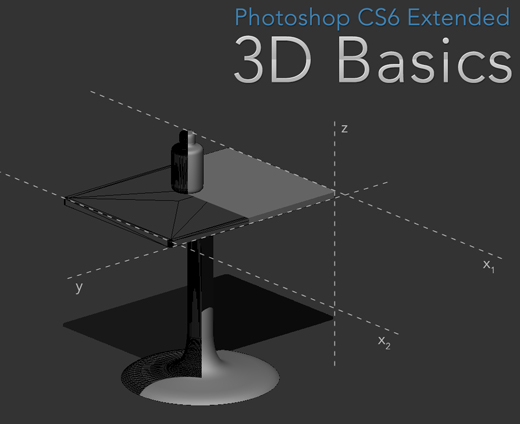
Step 1
Create a new file in Photoshop. Use any preferences you like.
Step 2
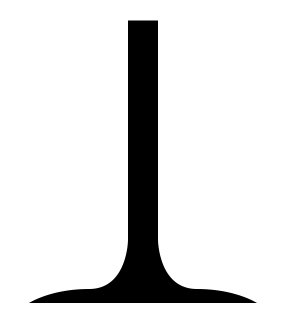
The first thing that we’re going to create is the table. A pretty simple one. However, you can add as many details as you want. So, grab the Pen Tool (P) and draw a shape like the one on the image below. Draw only the one half of it and then duplicate it and flip the copy horizontally.
Step 3
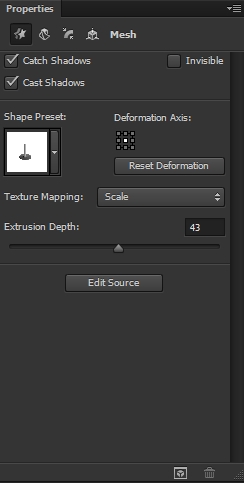
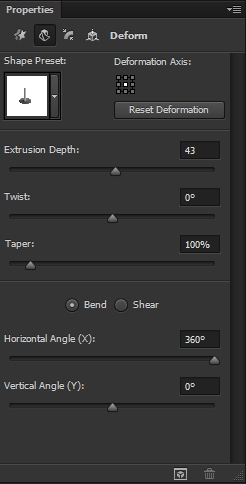
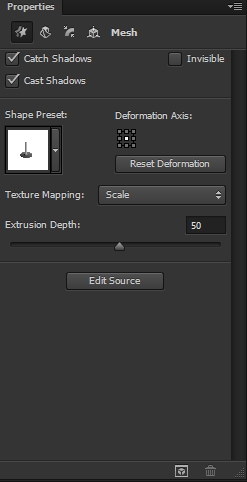
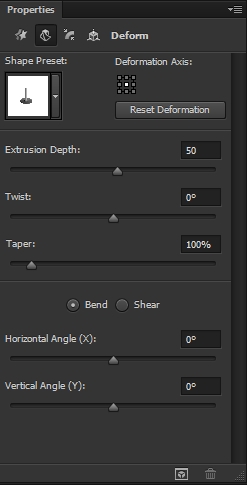
Go 3D>New Extrusion from Selected Layer and set these parametres.
Step 4
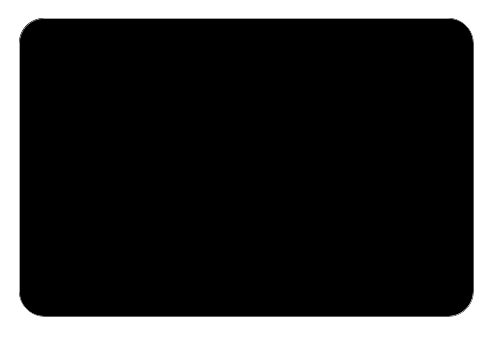
Next, pick the Rounded Rectangle Tool (U), increase the Radius to 50px and draw a big rectangle. Then go 3D>New Extrusion from Selected Layer (or Path).
Step 5
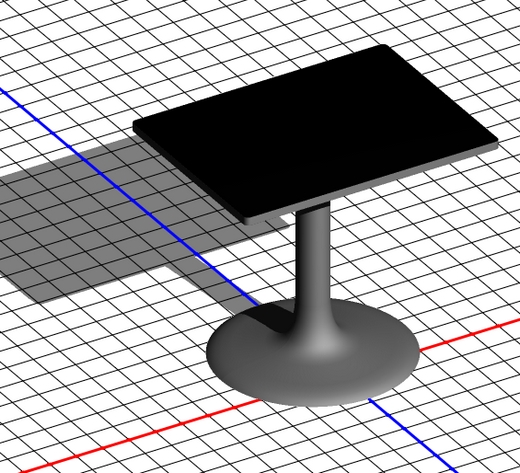
Now switch to the Layers panel (inside the 3D workspace) and select the two shapes you’ve just created. Go 3D>Merge 3D Layers. You’ll notice that you have now one layer. Swtich back to the 3D panel. You can now see that you still have your two shapes. They may look merged in the Layers panel, yet they keep behaving like two separate shapes in the 3D panel. Try moving one of the shapes, change its orientation, play with the materials etc.
Step 6
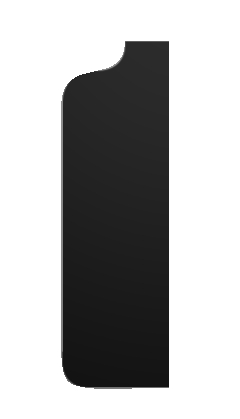
Now that our table is ready, it’s time to create the bottle. Grab the Pen Tool (P) again and draw a shape like the one on the first image. Go 3D>New Extrusion from Selected Layer.

Step 7
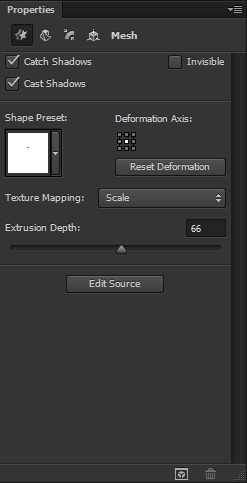
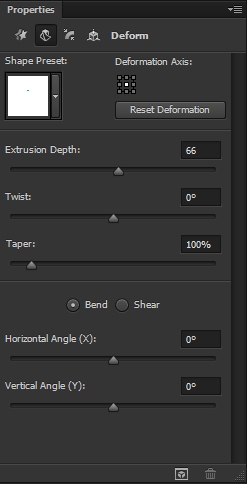
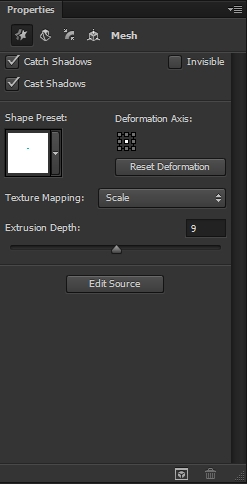
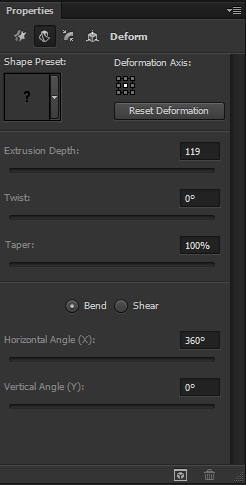
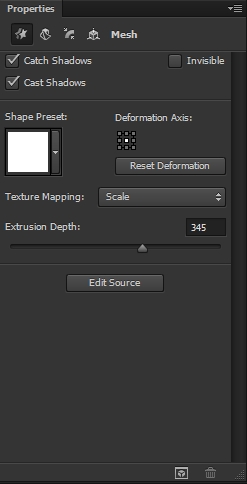
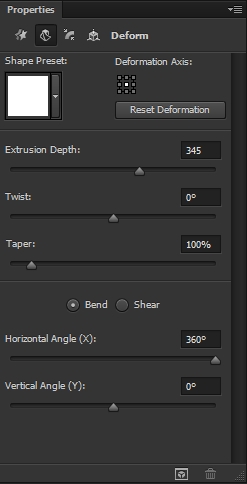
Create a new layer and draw another shape using the Pen Tool (P). Once again go 3D>New Extrusion from Selected Layer and set the following parametres.

Step 8
The last thing to create is the bottle’s “body”. So, pick the Pen Tool (P) and draw the half of the bottle’s body. Use the first image as a guide. Once you’re done, go 3D>New Extrusion from Selected Layer.
Step 9
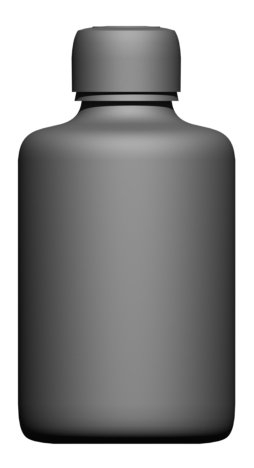
Now switch to the Layers panel and select the three shapes you’ve just created. Go 3D>Merge 3D Layers. Switch back to the 3D panel and move each of the shapes until you’re satisfied with the result (use the Top and Front views to align them perfectly).
Step 10
Merge the bottle and table layers (3D>Merge 3D Layers) and work on the orientantion and position of your objects.
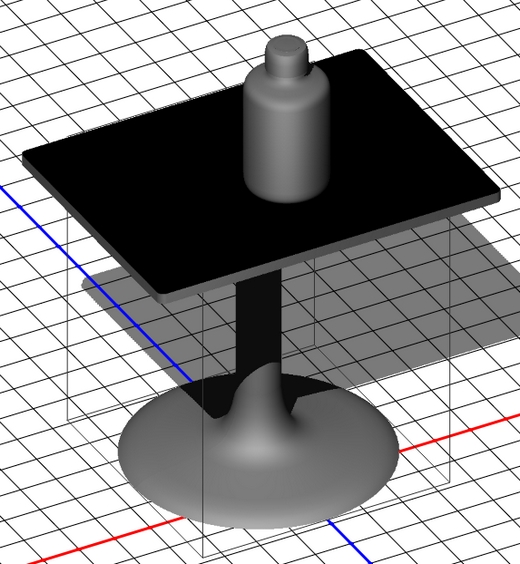
Conclusion
That’s the end of this article. You can now apply any textures or materials you want. Add some details if you want as well. We hope you enjoyed the article and learnt something new.


fantastic tuts…….thats really great.
what a work.great.
thanks to share this.
Cool..!very intersting.
Nice tutorial Alan!!
Impressive! thank you for sharing your talent..
Your post is interesting,it is just a basic Photoshop 3D but it looks hard to do..
Good presentation,thank you.:)