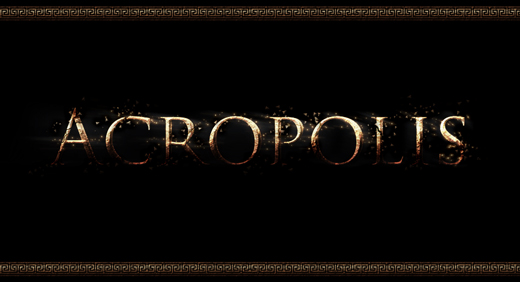
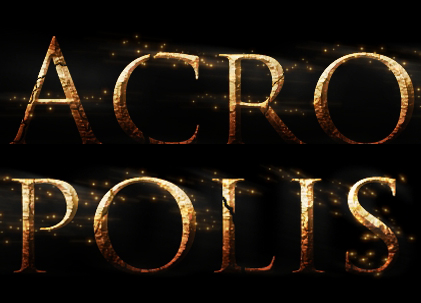
In this article we’re going to create an epic movie text effect using Layer Styles. The whole effect is inspired from movies like Troy, Alexander the Great, LOTR, Hobbit, Clash of the Titans etc.
Tutorial Details
- Program: Adobe Photoshop
- Version: CS5
- Difficulty: Intermediate
- Estimated Completion Time: 1 hour
Final Result
Step 1
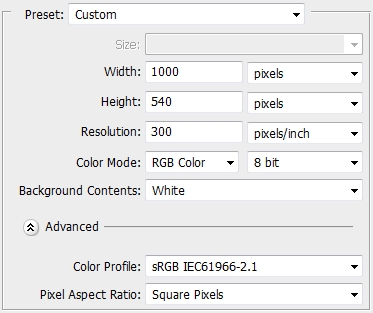
Create a new file in Photoshop and paint the background black (#000000).
Step 2
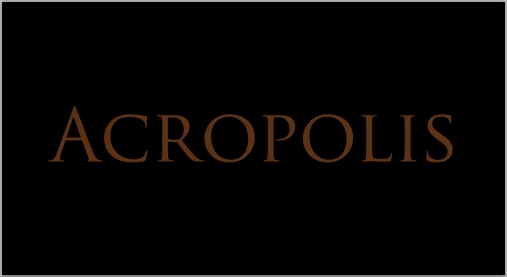
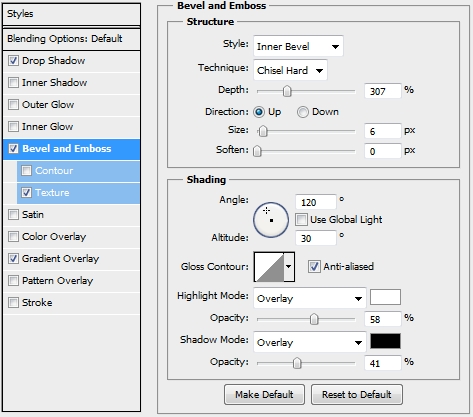
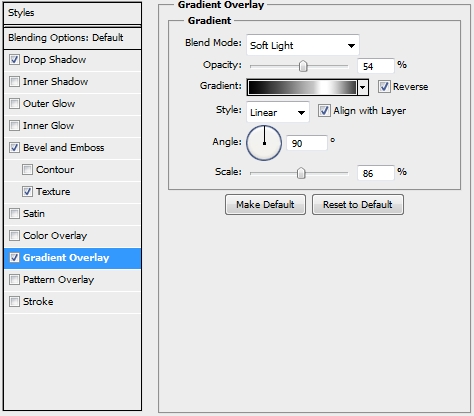
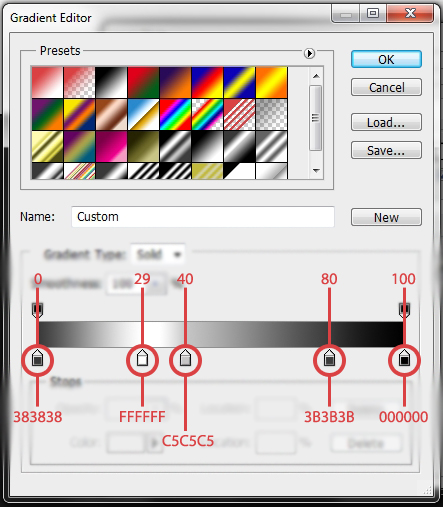
Create a new layer, select the Type Tool (T) and write anything you want. The font I’m using is Trajan Pro (size: 35 pt, color: #5d3113). Then, apply the following styles.


Step 3
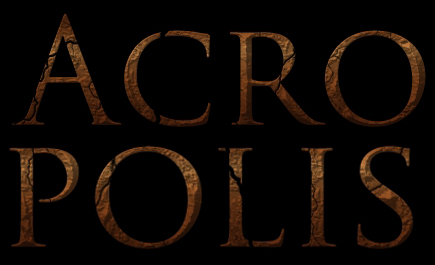
Add a layer mask and draw some cracks (Brush Tool).
Step 4
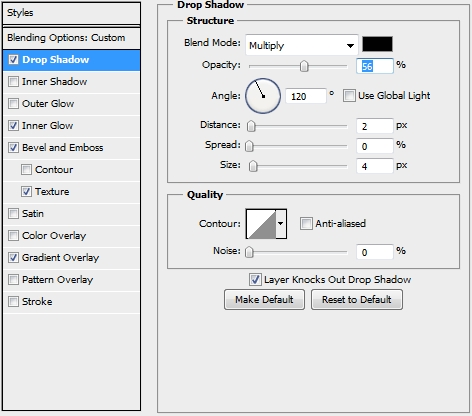
Duplicate the text layer, turn its Fill to 0% and delete the Layer Mask. Replace its styles with these ones.
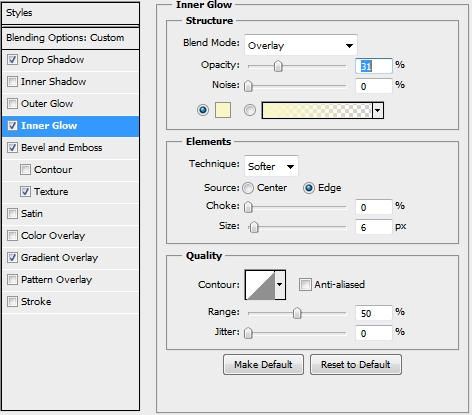

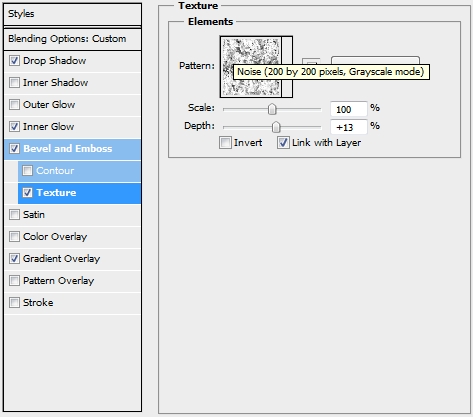


Step 5
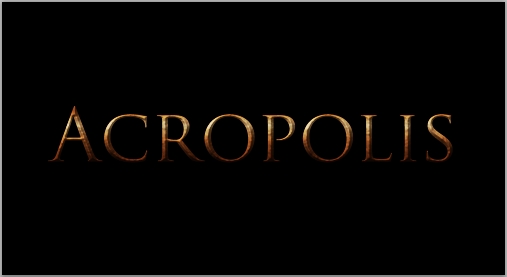
Duplicate once again the text layer and change its color to white (#ffffff). Rasterize it and apply a gaussian blur effect (around 3px). Change the Blend Mode to Overlay and the Fill to 40%.
Step 6
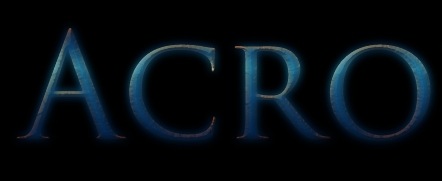
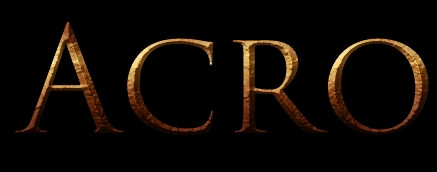
Duplicate this blurred text layer and change its color to a nice blue (in the Hue/Saturation panel). Then change its Blend Mode to Saturation (Fill: 100%).
Step 7
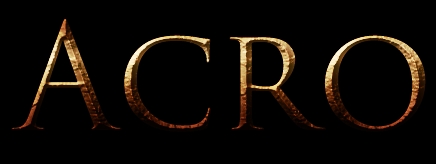
Duplicate the second text layer (Step 4) and place it on top of the layers stack.
Step 8
Create a new layer and using a Soft Round Brush (Brush Tool – B) draw some highlights (color: #ffffff). Change the Fill to something around 45%.


Step 9
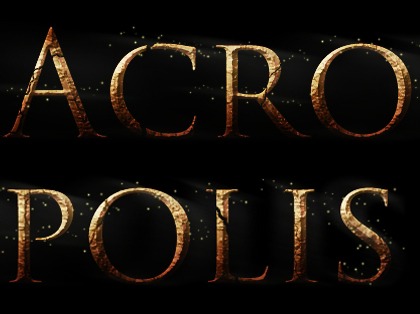
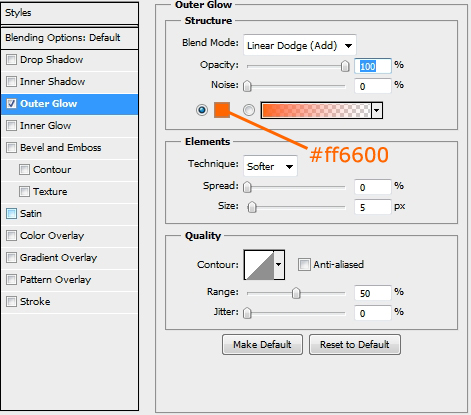
Create a new layer and pick the Brush Tool (B) again. Select a Soft Round brush and pick #ecd573 as your foreground color. Place a lot of dots and apply the following Outer Glow style.

Step 10
Duplicate this layer and place the copy before the original dots layer. Select the Rectangular Marquee Tool (M) and draw a selection like the one on the first image. Then go Filter>Blur>Radial Blur and apply the following parametres.
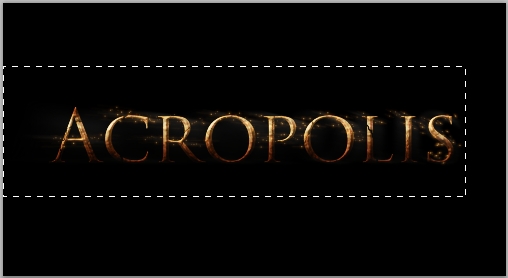
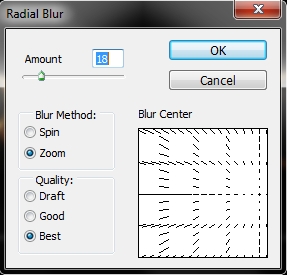
Step 11
Duplicate the original text layer (Step 2), change its color to white (#ffffff) and place it on top of the layers stack. Delete all the styles. Grab the Rectangular Marquee Tool (M) and draw a selection similar to one drawn in the previous step. Then go Filter>Blur>Radial Blur and apply this selection. After doing this, press Ctrl+F. Finally, change the Blend Mode to Color Dodge and lower the Fill to 60%.
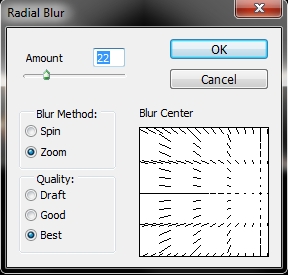
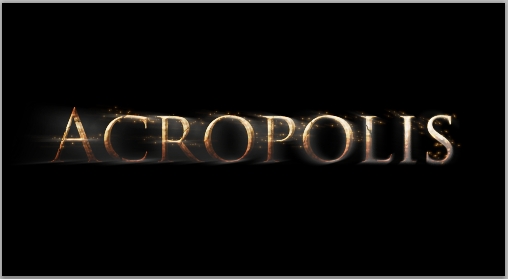
Step 12
Create a new file in Photoshop (100x100px). Draw a simple triangle using the Custom Shape Tool (U) and fill it with #000000 (black). Then go Edit>Define Brush. Close this window and go back to
your text effect. Select #5d3113 as your foreground color and pick the Brush Tool (B). Hit F5 and apply these parametres.
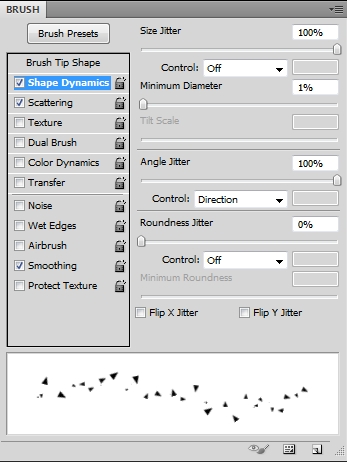
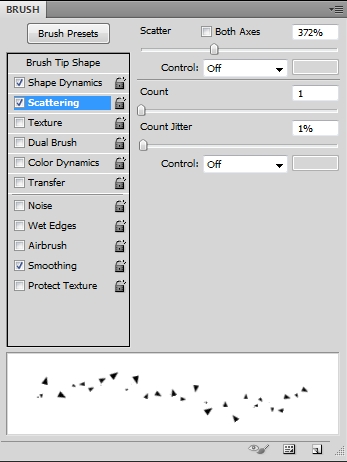
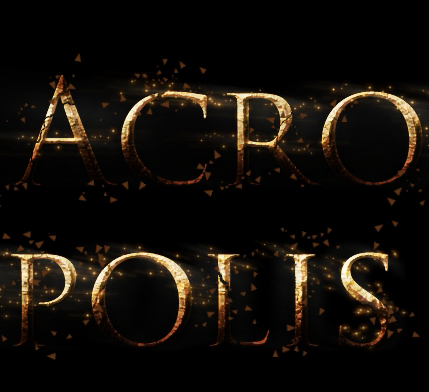
Draw some random triangles around the letters. Turn the Fill to 40%.
Step 13
Duplicate this “small triangles” layer and turn the Fill to 0%. Next, apply the following styles.
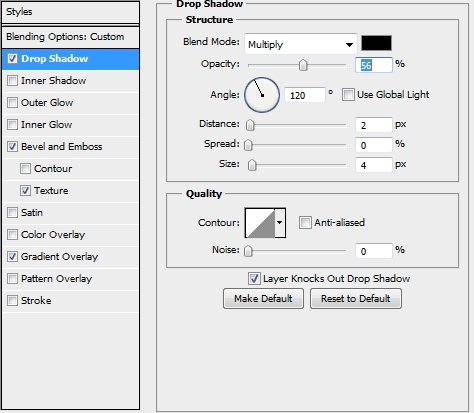
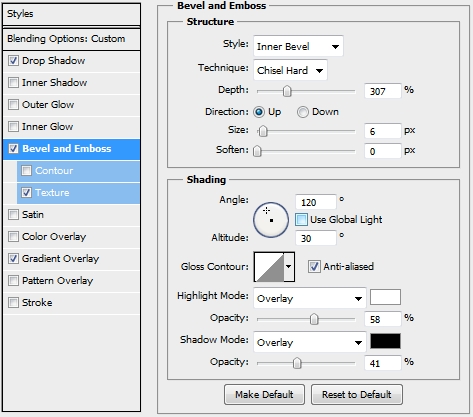


Step 14
Duplicate the layer created in the previous step and replace its styles with these.
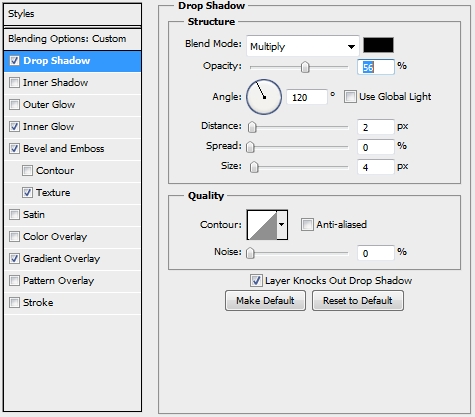

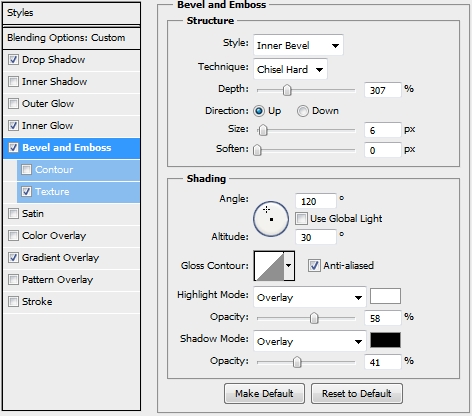

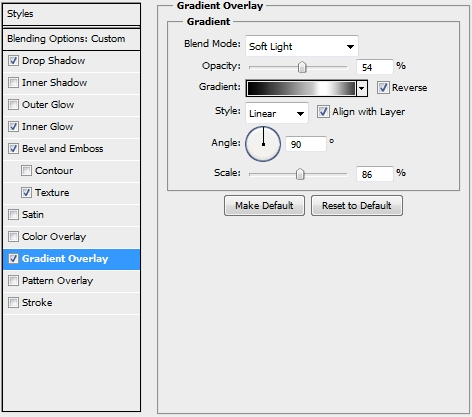
Step 15
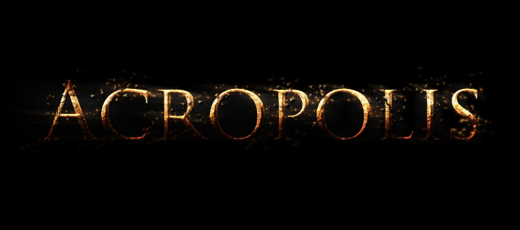
Duplicate your original text layer (the one with the mask) and place the copy on top of the layers stack. Delete the existing styles and go Filter>Blur>Motion Blur. Select something around 25px and hit OK. Change the Blend Mode to Color Dodge.
Step 16
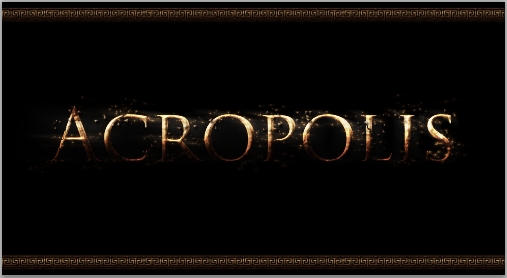
The following steps are optional. Create a new layer and using the Pen Tool (P) draw a simple greek meander.

Change its color to #5d3113 and duplicate it. Repeat Steps 13-14 for the meander.

Variation
Conclusion
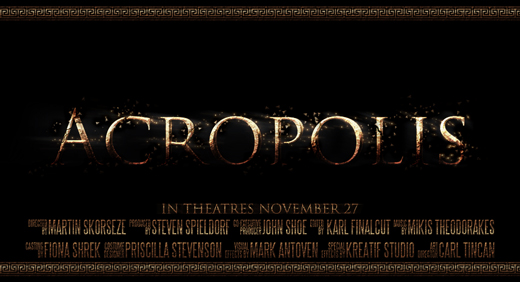
That’s the end of the tutorial. Your epic movie text effect is now ready. Add any effects you want to make it look even better.


