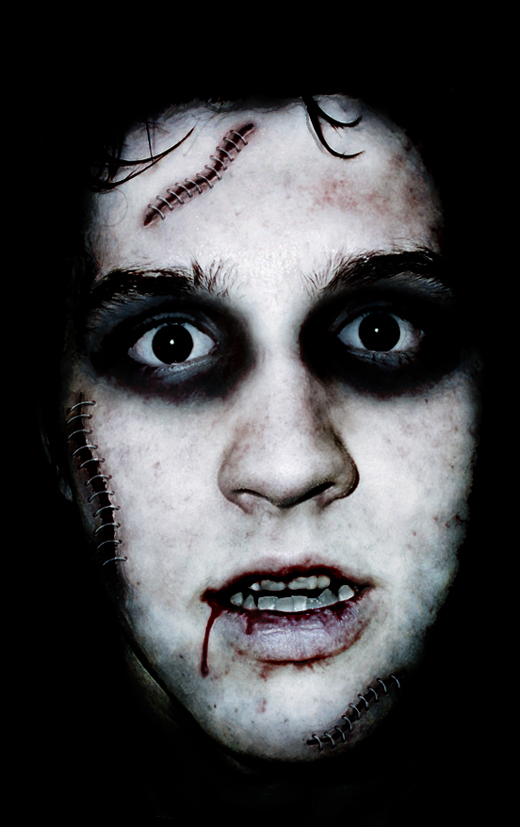
In this tutorial we’ll show you an easy way to create a nice creepy face effect using Photoshop. We strongly suggest using the photo from the tutorial assets. VIEWER DISCRETION IS ADVISED.
Tutorial Details
- Program: Adobe Photoshop
- Version: CS5
- Difficulty: Intermediate/Advanced
- Estimated Time of Completion:1 hour
Tutorial Assets
Final Result
Step 1
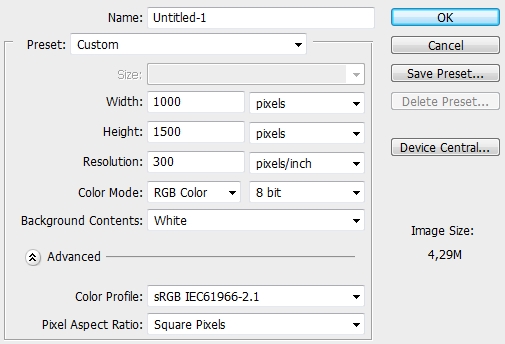
Create a new file in Photoshop.
Step 2
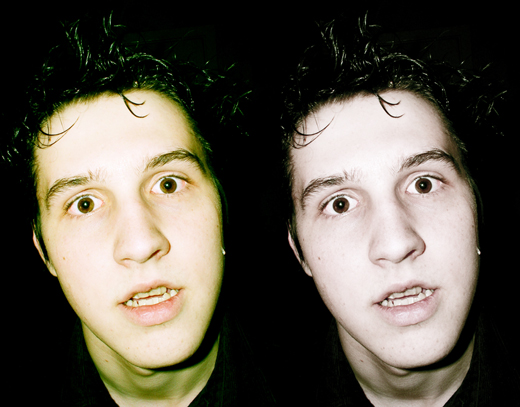
Paint the background black and place the photo on a new layer. Rasterize the photo and desaturate it a bit (Ctrl+U; Hue/Saturation).
Step 3
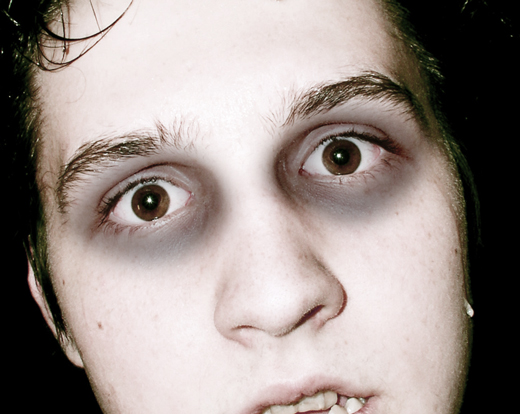
Create a new layer and pick the Brush Tool (B). Select a simple Soft Round brush (size: around 50px) and pick #3c3939 as your foreground color. Paint some shadows around the eyes and then change the Blend Mode to Linear Burn and the Fill (or Opacity) to 50%.
Step 4
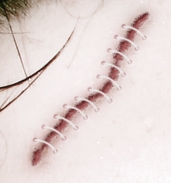
Now we’re going to create the stiches. So, create a new layer and pick the Brush Tool (B) again. From the brush list select a Chalk brush and hit F5. Apply these parametres.
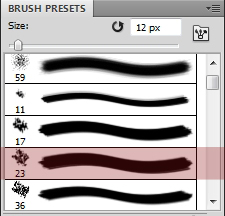
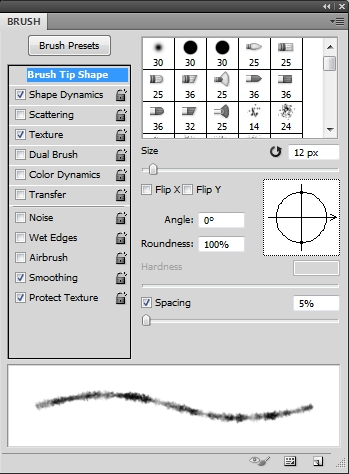
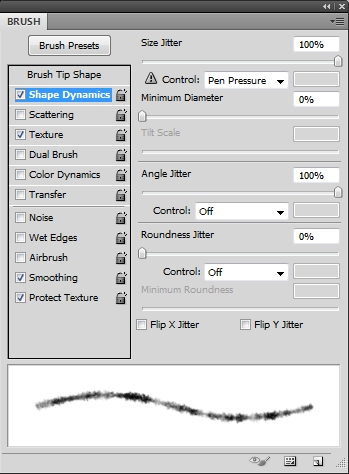
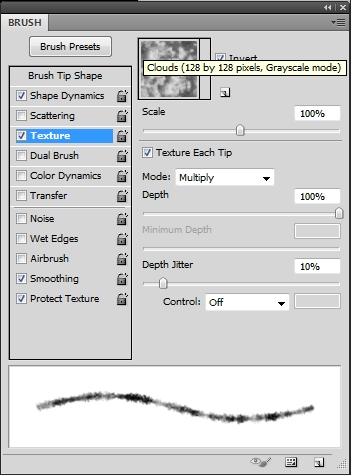
Change the color to #8f1313 and then draw some curved lines wherever you want to place your stiches.
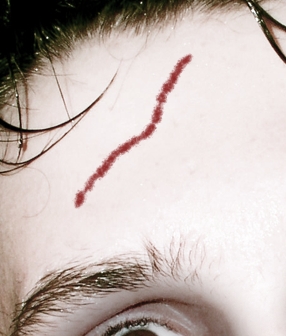
Change the Fill to 70% and add these styles.
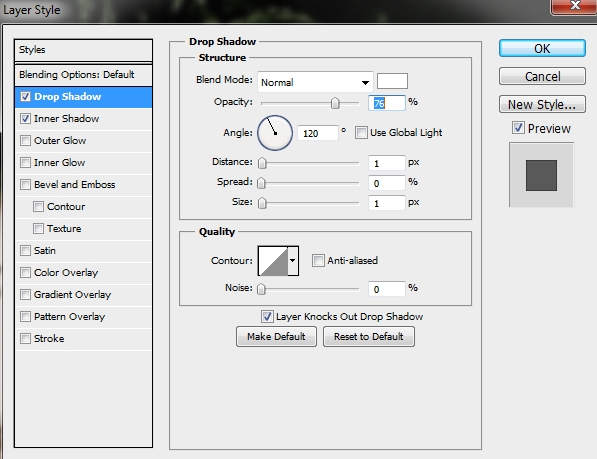
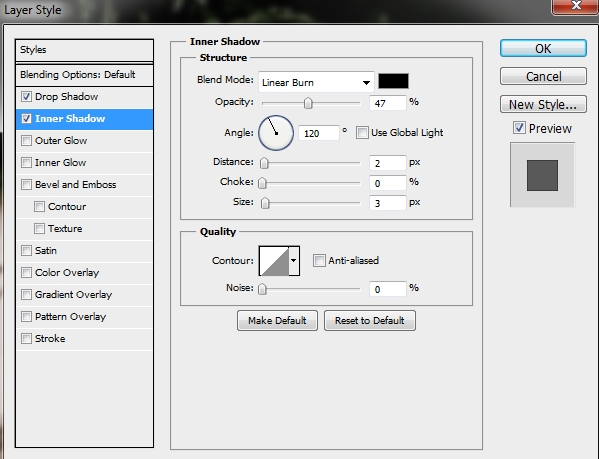
Step 5
Duplicate this layer and place the copy before your original stiches layer. Turn Fill to 0% and replace its styles with this one.
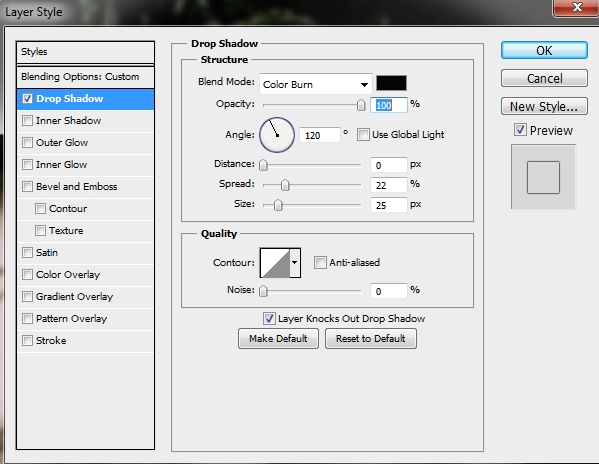
Step 6
Create a new layer and pick a Hard Round brush. Set the size to 4-5px and change the color to #b07171. Draw some dots around the stiches.
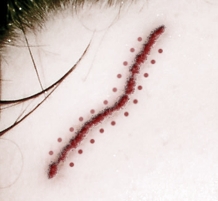
Change the Blend Mode to Linear Burn and the Fill to 20%. Then apply these styles.
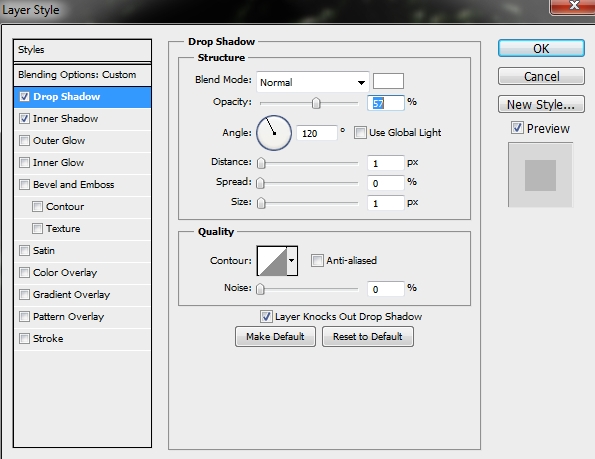
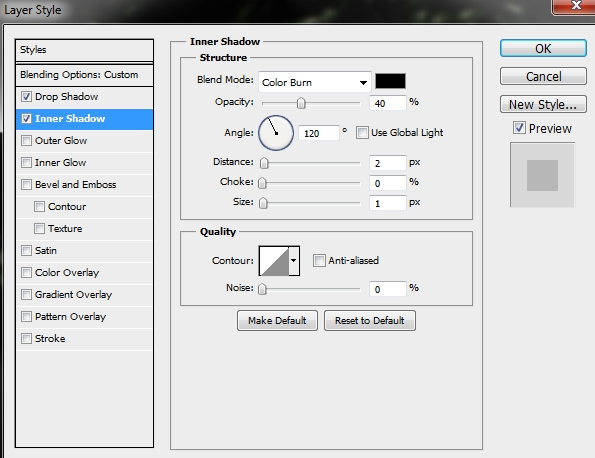
Step 7
Create a new layer and change the color to #eae9e8. Change the size of your brush to 3 px and pick the Pen Tool (P). Set two anchor points on the holes you created in the previous step and apply a stroke path. Repeat this until all the holes are “tied”.
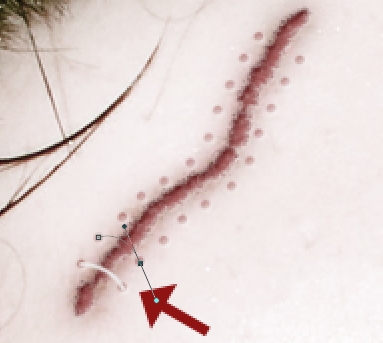
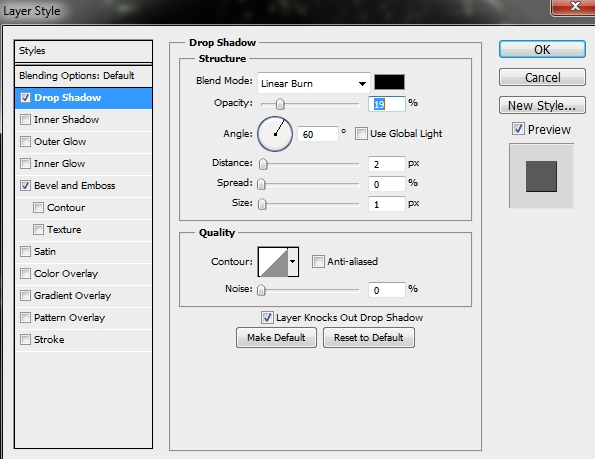
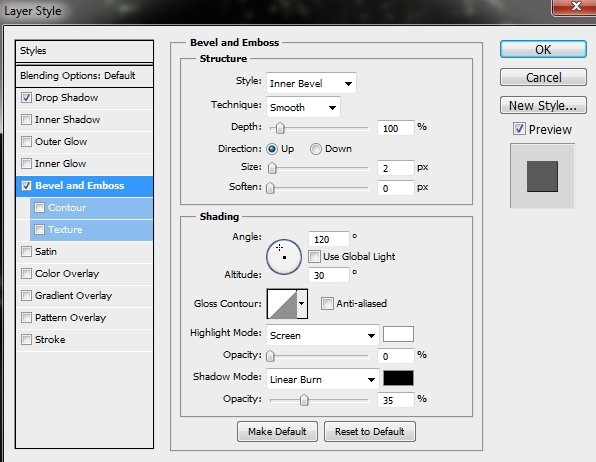
Then apply the following styles.
Step 8
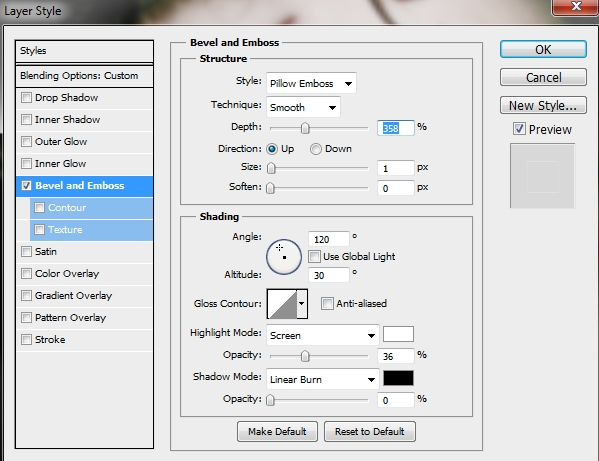
Duplicate the original stiches layer (step 4), place it on top of the layers stack and turn its Fill to 0%. Clear the styles and add this one.
Step 9
Group the layers created in Steps 4-8 and name the group “Stiches 1”. Repeat the process a couple of times to add some more stiches.
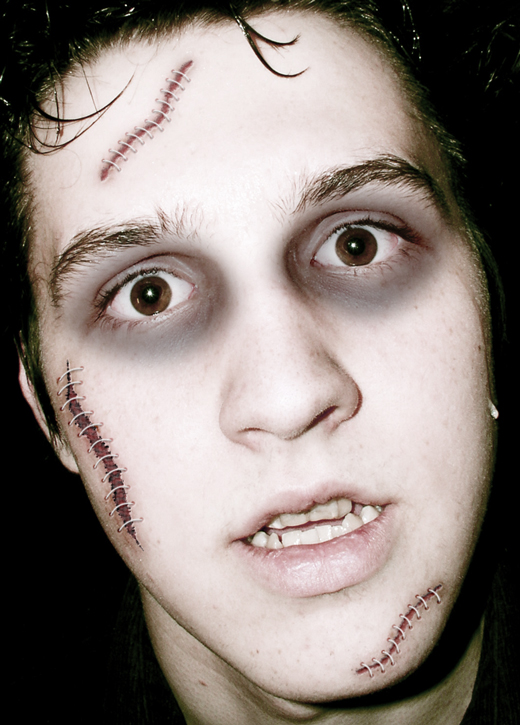
Step 10
On a new layer place the Blue paper texture and change its Blend Mode to Color Burn and the Fill to 47%.
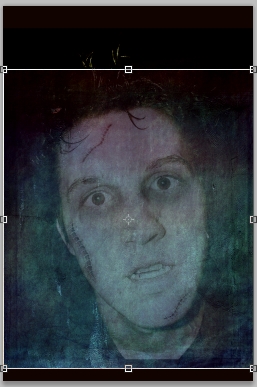
Step 11
Create a new layer and paint it with #fdc689. Change the Blend Mode to Color Burn and Fill to 25%.
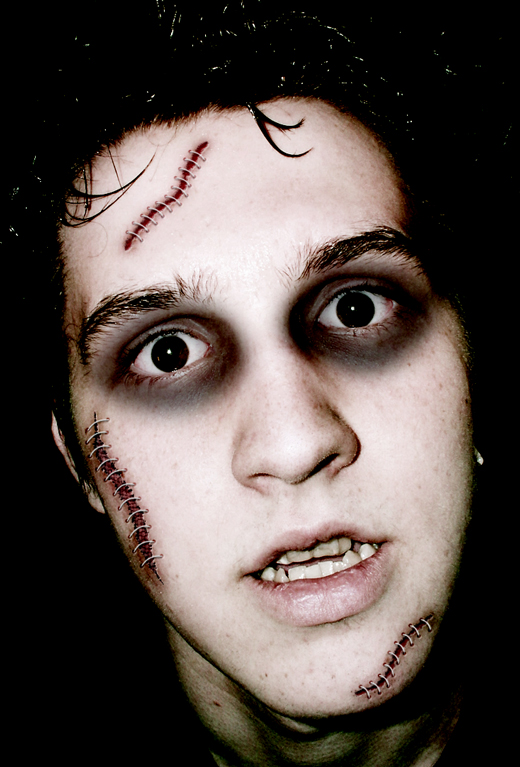
Step 12
Merge all the layers created so far (except from the background) and duplicate this new layer. On the copy go Image>Adjustments>Levels (Ctrl+L) and apply these parametres.
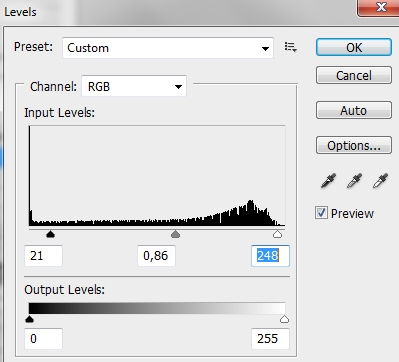
Then desaturate a bit the photo (about -20/30) and lower the Fill to 50% (Blend Mode: Normal).
Step 13
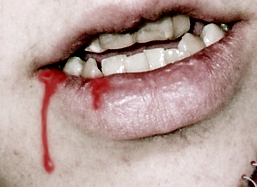
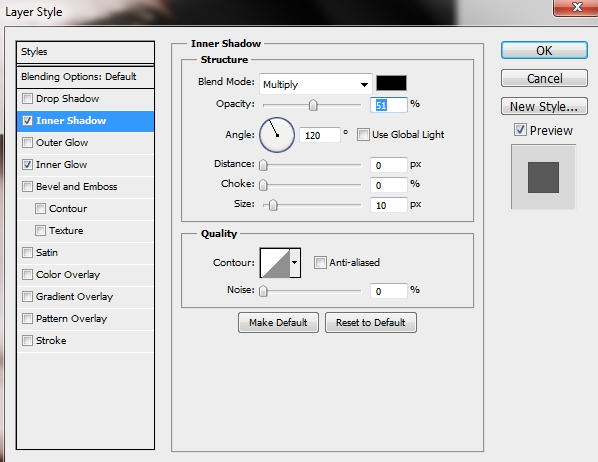
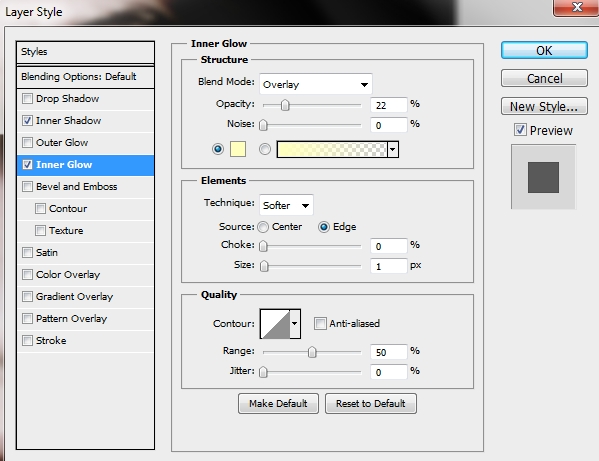
On a new layer add some blood (color: #9e2120) coming out of his mouth using the Brush Tool (B) and the Smudge Tool. It may take you some time but eventually you’ll make it. Then apply the following styles.
• NOTE: Add some highlights on a separate layer if you want.
Step 14
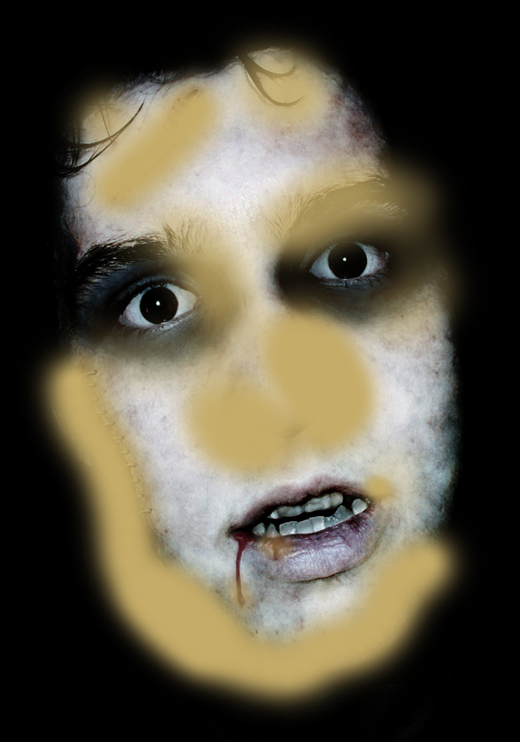
On a new layer place the Texture 109 and rasterize it. Scale it down a bit, so that the bright part covers the face. Then desaturate it (-100) and using the Levels panel increase the contrast a lot.
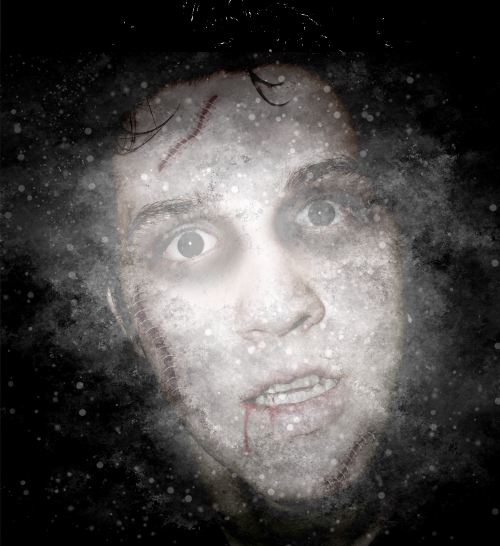
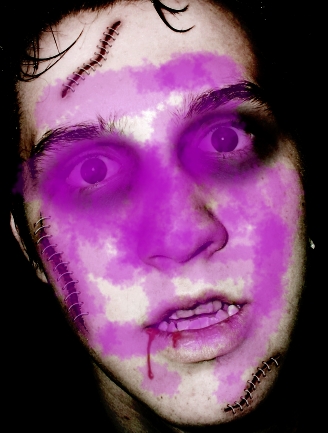
Change the Blend Mode to Color Burn, the Opacity to 75% and the Fill to 31%. Add a layer mask and paint black the selection shown on the image below (chalk brush, opacity: 30%, flow: 60-70%).
Step 15
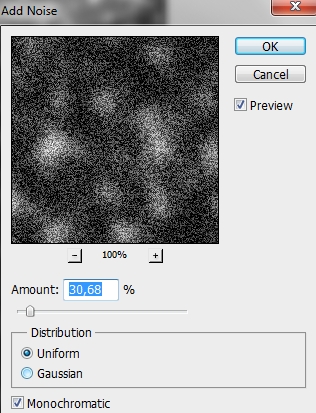
Create a new layer and paint the canvas black. Then go Filter>Noise>Add Noise.
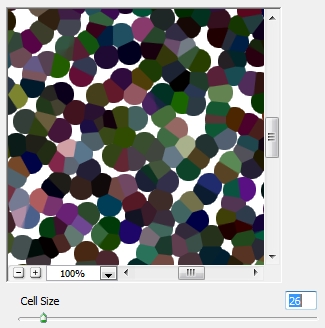
Next, go Filter>Pixelate>Pointillize.
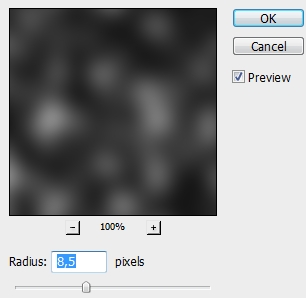
Now desaturate the layer (-100) and add this Gaussian Blur filter.
Change the Blend Mode to Overlay and the Fill to 44%.
Step 16
Create a new layer and paint it with #5697af. Change the Blend Mode to Color and the Fill to 23%. Your photo should then look something like this.
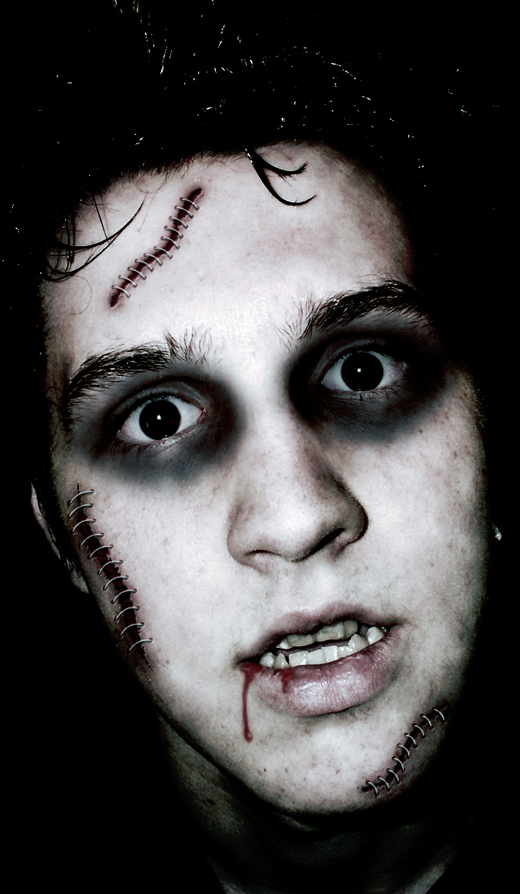
Step 17
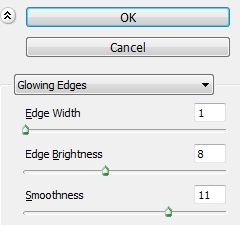
Merge all the layers created so far (except from the background) and resize the photo if you want. Change the name of this layer to “face”. Duplicate this new layer and go Filter>Stylize>Glowing Edges.
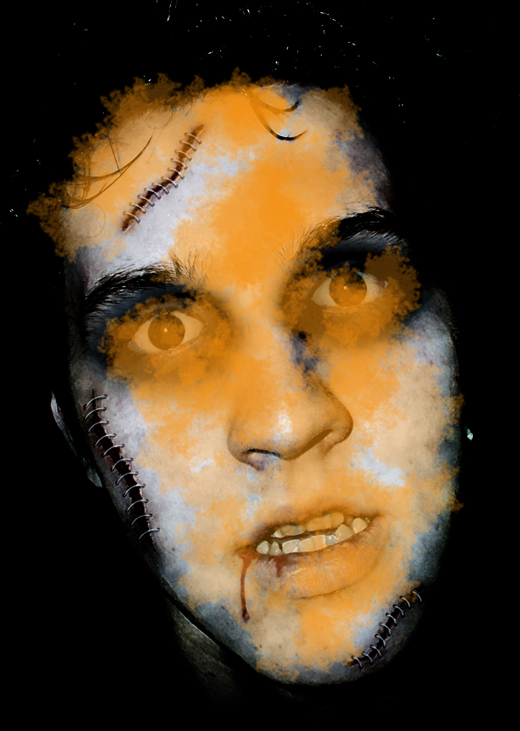
Duplicate this layer and rename the copy to “glowing edges color”; we’ll use it later. Then desaturate the original glowing edges color layer (-100) and change the Blend Mode to Soft Light and Fill to 92%. Add a layer mask and “hide” any unwanted parts.
Step 18
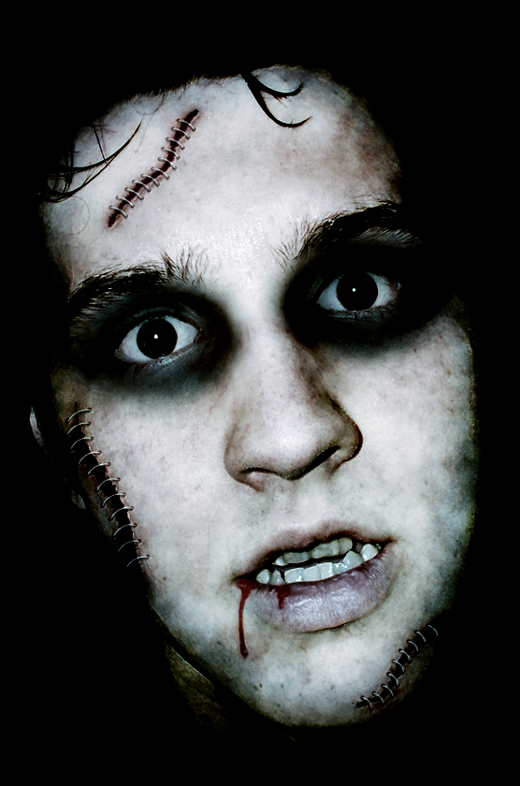
Create a new layer and using a soft round Brush (B) paint some parts black to “hide” them (hair and any other unwanted parts).
Step 19
Place the “glowing edges color” layer created in Step 17 (not the desaturated) on top of the layers stack.Then go Filter>Distort>Glass.
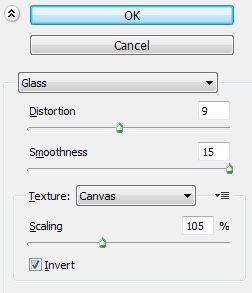
Now change the Blend Mode to Subtract and lower Fill to something around 60-70%. Copy the mask (hold Alt and drag it) from the desaturated glowing edges layer created in Step 17.
Step 20
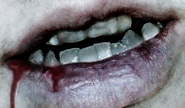
Add some shadows inside the mouth using a soft round brush.
Step 21
Duplicate the original layer (face) created in Step 17. Change your foreground color to #a60e0e and the background one to #ffffff (white). Then go Filter>Sketch>Photocopy.
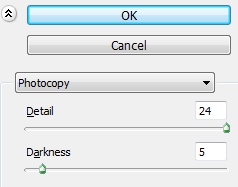
Change the Blend Mode to Linear Burn and the Fill to 35%. Add a layer mask and “erase” some parts.
Conclusion
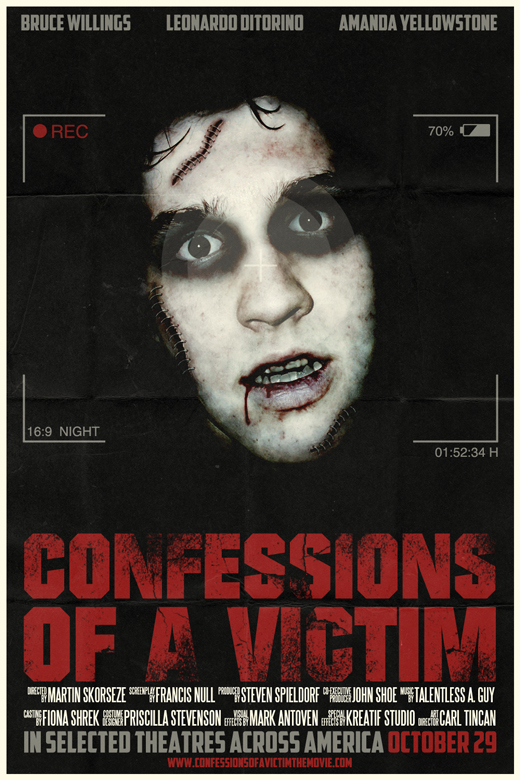
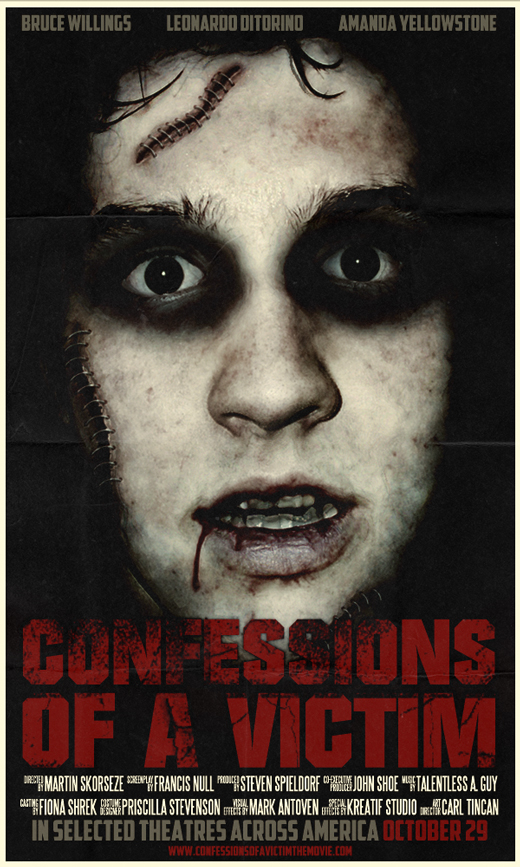
That’s it. Your creepy/severely injured/etc. etc. effect is now ready. Add any styles you want to make it look even better (you can turn this into a b-movie poster for instance). Check the variations for inspiration. We hope you enjoyed this tutorial.
Variation


Wooah! Awesome result. Nice tut. Me likey 🙂