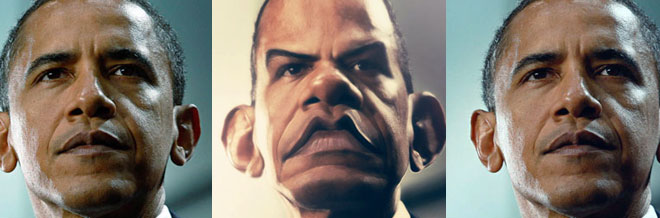
In this article we’ll try to explain the easiest way for turning an ordinary photo into a realistic caricature. For this, we’ll use the Liquify; a powerful feature of Photoshop. Liquify is mostly used to retouch body parts (e.g. make a model look slimmer), add pseudo depth (3d look) and with a little bit of imagination you can use it to create your caricature.
Tutorial Details
- Program: Adobe Photoshop
- Version: CS5
- Difficulty: Beginner
- Estimated Completion Time: 1 hour
Tutorial Assets
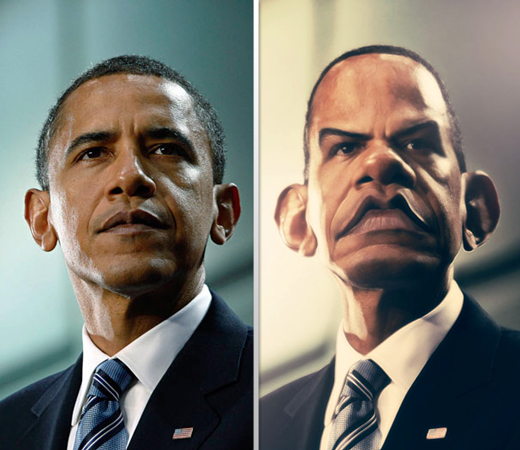
Final Result
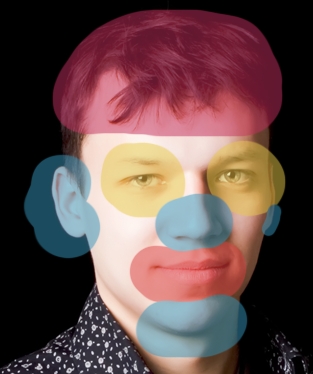
Step 1
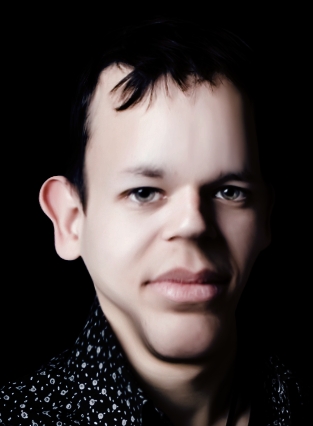
Open the photo you want to distort (you can use the photo from the tutorial assets). The areas that you have to focus are these.
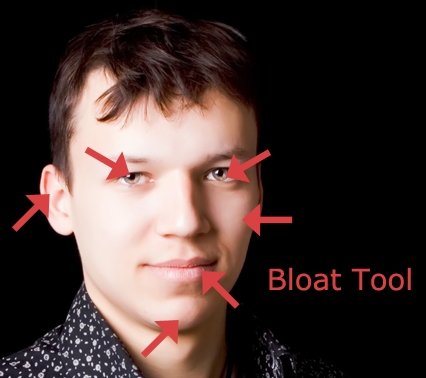
Step 2
Go Filter>Liquify and use the Bloat Tool (experiment with the brush size).
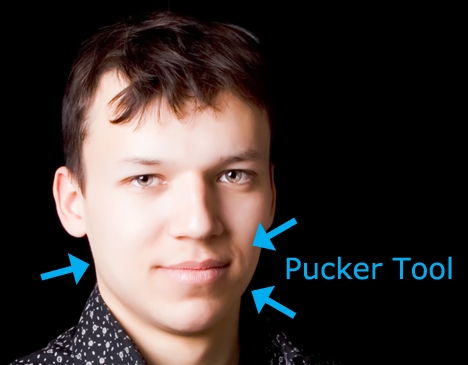
Step 3
Now use the Pucker Tool.
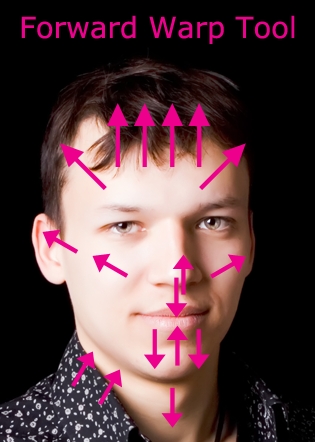
Step 4
Finally make some adjustments using the Forward Warp Tool.
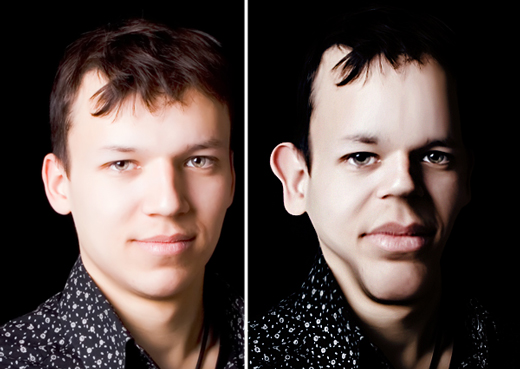
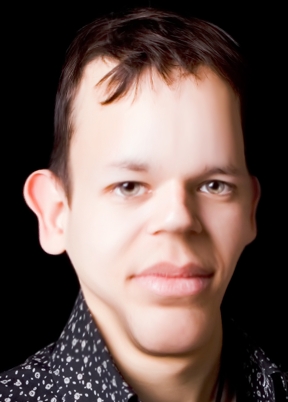
Step 5
If you follow these steps, your photo should end up looking something like this.
Note: If you’ll use your own photo, make sure to pay attention to the background as it shouldn’t be distorted.
Step 6
Duplicate the photo and select the original photo. Desaturate it (Ctrl+Shift+U / Image > Adjustments > Hue/Saturation: Saturation -100). Now select the copy layer and change the Blend Mode to Multiply.
Step 7
Create a new layer and pick the Gradient Tool (G). Select the Radial Gradient (color to transparent) and pick #7bb5de as your foreground color. Draw a gradient like the one below and change the Blend Mode to Color Burn and the Fill to 40%.

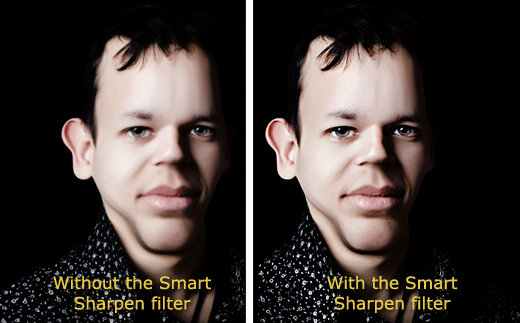
Step 8
Merge all the layers and go Filter>Sharpen>Smart Sharpen. Experiment with the parametres until you find something that works good for you (in this tutorial I used Amount:56%, Radius:1px and Remove: Gaussian Blur).
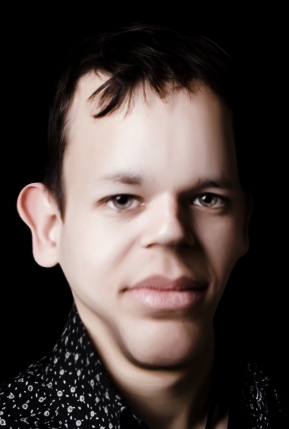
Variation
Conclusion
Your caricature is now ready. You can now add any effects you want to make it look even better. For instance, follow the “Turn an Ordinary Photo into an Oil Painting in Photoshop” tutorial for an artistic effect.


Nice tutorial, thank you :=)