
In this article we’re going to create the great Django Unchained flat poster in no time. We’ll be using both Photoshop and Illustrator.
Tutorial Details
- Program: Adobe Photoshop / Adobe Illustrator
- Version: CS6 / CS5
- Difficulty: Intermediate
- Estimated Completion Time: 1 hour
Tutorial Assets
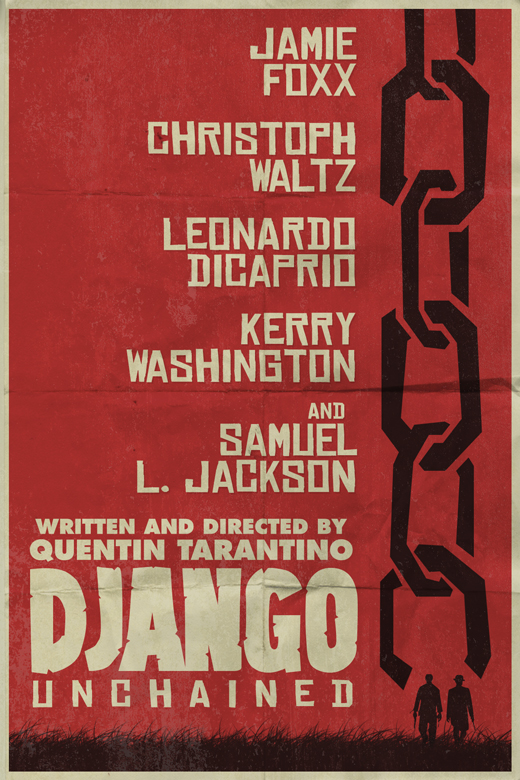
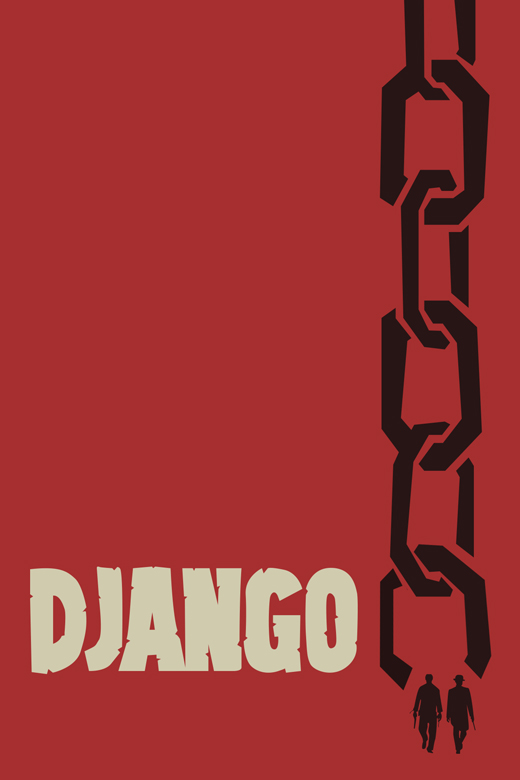
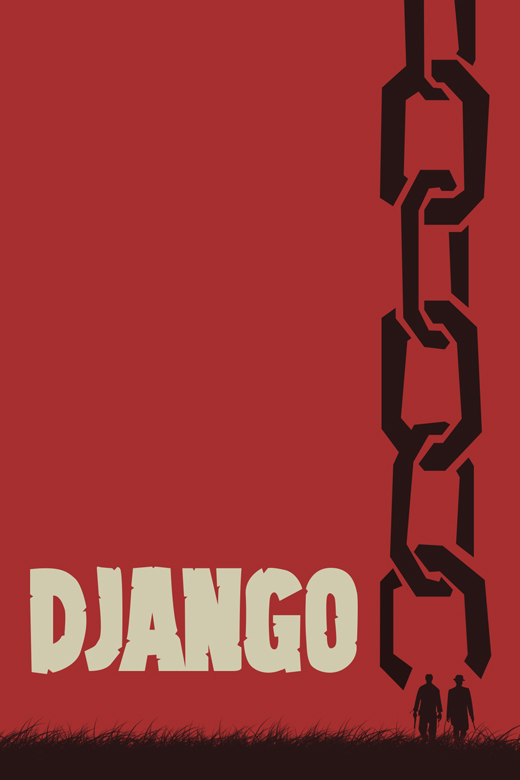
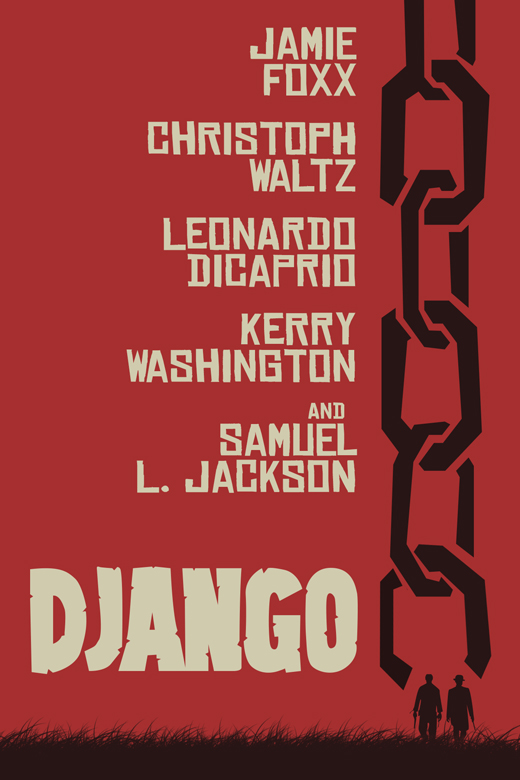
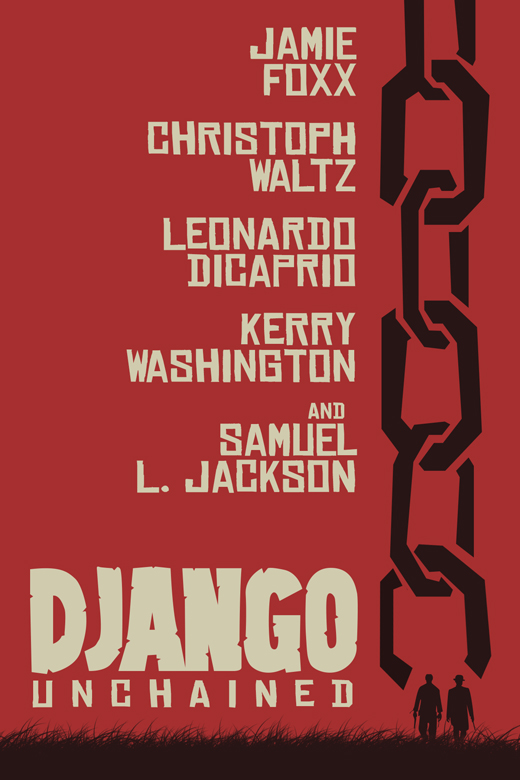
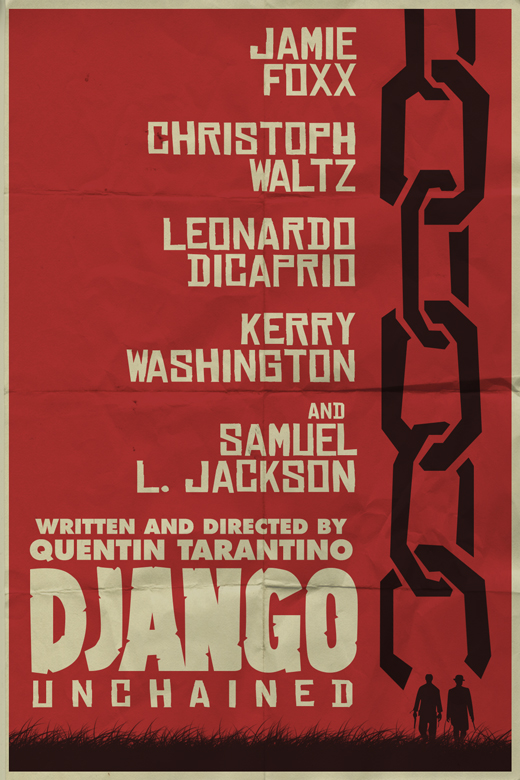
Final Result
Step 1
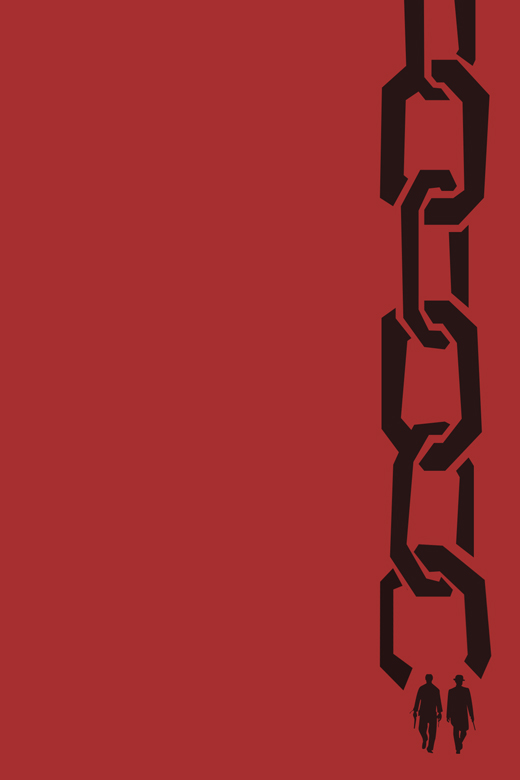
Create a new file in Photoshop and paint the background layer red (#a62f2f).
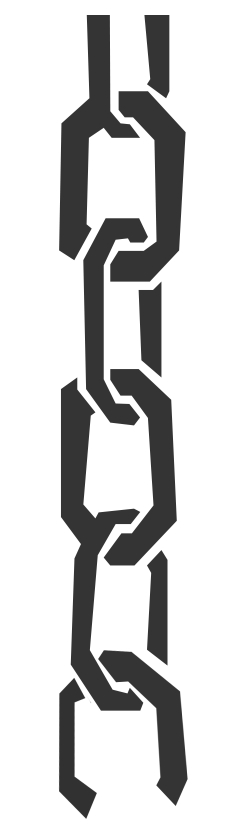
Step 2
The first thing is to create all the custom elements in Illustrator. So, open Illustrator and pick the Pen Tool. Draw the chain. You don’t have to be precise, just make sure the edges are sharp. It doesn’t have to look great, in fact the more “random” it looks the better. Use #271515 to fill the shape. If you have difficulties creating the chain, use a reference photo.
Step 3
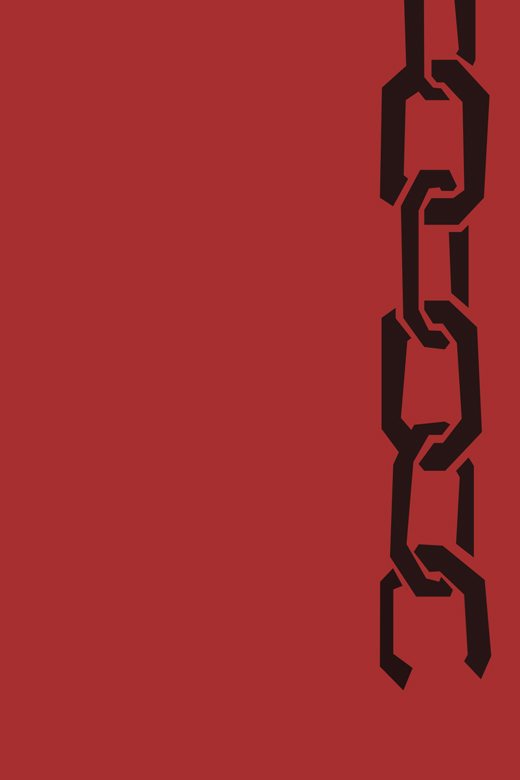
Copy the path (Ctrl+C) and place it in Photoshop (Ctrl+V); chose Smart Object. Place it near the right edge.
Step 4
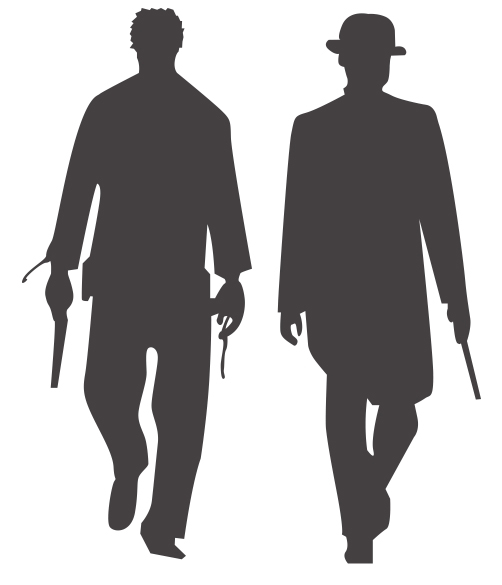
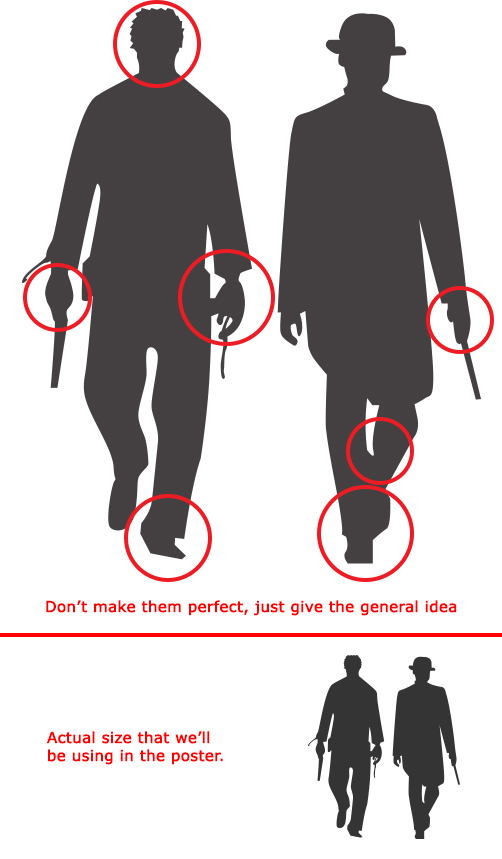
Now that you’re done with the chain, let’s make the figures. Switch back to Illustrator and start creating the outline of two figures. It’s pretty easy, but once again feel free to use a reference photo. Don’t spend too much time on it, since you’re going to scale down the shapes a lot. Fill the paths with #271515.
Step 5
Copy and paste the figures as a smart object in Photoshop. Scale the down and place them right under the chain.
Step 6
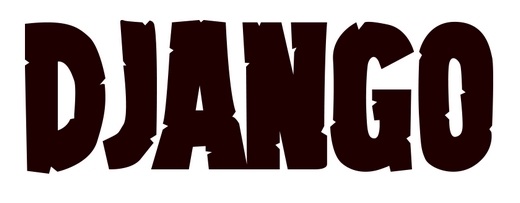
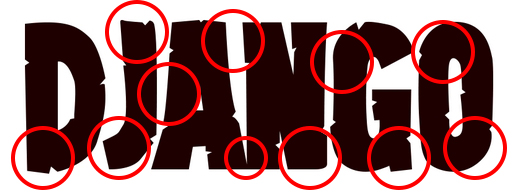
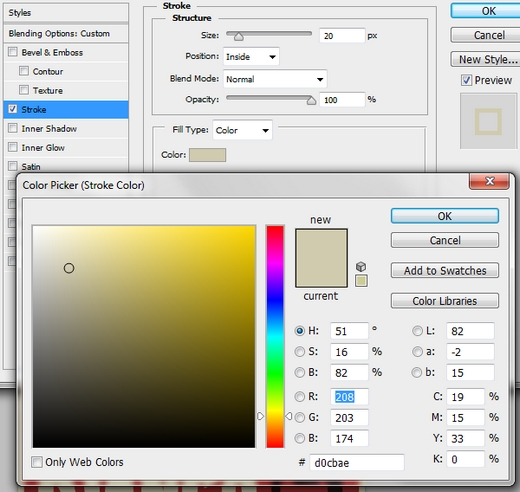
There’s one last element that has to be made in Illustrator. The “Django” logo itself. Since I couldn’t find which font was used in the original, I decided to create the logo from scratch. It may look a bit complicated but it’s very easy. All you have to do is to pay attention to some “key points” on the original design. Use #d0cbae to fill the shape.
Step 7
Copy/paste the logo in Photoshop (smart object).
Step 8
Close Illustrator and create a new layer in Photoshop. Set #271515 as your foreground and background color and pick the Brush Tool (B). Select the Dune Brush from the list and draw some ground.
Step 9
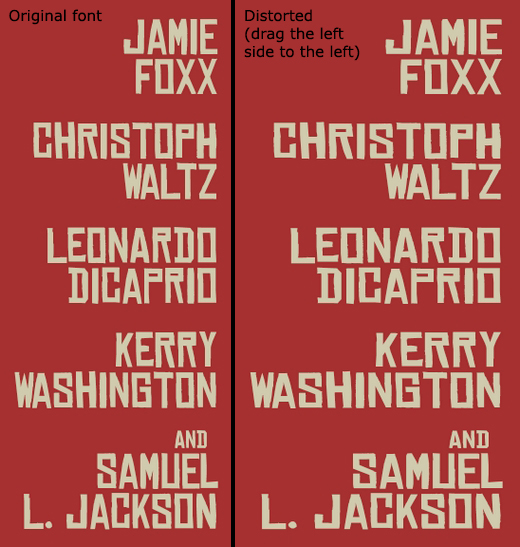
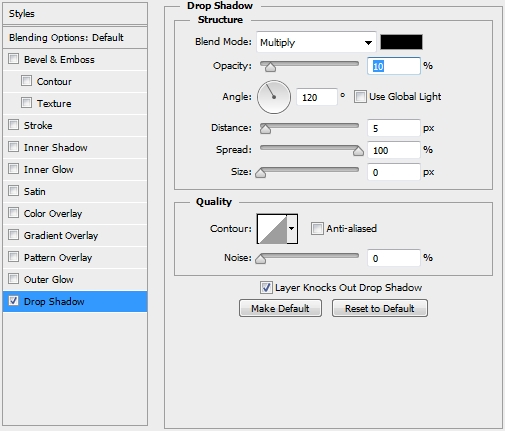
Now, select the Type Tool and write the names of the cast. The font is called Chinese Rocks and can be found at dafont.com. Make sure to distort the font horizontally. Change the color to #d0cbae and apply the following style.
Step 10
Use the same font to add some more text (tracking: 320).
Step 11
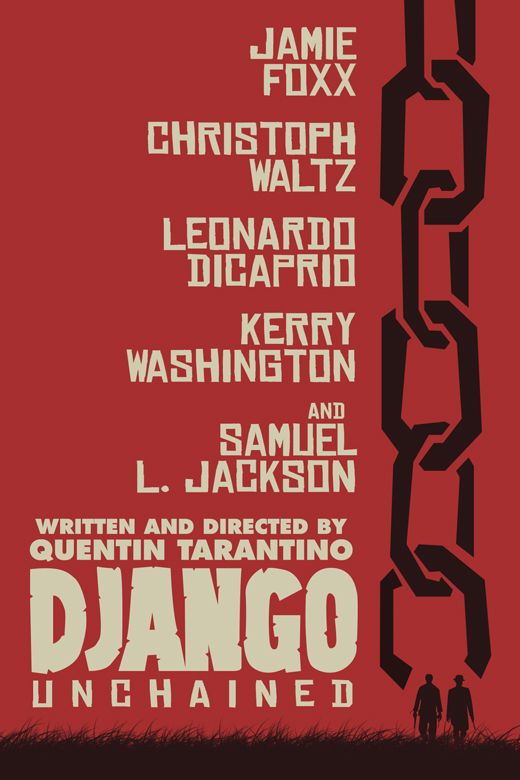
Create another text layer and change the font to Futura LT Extra Bold and write “written and directed by quentin tarantino”.
Step 12
Create a new layer and fill the canvas with a random color. Turn the Fill to 0% and apply this style.
Step 13
Place the Folded Paper texture and change its Blend Mode to Multiply and the Fill (or Opacity) to 45-50%.
Step 14
Finally, place the Concrete texture and change the Blend Mode to Divide and the Opacity to something around 10%.

Conclusion
That’s it, your poster is now ready. We hope you enjoyed the tutorial. If you have any questions, post them in the Comments section and we’ll answer them asap.


Good tutorial. I like the effect of folded paper. Thanks.
Incredible post!!!
Really awesome….thanks to share..
😀
Thank you for your tutorial,good result of Django design using the photoshop and illustrator.
Well done,thank you for your inspiring post..
I’m amaze with you Alan,you just made this design for an hour.Great job!
Why you said that you will make this design in no time?
Professionally designed,thank you for sharing your talent.
Nice tutorial, just watched the movie the other day. Cheers 🙂