In this tutorial we’ll create a simple yet impressive vintage TV in Photoshop.
Tutorial Details
- Program: Adobe Photoshop
- Version: CS5
- Difficulty: Intermediate
- Estimated Completion Time: 2 hours
Tutorial Assets
Final Result
Step 1
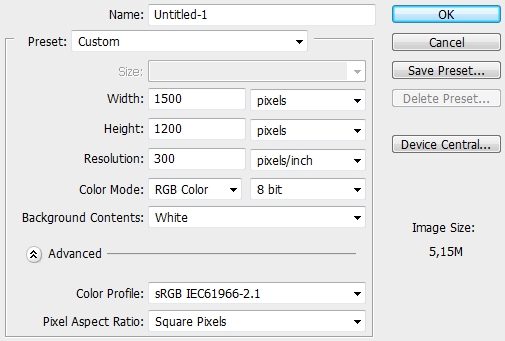
Create a new document in Photoshop and fill the background with #1d2933.
Step 2
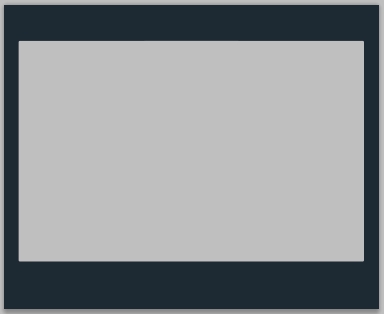
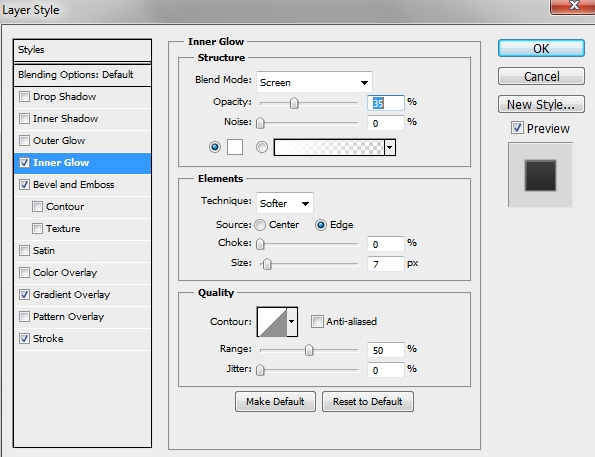
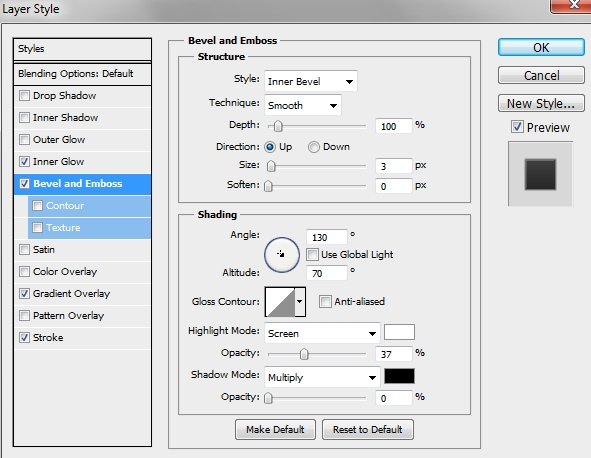
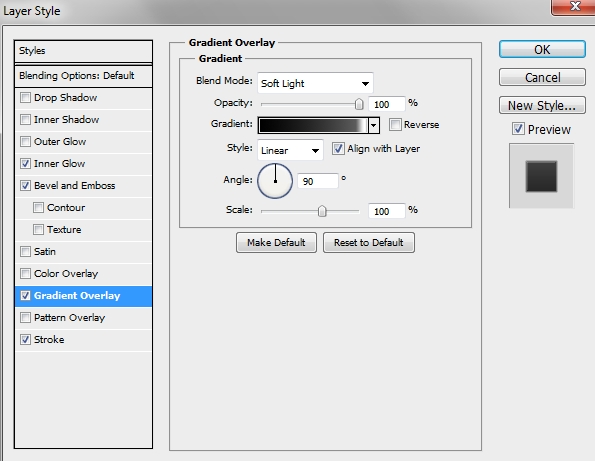
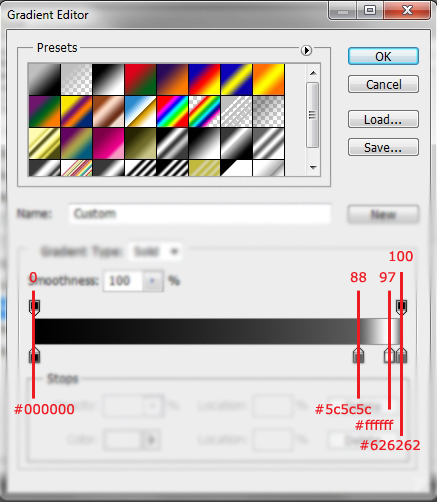
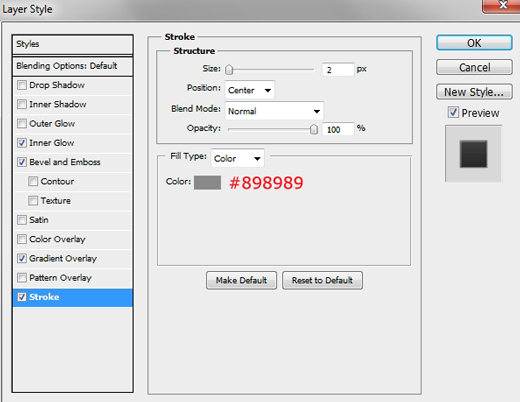
Pick the Rounded Rectangle Tool (U) and draw a big rectangle (radius: 10px). Fill it with #bfbfbf and apply the following styles.
Step 3
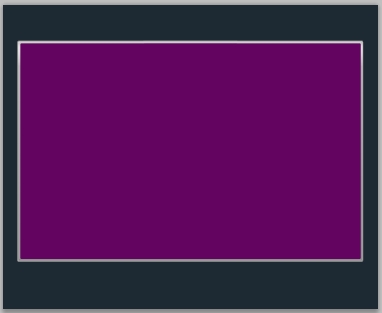
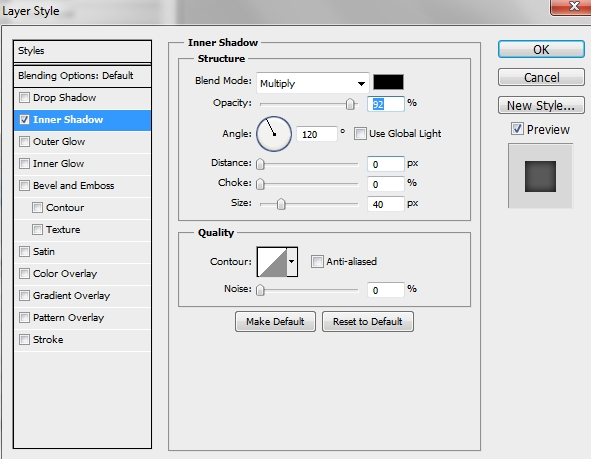
Create a new layer and draw once again a big rounded rectangle. Make it a bit smaller than the first one and fill it with #1a0b00. Then add an inner shadow.
Step 4
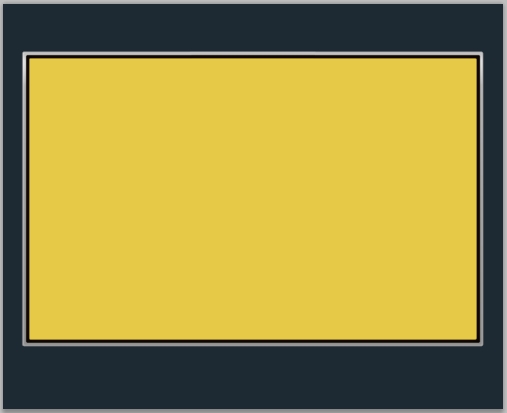
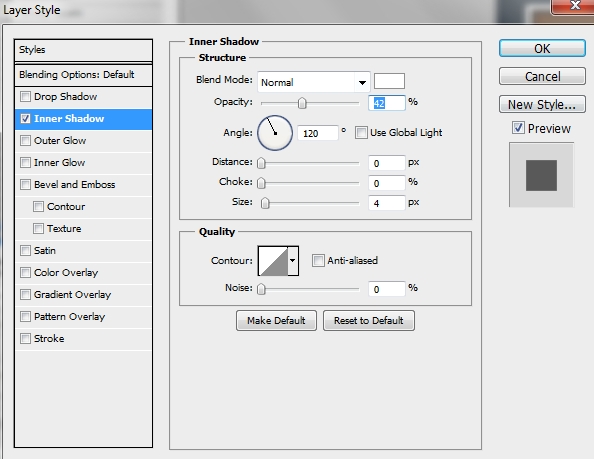
Repeat the previous step. However, this time fill the shape with #491f00 and apply this style.
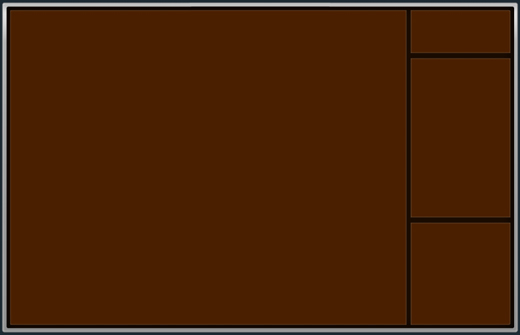
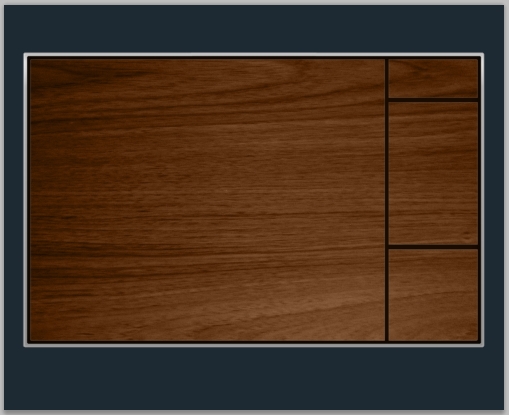
Add a layer mask and “erase” some parts to create the wireframe of the tv. Use a hard round brush (size 10px).
Step 5
On a new layer place the wooden texture (tutorial assets). Change the Blend Mode to Luminosity.
Step 6
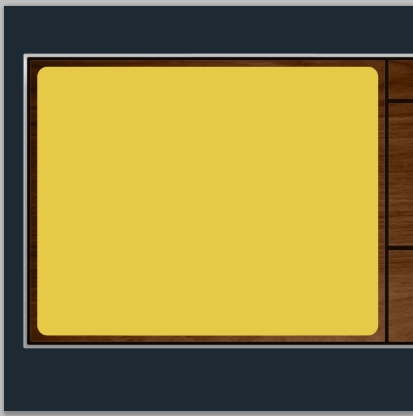
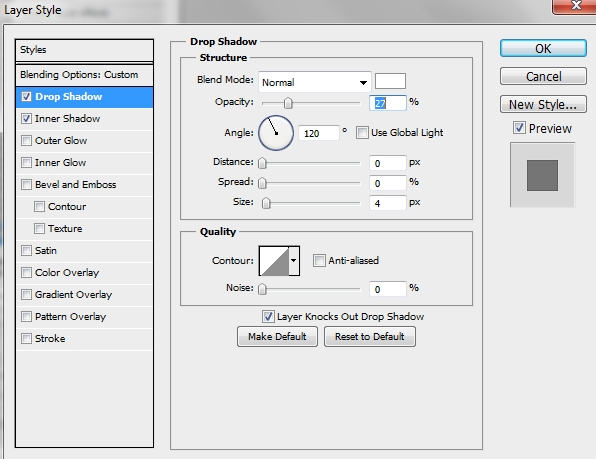
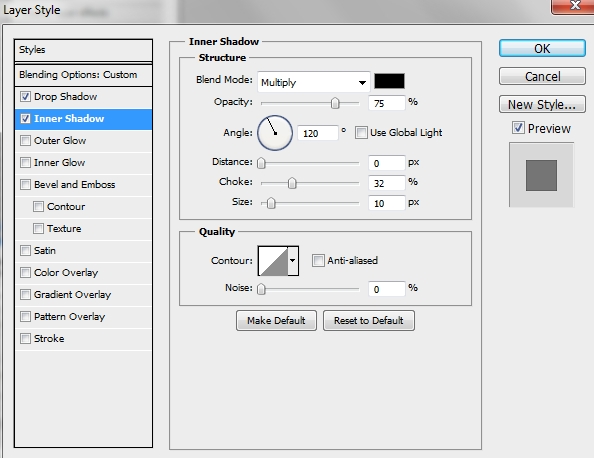
Now we’re going to create the screen. Grab the Rounded Rectangle Tool (U) and set the Radius to 30 px. Draw a big shape and fill it with #111111. Change the Blend Mode to Multiply and Fill to 70%. Then simply apply the following styles.
Step 7
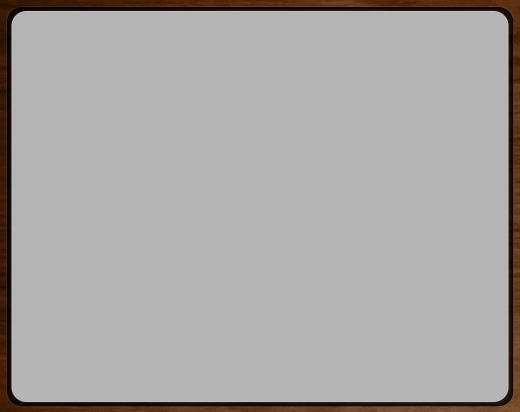
Create a new layer and draw another rounded rectangle. Make it a bit smaller and fill it with #b4b4b4.
Step 8
Repeat the previous step only this time fill the shape with #ebebeb and add this style.
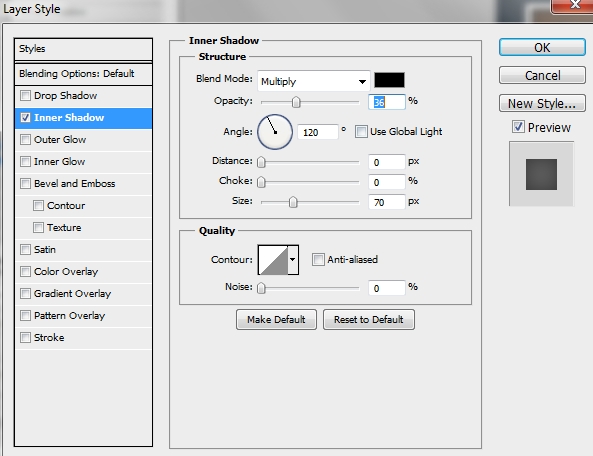
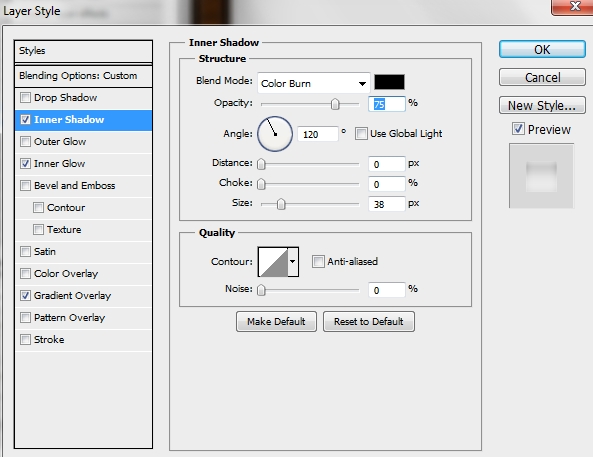
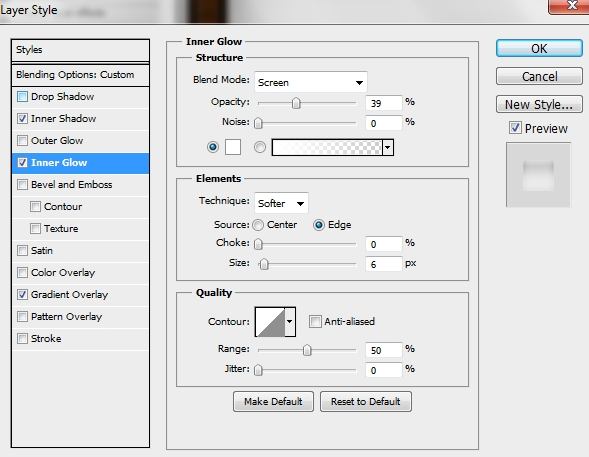
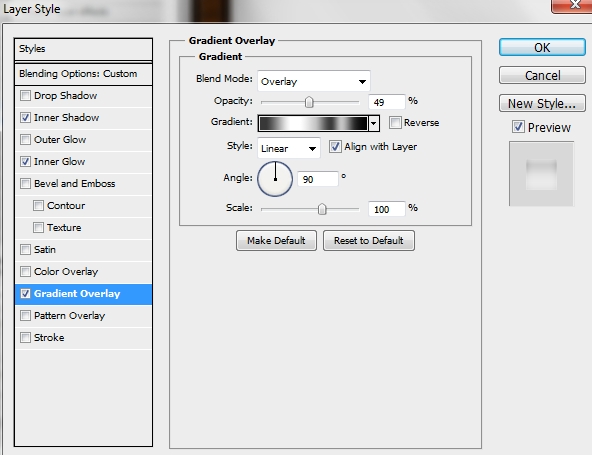
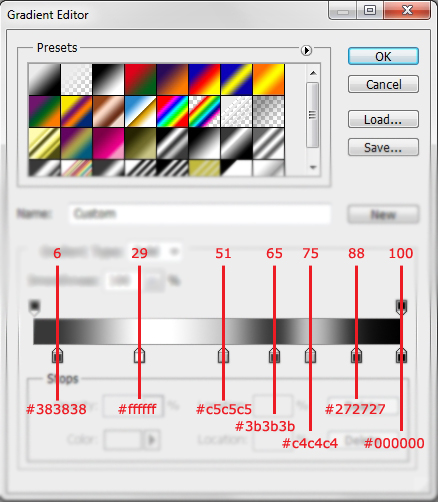
Duplicate this shape and turn Fill to 0%. Then apply these styles.
Step 9
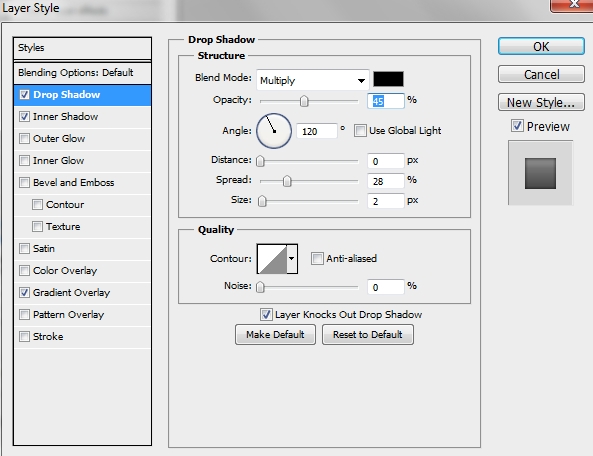
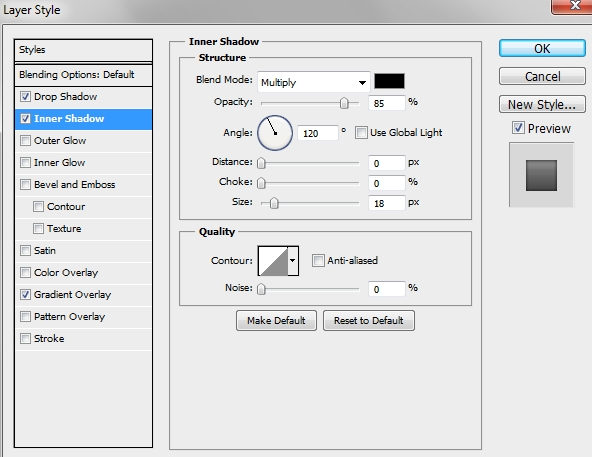
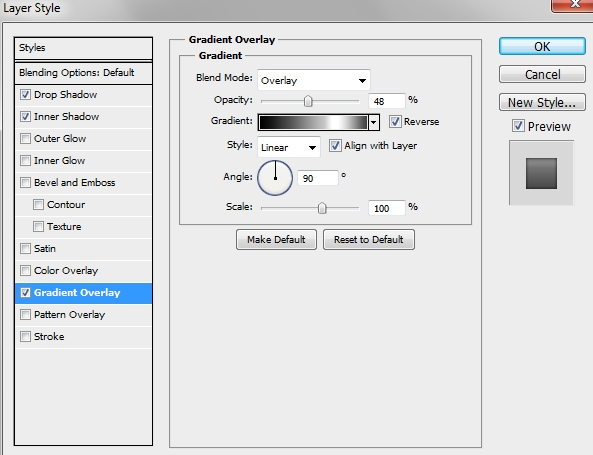
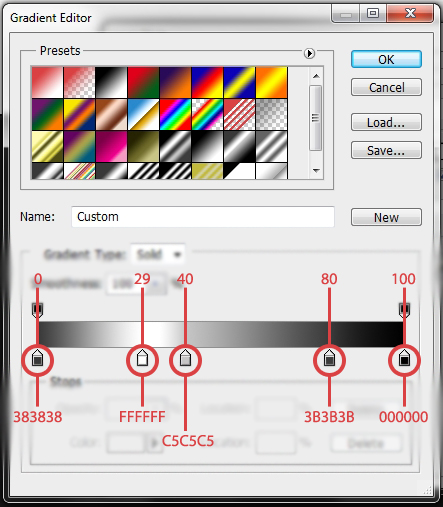
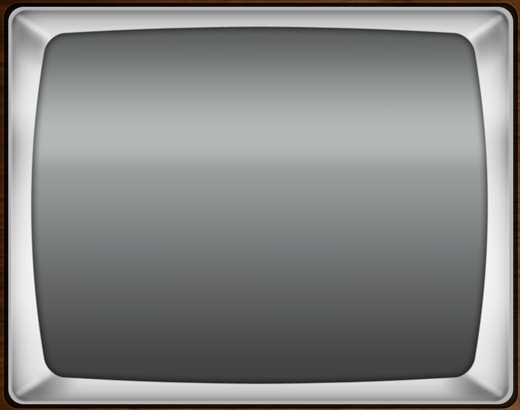
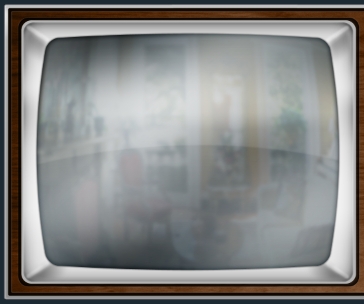
Create a new layer and draw a rounded rectangle. Fill it with #797c7c and distort it (warp) so that it looks like the one on the image below. Rename the layer to “screen”.
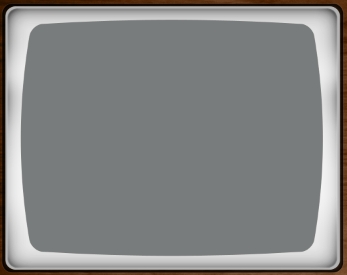
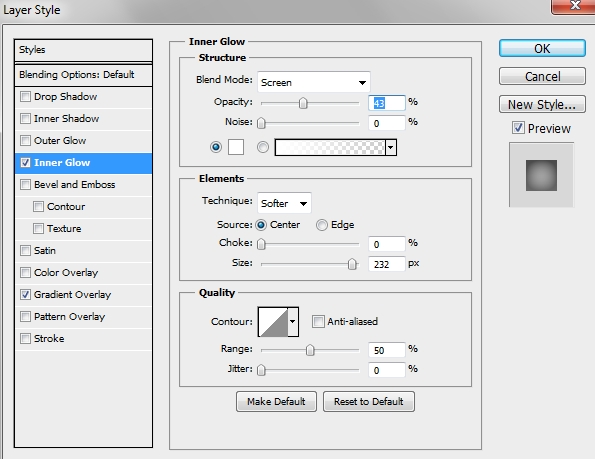
Apply these styles.
Step 10
Create a new layer and place it before the one created in the previous step. Add some shadows and highlights to give the screen some depth.
Step 11
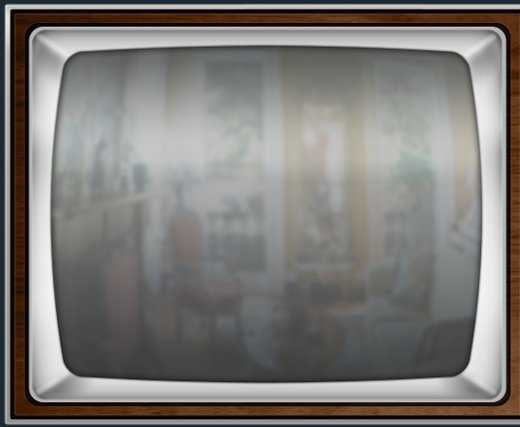
Go back to the screen layer created in Step 9. Place the living room image from the tutorial assets on a new layer and make it a clipping mask (Alt+Left click on the line separating the “screen” layer from the living room photo). Distort the photo by adding a Gaussian Blur effect (6-10 px) and experiment with the Spherize effect. Change the Opacity to 15-20%.
Step 12
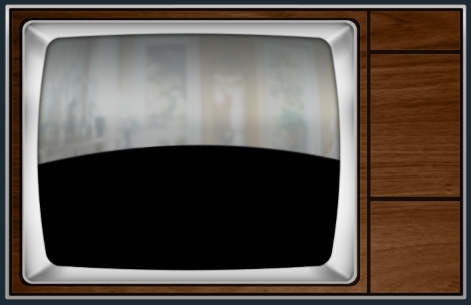
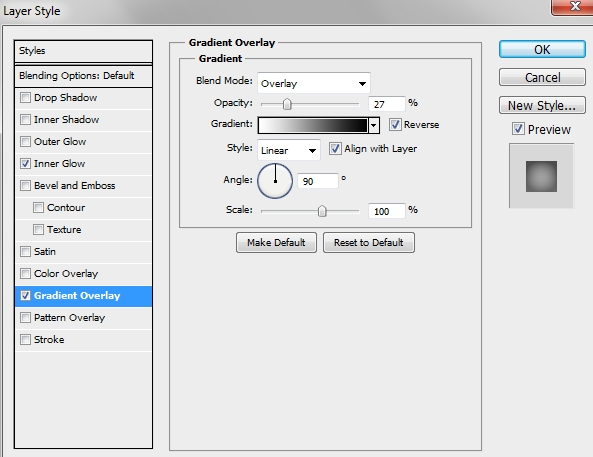
Create a new layer and pick the Pen Tool (P). Draw a shape like the one on the image below. Turn Fill to 0%, the Opacity to 50% and apply the following styles.
Step 13
Create a new layer and select “screen’s” pixels. Paint the selection with #193c54 and change the Blend Mode to Vivid Light and the Fill to 10-12%.
Step 14
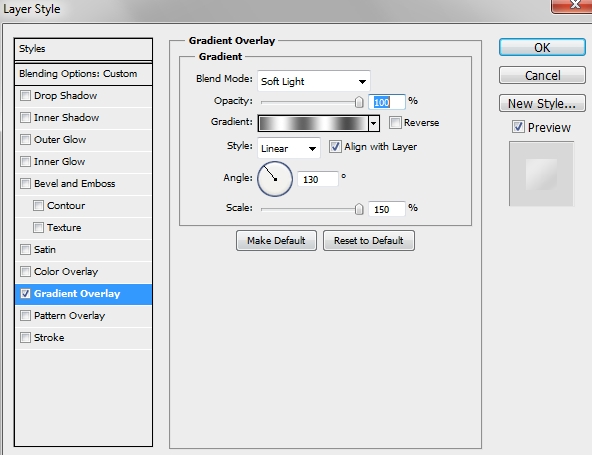
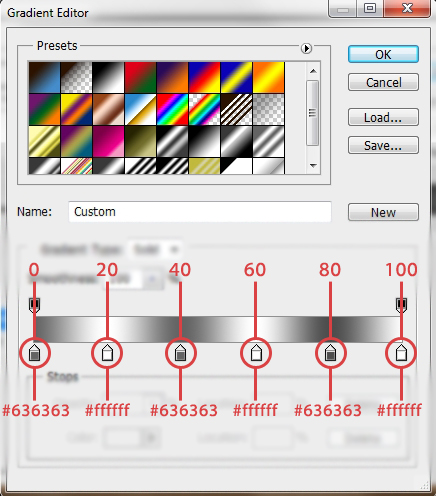
Duplicate this layer and turn Fill to 0%. Then add this gradient.
Step 15
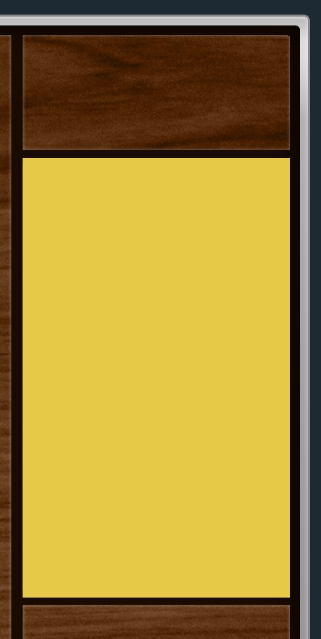
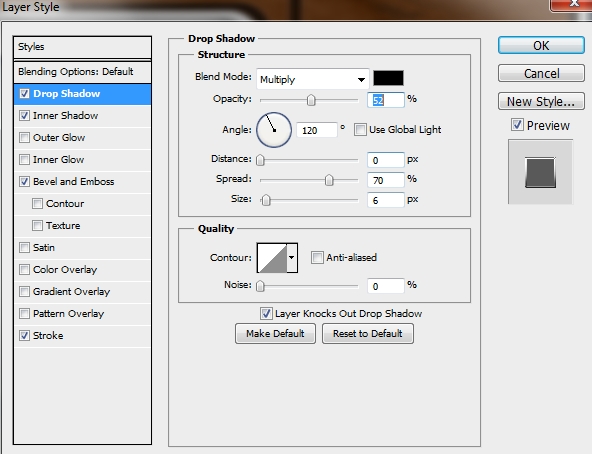
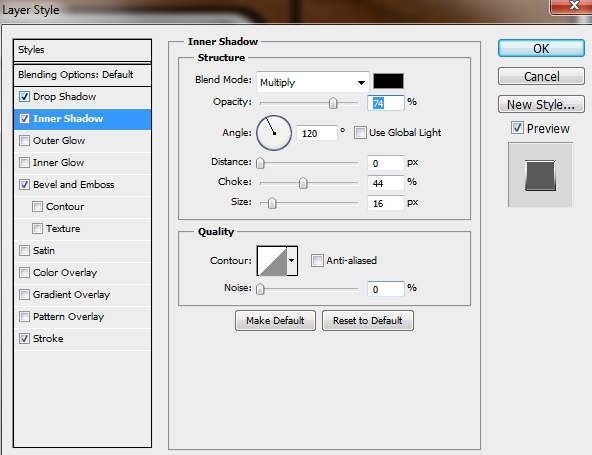
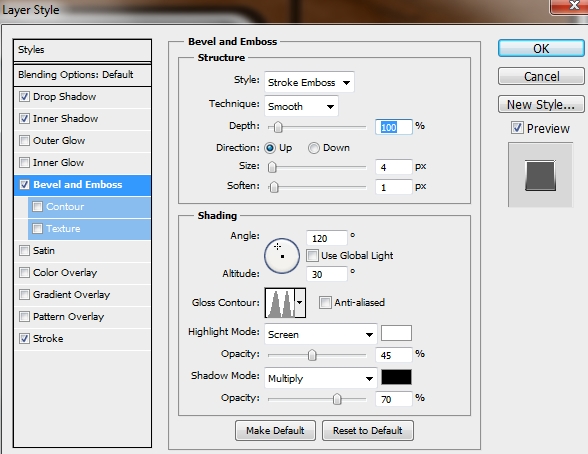
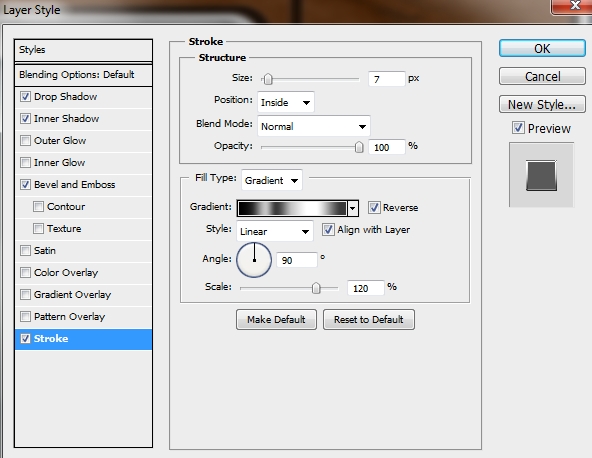
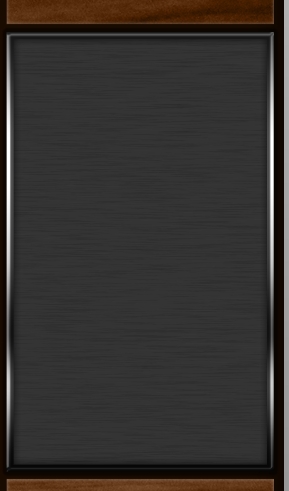
Group all the layers created in Steps 6-14 and name the group “Screen”. Next, create a new layer and grab the Rectangle Tool (U). Draw a rectangle like the one on the image below. Fill the shape with #363636 and apply the following styles (the gradient used in the Stroke is the same you used in Step 8).
Step 16
Create a new layer and select the pixels of the shape created in the previous step. Paint the selection white (#ffffff) and go Filter>Pixelate>Mezzotint. Next, apply a Motion Blur (30-40px) and change the Blend Mode to Color Burn and the Fill to 10%.
Step 17
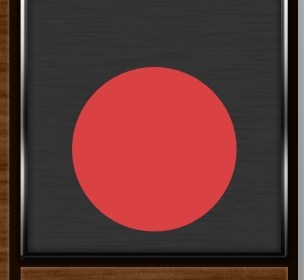
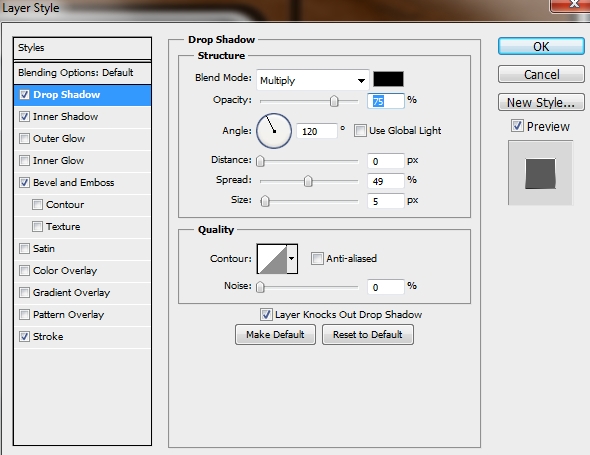
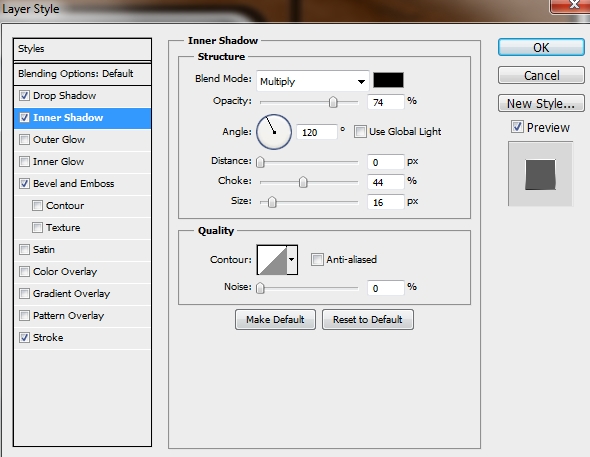
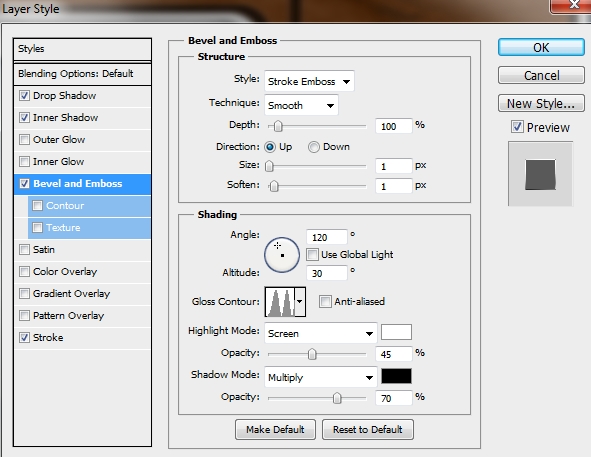
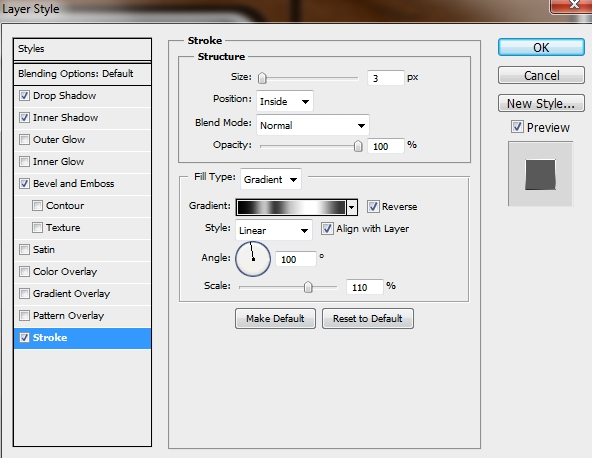
Create a new layer and using the Ellipse Tool (U) draw a circle. Change its color to #363636 and apply the following styles.
Step 18
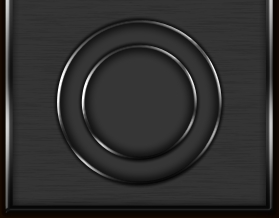
Duplicate this layer and scale it down a bit.
Step 19
Create a new layer and place it before the one created in the previous step. Pick the Rectangle Tool (U) and draw a small rectangle. Fill it with #363636. Now drag (hold Alt+Left click) the central anchor point of the rectangle. Place it on the center of the circle created in Step 17 (drag some guides to help you).
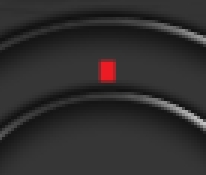
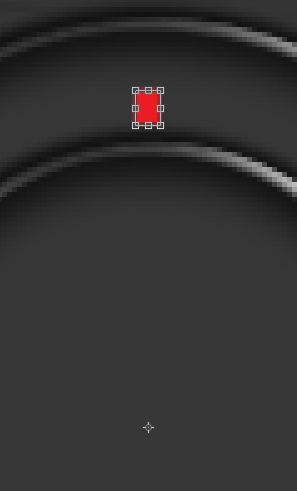
Now replace the 0 value with an 8 in the “Rotate” box.

Hit Enter and duplicate this layer. Press Ctrl+Shift+T (Transform Again). Repeat this process a lot of times.
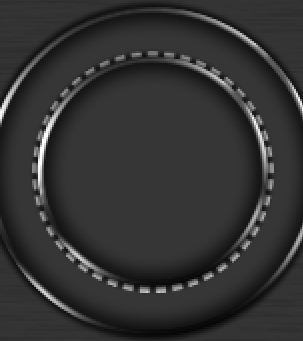
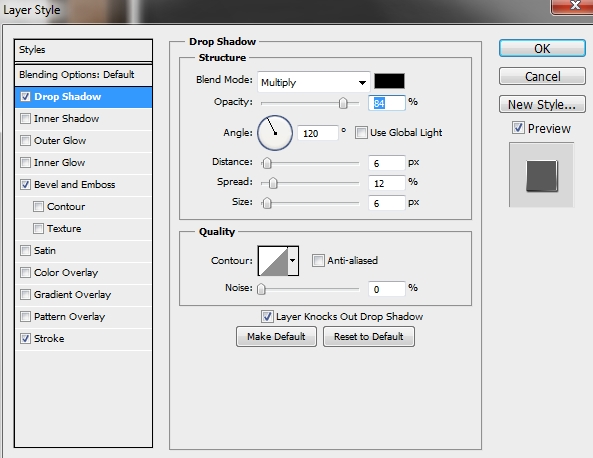
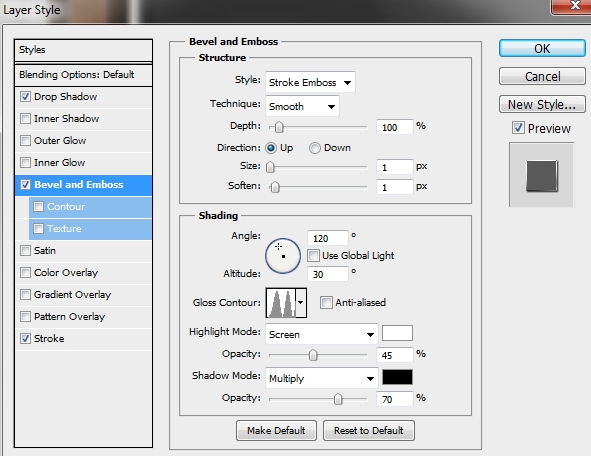
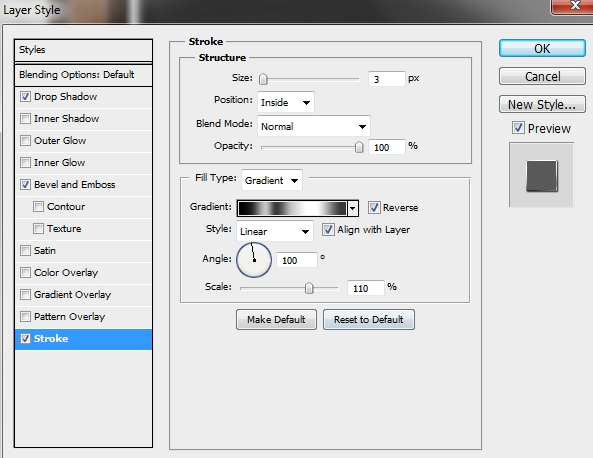
Then simply add these styles.
Step 20
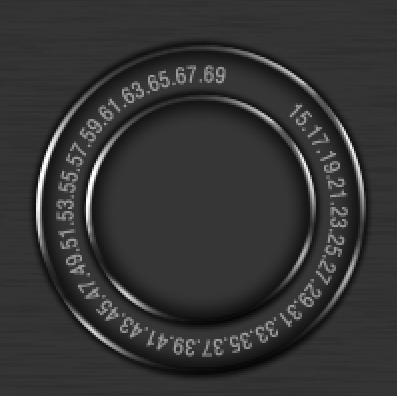
Click on the circle created in Step 18. Now select the Type Tool (T) and click on the path of the circle. If you move your mouse around, you’ll see that once you reache the path the cursor changes. Click on the path and add some text.
Step 21
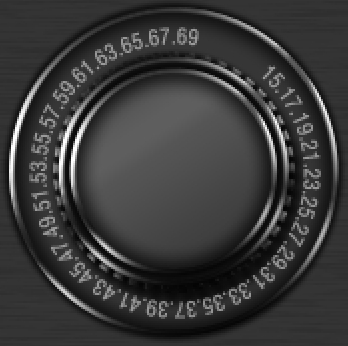
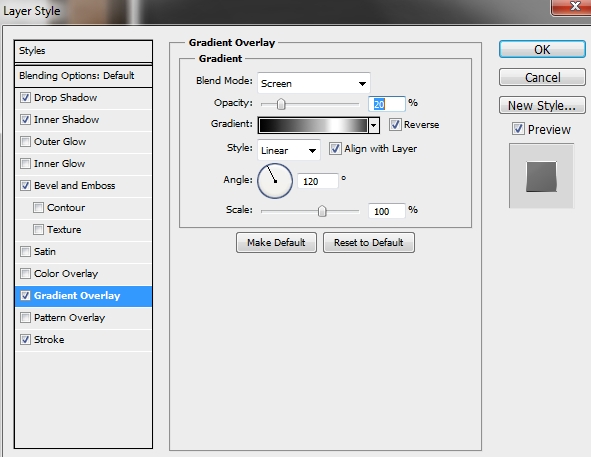
Duplicate the shape created in Step 18 and scale down a little bit the copy. To the existing styles add this gradient.

Step 22
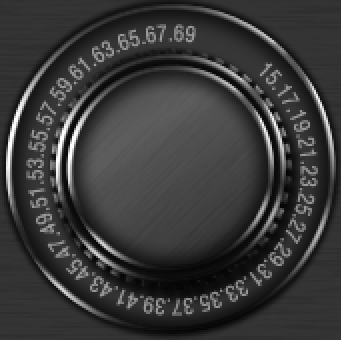
Create a new layer and add a metal look to the switch (just like you did in Step 16).
Step 23
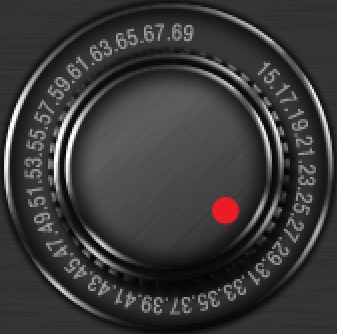
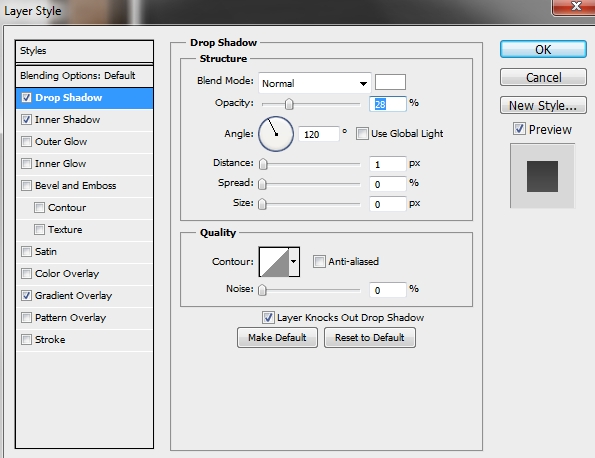
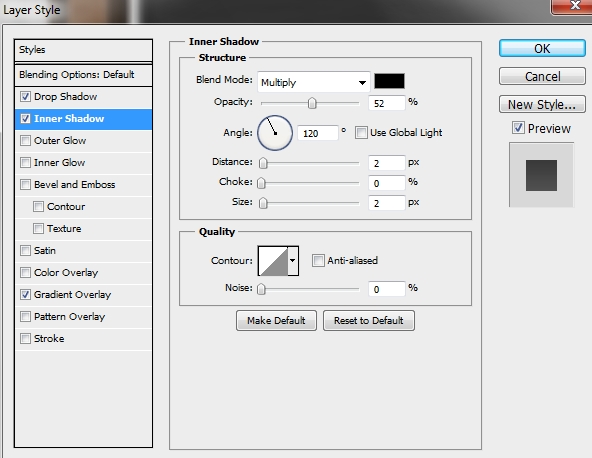
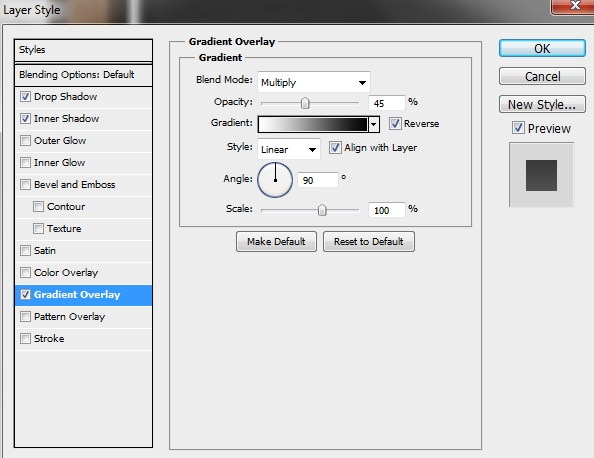
Draw a small circle and fill it with #ed1c24. Change the Blend Mode to Overlay and apply the following styles.
Step 24
Group all the layers created in Steps 17-23 and name the group “Big Switch 1”. Add some text right above the switch to decorate it.
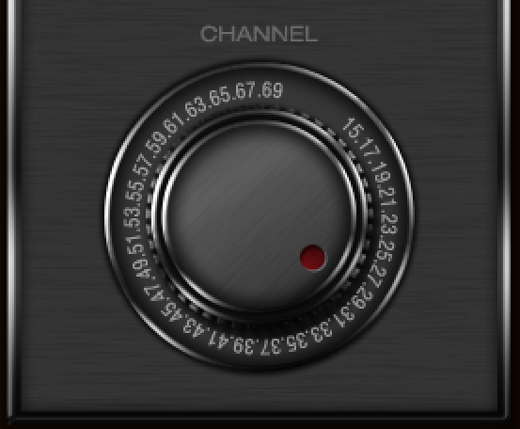
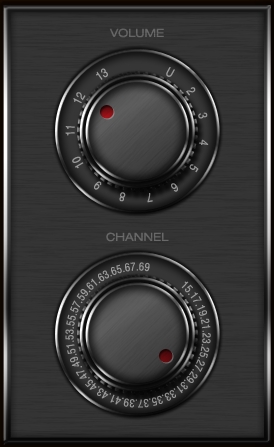
Duplicate the group and move the copy upwards to create another switch. Feel free to make any adjustments you want.
Step 25
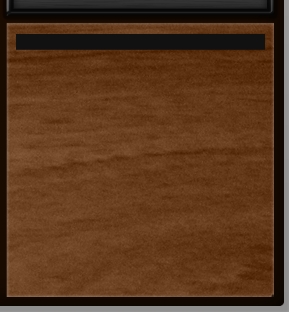
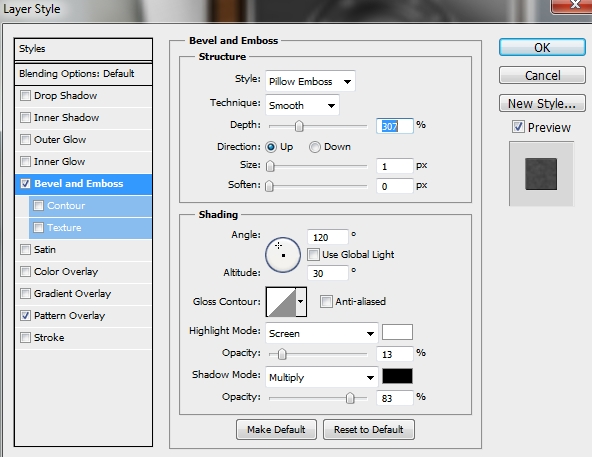
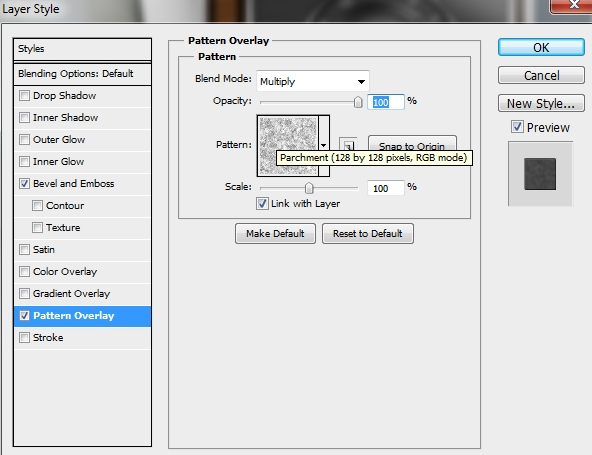
Create a new layer and select the Rectangle Tool (U). Draw a wide and narrow rectangle and fill it with #111111. Then add the following styles.
Step 26
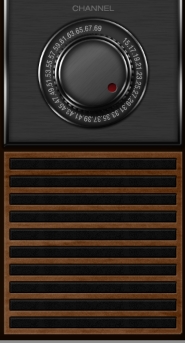
Duplicate this layer until you fill the “speaker area”.
Step 27
Group all the layers created in Steps 25-26 and name the group “Speaker”. Now, duplicate the “Big Switch 1” group and scale it down a lot. Change its name to “Switch 1” and delete the red circle layer. Duplicate the group and move it to the right.
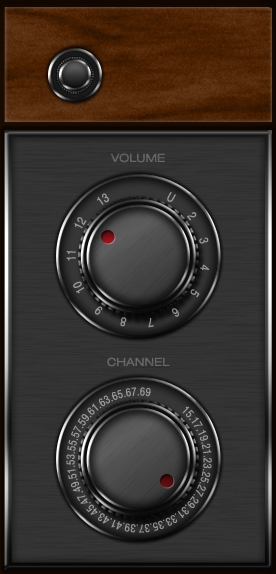
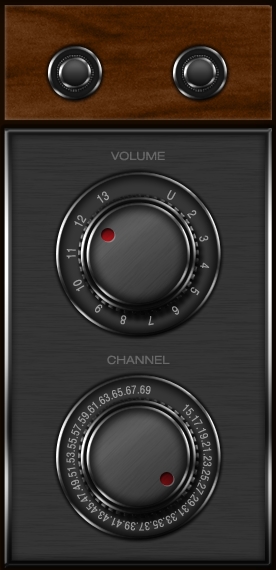
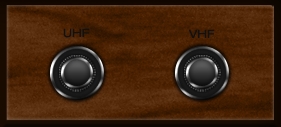
Add some text to decorate the switches.
Step 28
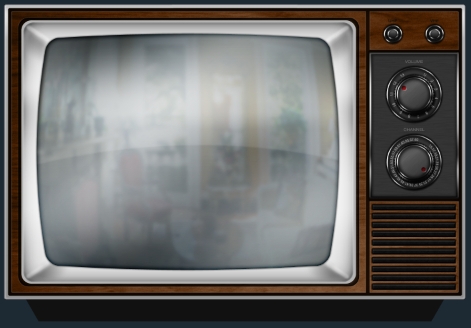
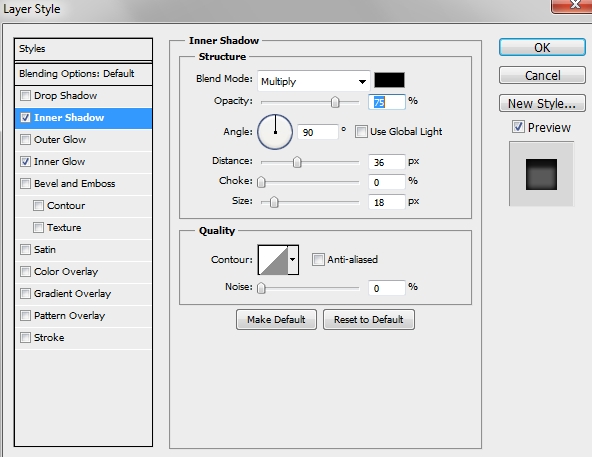
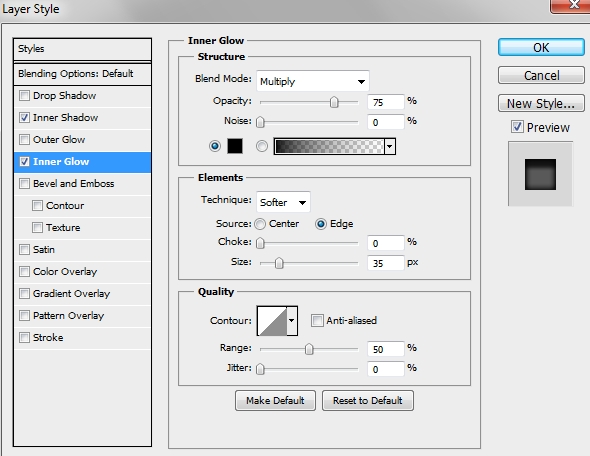
Group all the layers created so far (except from the background, apparently) and group them. Name the group “TV”. Create a new layer and place it before the “TV” group in the layers stack. Grab the Rectangle Tool (U) and draw a wide rectangle under the tv (color: #111111). Then go Edit>Transform>Perspective and drag one of the upper corner anchor points to distort the shape. Apply the following styles.
Step 29
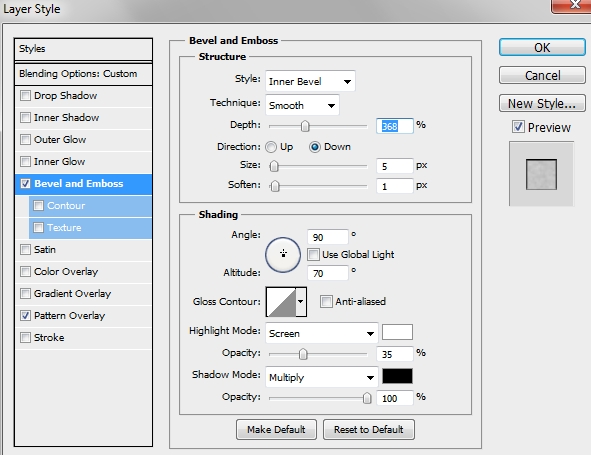
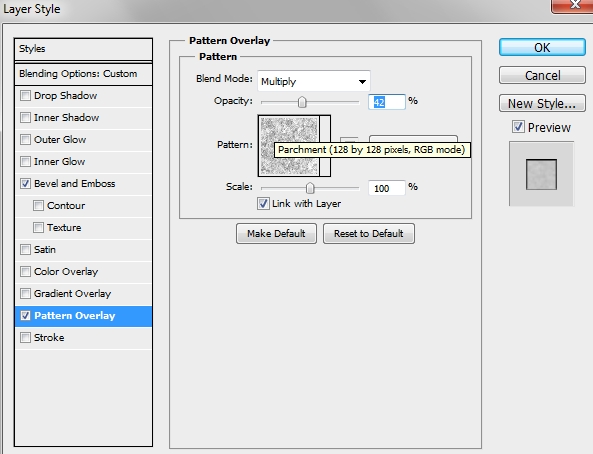
Duplicate this shape and turn copy’s Fill to 0%. Replace the existing styles with these.
Step 30
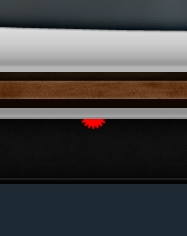
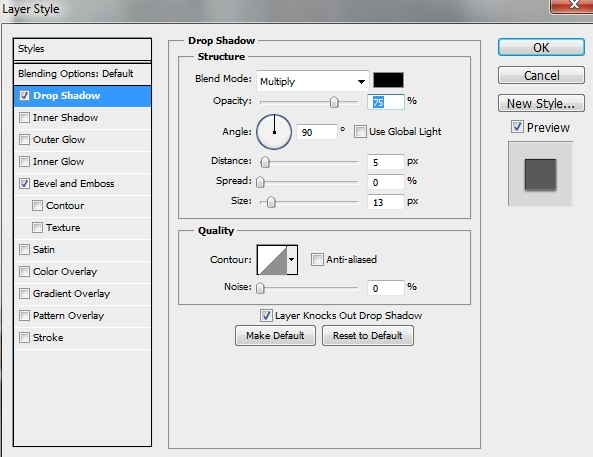
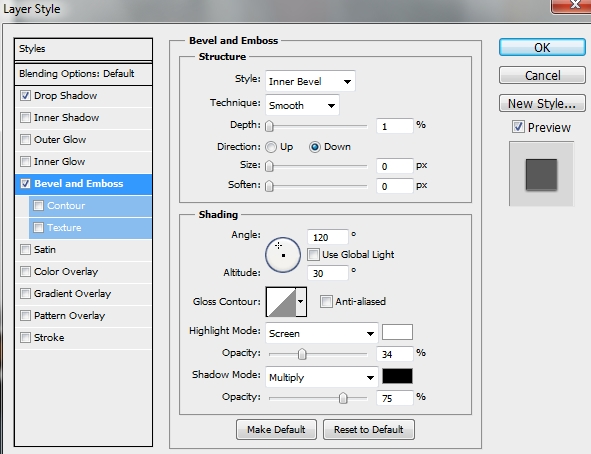
Create a new layer and using the technique from Step 19 create a shape like the one on the image below. Fill it with #111111 and apply the following styles.
Step 31
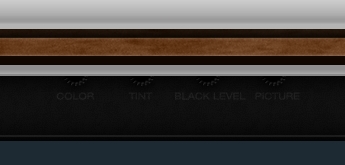
Duplicate this shape three times and add some text.
Step 32
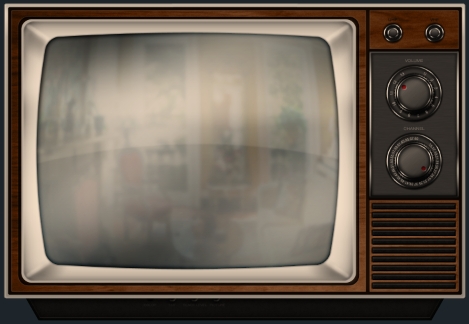
The following two steps are optional. Follow them, only if you want to achieve the effect shown in the preview.
So, create a new layer and paint the canvas with #fdc689. Change the Blend Mode to Multiply and the Opacity to 40%.
Step 33
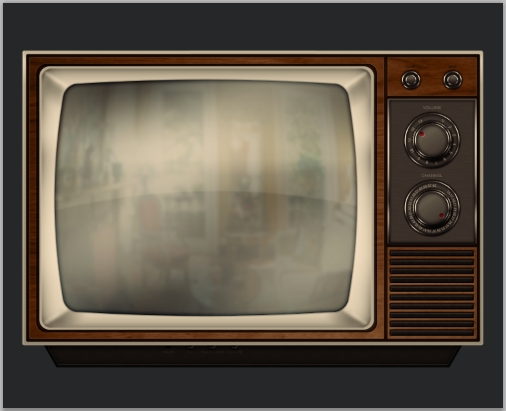
Create a new layer and paint the surface with #3496bb. Change the Blend Mode to Soft Light and the Opacity to 35%. Finally, add another layer and fill it with #dc7225 and change its Blend Mode to Soft Light and the Opacity once again to 40%.
Conclusion
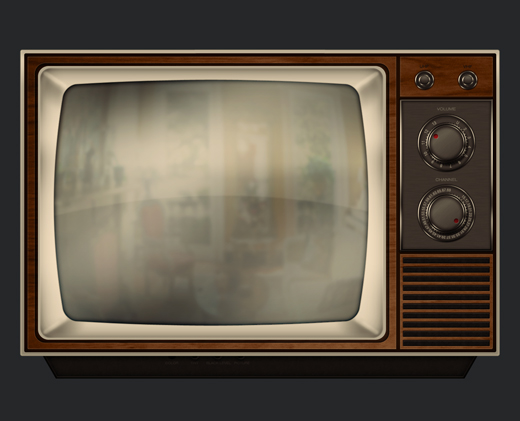
Your vintage tv is now ready. We hope you liked the tutorial.



Great tutorial thanks for the post. It’s helpful to learn Photoshop but some of the tuts out there are just not easy to follow.
Amazing tutorial with a beautiful outcome, highly detailed as always, thank you.
very good news,your are good boy!
Nice tut, but your colours seem quite different to mine, but anyway overall nicely done.
Thanks