In this article we’re going to create a simple cartoonish poster. Consider it more like a guide rather than a step-by-step tutorial.
Tutorial Details
- Program: Adobe Photoshop
- Version: CS5
- Difficulty: Advanced
- Estimated Completion Time:2 hours
Tutorial Assets
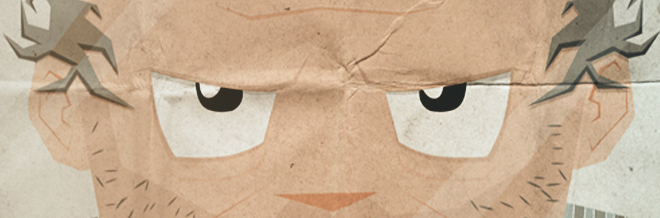
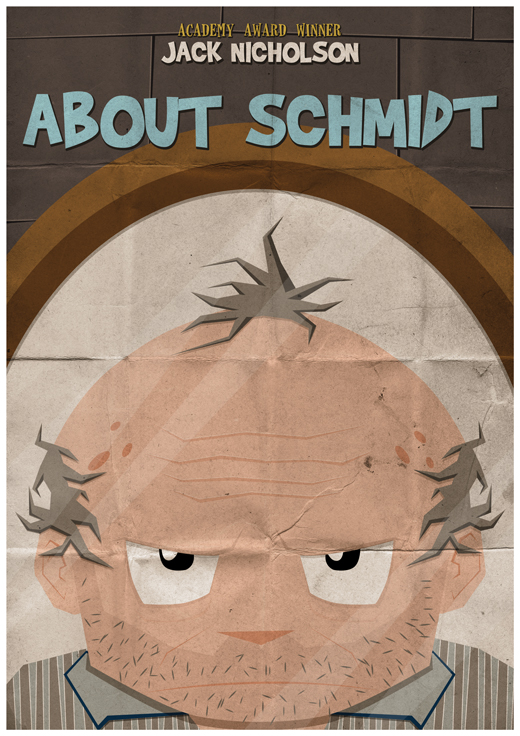
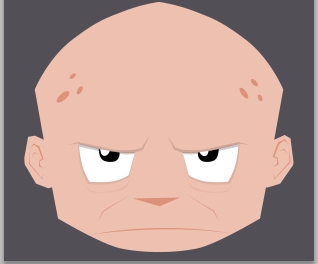
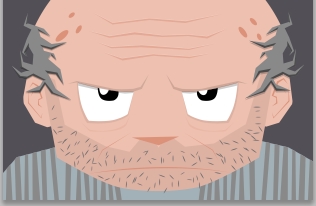
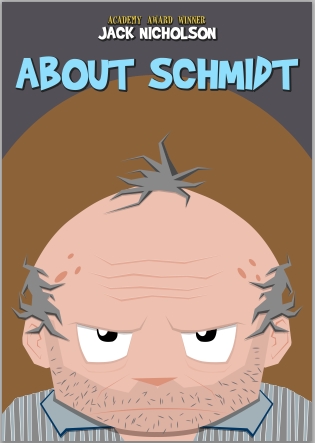
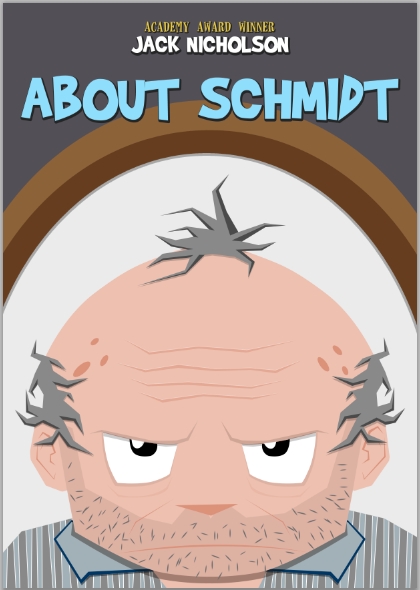
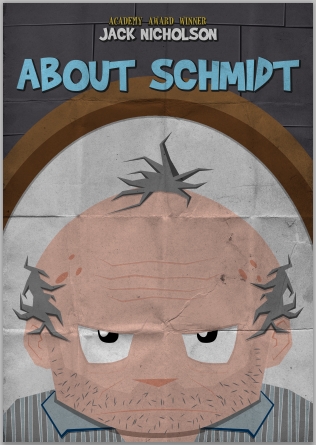
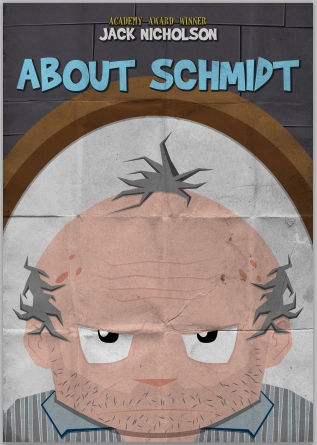
Final Result
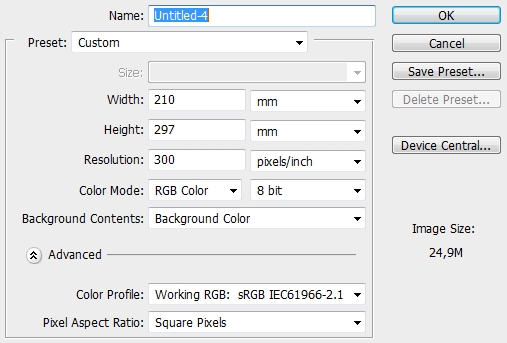
Step 1
Create a new file in Photoshop. Paint the background with #524f56.
Step 2
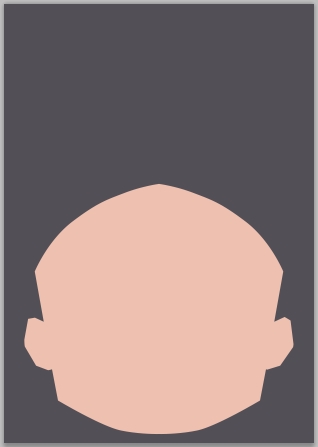
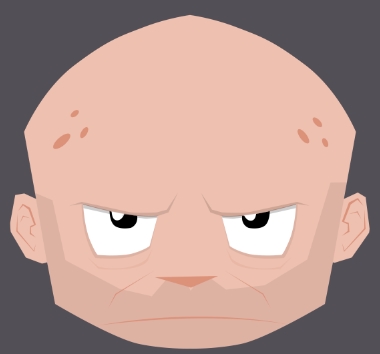
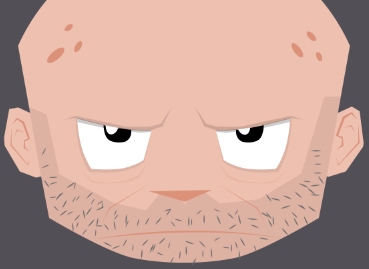
Create a new layer and pick the Pen Tool (P). Draw the basic outline of the character’s head. It doesn’t have to be perfect. As a matter of fact, try to make it look like it was drawn by a kid. Fill it with #edc0b0.
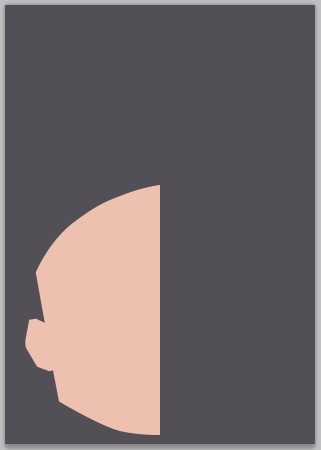
Step 3
Duplicate this layer and flip it horizontally (Edit>Transform>Flip Horizontal). Merge those two layers and name the new layer “Base”.
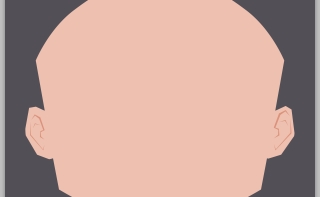
Step 4
Create a new layer and using the Pen Tool (P) form the ears (draw one ear and then duplicate it and flip the copy horizontally). Fill the selections with #edc0b0 and change the Blend Mode to Multiply.
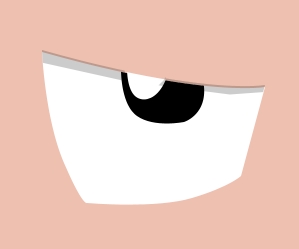
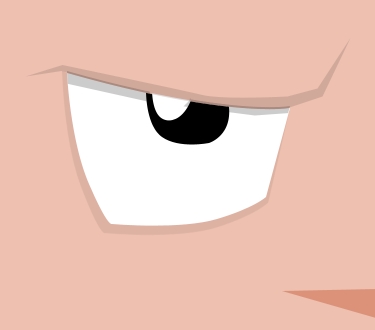
Step 5
Create a new layer and draw one of the eyes (color: #ffffff). Then draw the eyeball inside this shape (color: #111111). Finally, add a highlight effect (color: #ffffff).

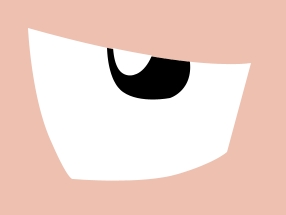
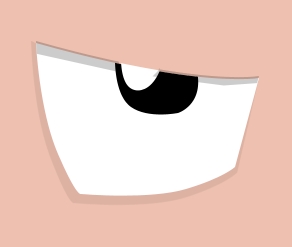
Step 6
On a new layer add a shadow inside the eye. The simpliest way to do it is to duplicate the eye shape, change its color to black (#000000), erase the unwanted parts and change the Blend Mode to Multiply and the Fill to 20%.
Step 7
Duplicate the eye shape once again, upscale it a bit, place the copy before the original eye shape and change its color to #5f4d46. Turn Fill to 10% and change the Blend Mode to Multiply.
Step 8
Duplicate all the layers created in Steps 5-7 and Flip the copies horizontally.

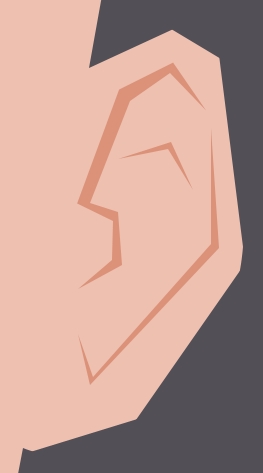
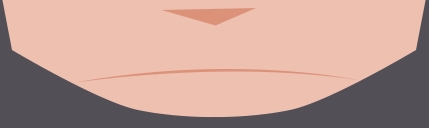
Step 9
Create a new layer and using the Pen Tool (P) draw a triangle. Fill it with #edc0b0 and change the Blend Mode to Multiply.
Step 10
Create a new layer and draw the mouth (again, use the Pen Tool). Change the Blend Mode to Multiply and fill the selection with #edc0b0.
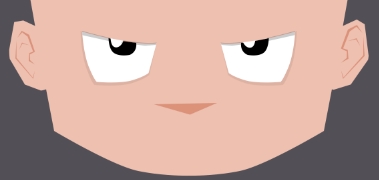
Step 11
Create a new layer and draw an eyebrow (using the Pen Tool). Fill the shape with #5f4d46, change its Blend Mode to Multiply and the Fill to 10%. Duplicate this shape and place it above the other eye.

Step 12
Create a new layer and draw some shadows on the face. Once again use the Pen Tool. Fill the selection with #edc0b0 and change the Blend Mode to Multiply.
Step 13
Repeat the previous step, only this time place the shadows under the eyes and turn Fill to 20%.
Step 14
Draw an ellipse using the Ellipse Tool (U). Fill it with #edc0b0 and change the Blend Mode to Multiply. Duplicate this shape five times and change the sizes of the copies.

Step 15
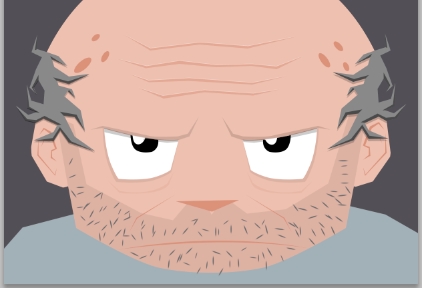
Create a new layer and pick the Pen Tool (P). Draw a basic shape of a beard. Fill it with #5f4d46 and change the Blend Mode to Multiply. Turn Fill down to 10%.
Step 16
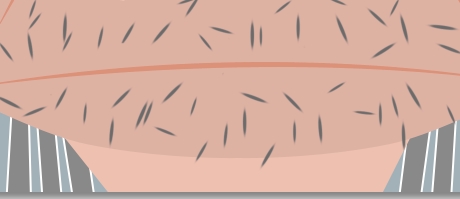
Create a new layer and set #6e6d6c as your foreground color. Pick the Brush Tool (B) and select a hard round brush from the list. Hit F5 to open the brush panel. Apply the following parametres.
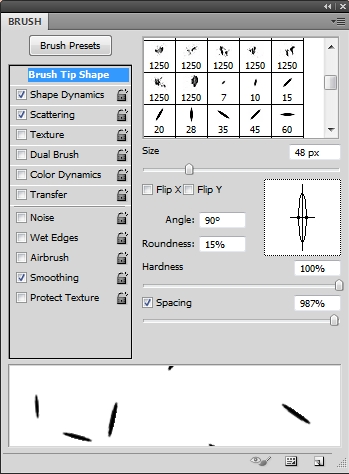
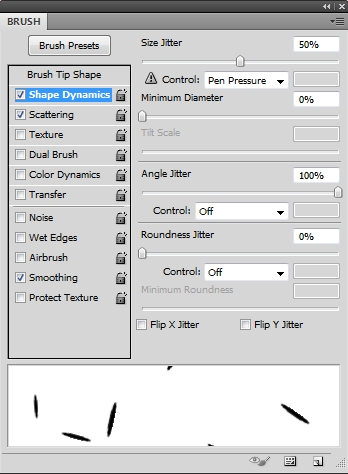
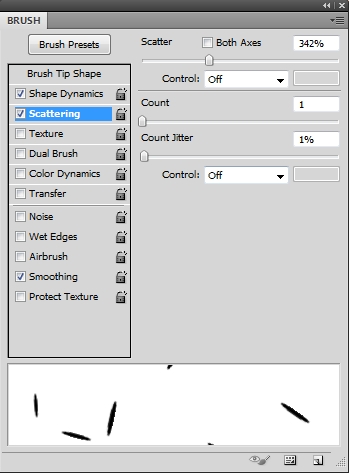
Now, draw some random hair.
Step 17
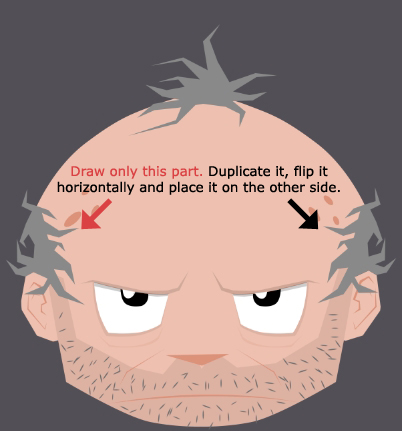
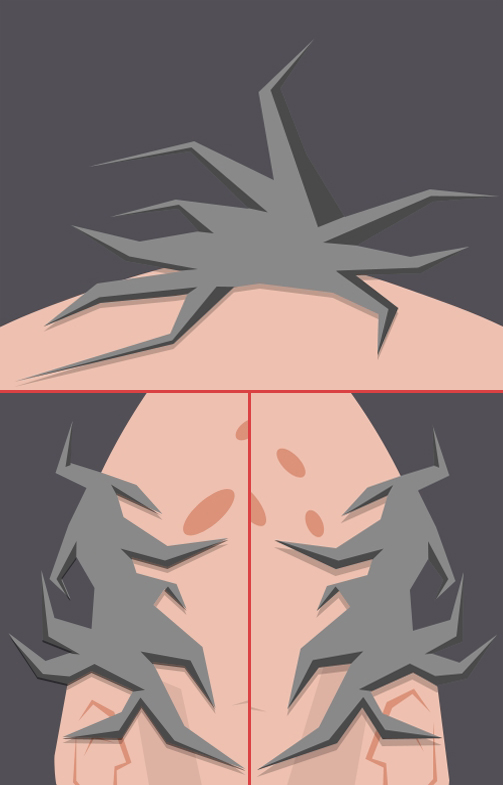
Create a new layer, grab the Pen Tool (P) and draw the hair. The color I’m using is #898989.
Step 18
Duplicate the hair layer, place the copy before the original hair layer in the layers stack and change its color to #000000 (Ctrl+U> Lightness -100). Change the Blend Mode to Multiply and the Fill to 50%. Move it a bit downwards and erase any unwanted parts (outside the head).

Step 19
Now, create a new layer and grab the Pen Tool (P). Draw some random shapes to add some shadows on the hair. The color is the same that you used for the hair (#898989) and the Blend Mode is Multiply.
Step 20
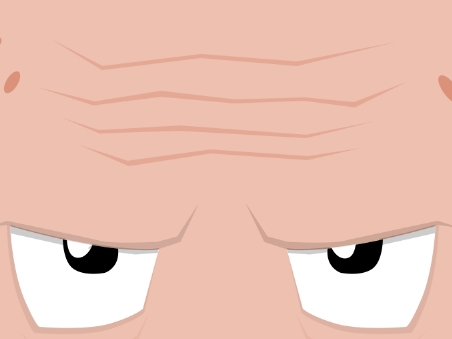
Add some shadows on the forehead (use the Pen Tool). Again, the color is #edc0b0 (don’t forget to change the Blend Mode to Multiply).
Step 21
Duplicate the previous layer and change the copy’s color to white (Ctrl+U>Lightness +100). Move it a bit upwards and change Fill to 50%. Erase any unwanted parts.
Step 22
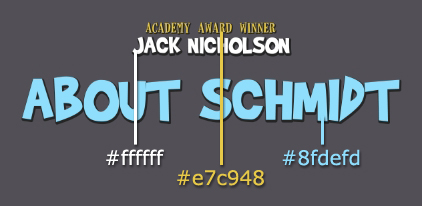
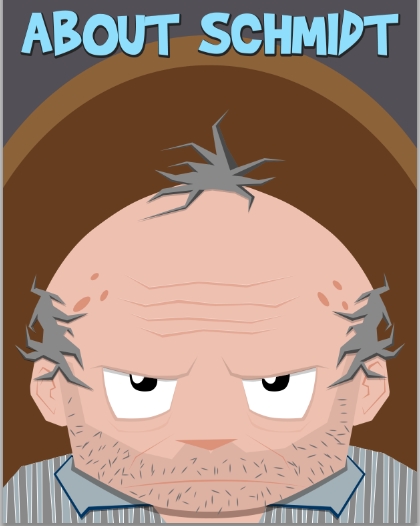
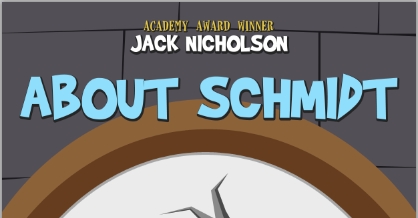
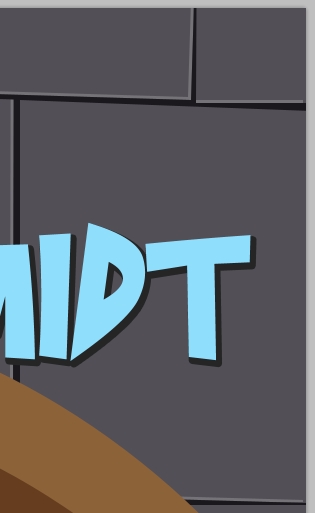
Group all the layers created so far (except from the background) and name the group “Face”. Next, add some text to decorate the poster. The fonts I used are Brady Bunch Remastered and Horseshoes (apply a simple Drop Shadow style).
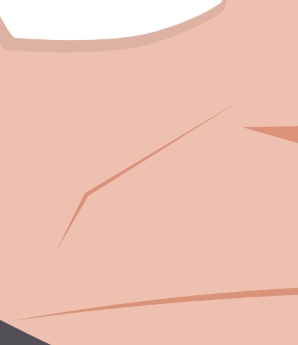
Step 23
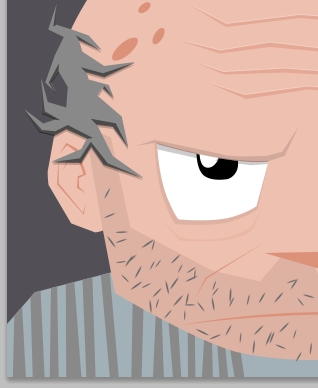
Group the text layers and name the group “Text”. Then, create a new layer and place it before the “Face” group. Pick the Pen Tool (P) and draw the shoulders and the chest. Fill the selection with #a2b1b7.
Step 24
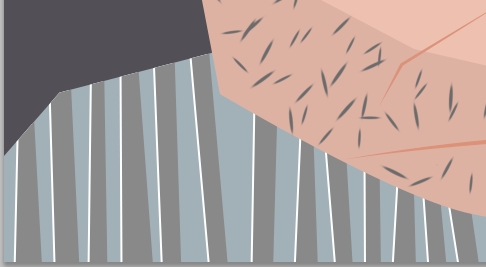
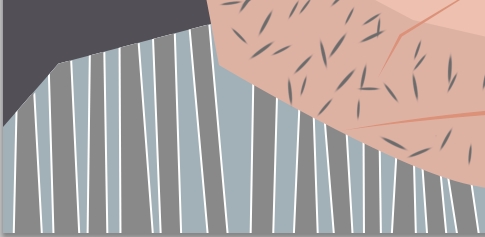
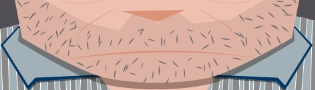
Create a new layer and draw some stripes on the pyjama using the Pen Tool (P). Fill the selections with #898989. Duplicate this layer and flip it horizontally. Place it on the other side of the body.
Step 25
Duplicate those layer and change their copies’ color to #ffffff (Ctrl+U>Lightness +100). Move the copies a bit to the left. Then duplicate those white stripes layers and move the copies to the right.
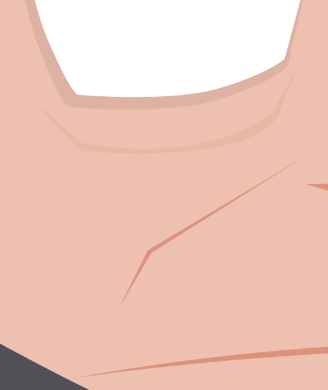
Step 26
Create a new layer and using the Pen Tool (P) draw a shape like the one on the image below. Fill it with #edc0b0.
Step 27
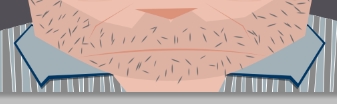
On a new layer draw the left half of the pyjama’s collar. Fill it with #a2b1b7. Duplicate it, flip the copy horizontally and place it on the other side.
Step 28
Duplicate these two collar layers and change the color of the copies to black. Change the Blend Mode to Multiply, turn Fill to 50% and move them a bit downwards (don’t forget to place those copy layers before the original collar layers in the layers stack).

Step 29
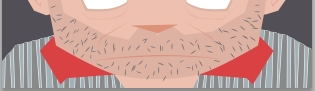
Create a new layer and using the Pen Tool (P) decorate the collar (color: #003663).
Step 30
Add a shadow under the head. Once again, use the Pen Tool (P) to draw the shape. Fill it with #5f4d46 and change the Blend Mode to Multiply (Fill: 50%).
Step 31
Group all the layers created in Steps 23-30 and name the group “Pyjama”. Next, create a new layer, place it before the “Pyjama” group and select the Ellipse Tool (U). Draw a big ellipse and fill it with #8c6239.
Step 32
Duplicate this ellipse and change the Blend Mode of the copy to Multiply. Lower the Opacity to 60% and move it downwards.
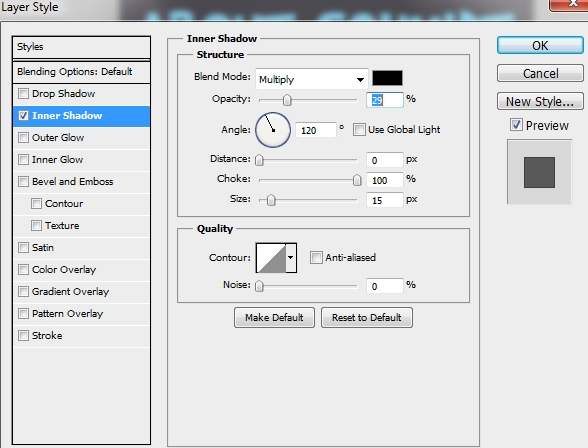
Step 33
Duplicate once again the ellipse, change its color to #ebebeb and move it downwards. Apply the following Inner Shadow style.
Step 34
Group these three layers and name the group “Mirror”. Create a new layer and place it before the “Mirror” group. Use the Pen Tool (P) to draw some tiles. Fill the selection with #1a181d.
Step 35
Duplicate this layer and change the color of the copy to white. Move it a bit up and left. Change the Opacity to 20%.
Step 36
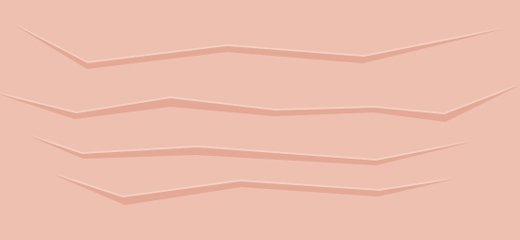
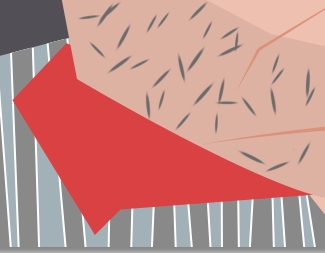
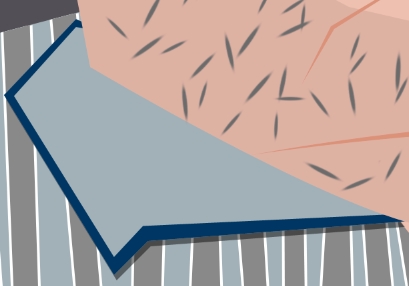
Place the Folded Papier (tutorial assets) on a new layer and scale it up so that it covers the whole poster. Then rasterize it, change the Blend Mode to Multiply and go Image>Adjustments>Hue/Saturation (Ctrl+U) and desaturate it (Saturation -100).
Step 37
Duplicate this paper layer and turn it upside-down. Change the Blend Mode to Divide and lower the Opacity to 20%.
Step 38
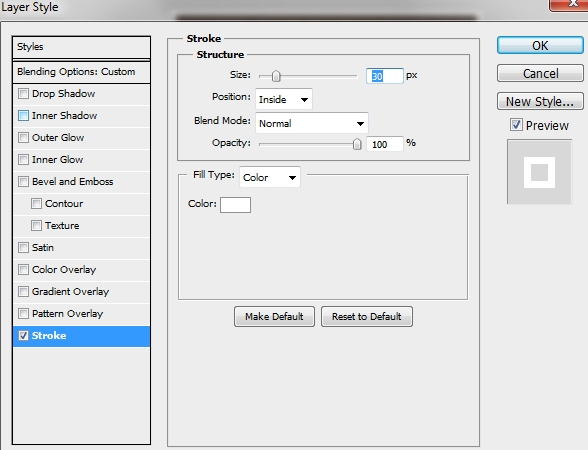
Create a new layer and paint the whole canvas with #fbaf5d (use the Paint Bucket Tool – G). Change the Blend Mode to Color, lower the Fill to 20% and apply the following Stroke style (color: #ffffff).
Step 39
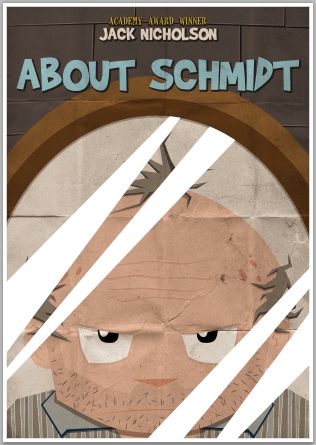
Create one last layer and grab the Pen Tool (P). Draw some light reflections on the mirror (color: #ffffff). Change the Opacity to 10%.
Conclusion
That’s it. Your poster is now ready. Add any effects you want to make it look even better. We hope that you enjoyed the tutorial and if you have any questions, please post them in the comments section.


Sweet, thats a nice tutorial, the Folded Paper Multiply overlay makes it!
Great tutorial! I have learnt a lot from it. Thanks.