
In this article we’re going to create an impressive yet very easy typographic design. There’re various techniques to achieve this effect and we’ll be presenting you the easiest one. However, alternative techniques will be described briefly in some steps.
Tutorial Details
- Program: Adobe Photoshop / Adobe Illustrator
- Version: CS6 / CS5
- Difficulty: Intermediate
- Estimated Completion Time: 2 hours
Tutorial Assets
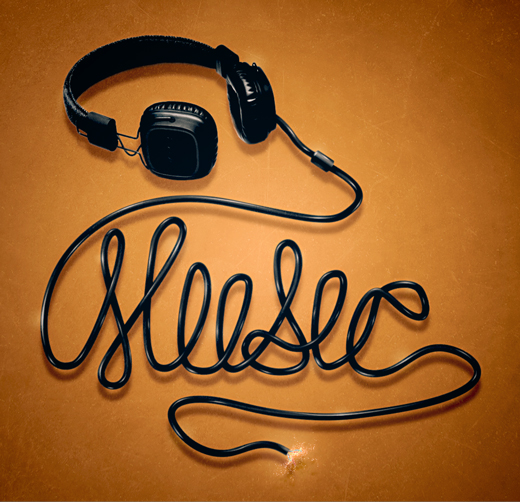
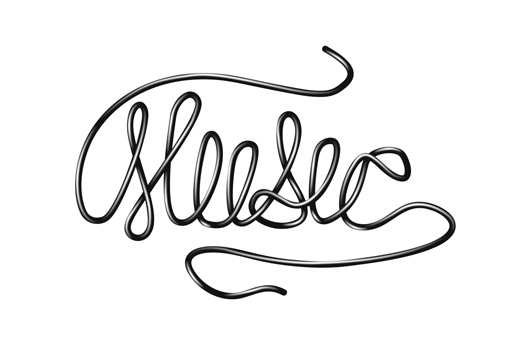
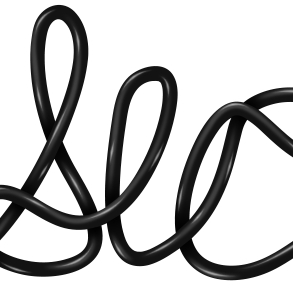
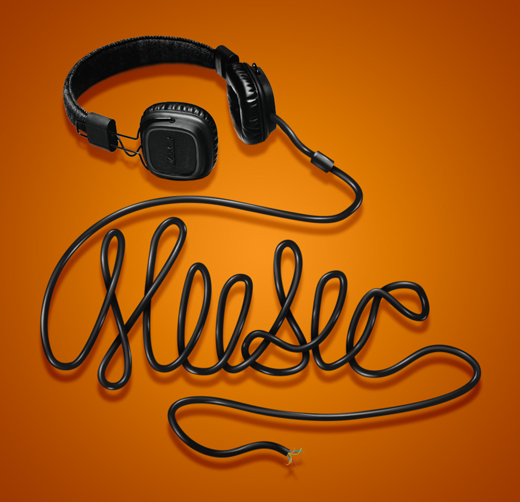
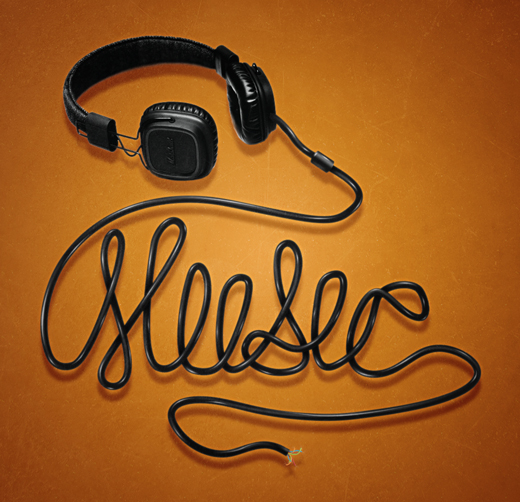
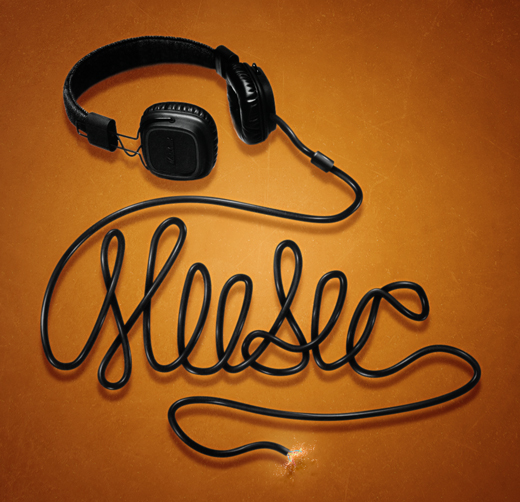
Final Result
Step 1
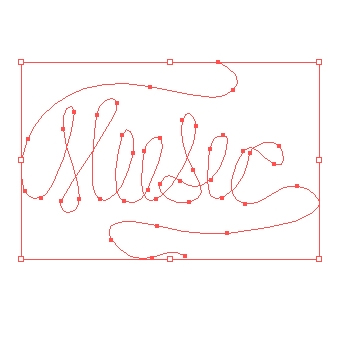
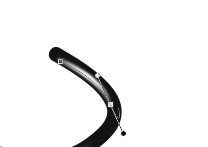
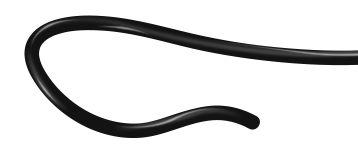
Create a new file in Illustrator (you can use Photoshop if you prefer) and select the Pen Tool (P). Start placing anchor points to create the text path. You can use a reference font such as “Mission Script”. Add a 15pt stroke (color: C=0, M=75, Y=100, K=0).
Step 2
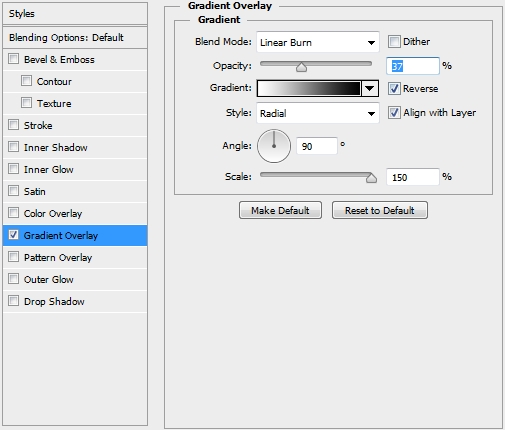
Select the created path and copy it (Ctrl+C). Switch to Photoshop, create a new file (we chose 1200x1000px, 300dpi, RGB 8bit) and paste the path (Ctrl+V) as a Smart Object. Paint the background orange (#f8941d). Add the following style to the background layer.
Step 3
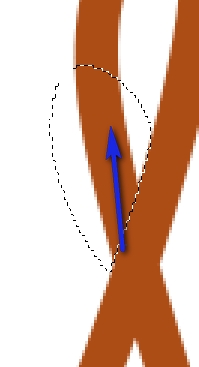
Create a new layer and select the Brush Tool (B). Pick a soft round brush and set the size to 7px. Change your foreground color to #ffffff (white) and grab the Pen Tool (P). Using the Stroke Path technique (make sure the Simulate Pressure box is checked) “draw” the basic highlights.
Step 4
Continue this process until the whole path is covered with highlights. Change the Fill (or Opacity) of this layer to 20% and clip it the path layer (the one you copied from Illustrator).
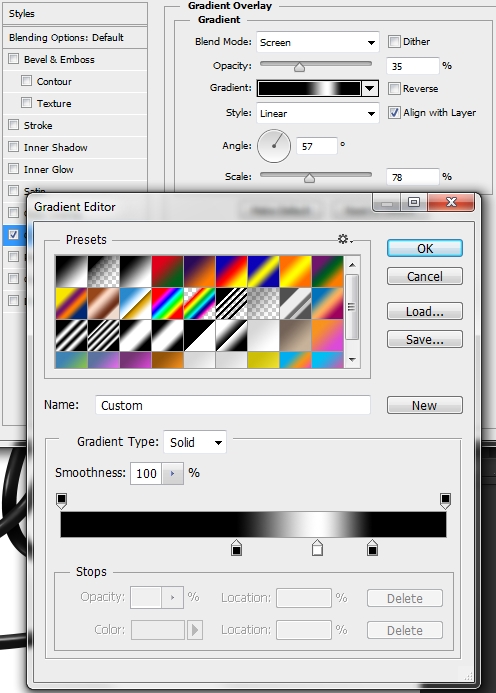
Step 5
The next step is to add some shadows. There are two (at least) ways to do it. You can use a soft round brush (color: black #000000) and start painting in the desired places. Alternatively, pick the Pen Tool (P) and start forming small paths. Once you close a path, select the “Make Selection” option (right click on canvas), set 0 for the pixels and pick the Gradient Tool (G). Select a simple Black to Transparent style and draw a line to create the gradient. It may take you some time since you have to repeat this process a lot of times, but personally I think this is the best way to add the shadows. Clip this layer to the original path layer and lower the Opacity to 70%.
Step 6
Now we need to add some more highlights. Once again pick the Brush Tool (B), set the foreground color to white (#ffffff) and select a Hard Round brush from the list. Set the size to 3px and switch to the Pen Tool (P). Apply the same Stroke Path technique (Simulate Pressure: on) only this time make the paths a lot smaller. Clip this layer to your original path layer too (the reason that we keep clipping these layers is to make sure the painted highlights and shadows “stay” inside the path) and change the Opacity (or Fill) to 60%.
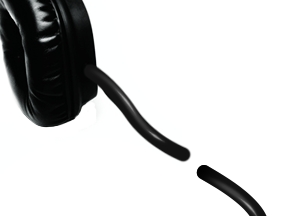
Step 7
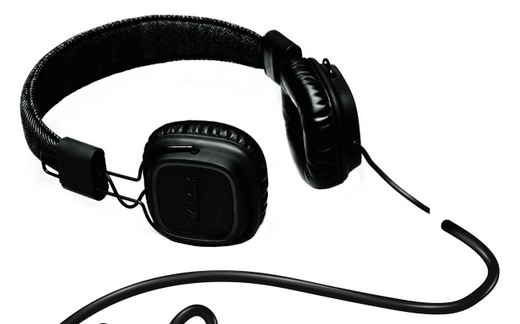
Place the headphones image on a new layer and using your favorite technique (Quick Mask, Layer Mask, Eraser) “erase” the white background. Add a Color Overlay style (blend mode: color, color: 131414).

Step 8
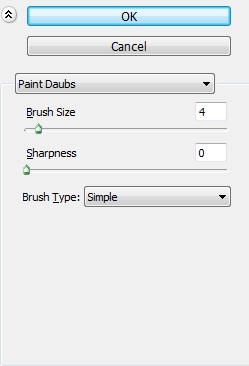
Duplicate this layer and go Filter>Artistic>Paint Daubs. Change the Blend Mode of this layer to Soft Light and lower the Opacity to 60%.
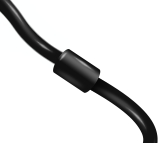
Step 9
Create a new layer and pick the Brush Tool (B). Select a hard round brush, size: 14px and draw a small wire part. Repeat the highlights process.
Step 10
Create a new layer and pick the Rectangle Tool (U). Draw a small rectangle, distort it (warp mode) and apply the following style.

Step 11
Add some highlights to the rectangle.
Step 12
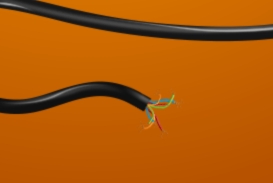
Now we’re going to create the cut wire part. So, grab the Rectangle Tool (U), draw a small rectangle (color: #131414) and add the same gradient style that you used in Step 10.

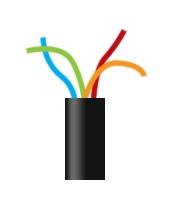
Step 13
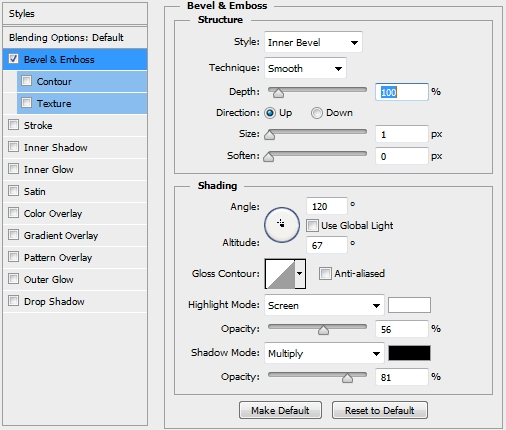
Draw some wires coming out of the rectangle (just place their layers before the black rectangle in the layers stack). Decorate the wires with a simple Bevel & Emboss style.
Step 14
Add some more wires.

Step 15
Merge all these layers (Steps 12-14) and scale it down until it fits the rest of the design. Add a layer mask and “erase” some parts until you have a smooth transition.
Step 16
Now that all the elements are ready, merge all the layers (except from the background). Rename this layer to “Final Design”. Duplicate this layer and change the color of the copy to black (Image>Adjustments>Hue/Saturation – Ctrl+U). Apply a Gaussian Blur filter (5 px) and place it before the Final Design layer. Move it a bit downwards, change the Blend Mode to Linear Burn and lower the Opacity to 20%.
Step 17
Add a Curves Adjustment Layer to increase the contrast and clip it to the Final Design.
Step 18
Add a Solid Color Adjustment Layer (or simply paint the canvas) and pick black (#000000) as your color. Change the Blend Mode to Color, lower the Fill to 20% and apply the following style.

Step 19
Place the Metal Scratches texture and change its Blend Mode to Soft Light. Lower the Fill or the Opacity to 50%.
Step 20
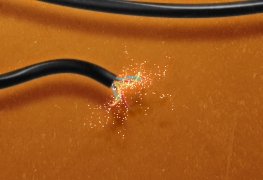
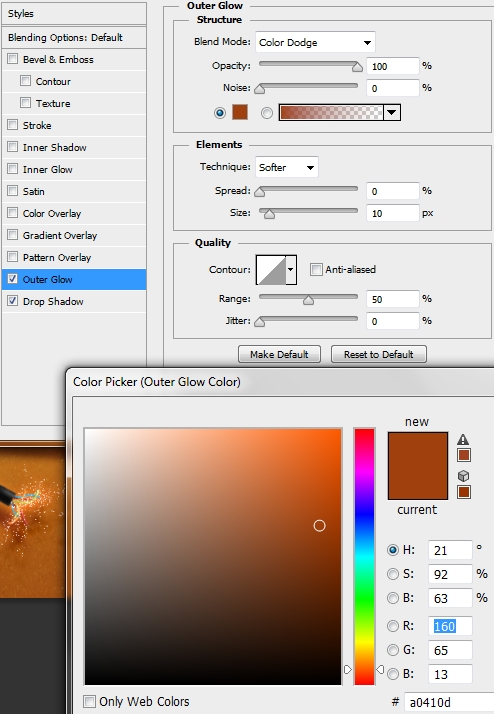
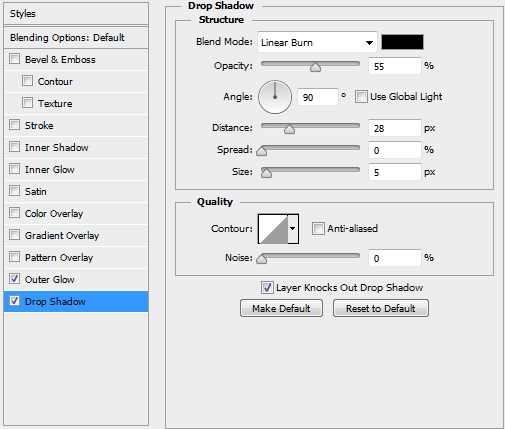
Add some sparks using a brush (color: #ffffff). Add these styles.
Step 21
Merge all the layers (Flatten the image) and duplicate this new layer. Desaturate it (Ctrl+Shift+U) and apply a 5px Gaussian Blur filter. Change the Blend Mode to Soft Light and the Opacity to 55%.
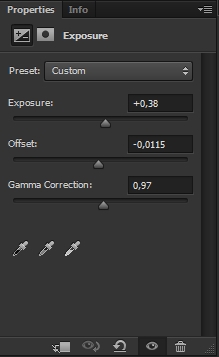
Step 22
Create an Exposure Adjustment Layer.
Conclusion
That’s the end of the tutorial. We hope you enjoyed the article and learnt something new. If you have any questions, post them in the Comments Section.


I’m very inspired with your post,thank you.
Well presented post,congratulation.
wow dude!!it’s cool…
Yahh your right it is an impressive tutorial.Thank you!
Cool!!! This is just an easy thing for you to do??
AMAZING!!
I have enjoyed your post,thank you.
Colorful,well presented and interesting Icons…
this is SOOOO much *tears* but im determined to learn, so thank you so much
Really interesting output! Good job.
ah ah that it is good job you do man, Weldon man.