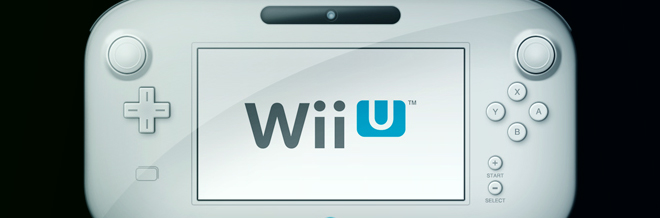
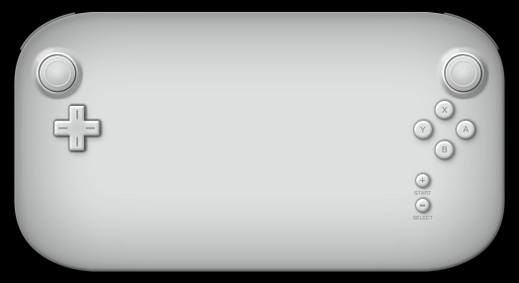
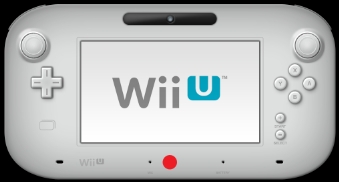
In this article we’re going to create the Nintendo’s Wii U controller. It may look a bit complicated, but it’s definitely not.
Tutorial Details
- Program: Adobe Photoshop
- Version: CS5
- Difficulty: Intermediate
- Estimated Completion Time: 1.5-2 hours
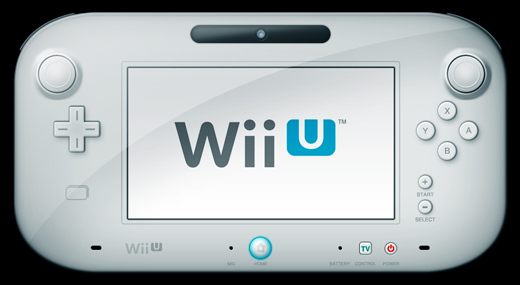
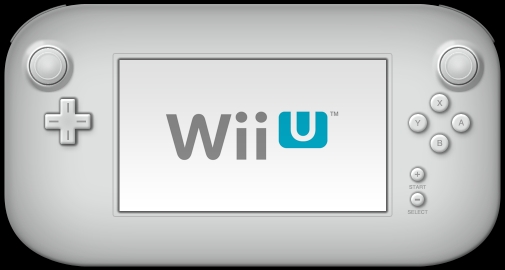
Final Result
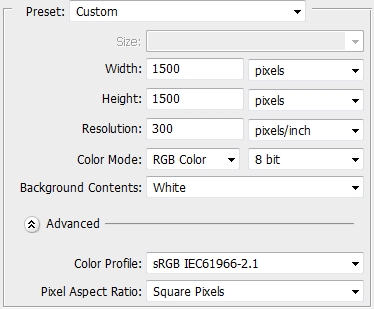
Step 1
Create a new file in Photoshop.
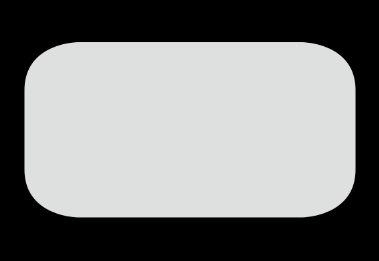
Step 2
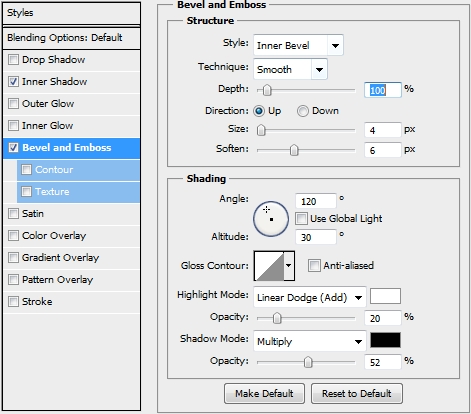
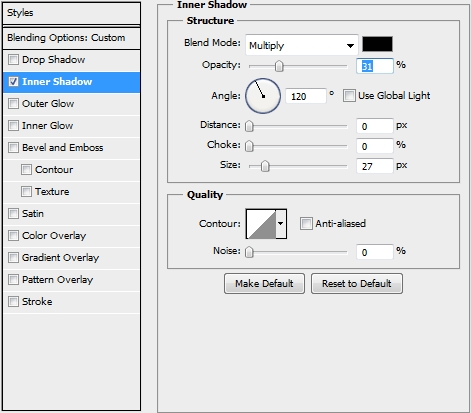
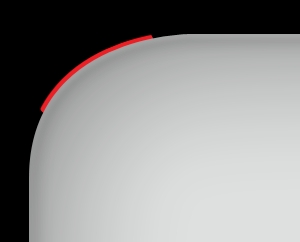
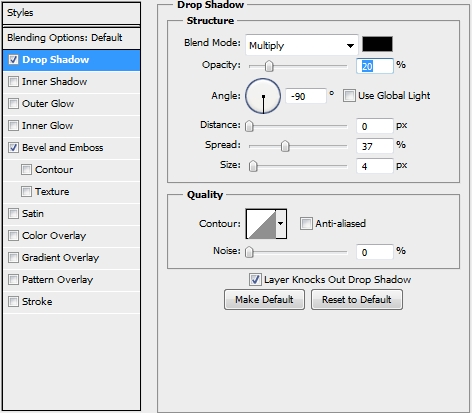
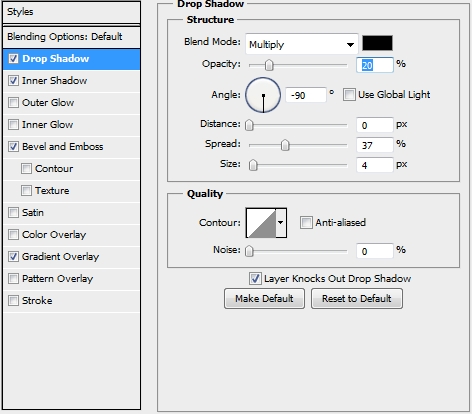
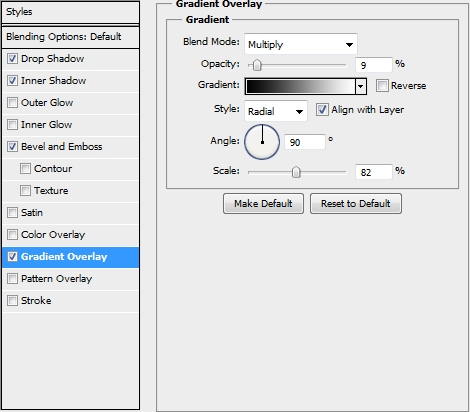
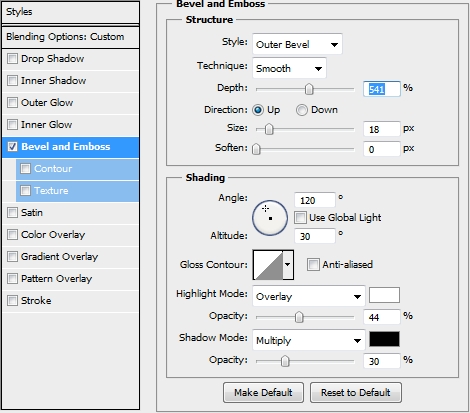
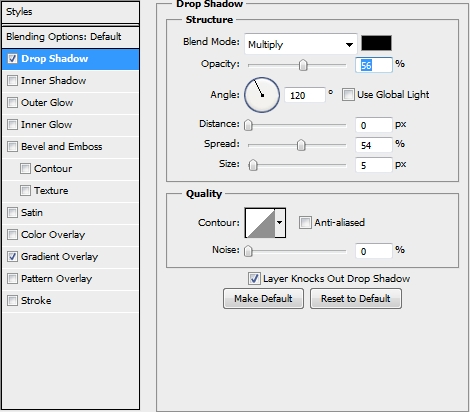
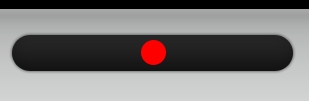
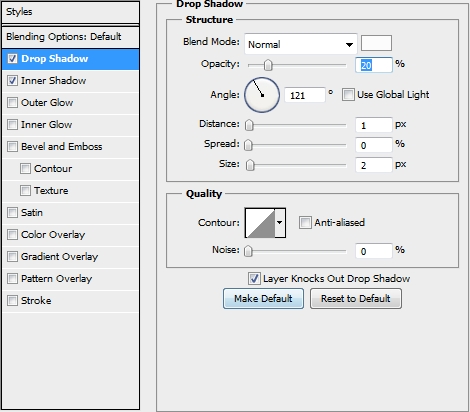
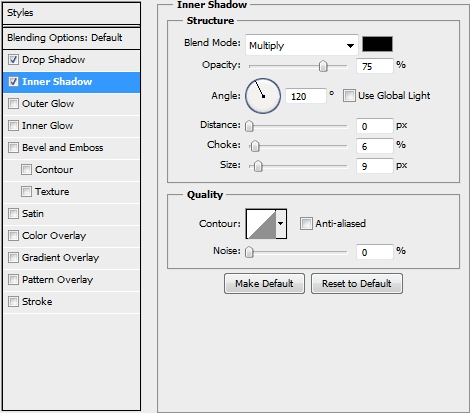
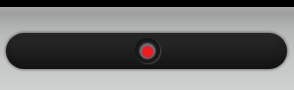
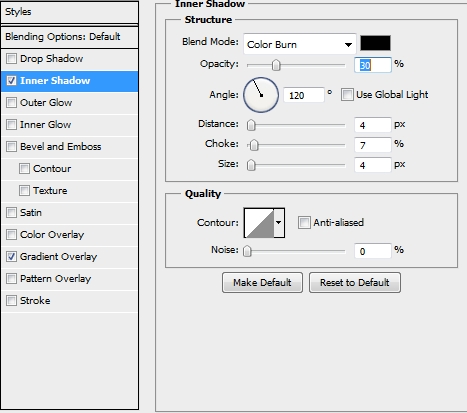
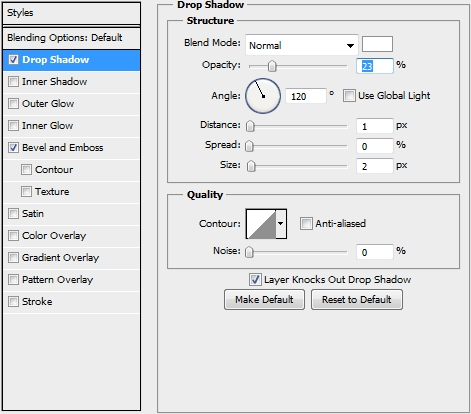
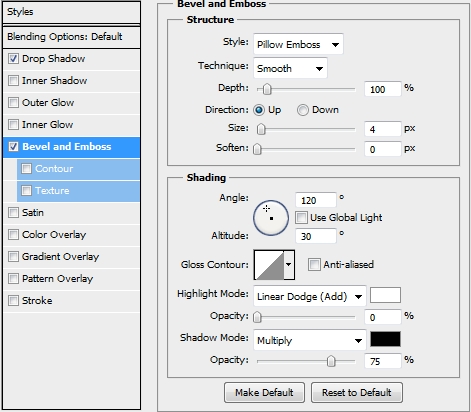
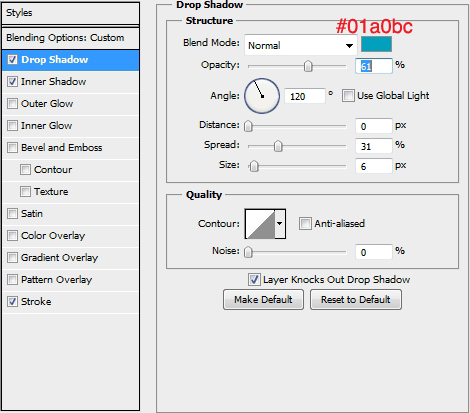
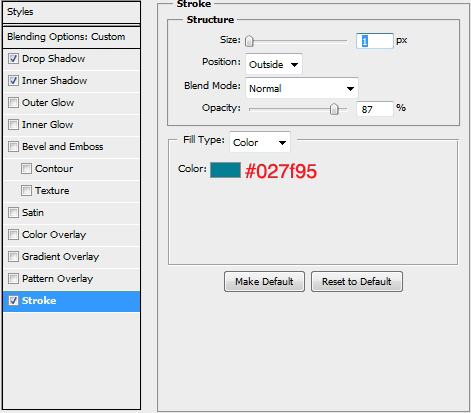
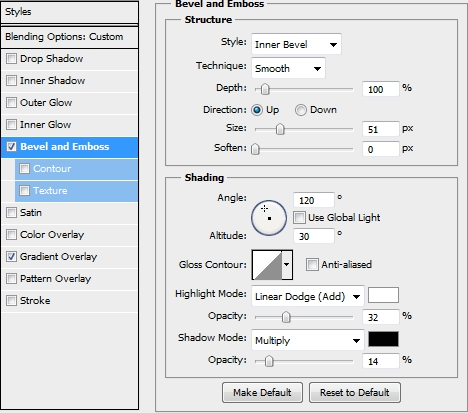
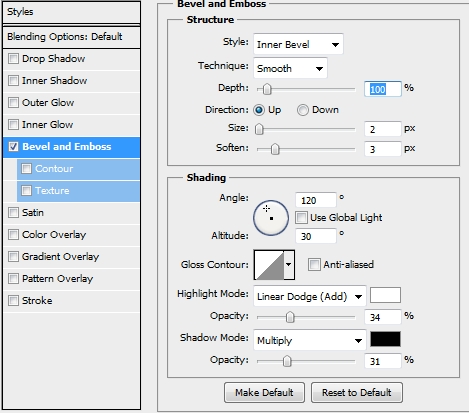
Grab the Rounded Rectangle Tool (U) and set the radius to 150-160px. Draw a big shape like the one on the first image and fill it with #dee0df. Then apply the two following styles. Once you’re done, duplicate this shape, clear the existing styles, turn the Fill to 0% and add the Inner Shadow style shown on the third image. Rename those two layers to “Base” and “Base 1”.

Step 3
Create a new layer and place it before the two Base layers. Pick the Pen Tool (P) and draw the side buttons. Apply the following styles.


Step 4
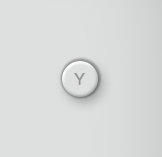
Group all the layers created so far and name the group “Base”. Now, create a new layer and pick the Ellipse Tool (U). Draw a relatively small circle and fill it with #dee0df. Then apply the following styles.
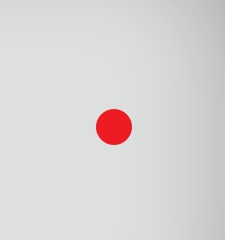

Step 5
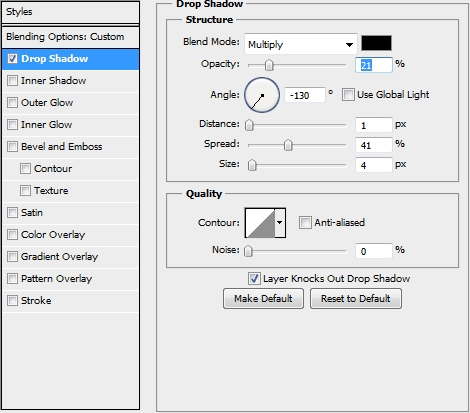
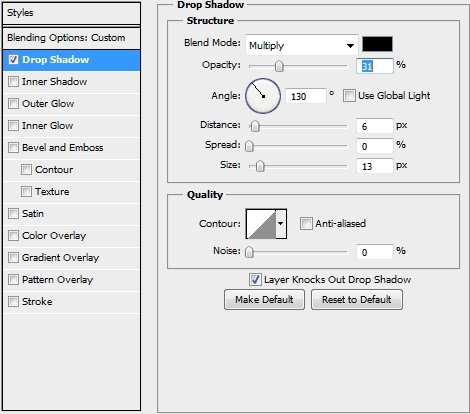
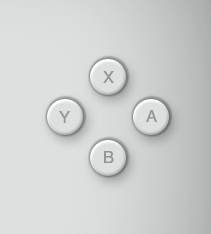
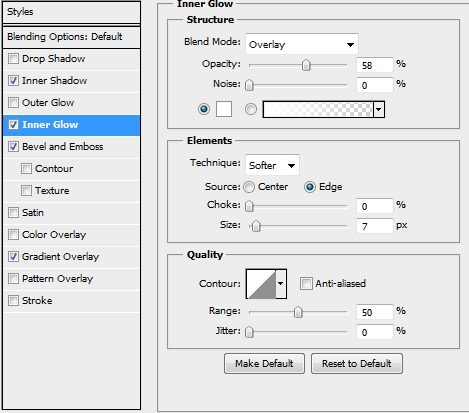
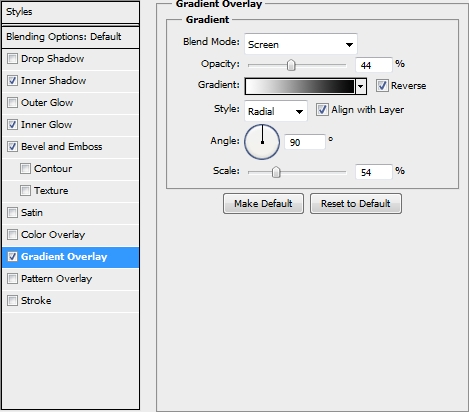
Duplicate this circle twice and turn the Fill of the copies to 0%. Replace the existing styles of the first copy with the one shown on the first image. Do the same with the second copy (second image). Finally, add a text layer and type “Y” (color: #959595, font: Arial/Helvetica, size: 4pt).
Step 6
Group the “Y” button layers and name the group “Y”. Duplicate this group three times and place the copies accordingly to the image below. Remember to change the text layers.
Step 7
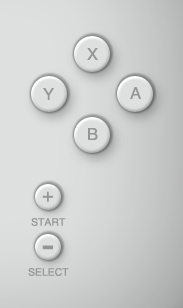
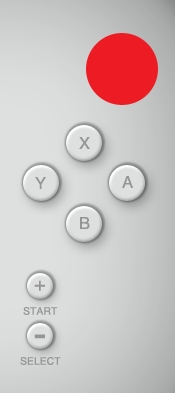
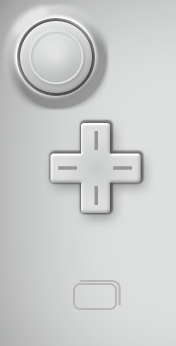
Group all these “Y”, “X”, “A”, “B” groups and name this new group “XYAB”. Duplicate this group and keep only two of the sub-groups (eg. “Y” and “X”). Scale down the buttons and modify the text layers. Add some text under the buttons to decorate them. Rename the group to “+-“.
Step 8
Create a new layer and grab the Rounded Rectangle Tool (U). Set the radius to 5px and draw two shapes like the ones on the first image (color: #dee0df). Then add this style.


Step 9
Draw two circles for the eyes. Merge the two shapes and apply the following styles.


Step 10
Duplicate once again the cross shape and turn the Fill of this new copy to 0%. Then add the style shown on the first image and decorate the cross with four small lines (color: #959595).


Step 11
Group the layers created in Steps 8-10 and name the group “Cross”. It’s time to create the two analogue sticks now. So, create a new layer, grab the Ellipse Tool (U) and draw a circle. Fill it with #dee0df and turn Fill to 0%. Then apply the following style.
Step 12
Duplicate this circle and clear the existing Bevel and Emboss style. Turn Fill to 100% and apply these styles.


Step 13
Duplicate this circle again and turn the Fill of the copy to 0%. Replace the existing styles with the following ones.


Step 14
Duplicate once again the circle and apply this style (Fill: 0%).

Step 15
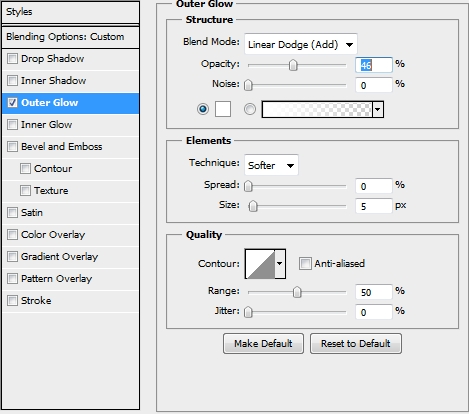
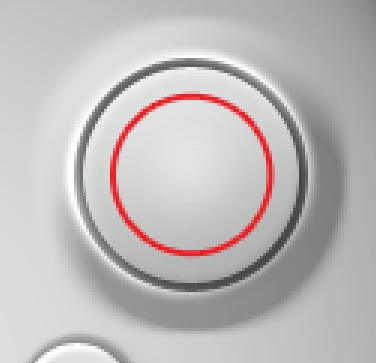
Duplicate one last time this circle and add this Outer Glow style (Fill:0%).
Step 16
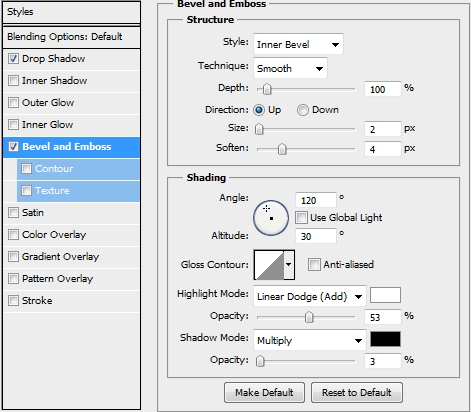
Create a new layer and pick the Pen Tool (P). Draw a circle path and apply a Stroke Path (hard round brush, size: 2px, color: #dbdddc). Then add the following styles.

Step 17
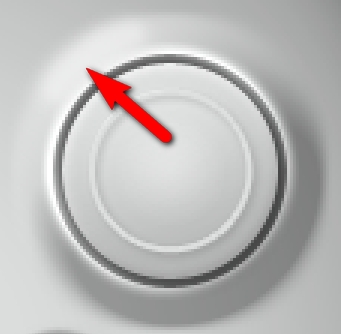
Create a new layer and using a soft round brush, add some highlight spots. Group all the layers created in Steps 11-17 and name the group “Right analogue stick”.
Step 18
Duplicate the “Right analogue stick” group and place it on the other side of the device. Rename the group to “Left analogue stick”.
Step 19
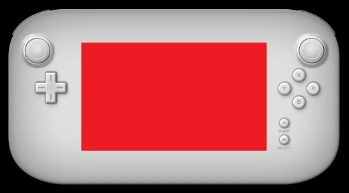
Now, we’re going to create the screen. Pick the Rectangle Tool (U) and draw a big rectangle like the one on the first image. Then, turn the Fill to 0% and apply the following style.
Step 20
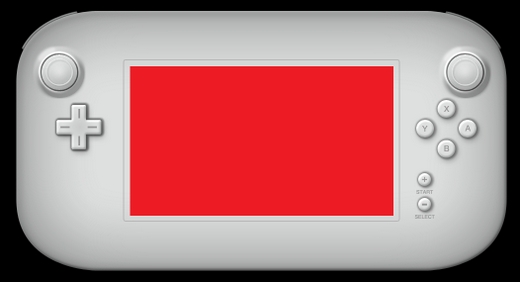
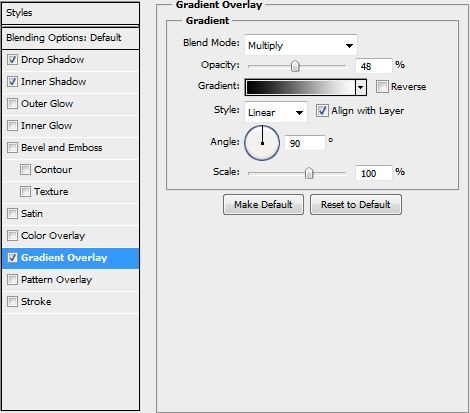
Draw another rectangle (color: #ffffff). Make it a bit smaller and add the following styles.

Step 21
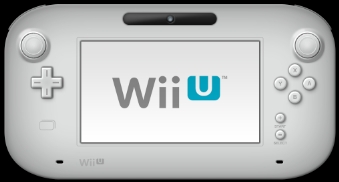
Add your logo on a new layer. Group the layers created in Steps 19-21 and name the group “Screen”. Your design should by now look like this.
Step 22
Draw a couple of circles (a black one and two white) to finish the eye (you can add some highlights if you want – pic 2).


Step 23
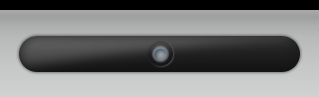
Create a new layer and pick the Ellipse Tool (U). Draw a small circle (color: #282828) and apply these styles.
Step 24
Duplicate this circle and scale the copy down a little bit (img – red circle). Change its color to #84919a and replace the existing styles with this one.


Step 25
Duplicate this blue circle and once again, scale the copy just a little bit. Replace the existing Inner Shadow style with these ones.

Step 26
Finally, add some highlights using a soft round brush. Group all the layers created in Steps 22-26 and name the group “Camera”.
Step 27
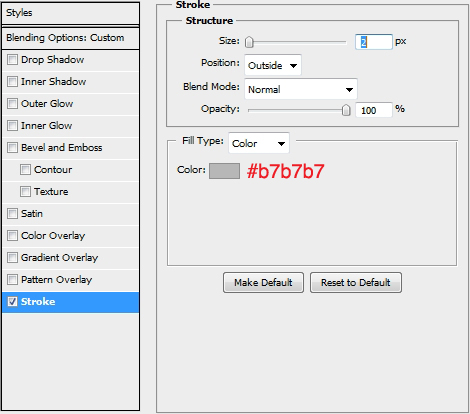
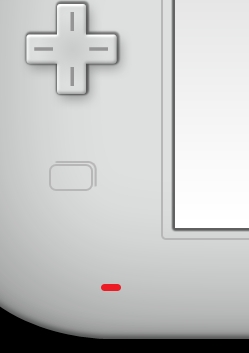
Create a new layer and select the Pen Tool (P). Using the Stroke Path technique (color: #b7b7b7, brush size: 2px) decorate the space under the cross.
Step 28
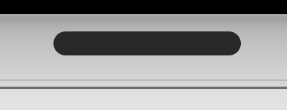
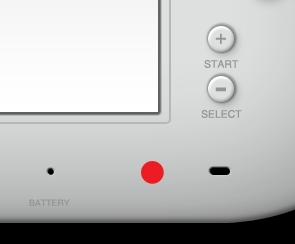
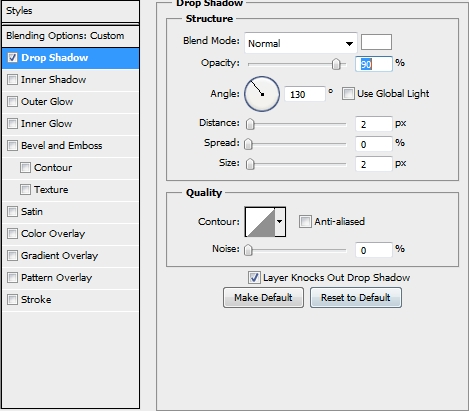
Create a new layer and pick the Rounded Rectangle Tool (U). Set the radius to 10px and draw a very small shape. Fill it with #000000 and apply the following styles.
Step 29
Duplicate this shape and place the copy under the “Select” button. Finally, add your logo or use the original Wii U logo.
Step 30
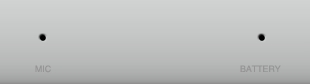
Using the same styles, draw a couple of small circles (color: #000000) and decorate them with some text.
Step 31
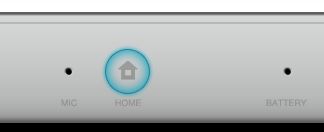
Group these layers and name the group “Lower parts” or something. Then, create a new layer and draw a bigger circle. Fill it with a random color, turn the Fill to 0% and apply the following styles.

Step 32
Decorate this “Home” button with a house icon (you can find thousands of these in the internet or you can create your own combining a square with a triangle) and some text under the button.
Step 33
Duplicate the circle created in Step 31 (keep the Fill at 0%) and replace its styles with these.

Step 34
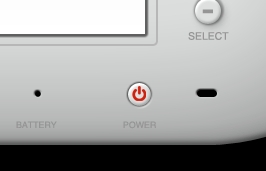
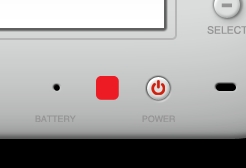
Group the layers created in Steps 31-33 and name this group “Home”. Next, create a new layer and draw a small circle (Ellipse Tool – U). Fill it with #dee0df and apply this style.
Step 35
Duplicate this circle twice and turn the Fill of both of the copies to 0% (clear their existing styles). Then add the style shown on the first image to the first copy and the one on the second image to the second copy.
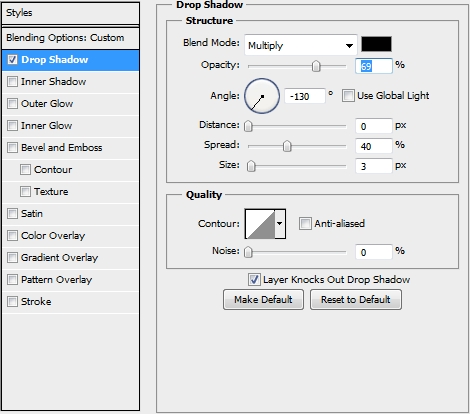
Step 36
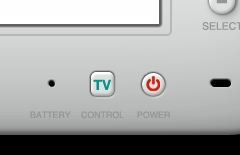
Decorate the button with an I/O (power) icon (color: #d1200e) and some text.
Step 37
Create a new layer and grab the Rounded Rectangle Tool (U) (radius – 6 px). Draw a small shape (as big as the circle in the power button). Fill it with #dee0df and repeat Steps 34-35.
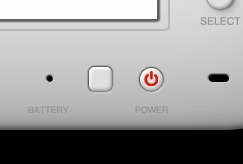
Step 38
Decorate the button by adding some text; type “TV” (color: #079389, font: Arial/Helvetica, size: 3,5pt). Then add another text layer and type “Control” under the button.
Step 39
Add some highlights if you want and your Nintendo Wii U controller is ready.

Conclusion
That’s the end of this tutorial. Add a cool background or any effects you want to make the controller look even better. We hope you enjoyed the article.


Well presented. thank you Alan.
I agree with you.
Thanks for your tutorial but I don’t feel trying it for now.
Why?may be because you don’t know how to do it?Try to ask help from the author of this article,surely he will help you.
good tutorial sir.
True
If I will put a background,I think I will use a glossy color to be more attractive and a template like smiley.
nice suggestion
I enjoyed your tutorial.
nice tutorial sir. can you make a tutorial using 3d features in photoshop?
I’m excited to see if you try 3D features in Photoshop,.
you’re good in giving the details on how it goes. i will try this later
Good tutorial but we need more professional touch
Detailed. thanks for this.
Not bad,try to use other BG color.
The tutorial is concentrated on the controller itself., that’s why I left the background black. 🙂
It’s up to you to make it look better. I’m just giving you the main idea, some tips and the basic design.
ohh I get it.Good job
Thanks ! Great tutorial, hard work…
Great and easy to follow tutorial. Thumbs up mate.
i am struglling with step 9.anybody help me?i dont understand “draw 2 cirlce for eyes”?