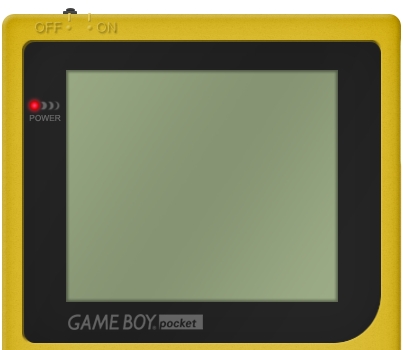
In this article we’re going to create a realistic replica of the Nintendo Game Boy pocket.
Tutorial Details
- Program: Adobe Photoshop
- Version: CS5
- Difficulty: Beginner/Intermediate
- Estimated Completion Time: 2 hours
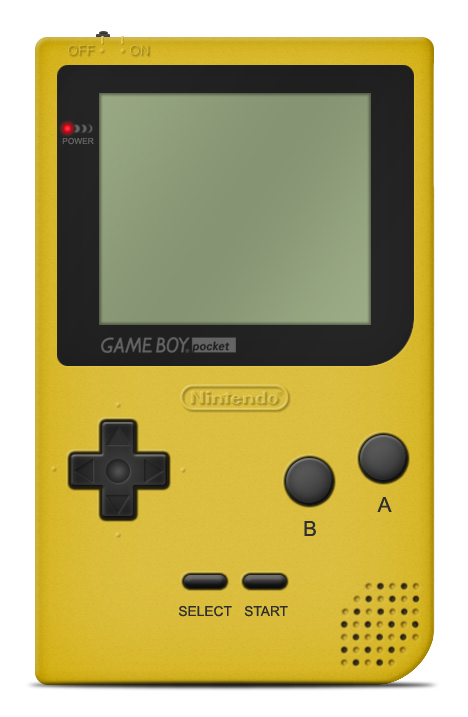
Final Result
Step 1
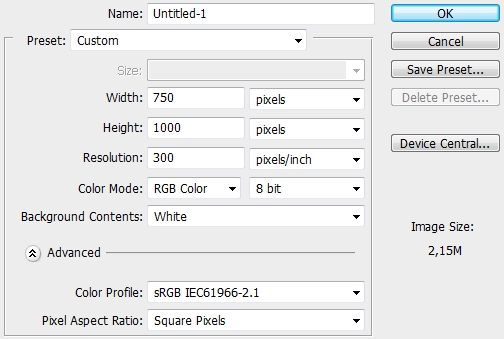
Create a new file in Photoshop.
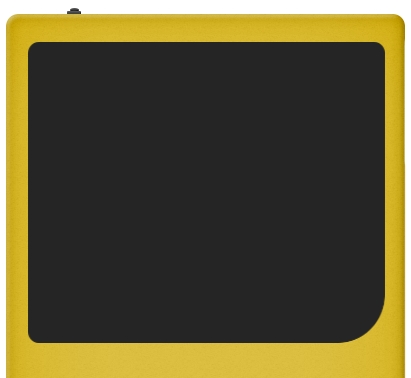
Step 2
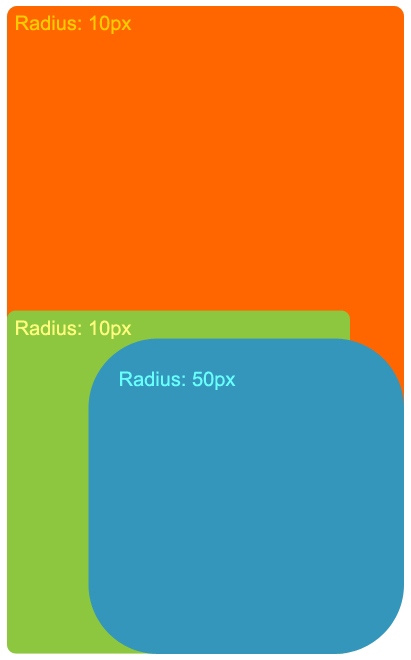
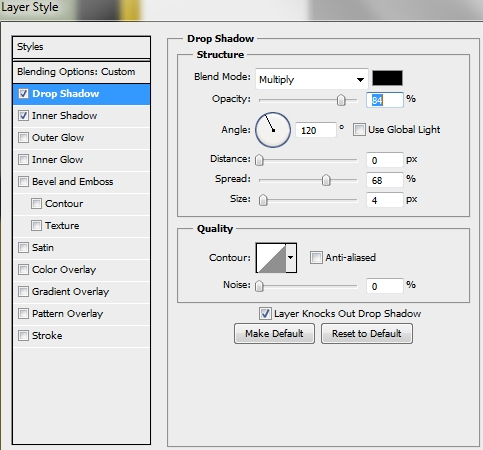
Grab the Rounded Rectangle Tool (U) and draw the three shapes shown on the image below. Change the color of these shapes to #dfc243 (actually, pick any color you like). Merge these layers and name the layer “Base”.
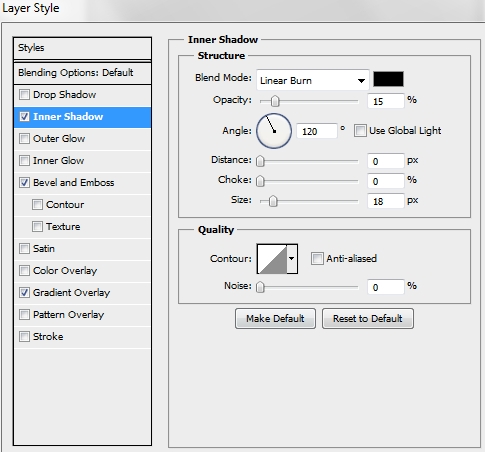
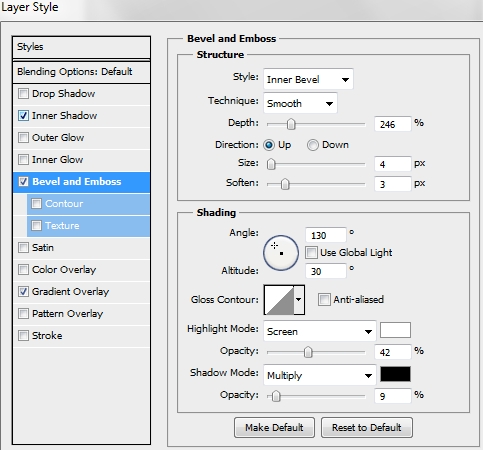
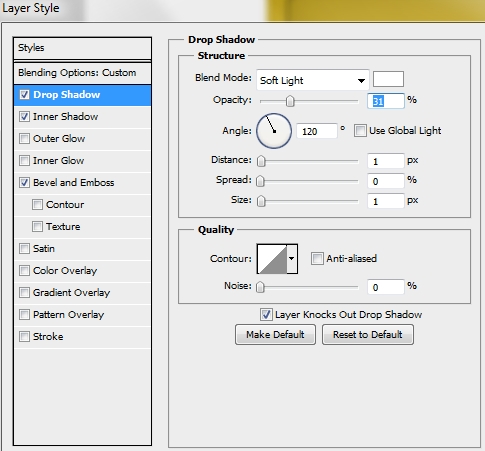
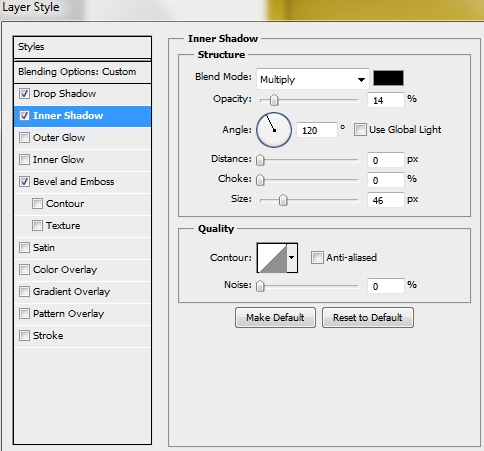
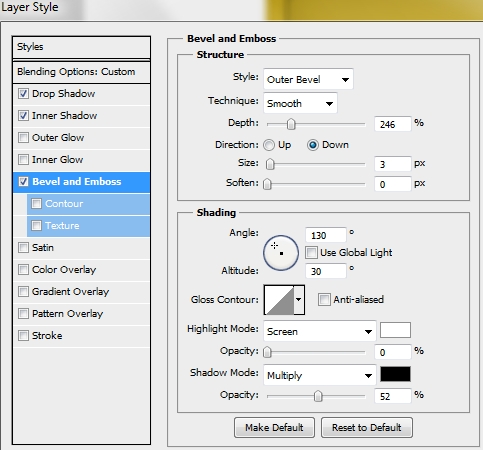
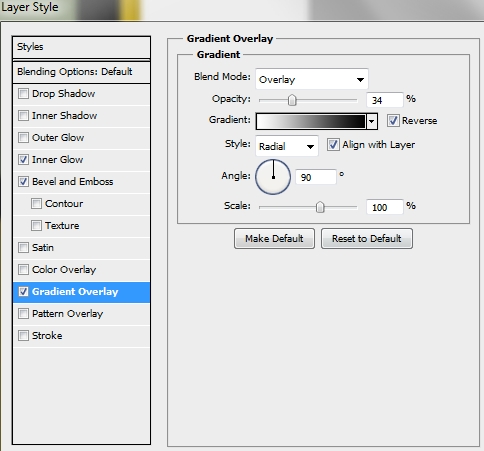
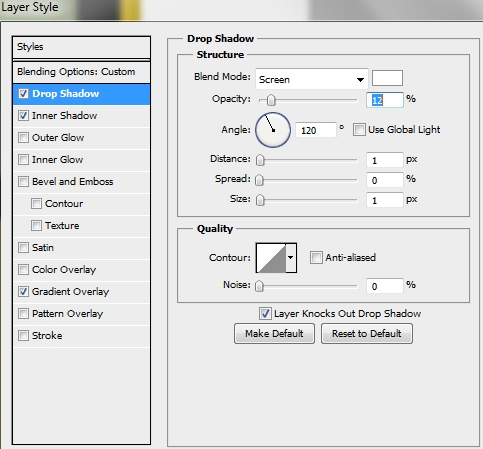
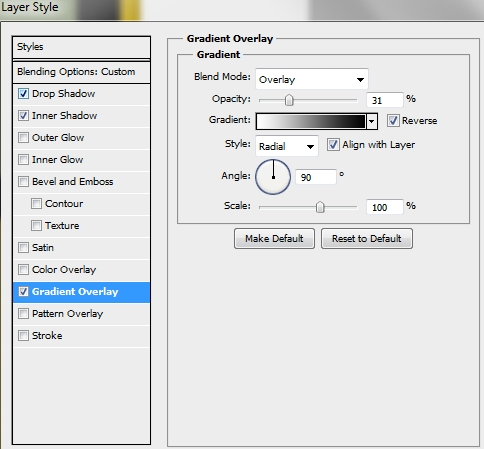
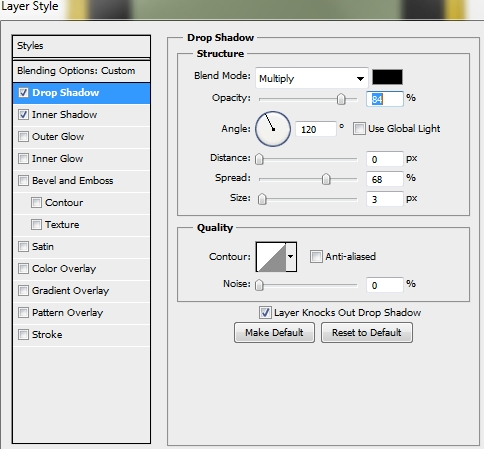
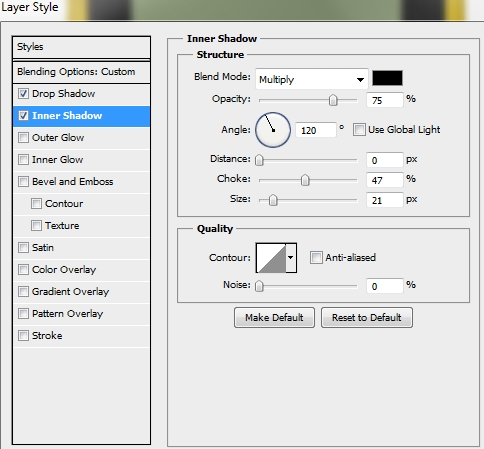
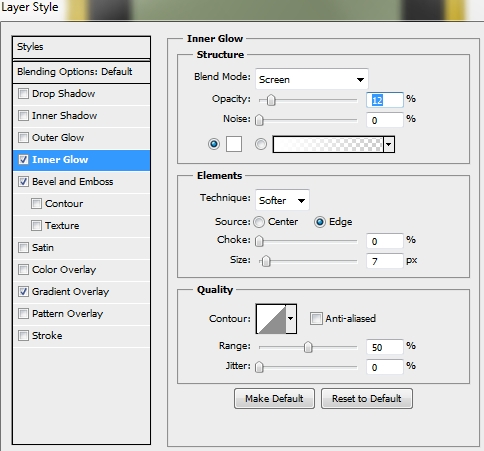
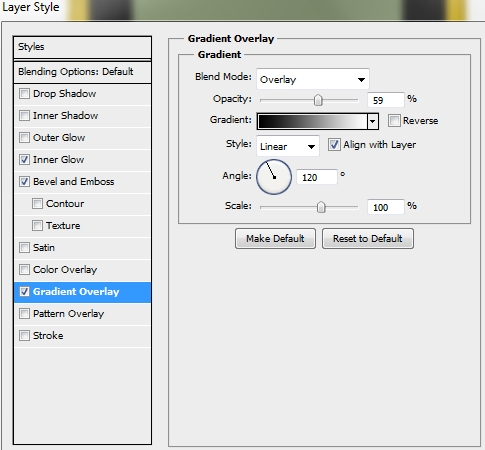
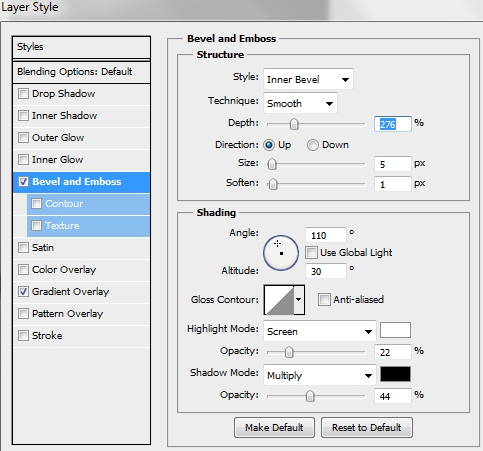
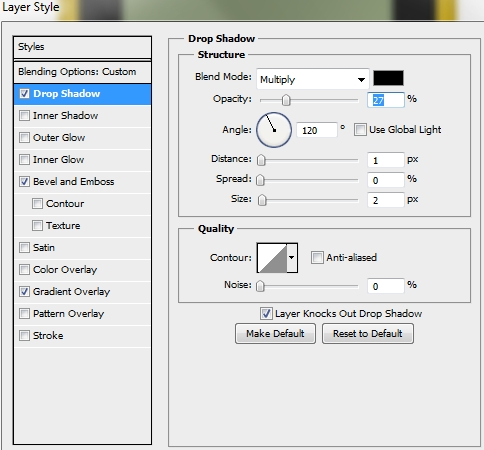
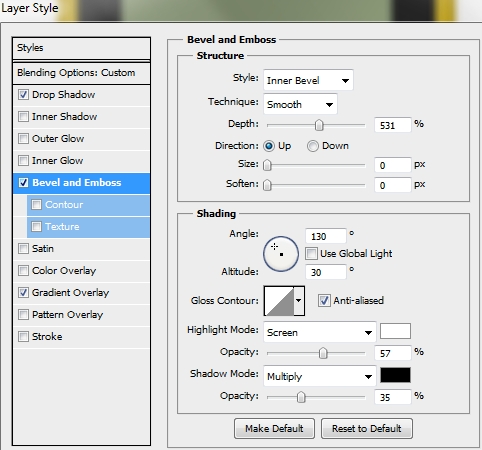
Apply the following styles.

Step 3
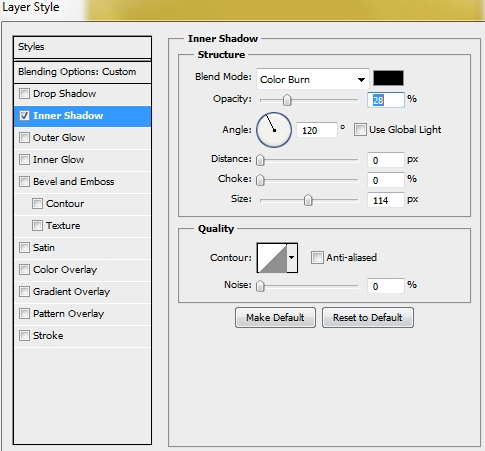
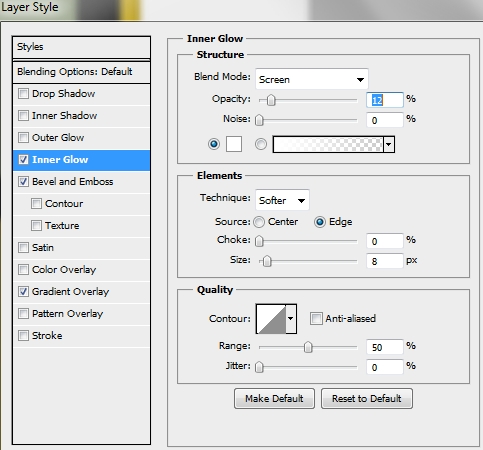
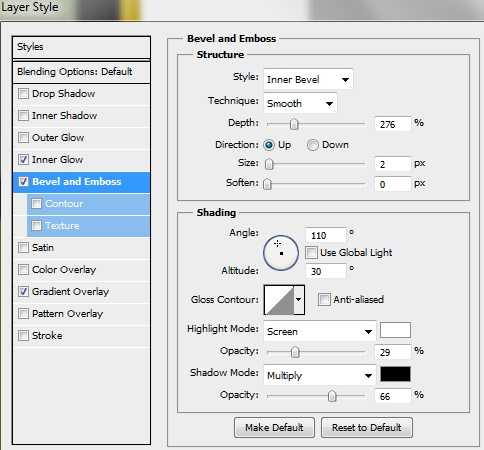
Duplicate this shape and turn Fill to 0%. Replace the existing styles with these ones.
Step 4
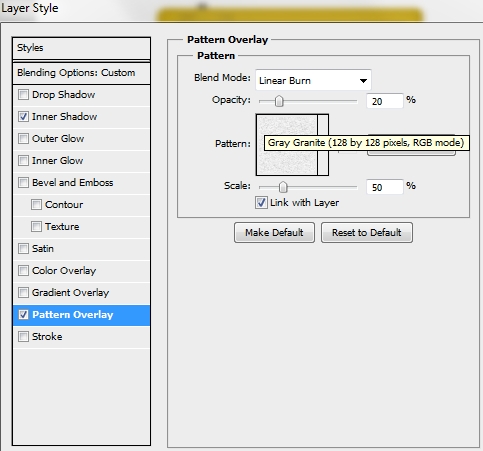
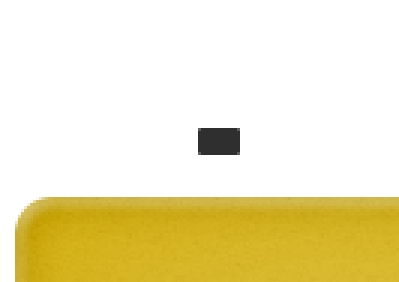
Create a new layer and place it before the “Base” layer. Pick the Rectangle Tool (U) and draw a very small rectangle (color: #2f2f2f). Apply the following styles and place it accordingly to the fourth image.


Step 5
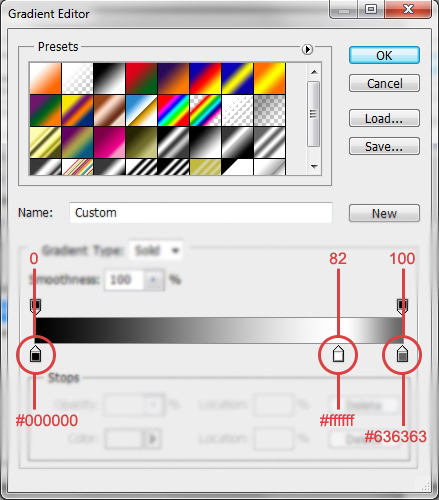
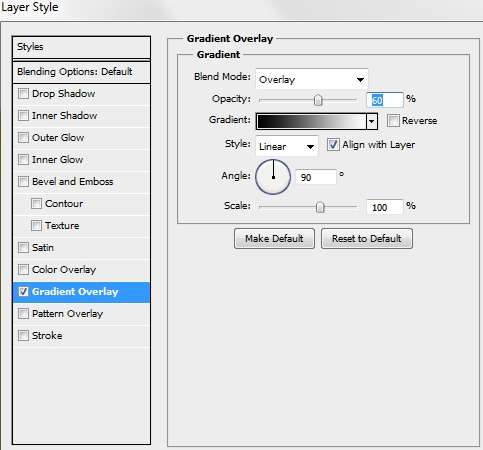
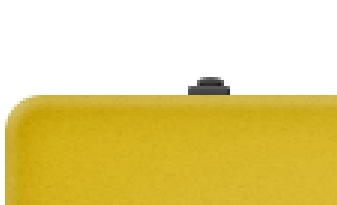
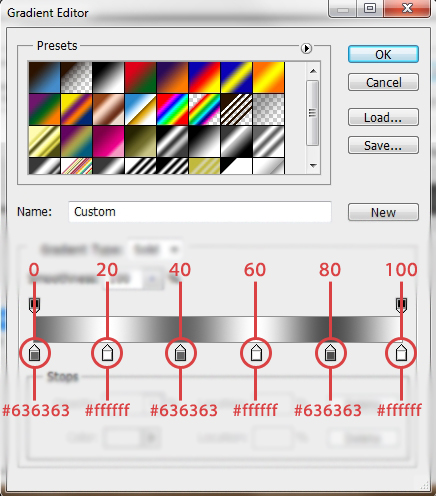
Create a new layer and select the Ellipse Tool (U). Draw a tiny ellipse and add this gradient.

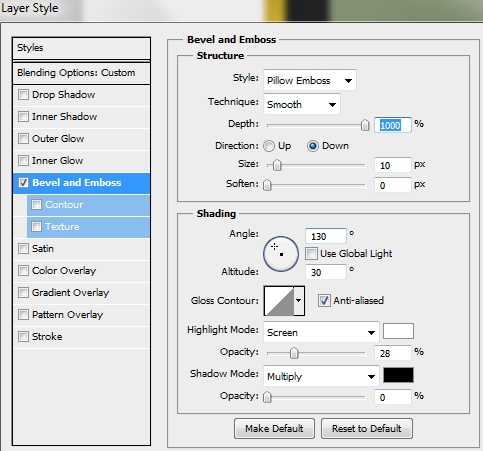
Step 6
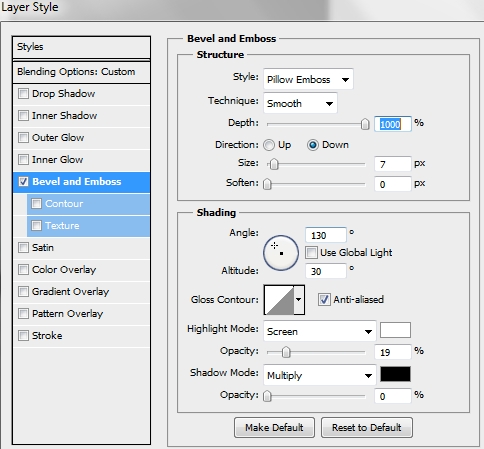
Create a new layer (above the Base layer) and draw a shape like the one created in Step 2. Change its color to #242424) and apply the following styles.
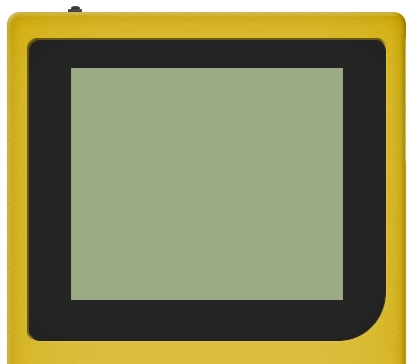
Step 7
Create a new layer and pick the Rectangle Tool (U). Draw a rectangle like the one on the image below (color: #9bab85) and apply the following Inner Shadow style.

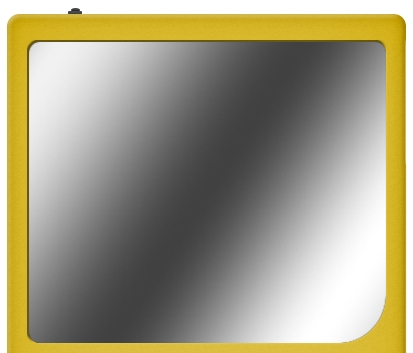
Step 8
Create a new layer and select the pixels of the shape created in Step 6. Pick the Gradient Tool (G) and draw a gradient to add a random highlight effect. Change its Blend Mode to Multiply and the Opacity to 18%.
Step 9
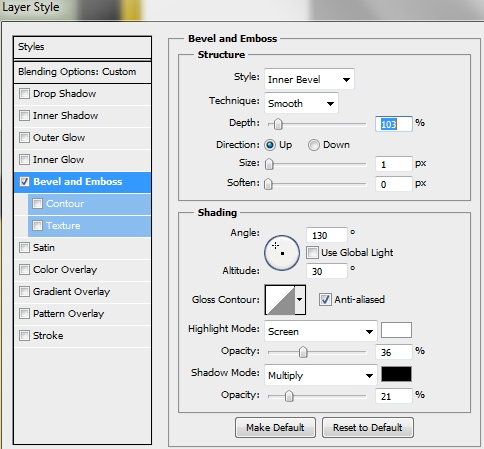
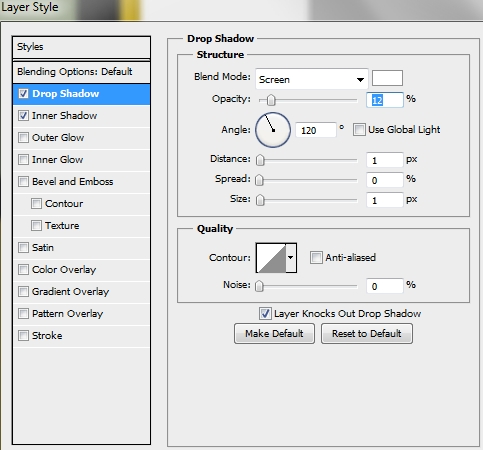
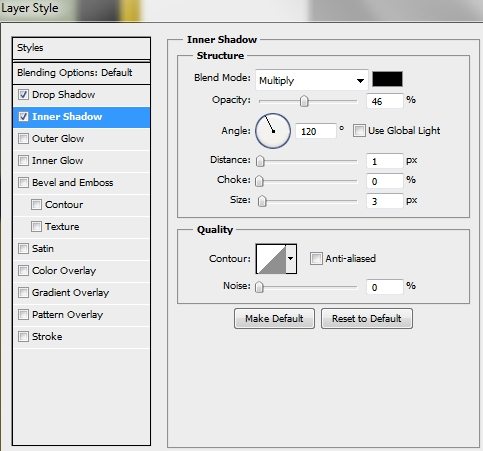
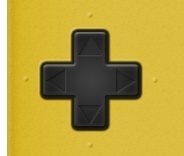
Group all the layers created so far (except from the background) and name the group “Base”. Grab the Rounded Rectangle Tool (U). Set the radius to 5px and draw four rectangles (red shapes). Then pick the Rectangle Tool (U) and draw two rectangles (black and white shapes). Fill all the shapes with #2f2f2f, merge them (name the layer “Cross”) and turn Fill to 0%. Apply the following style.
Step 10
Duplicate this Cross layer, keep the Fill at 0% and replace the Bevel Emboss style with these ones.

Step 11
Duplicate once more the Cross layer, turn Fill to 100% and replace its styles with these.
Step 12
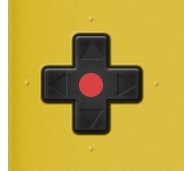
Group these three layers and name the group “Cross”. Create a new layer and pick the Brush Tool (B). Select a Hard Round brush and draw four dots outside of the cross. Turn the Fill to 0% and apply this style.
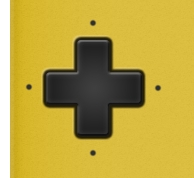
Step 13
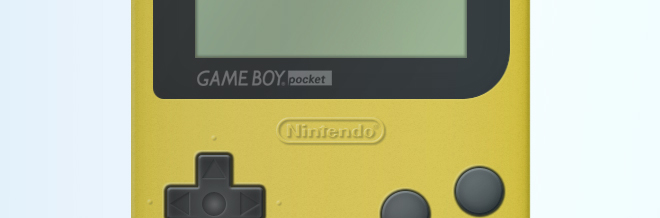
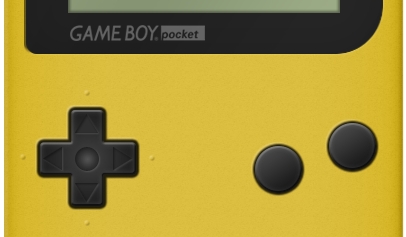
This step is optional. Add the Game Boy pocket logo or your own logo.
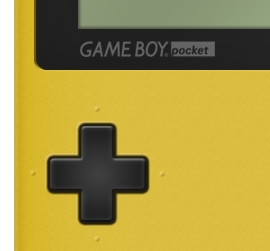
Step 14
Create a new layer and pick the Custom Shape Tool (U). Find the Triangle and draw a small triangle like the one on the image below. Turn the Fill to 0% and add these styles.
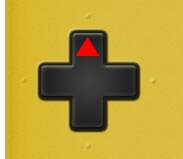
Step 15
Duplicate this triangle three times and place them accordingly to the image.
Step 16
On a new layer draw a circle using the Ellipse Tool (U). Change its Fill to 0% and apply the following styles.

Step 17
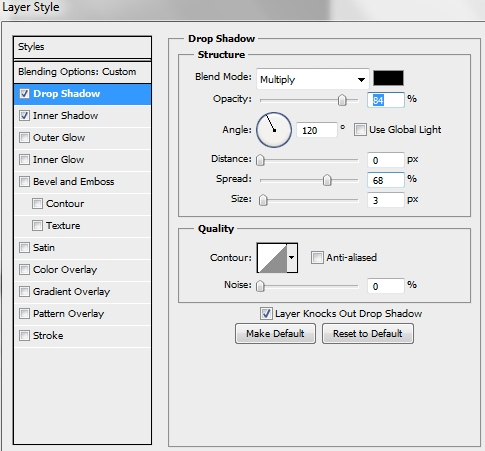
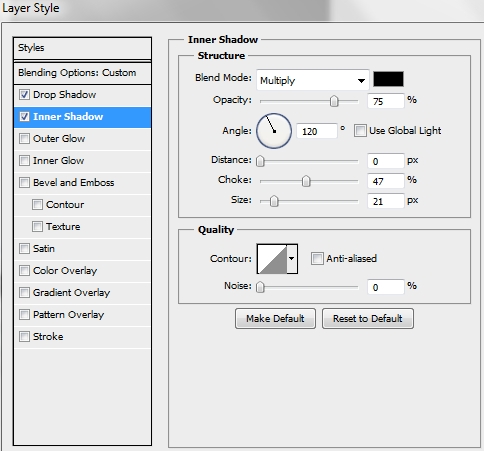
Group these triangles and the ellipse and name the group “Cross deco”. Create a new layer and pick the Ellipse Tool (U). Draw a circle like the one on the image below, fill it with #2f2f2f, turn its Fill to 0% and apply the following style.
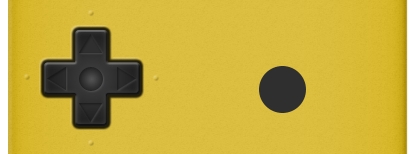

Step 18
Duplicate this circle and replace the Bevel and Emboss style with these.
Step 19
Duplicate once again the circle and turn its Fill to 100%. Replace the existing styles with these.

Step 20
Step 20
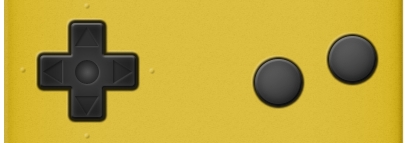
Group these three circles and name the group “B button”. Duplicate it and place the copy accordingly to the image below. Rename the copy to “A button”.
Step 21
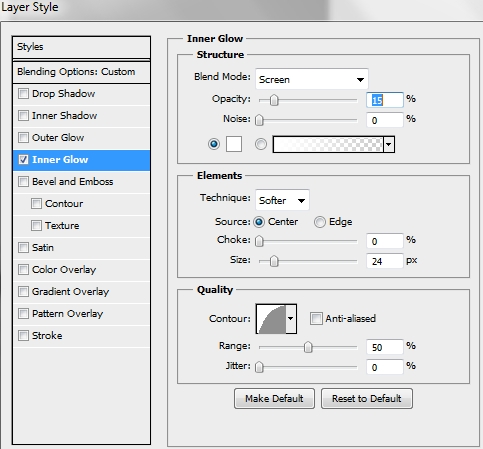
Duplicate one circle from each group (B button, A button). Turn their Fill to 0% and apply this Inner Glow style.
Step 22
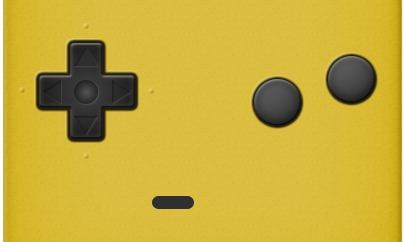
Group these two layers created in the previous step and group them. Name the group “A/B highlights”. Create a new layer and select the Rounded Rectangle Tool (U). Set the radius to 10px and draw a small shape like the one on the first image (color: #2f2f2f). Turn the Fill to 0% and apply the following style.
Step 23
Duplicate this shape and replace the existing style with these ones.
Step 24
Duplicate once again this shape and turn its Fill to 100%. Clear the existing styles and apply these.

Step 25
Group these three layers and name the group “Select button”. Duplicate the group and place the copy accordingly to the image below. Rename the copy to “Start button”.
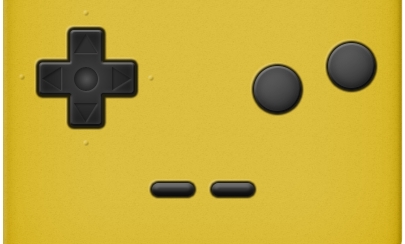
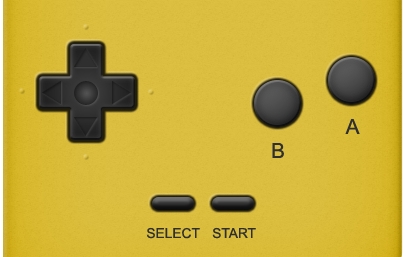
Step 26
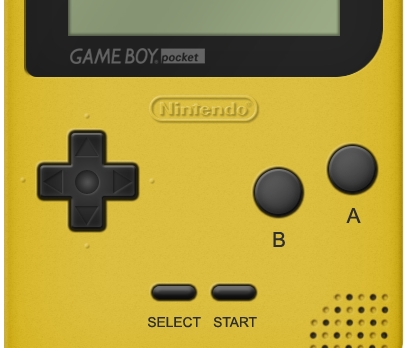
Add some text under the buttons (font: Arial / Helvetica, sizes: 5pt and 3,3pt, color: #2f2f2f).
Step 27
Create a new layer and pick the Brush Tool (B). Select a Hard Round brush and hit F5. Apply these parametres.

Draw some dots (color: #2f2f2f), turn the Fill to 0% and apply the following style.
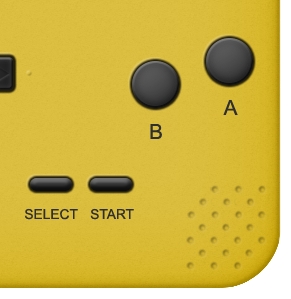

Step 28
Create a new layer and draw some more dots (Fill: 100%, no styles).
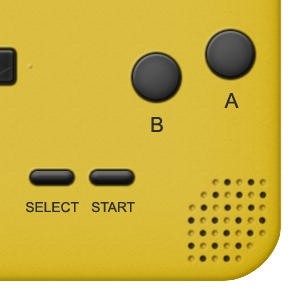
Step 29
Group these two layers and name the group “Speaker”. Add your logo to decorate the gameboy.
Step 30
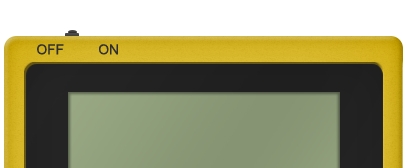
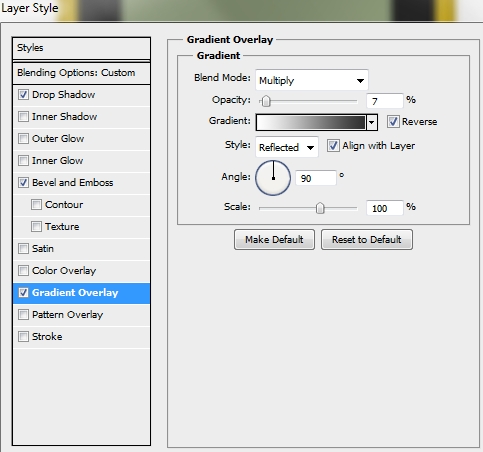
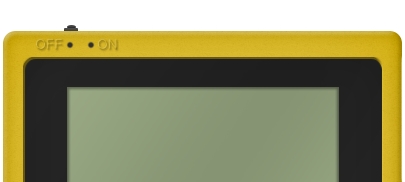
Create a new layer and add some text (OFF / ON). Turn the Fill to 0% and apply these styles (font: Arial / Helvetica, size: 3,3pt).
Step 31
Create a new layer and using the Brush Tool (B) draw two dots. Lower Fill to 0% and apply this style.
Step 32
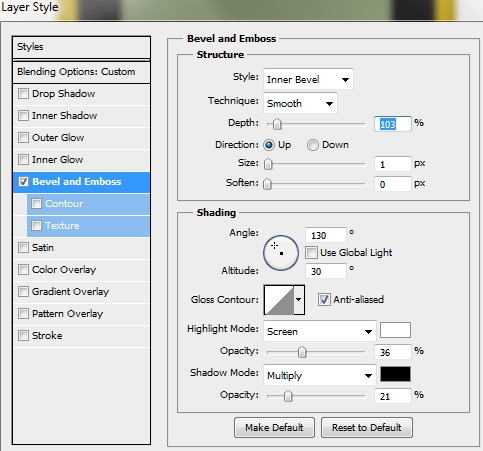
Pick the Rectangle Tool (U) and draw two tiny narrow rectangles. Change their color to #dfc243 and apply this style.
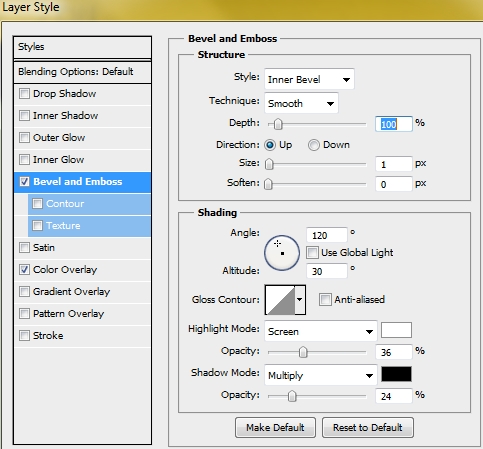
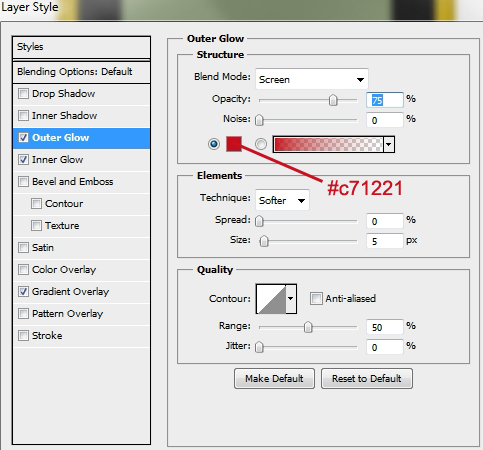
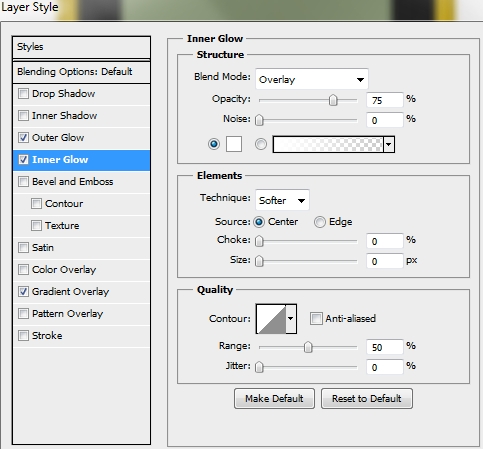
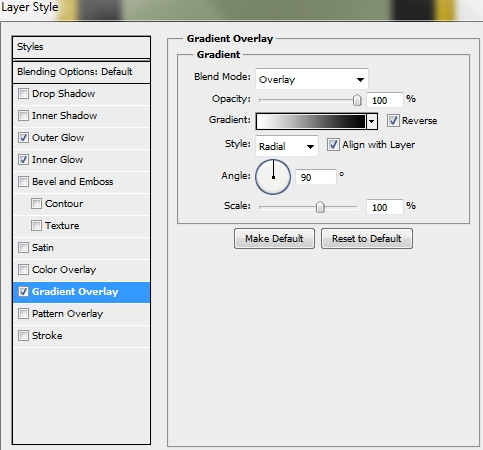
Step 33
Group the layers created in Steps 29-32 and name the group “Logo / On Off”. Create a new layer and using the Ellipse Tool (U) draw a small circle (color: #c71221). Apply the following styles.

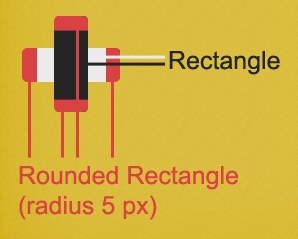
Step 34
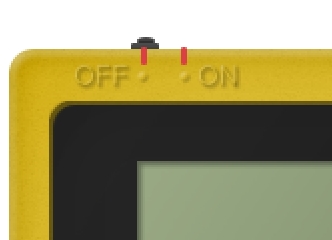
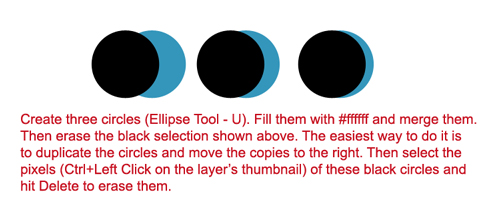
Decorate the Power light with some text (font: Arial / Helvetica, size: 2pt) and some shapes. To create these shapes follow the instructions on the second image.
Conclusion
That’s the end of the tutorial. Your gameboy pocket is ready. Add any effects, background or anything else to make it look even better. We hope you enjoyed the article.


