In this tutorial we’ll help you create a super easy and stylish smartphone that can be used in your mock-ups. The design of the phone is based on the Sony Ericsson Xperia P.
Tutorial Details
- Program: Adobe Photoshop
- Version: CS5
- Difficulty: Beginner
- Estimated Time of Completion:30 minutes
Tutorial Assets
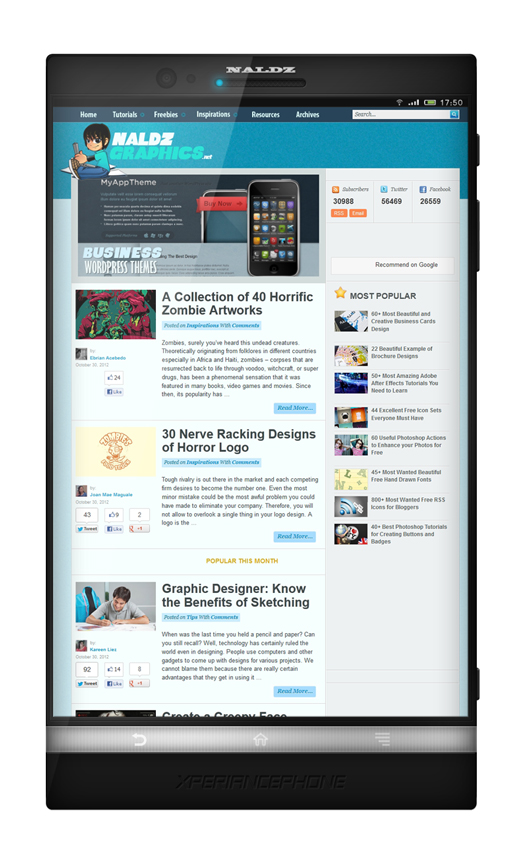
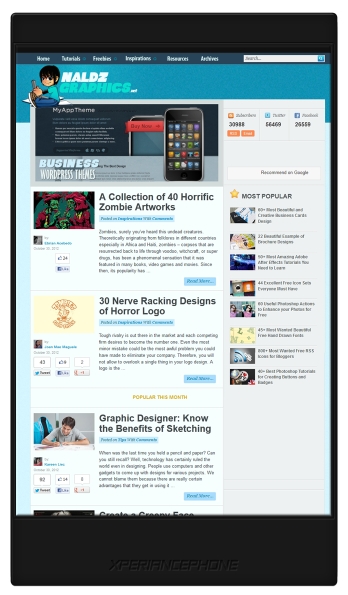
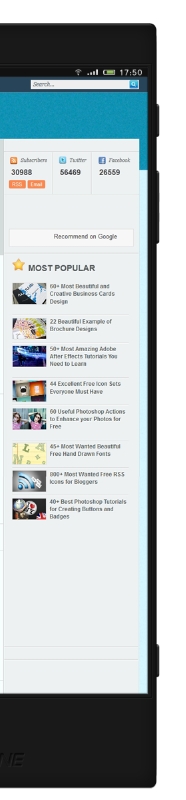
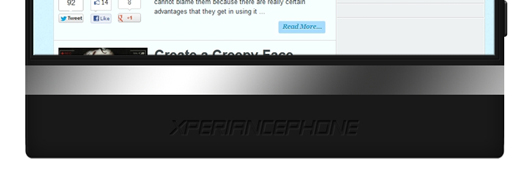
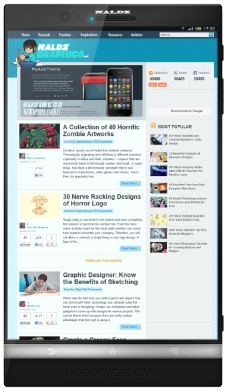
Final Result
Step 1
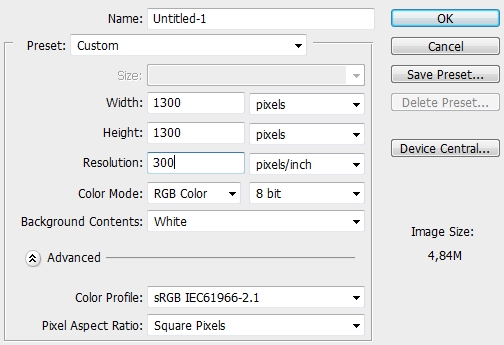
Create a new file in Photoshop.
Step 2
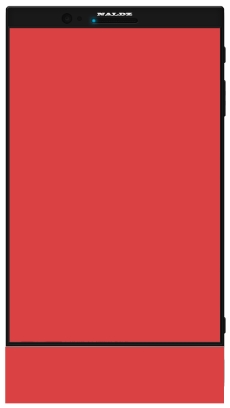
First of all, we need to create the screen. Grab the Rectangle Marquee Tool (M) and select Fixed Size in the Style box. Choose 640 for the width and 960 for height. Click anywhere on the canvas to activate the selection. Paint it with #191919. Scale it down proportionally if you want (holding Shift drag one of the corner anchor points).

Step 3
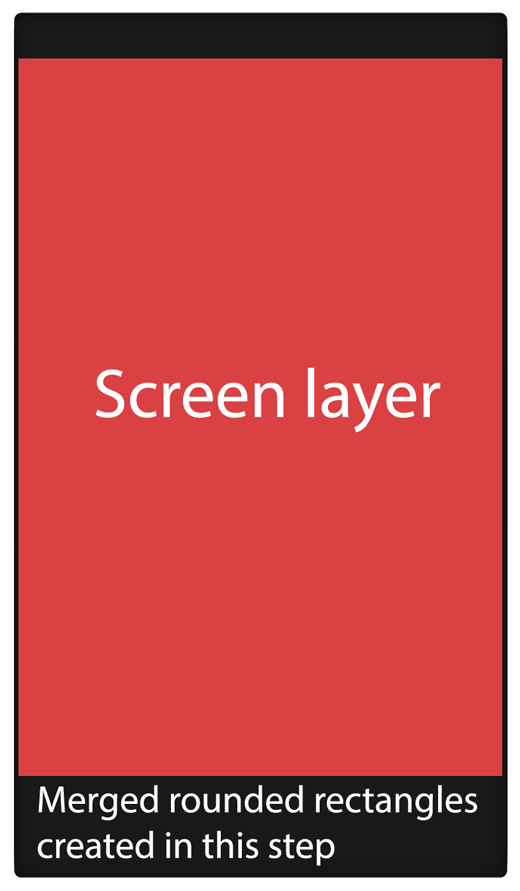
The reason for creating the screen first is that it will be much easier to place the other elements later. So now we’re going to create the “base”; the outline of the phone. To do this, pick the Rounded Rectangle Tool (U) and set the radius to 10px. Draw a shape like the one below (color: #191919).

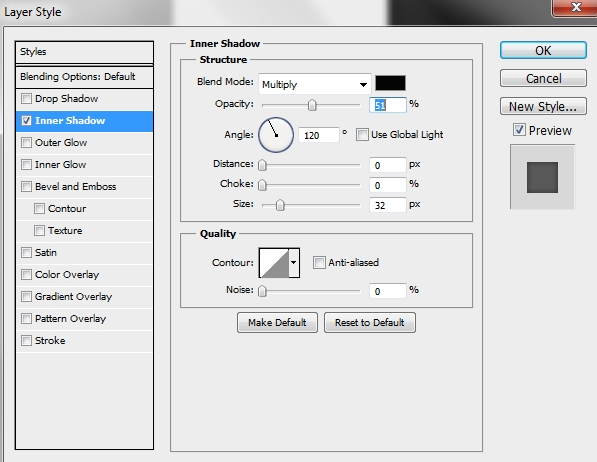
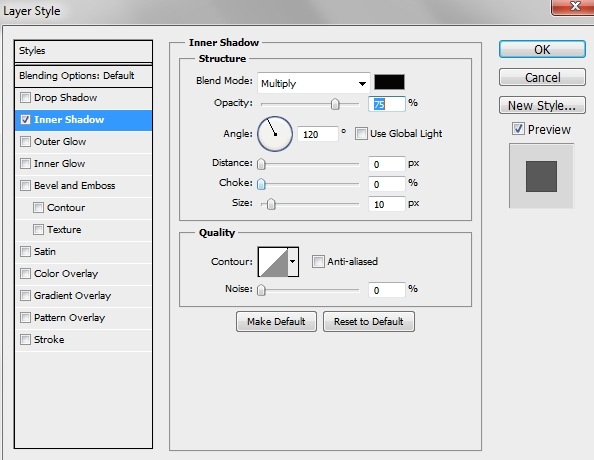
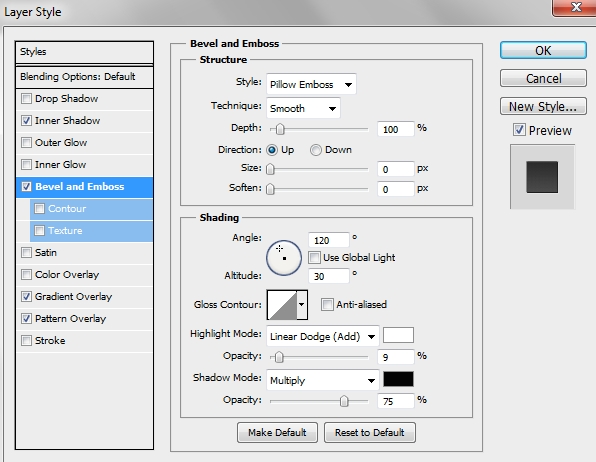
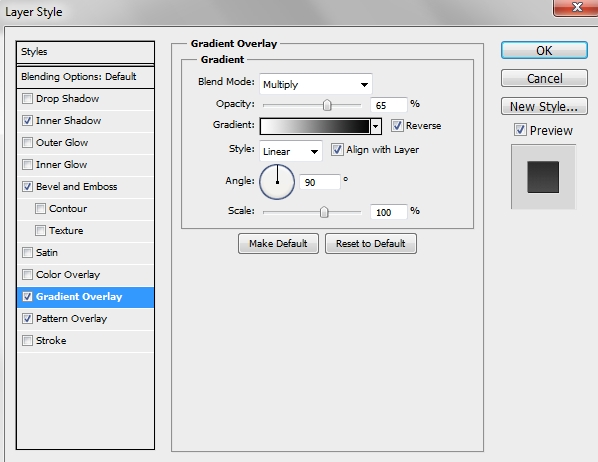
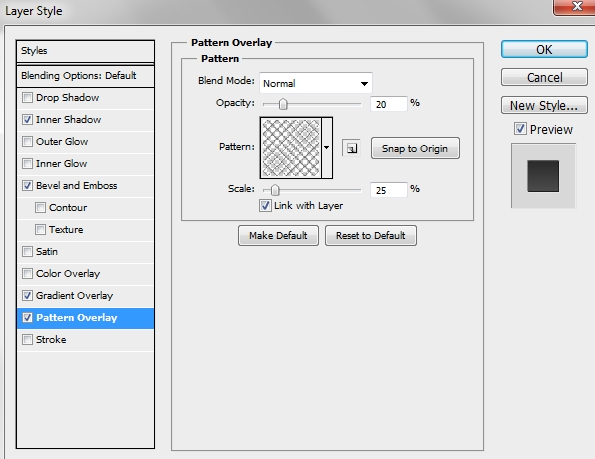
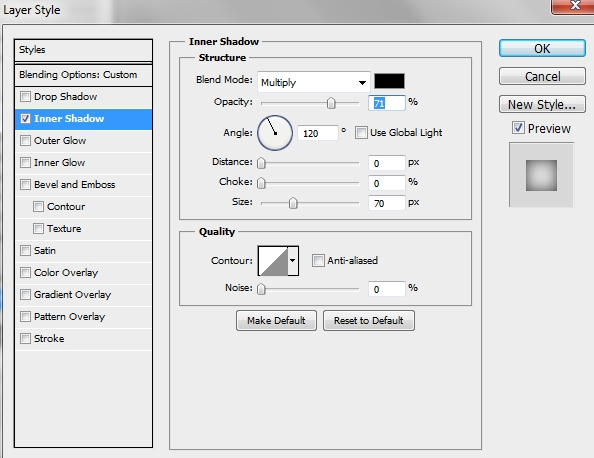
Place this layer before the Screen layer in the layers stack. Then duplicate this shape and move the copy a bit downwards. Merge the two shapes, name the layer “Base” and apply the following style.
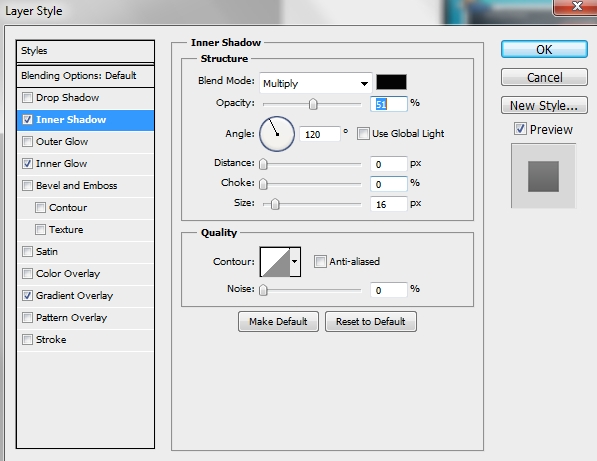
Step 4
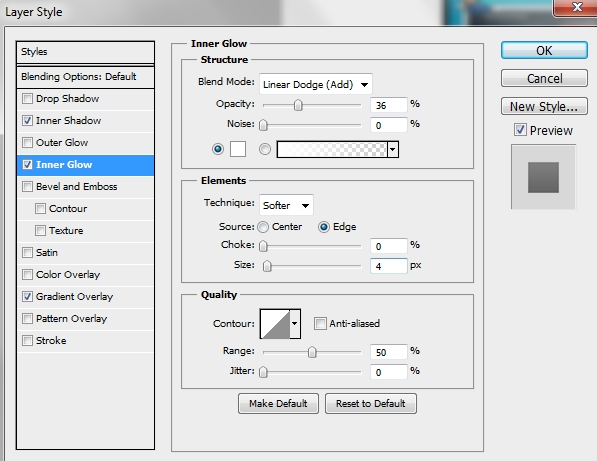
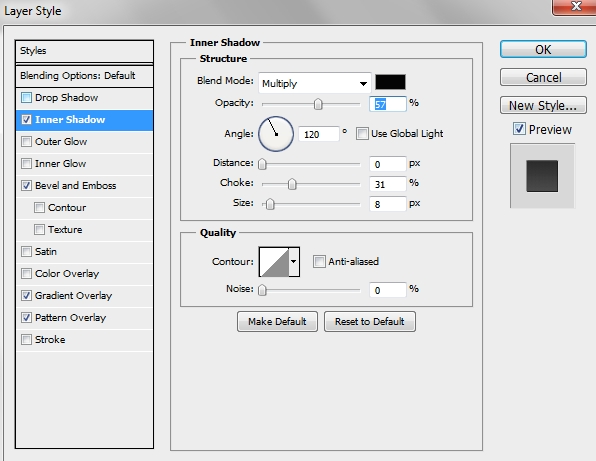
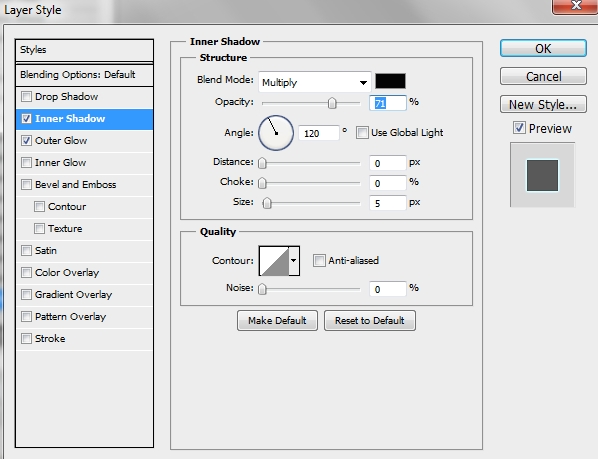
Duplicate the “Base” layer and turn Fill to 0%. Replace the Inner Shadow style with this one.

Step 5
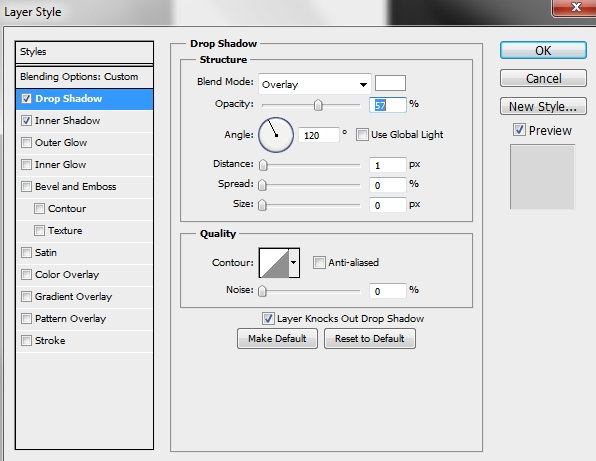
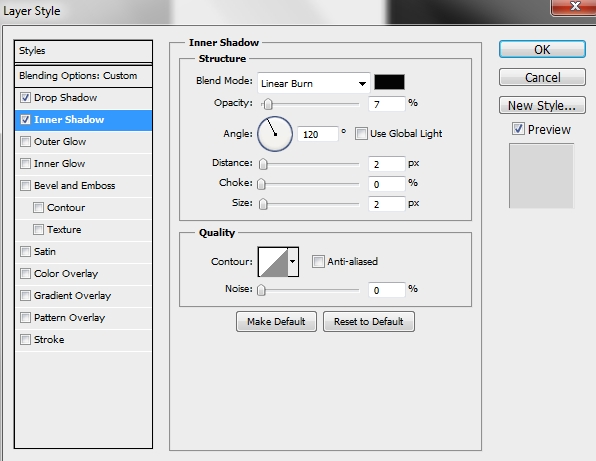
Create a new layer and place it right above the “Base” and “Base copy” layers in the layers stack. Pick the Type Tool (T) and write anything you want (the font I’m using is called LaBeouf; size: 6pt). Turn Fill to 0% and apply these styles.

Step 6
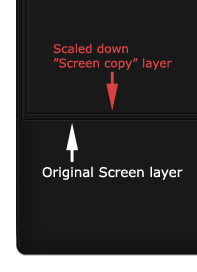
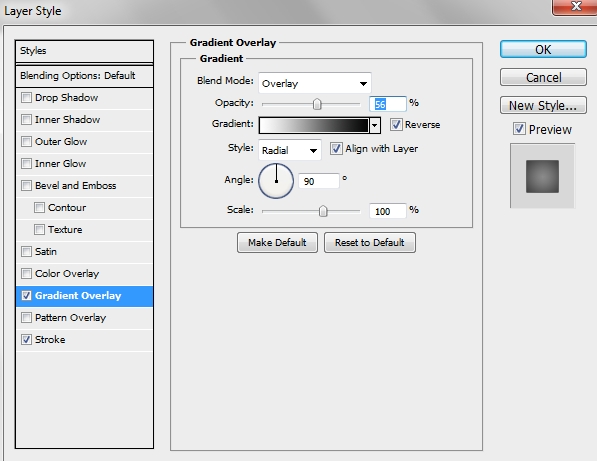
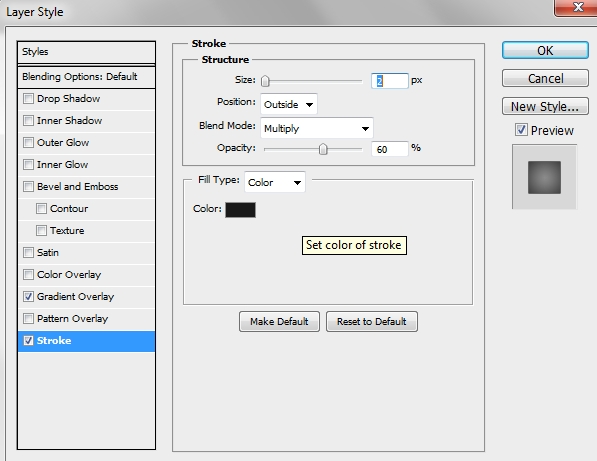
Select the “Screen” layer and add this style.
Step 7
Duplicate the “Screen” layer and scale down a little bit the copy.
Step 8
Duplicate the original stiches layer (step 4), place it on top of the layers stack and turn its Fill to 0%. Clear the styles and add this one.
Step 9
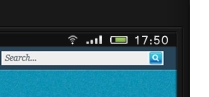
Create a new layer and make it a clipping mask also. Pick the Rectangle Tool (U) and draw a narrow rectangle. Fill it with #000000 and place it accordingly to the image below.
Step 10
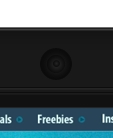
Add some elements (you can find tons of them in the internet) to decorate the black stripe created in the previous step.
Step 11
Create a new layer and place it right before the first layer (Base) in the layers stack. Pick the Rounded Rectangle Tool (U) and draw a small rectangle.
Fill the shape with #191919 and apply this style.
Repeat this a couple of times to add some more buttons. After doing this, group all the buttons layers and name the group “Side Buttons”.
Step 12
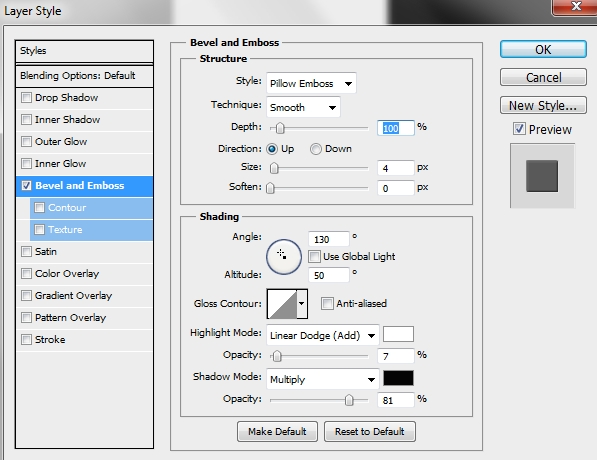
Now it’s time for the multimedia buttons. So, grab the Rectangle Tool (U) and draw a shape like the one on the image below (color: #b7b7b7). Rename the layer to “Multi base”. Then apply the following styles.
NOTE: Don’t forget to modify the rectangle’s color if you’re using a different background color. The idea is to make this rectangle look transparent, so for instance, if your background is black fill it with #555555 and so on.
Step 13
Create a new layer and make it a clipping mask to the rectangle you created in the previous step. Pick the Brush Tool (B) and select a hard round brush from the list. Hit F5 to reveal the Brush Menu. Apply these parametres.
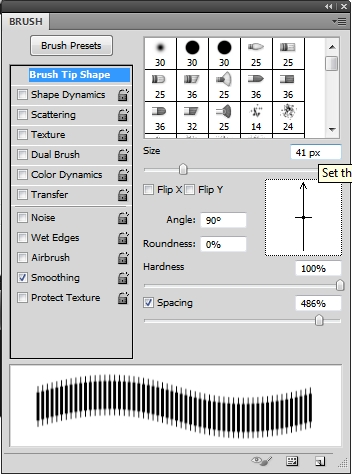
Now change the foreground color to #000000 and draw a straight line (hold Shift) on the rectangle. Change the Blend Mode to Overlay and the Opacity to 20%.

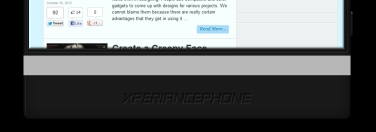
Step 14
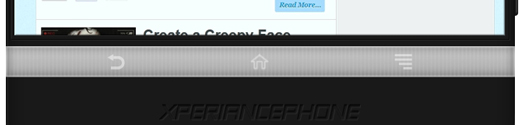
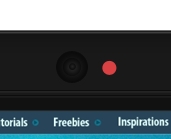
Once again add some elements to decorate this “control panel”.

Step 15
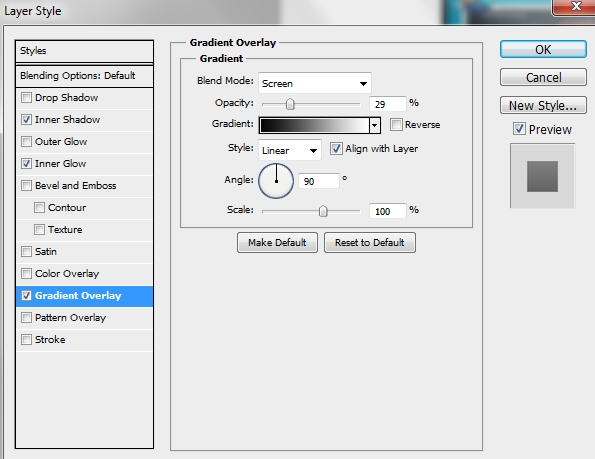
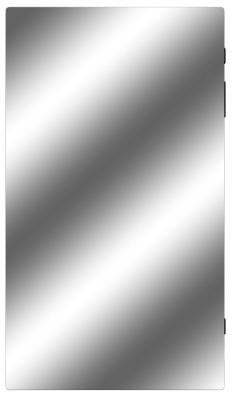
Create a new layer and select the “Multi base’s” pixels. Using the Gradient Tool (G) draw a gradient like this one.
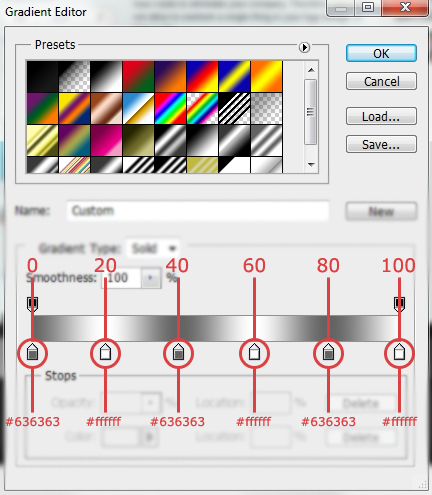
Change the Blend Mode to Multiply and the Opacity to 29%.
Step 16
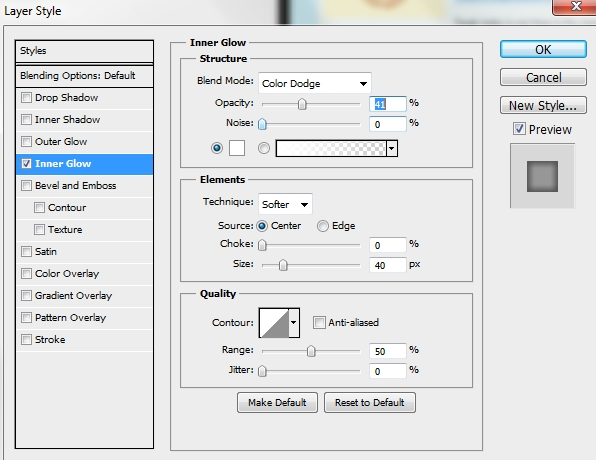
Create a new layer and once again select the “Multi base’s” pixels. Paint the selection with a random color and change Fill to 0% and Opacity to 80%. Then apply this style.
Step 17
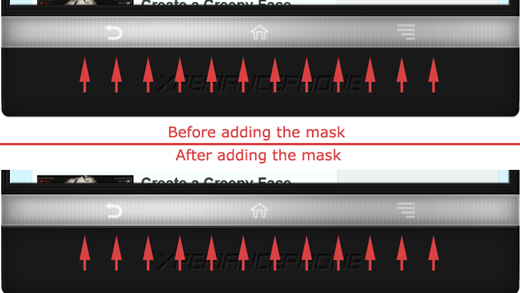
Group all the layers created in Steps 12-16 and name the group “Multimedia buttons”. Go back to the “Base” layer and add a layer mask. Select the “Multi base’s” pixels and paint the selection black to hide it. Do the same with the “Base copy” layer.
Step 18
Create a new layer and pick the Ellipse Tool (U). Draw a small circle, fill it with #191919 and apply the following styles (stroke’s color is #191919).
Step 19
Duplicate this circle and scale it down a bit. Replace its styles with this one.

Step 20
Duplicate the circle from the previous step and scale down the copy. Change the gradient’s opacity to 40%.
Step 21
Create a new layer and draw a small circle using the Ellipse Tool (U). Fill it with #191919 and apply the following style.
Step 22
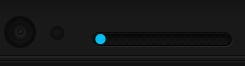
Create a new layer and pick the Rounded Rectangle Tool (U), set the radius to 10 px and draw a wide shape. Then add the following styles.

Step 23
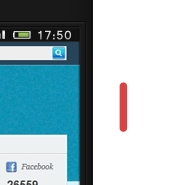
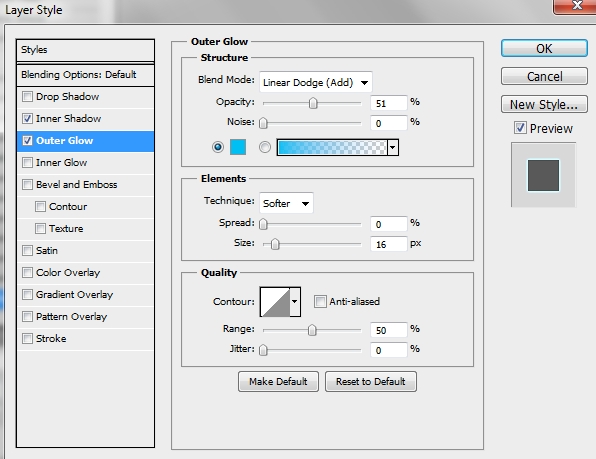
On a new layer draw a small circle and fill it with #00bff3 (or any color you want). Then add the following styles. Remember if you choose another color, make sure you select the same color in the Outer Glow style.
Step 24
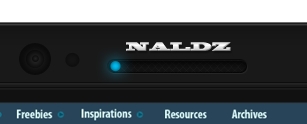
Now add your logo or some random text to decorate the phone a bit (the font I used is called Blackoak Std; size: 2,5 pt).
Step 25
Group all the layers created in Steps 18-24 and name the group “Camera, speaker”. Then create a new layer and select “Base’s” layer pixels. Use the Gradient Tool (G) to add some random highlights (the same gradient you used in Step 15). Change the Blend Mode to Soft Light and the Opacity to something around 60%. Next, add a layer mask and paint black the selection shown on the second image.
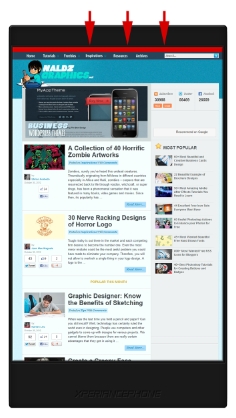
Step 26
Create a new layer and pick the Pen Tool (P). Draw a triangle.
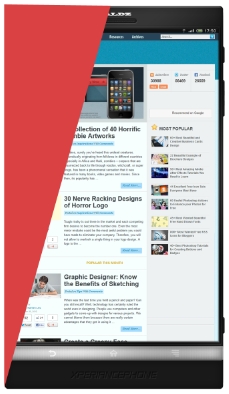
Then activate the selection (Paths tab>Ctrl+Left click on the path’s thumbnail) and using a simple white to transparent gradient draw a straight vertical line. Select the base’s pixels and press Ctrl+I to invert the selection. Then simply hit Delete to erase those parts. Turn the Opacity to 20%.
Step 27
Finally, create a new layer and select the “Base’s” pixels. Fill the selection with a random color and turn Fill to 0%. Apply this style.
Download File
Conclusion
Your smartphone is now ready. Add any effects you want and modify it to make it look even better. We hope you enjoyed the tutorial. If you have any questions, post them in the comments section.


nice detailed tutorial!
keep it up guys..
Wow.. quite a long post but worthwhile. I work as a graphics designer for A&T in Dallas, so I’d have to add the 4GLTE logo, too. But this is great information. Thanks.